Scalp bleaching opens the door to stunning platinum blonde hair and vibrant fashion colors. This powerful technique can give you the dramatic change you’ve been wanting.
Many people dream of bold hair changes but worry about the risks involved. The process does carry potential for scalp irritation, hair breakage, and other complications when done incorrectly.
However, with the right preparation, professional guidance, and realistic expectations, you can achieve beautiful results while keeping your hair and scalp healthy.
This guide covers everything you need to know about scalp bleaching, from choosing the right technique to proper aftercare.
You’ll learn how to prepare for appointments, understand the differences between methods, and care for your hair afterward.
Understanding Scalp Bleach vs. Foils: Which Path Is Right for You?
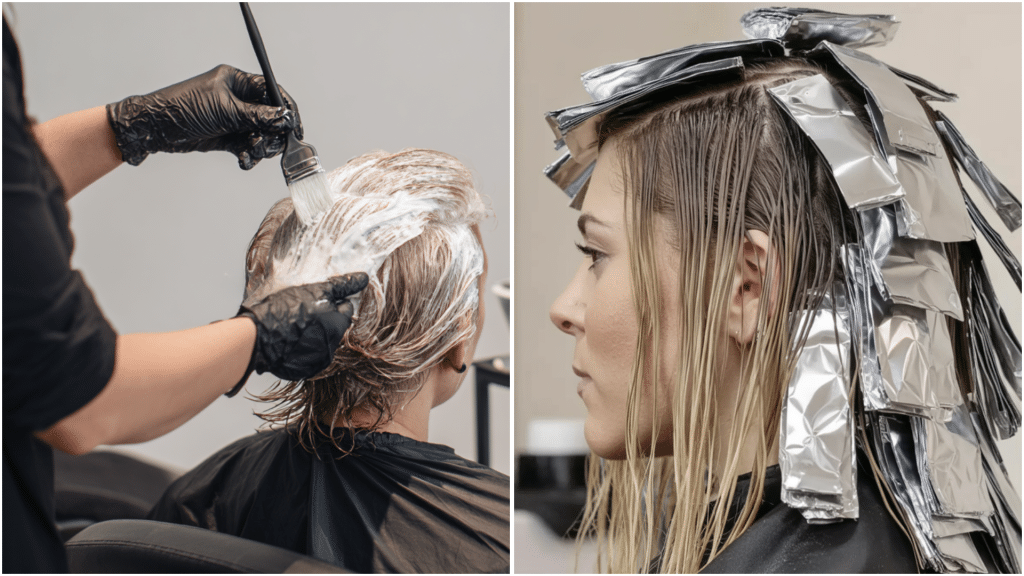
Before diving into the bleaching process, you need to understand your options. Two main techniques can lighten your hair: scalp bleach and foil highlights.
Scalp bleach involves applying bleach directly to your entire head, including the roots and scalp area.
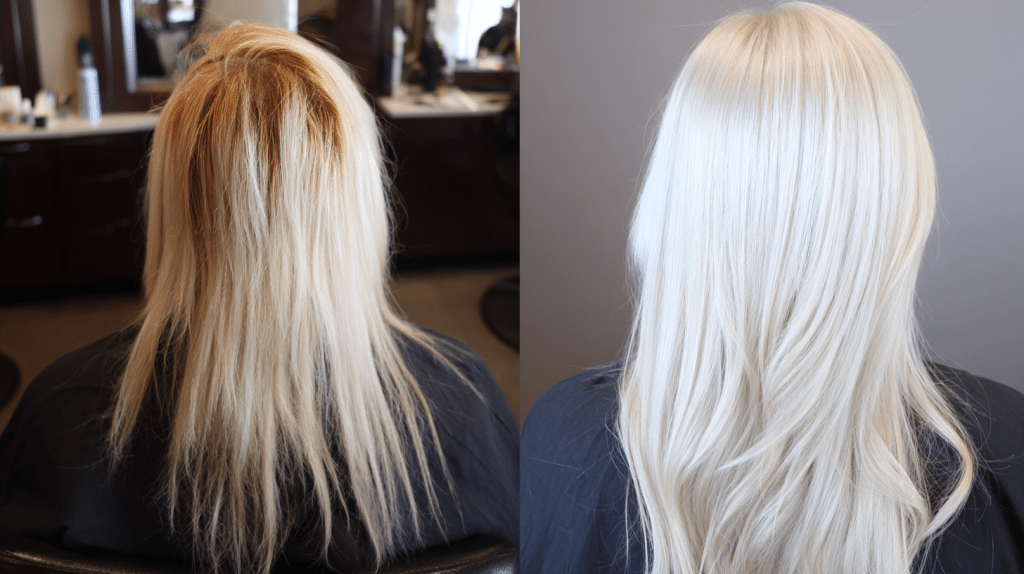
This method creates uniform, all-over lightning that’s perfect for achieving platinum blonde or preparing your hair for fashion colors like pink, blue, or purple.
Foil highlights, on the other hand, involve applying bleach to selected sections of hair wrapped in foils.
This technique creates dimension and blend, giving you lighter pieces throughout your hair rather than solid color. The result is more natural-looking with softer regrowth lines.
Your choice depends on your goals. Want that striking, uniform platinum look? Scalp bleach is your answer. Prefer a subtle dimension with easier maintenance? Foils might be the better option.
Weighing the Pros and Cons: Making an Informed Decision
Understanding the trade-offs helps you choose the right technique for your lifestyle and hair goals.
Each method offers distinct advantages but comes with specific challenges that you need to consider carefully before making your decision.
The Benefits: What Each Technique Offers
Understanding these benefits helps you align your choice with your specific hair goals and lifestyle preferences.
| Scalp Bleach | Foil Highlights |
|---|---|
| Creates uniform, all-over lightning | Creates beautiful dimension and blend |
| Perfect for platinum and fashion colors | Softer regrowth that’s less obvious |
| Acts as a clean slate for vibrant tones | Generally less damaging to hair and scalp |
| Gives you the most dramatic change | More forgiving as hair grows out |
| Ideal for complete color changes | Works well with natural hair patterns |
| Best choice for pastel or vivid shades | Suitable for first-time lightning |
Choose the technique that best matches your desired outcome and maintenance commitment.
The Challenges: What to Consider
Every lightning technique comes with potential drawbacks that you should understand before making your decision.
| Scalp Bleach | Foil Highlights |
|---|---|
| Higher risk of scalp irritation | Won’t achieve solid platinum results |
| More potential for hair breakage | May require multiple sessions for significant lightning |
| Requires frequent touch-ups as roots grow | Less dramatic change in a single visit |
| Higher maintenance and cost over time | Not suitable if you want a uniform color |
| More intensive recovery period | Takes longer to reach very light levels |
| Greater commitment to the aftercare routine | May need more sessions for fashion colors |
Weigh these potential challenges against your hair goals and lifestyle to make the best choice for your situation.
Consider your lifestyle, budget, and hair goals when reviewing these factors.
Understanding the Risks: Knowledge Keeps You Safe
Honesty about risks helps you make smart choices and prepare properly. Scalp bleaching does carry some serious considerations.
- Scalp burns and irritation top the list of concerns. The chemicals in bleach can cause reactions ranging from mild redness to serious blistering.
- Hair breakage becomes a risk when bleach overlaps with previously treated hair or when the formula is too strong. Your hair’s protein structure weakens during bleaching, making it fragile.
- Allergic reactions can include itching, swelling, or rashes. Some people develop sensitivities they didn’t know they had. This makes patch testing essential.
- Hot roots happen when the heat from your scalp causes roots to lighten faster than the rest of your hair, creating uneven results.
- Texture changes can occur permanently. Your hair might feel different; sometimes coarser or more porous, even after it grows out.
- Ongoing scalp sensitivity might continue even with perfect technique. Some people find their scalp stays more sensitive to products and treatments.
Essential Considerations Before Your Consultation
Smart preparation starts before you even book your appointment. Consider these important factors.
1. Your Hair and Scalp Health
Take an honest look at your hair’s current condition. Has it been colored, permed, or chemically treated recently?
Is it dry, brittle, or showing signs of damage? Do you have any scalp conditions like eczema or psoriasis? Your stylist needs this information to keep you safe.
2. Your End Goals and Maintenance Commitment
Be clear about what you want. Do you picture uniform platinum color, or would you be happy with dimensional highlights? How often are you willing to come in for touch-ups?
Scalp bleach typically needs attention every 4-6 weeks, while foils can often go 8-12 weeks.
3. Your Budget and Time Investment
Scalp bleaching costs more both initially and over time. Factor in the price of regular touch-ups, special shampoos, and deep conditioning treatments.
Foils might cost less per session and need fewer appointments.
4. Professional vs. DIY Approach
Here’s where we need to be direct: scalp bleaching should always be done by professionals. The risks are too high for at-home attempts.
Your scalp’s proximity to the chemicals, the need for precise timing, and the potential for serious injury make this a job for trained stylists.
Questions to Ask During Your Consultation
A good consultation sets the foundation for success. Come prepared with these important questions.
Ask for allergy and patch testing, even if you’ve never had reactions before. Request details about the specific bleach and developer your stylist plans to use; different formulas work better for different hair types.
Look at your stylist’s portfolio work. Have they done both scalp bleach and foils successfully? Can they show you results on hair similar to yours?
Be completely honest about your hair history. Previous colors, chemical treatments, and even medications can affect how your hair responds to bleach.
Discuss aftercare expectations. What products will you need? How should you care for your hair between appointments? What signs should you watch for that might indicate problems?
Pre-Bleach Preparation: Setting Yourself Up for Success
Good preparation makes a huge difference in your results and comfort level.
Do: Deep condition your hair in the weeks leading up to your appointment. Healthy, hydrated hair handles bleaching better.
Do: Avoid washing your hair for 24-48 hours before your appointment; natural oils help protect your scalp.
Don’t: Irritate your scalp with scratching, harsh scrubbing, or strong products right before treatment.
Don’t: Try any new hair products or treatments close to your appointment date.
Tell your stylist about any medications you’re taking. Some can affect how your skin and hair react to chemicals.
The Safe Scalp Bleaching Process: What to Expect
Understanding the process helps you feel more comfortable and spot any issues early.
Step 1: Skin and Scalp Protection
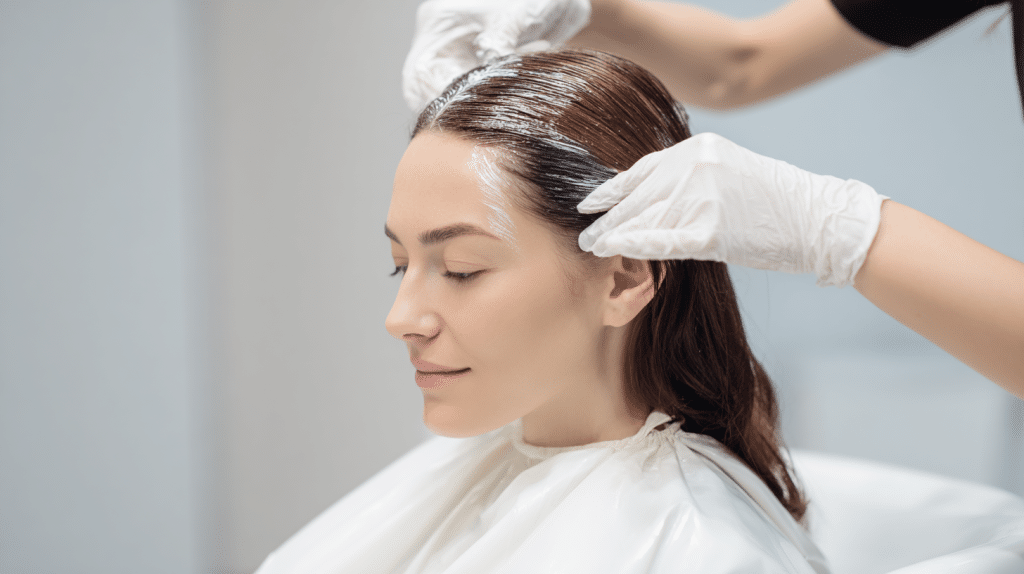
Your stylist will start by protecting your skin and hairline with barrier cream or petroleum jelly. This creates a protective layer between the bleach and your sensitive skin areas.
Proper protection prevents chemical burns and irritation during the lightning process.
Step 2: Hair Sectioning
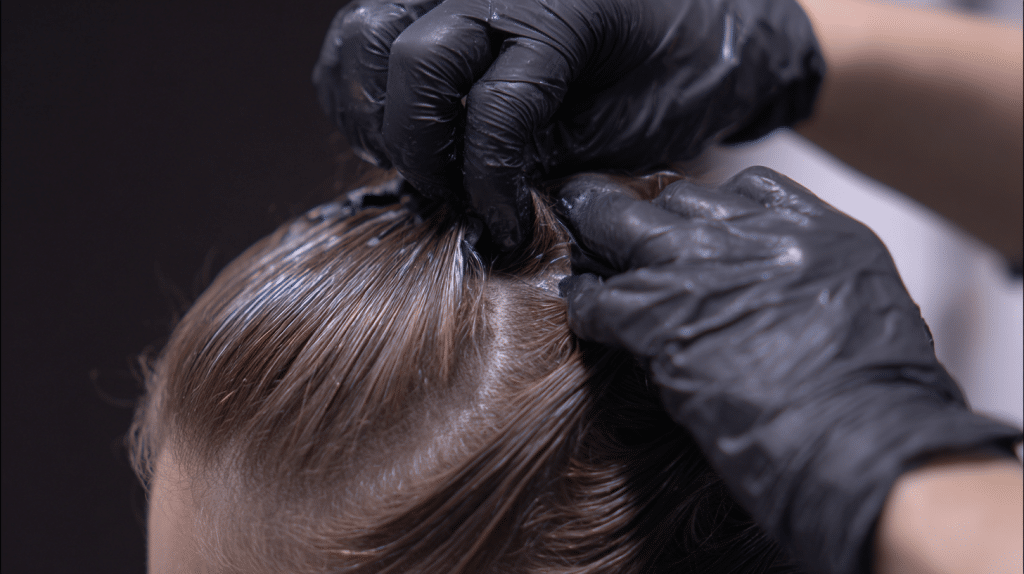
They’ll section your hair systematically to ensure even coverage throughout the entire process. Proper sectioning is key to uniform results and prevents missed spots.
Each section gets numbered or marked to maintain organization during the application.
Step 3: Bleach Application
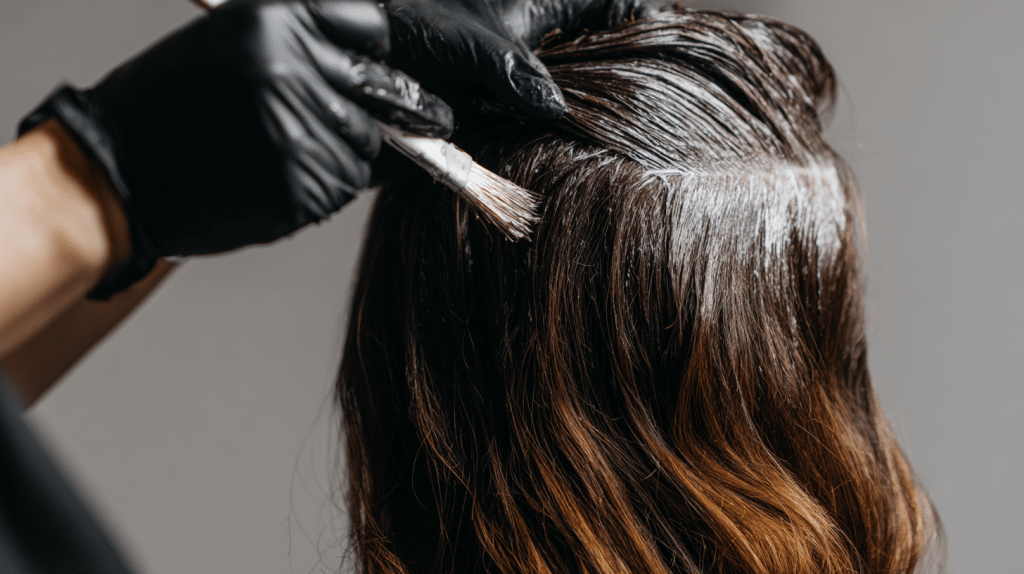
Most professionals use a 20-volume developer for scalp work; strong enough to lighten effectively but safer than higher volumes.
The bleach gets applied quickly and evenly, with roots typically done last since they process faster due to scalp heat. Your stylist works methodically to ensure consistent coverage and timing across all sections.
Step 4: Processing and Monitoring
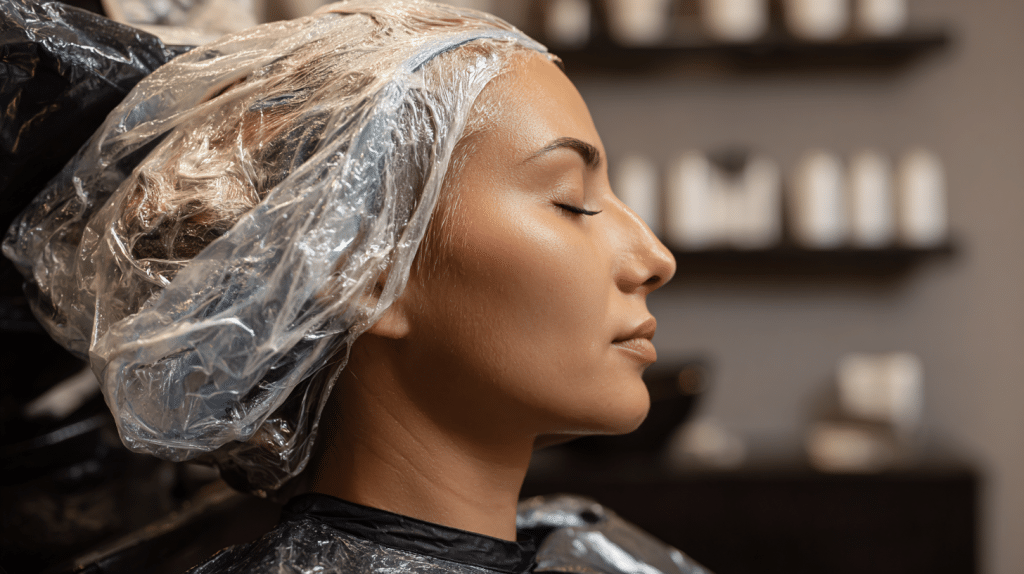
Processing time varies based on your hair color and desired result, usually 30-45 minutes. Your stylist will check progress regularly and test small sections to monitor lightening.
You should speak up immediately if you feel burning, excessive tingling, or discomfort during this phase.
Step 5: Rinse and Recovery Treatment
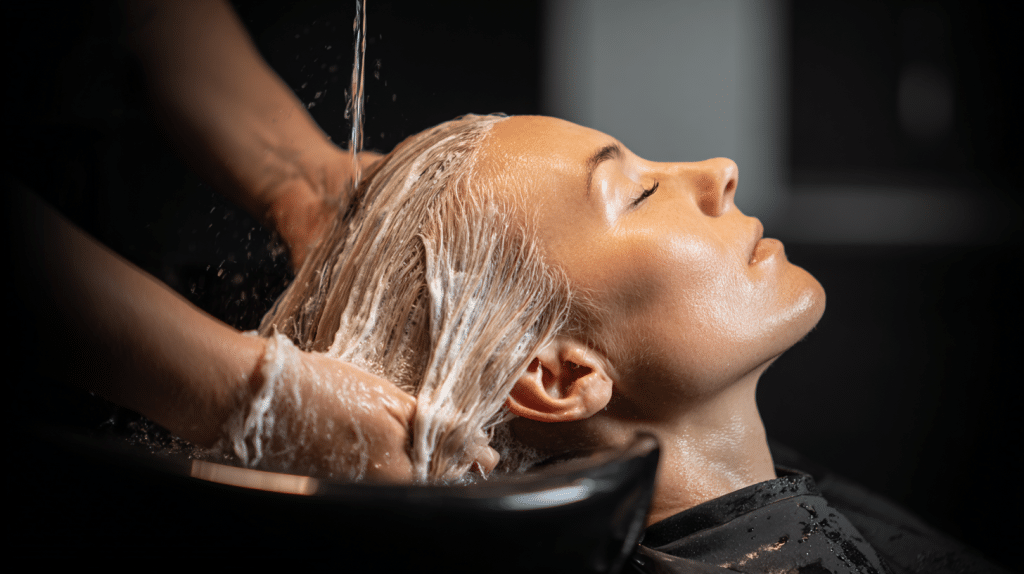
After processing, your hair gets rinsed thoroughly with cool water to stop the chemical reaction. A deep conditioning treatment follows immediately to start the recovery process and restore moisture.
This final step helps seal the hair cuticle and prepares your hair for toning or styling.
Aftercare and Recovery: Protecting Your Investment
Your care routine after bleaching determines how healthy your hair stays and how long your results last. Following proper aftercare steps protects your investment and keeps your newly lightened hair looking its best.
- Use sulfate-free shampoo – Switch to gentle formulas that won’t strip your newly lightened hair of essential moisture and color.
- Deep condition weekly – Your hair needs extra moisture and protein to stay strong after the bleaching process.
- Limit heat styling – When you do use hot tools, always apply heat protectant first to prevent further damage.
- Moisturize your scalp – Keep it hydrated with appropriate oils or serums, but avoid heavy products that might clog follicles.
- Use purple shampoo sparingly – Once or twice a week at most to maintain your tone without over-drying your hair.
Troubleshooting and Scalp Care
Know how to handle minor issues and when to seek professional help.
For mild scalp irritation, gentle aloe vera gel or fragrance-free moisturizer can provide relief. Cool compresses might help with initial discomfort.
However, if you experience severe burning, blistering, persistent pain, or signs of infection, contact your stylist or a healthcare provider immediately. Don’t try to treat serious reactions on your own.
Watch for ongoing hair breakage or excessive dryness. These might signal the need for more intensive conditioning treatments or a break from chemical services.
Final Guidelines for Success
Keep these essential principles in mind throughout your bleaching process.
Don’t rush the process. Going from dark to platinum in one session often leads to severe damage. Sometimes the healthiest and most beautiful results come from multiple, gentler sessions.
Do be realistic about what your hair can handle. Your stylist’s recommendations about timing and expectations come from experience; trust their expertise.
Don’t compromise on aftercare. The products and treatments your stylist recommends aren’t optional. They’re essential for maintaining healthy hair.
Do prioritize your hair and scalp health above all else. A slightly less dramatic result that keeps your hair healthy is always better than damage that takes months or years to repair.
Your Path to Beautiful, Healthy Results
Scalp bleaching and foil highlights both offer stunning results, but they come with different maintenance needs, risks, and recovery requirements.
With the right approach, you can achieve the bright, bold look you’ve been dreaming of while keeping your hair healthy and strong.
Your hair change starts with education and preparation. Take time to find the right professional, ask thorough questions, and commit to proper aftercare.
Schedule that consultation with confidence, knowing you know how to make informed decisions about your hair’s future.
Have you tried scalp bleaching or foil highlights? Share your experience and tips in the comments below to help others with their hair change process!