Changing your hair color can completely change how you feel about yourself. The right shade makes you glow and boosts your confidence in ways you never expected.
But picking the wrong color? That’s a costly mistake that takes months to fix.
Your hair color choice affects everything from your daily routine to how others see you. If you’re covering grays or trying something bold, the decision matters more than you think.
This guide teaches you the science behind hair colors. You’ll learn about professional hair colour options and permanent hair dye choices.
We’ll cover skin tone matching, color charts, and expert application tips. By the end, you’ll know how to pick and apply the perfect shade, whether you visit a salon or do it yourself.
Understanding Hair Color Fundamentals
Professional hair colour products are high-quality dyes that salons use. They’re stronger and last longer than drugstore boxes.
These formulas work better on stubborn grays and give you richer, more vibrant results.
The main difference is in the ingredients. Professional products have better chemicals that protect your hair while coloring it. They also come in more shade options than regular store brands.
Permanent hair dye goes deep into each strand of hair. It opens up the hair shaft and deposits color that won’t wash out. This type of dye lasts until your hair grows out.
The process changes your hair’s structure forever. That’s why permanent color can’t be removed with regular shampoo. You’ll need to wait for new growth or use special color removers to change it.
How to Choose the Right Shade: Key Tips
Picking the right hair color depends on several key factors. Follow these expert tips to find your perfect shade.
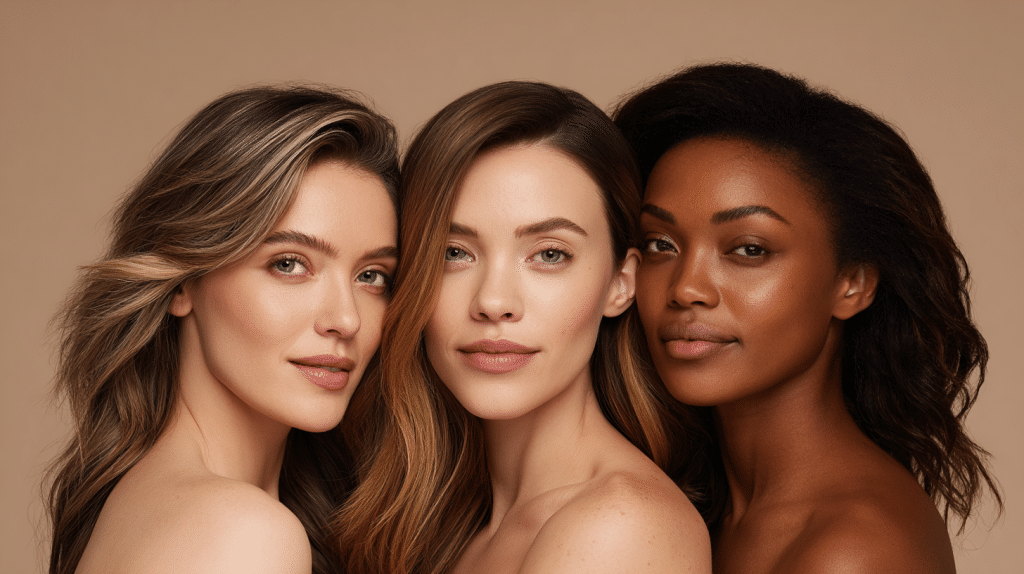
1. Assess Skin Tone and Eye Color
Your skin tone is the key to picking flattering hair colors. Cool skin tones look best with ash blondes and cool browns. Warm skin tones shine with golden blondes, caramels, and copper shades.
Check your veins to find your skin tone. Green veins mean warm undertones. Blue or purple veins mean cool undertones. Mixed colors mean you’re neutral and can wear most shades.
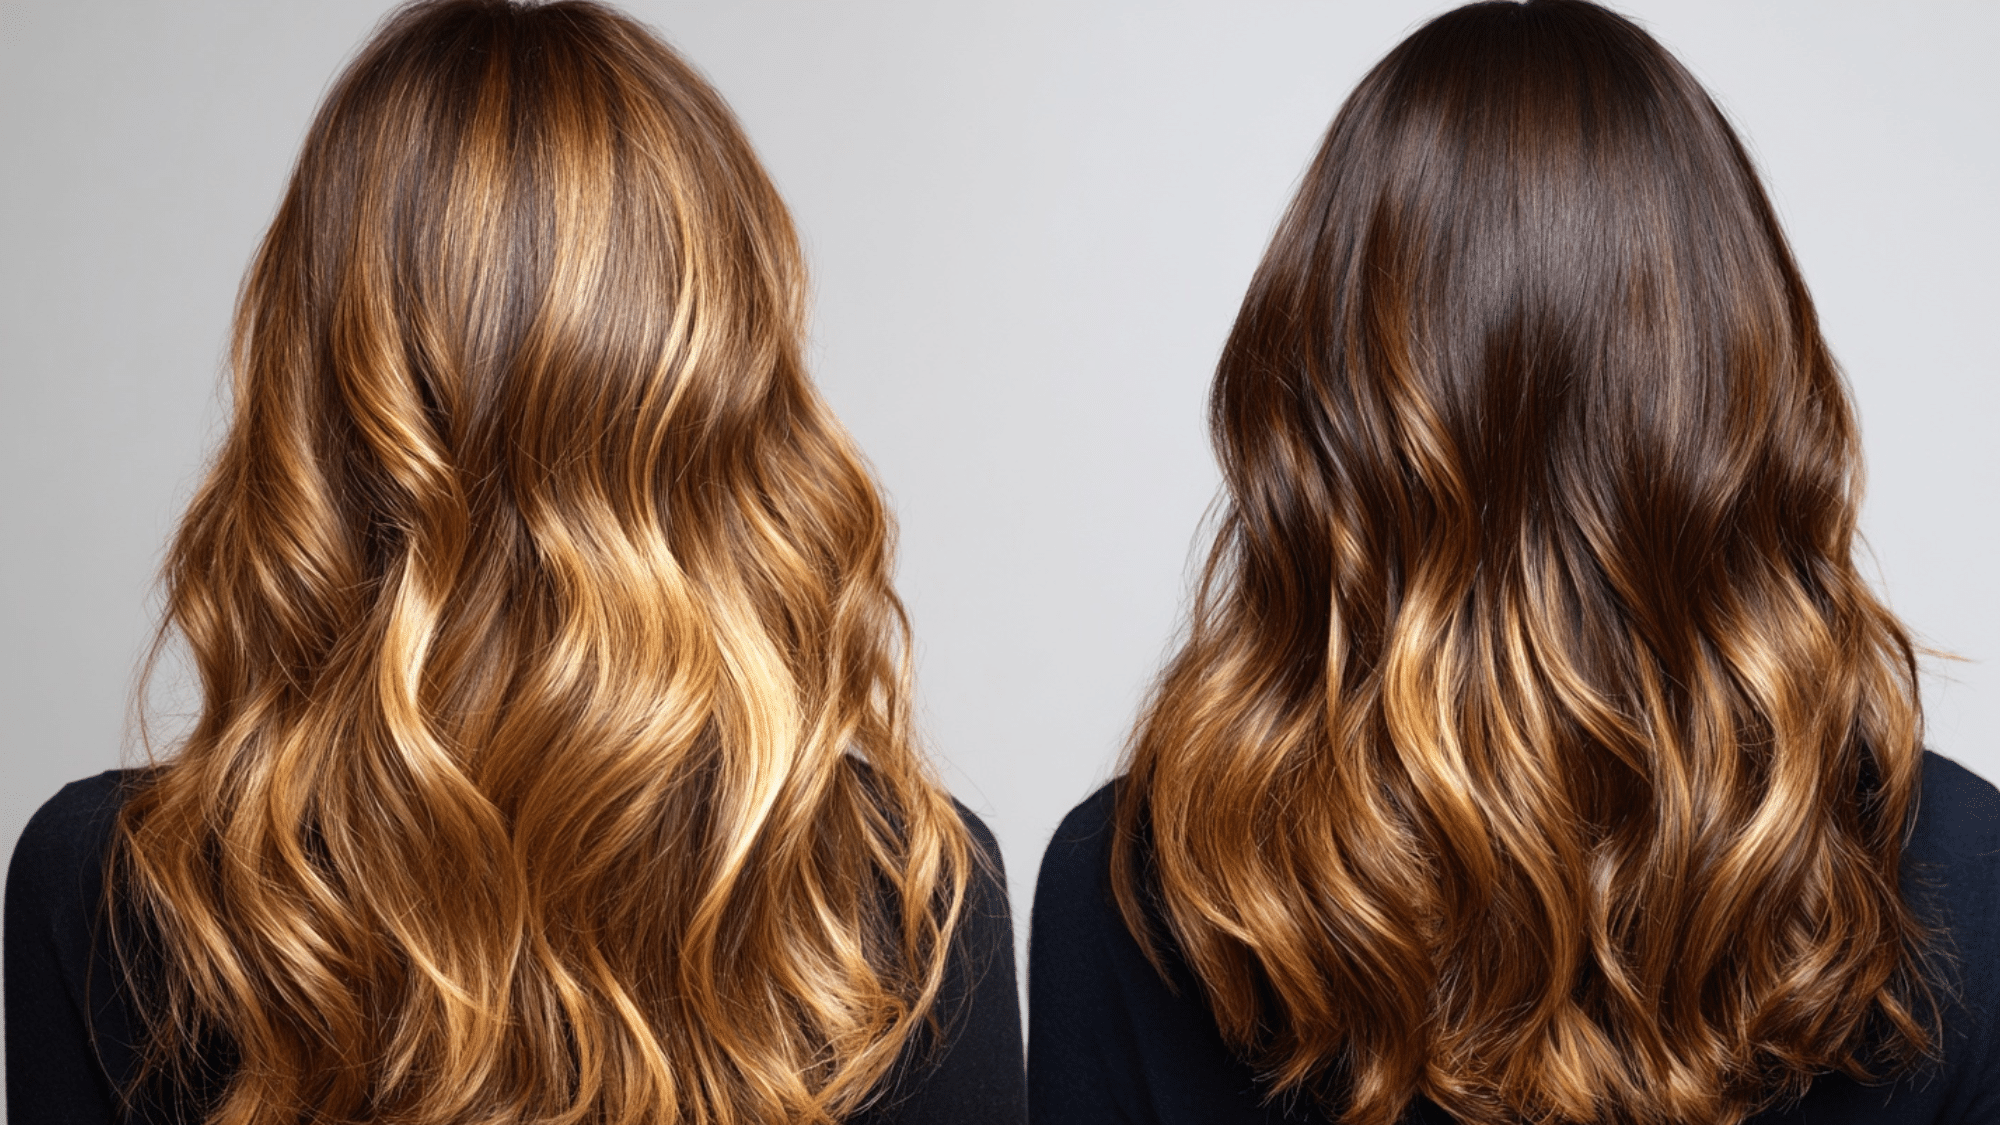
2. Consider Your Current Hair Color
Starting with your natural color makes the process easier. Pick a shade within two levels of your current color for the best results. Going too light or dark in one step can damage your hair.
Dark hair needs bleaching before going lighter. Light hair can go darker without bleach. Always think about the health of your hair before making big changes.
3. Decide on Maintenance Level
Permanent hair dye lasts the longest but needs touch-ups every 6-8 weeks. Professional hair colour services give better gray coverage but cost more. Think about your budget and time before choosing.
Root touch-ups are easier with colors close to your natural shade. Bold colors need more frequent salon visits. Consider how much upkeep you can handle before picking your shade.
4. Top Professional Tips
Always use shade charts instead of trusting box photos. The models on packages don’t show real results. Charts give you accurate color predictions based on your starting shade.
Learn the hair color numbering system. Numbers show depth from 1 (black) to 10 (lightest blonde). Do a strand test before coloring all your hair. Buy color-safe products to protect your investment.
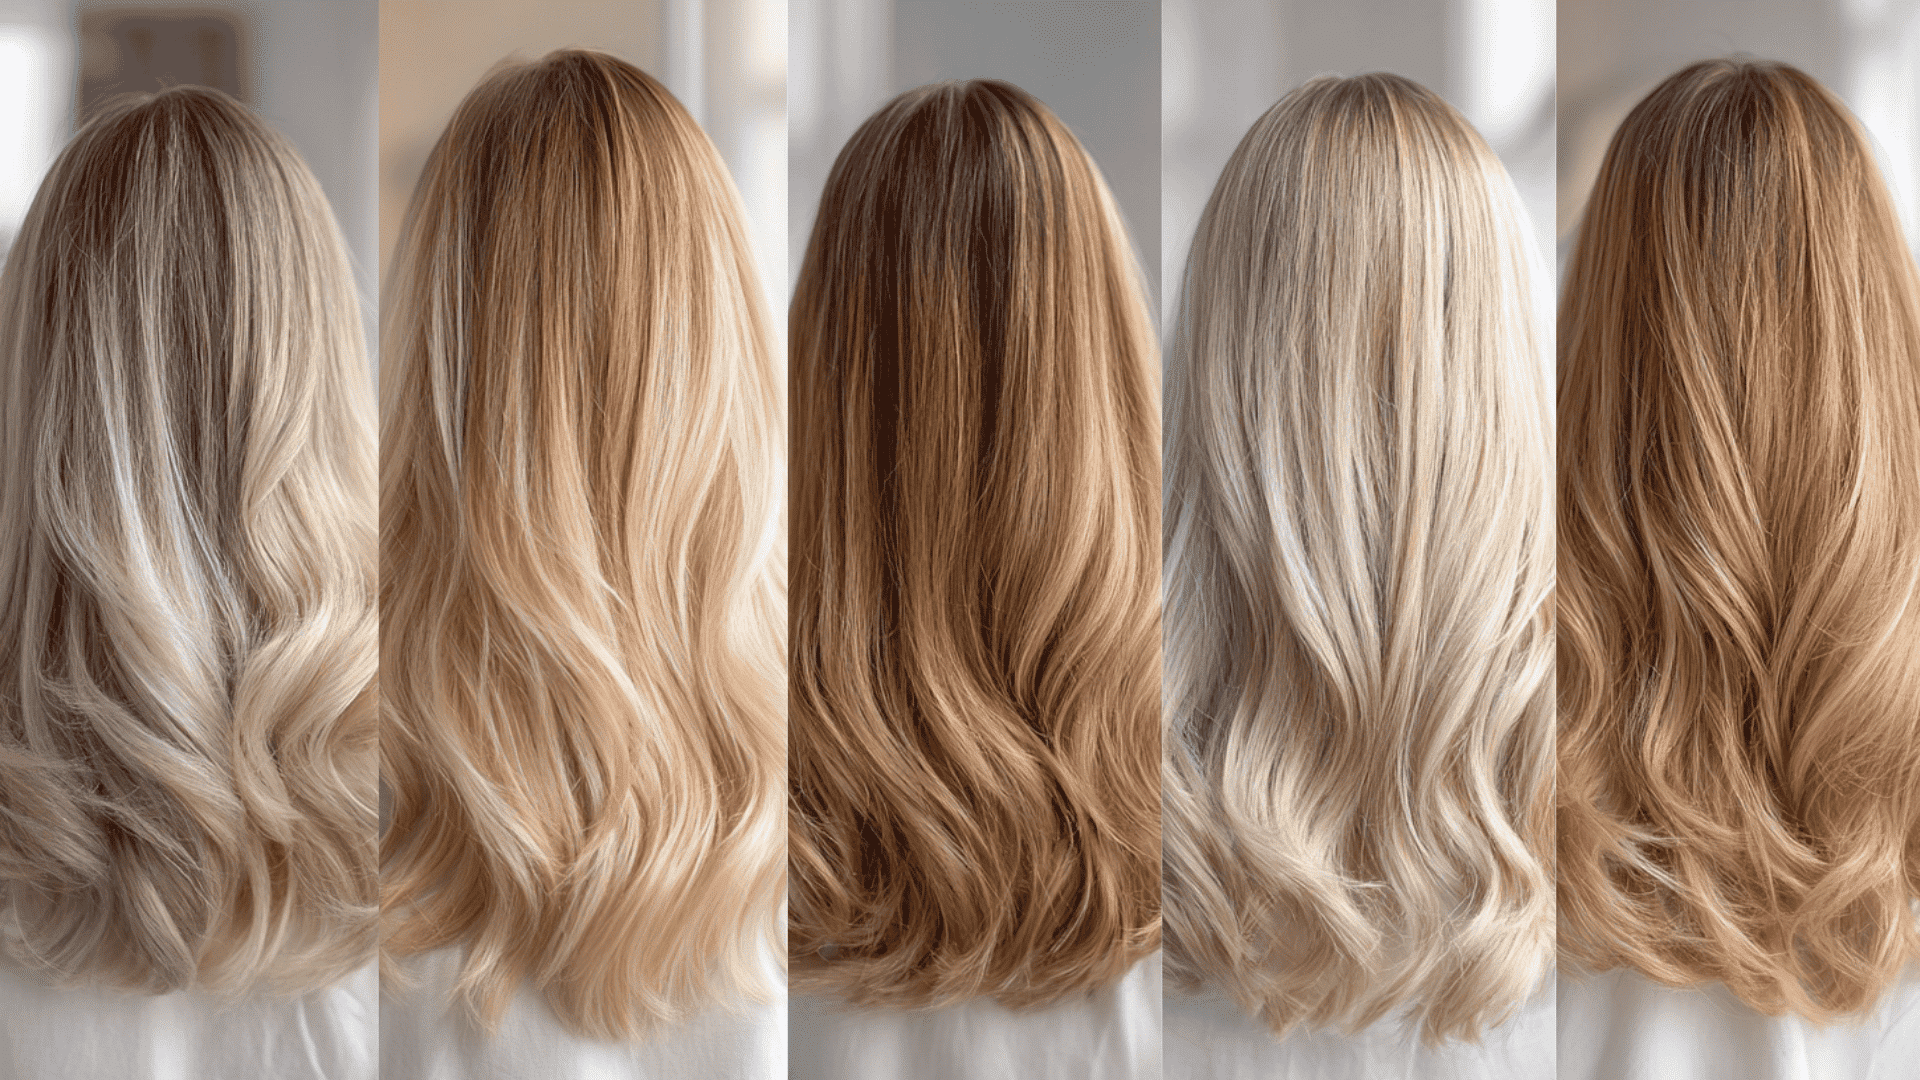
Color Charts: Navigating Levels & Tones
Understanding hair color charts is like learning a secret language that professionals use every day. These numbers and letters tell you exactly what shade you’ll get and help you communicate clearly with stylists.
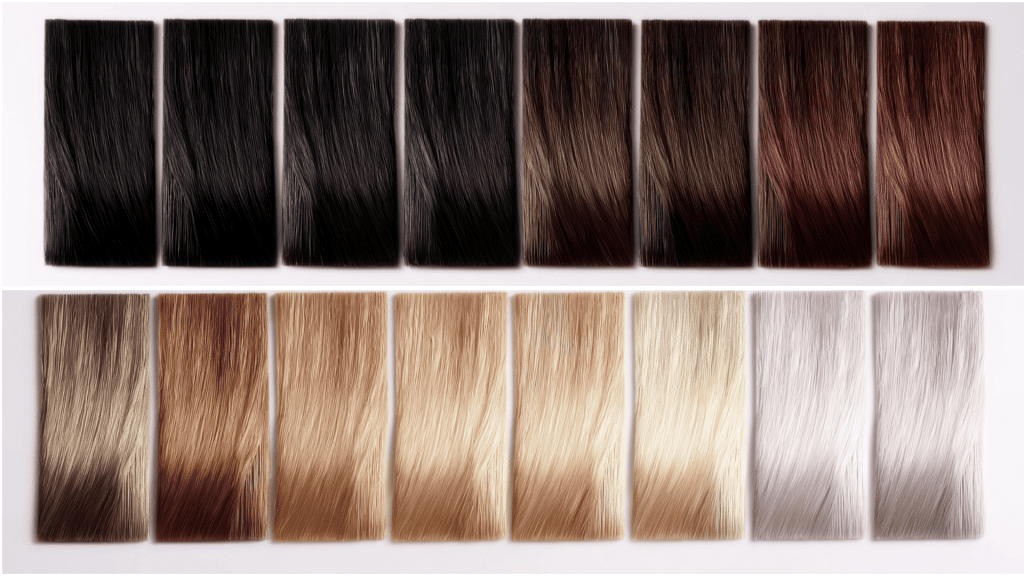
Standard Hair Color Levels
| Level | Color Name |
|---|---|
| 1 | Black |
| 2 | Darkest Brown |
| 3 | Dark Brown |
| 4 | Medium Brown |
| 5 | Light Brown |
| 6 | Dark Blonde |
| 7 | Medium Blonde |
| 8 | Light Blonde |
| 9 | Very Light Blonde |
| 10 | Lightest Blonde |
Hair color levels run from 1 to 10. Level 1 is black, and level 10 is the lightest blonde. Most people fall between levels 3-7 naturally.
Understanding levels helps you communicate with stylists. It also helps you pick realistic goals for your hair color change.
Common Permanent Hair Dye Tones
| Tone | Name | Effect |
|---|---|---|
| .0 | Natural | No added tone |
| .1 | Green Ash | Cancels red |
| .2 | Violet | Cancels yellow |
| .3 | Gold | Adds warmth |
| .4 | Copper | Red-orange tones |
| .5 | Mahogany | Red-brown mix |
| .6 | Red | Pure red tones |
| .7 | Brunette | Warm brown |
| .8 | Blue | Cancels orange |
| .9 | Sand | Gold and violet mix |
Tones add warmth or coolness to your base color. They’re shown with letters or decimal numbers after the level. Each tone creates a different effect on your final color.
Double tones combine two effects. For example, .23 would be violet-gold. These create custom results for specific needs.
Step-by-Step: Professional Hair Colour Application at Home
Applying hair color at home can give salon-quality results with the right technique. Follow these steps for safe, even color that lasts.
Step 1: Set Up Your Space and Prep Your Hair
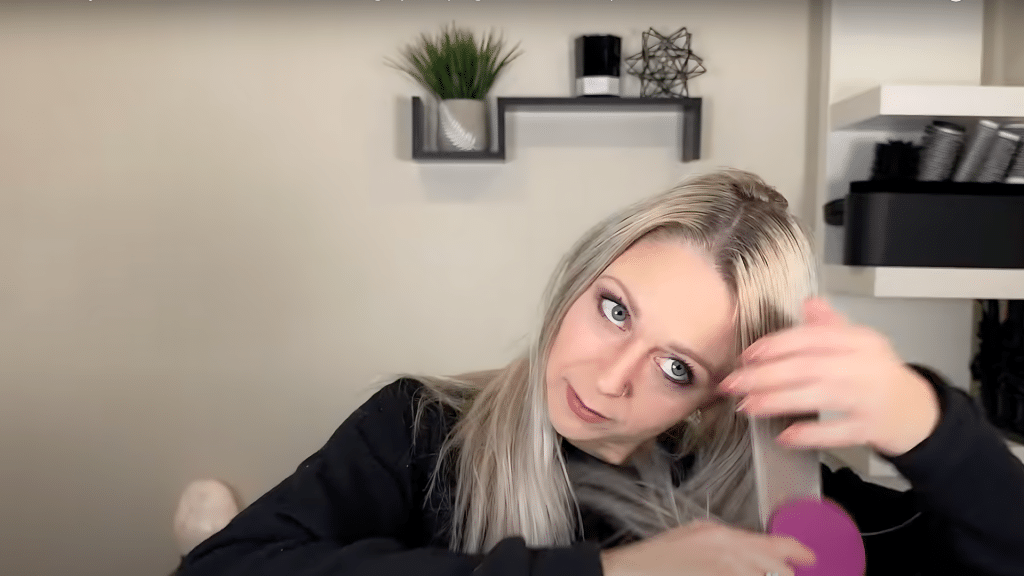
Set up mirrors so you can see the back of your head clearly – a tri-fold mirror works best. Start with clean hair or day-2 hair if you have a sensitive scalp, as natural oils provide protection.
Brush your hair thoroughly to remove all tangles before you begin coloring. Expect the mirror work to feel awkward at first, but you’ll build confidence with practice.
Tip: Practice your mirror movements without color first to get comfortable with the reversed motions.
Step 2: Section Your Hair Into Quadrants
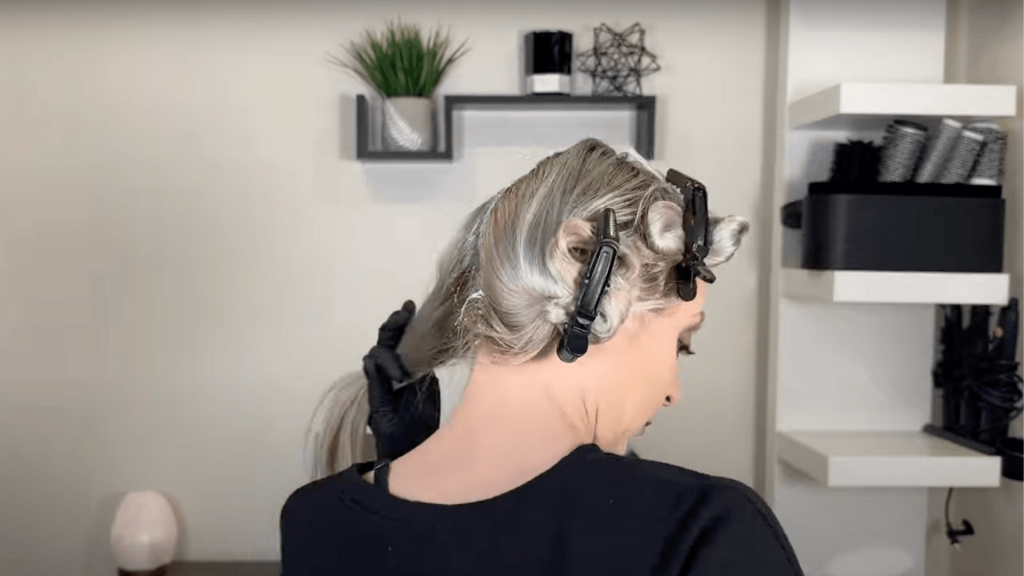
Part your hair down the middle from forehead to neck, creating two equal halves. Divide each half horizontally at ear level, giving you four quadrants total – two in front and two in back.
Clip each section up and out of the way using hair clips or bands. This systematic approach ensures you don’t miss any areas during the application.
Tip: Use different colored clips for each quadrant to keep track of which sections you’ve completed.
Step 3: Choose Your Starting Point and Begin Application
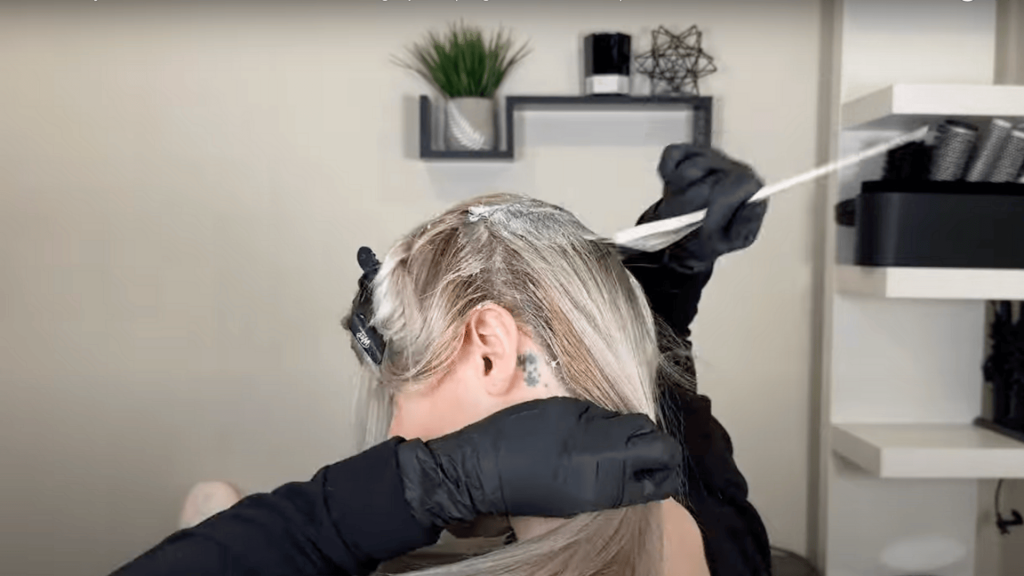
Start in the back if you’re going lighter, since darker areas need more processing time. If you’re covering gray hair, start in the front where grays are typically more stubborn.
Begin each quadrant by outlining the outer perimeter with color to prevent missed lines. Apply color to the edges of adjacent quadrants as you work for complete coverage.
Tip: Going lighter? Start in the back. Covering grays? Start in front where they need extra processing time.
Step 4: Work in Thin Sections From Top to Bottom
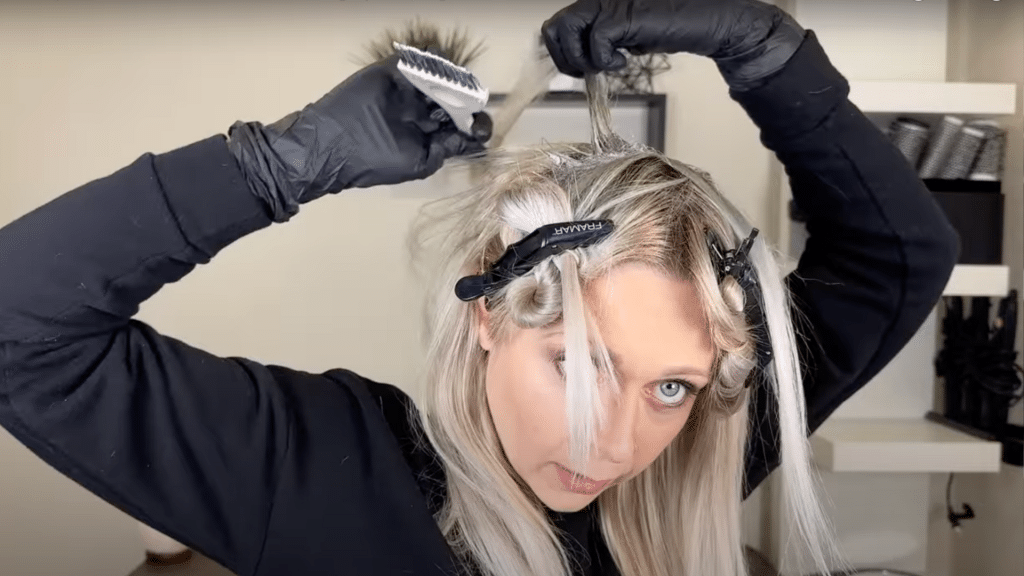
Take small sections of hair about 1/8 to 1/4 inch thick – thinner sections ensure better saturation. Start at the top of each quadrant and work your way down systematically.
Apply color to both the top and underside of each section for complete coverage. Make sure each strand is fully saturated – properly colored hair should stay lifted and not fall back down.
Tip: Fully saturated strands will feel heavier and stay separated from the rest of your hair.
Step 5: Complete All Four Quadrants Using the Same Method
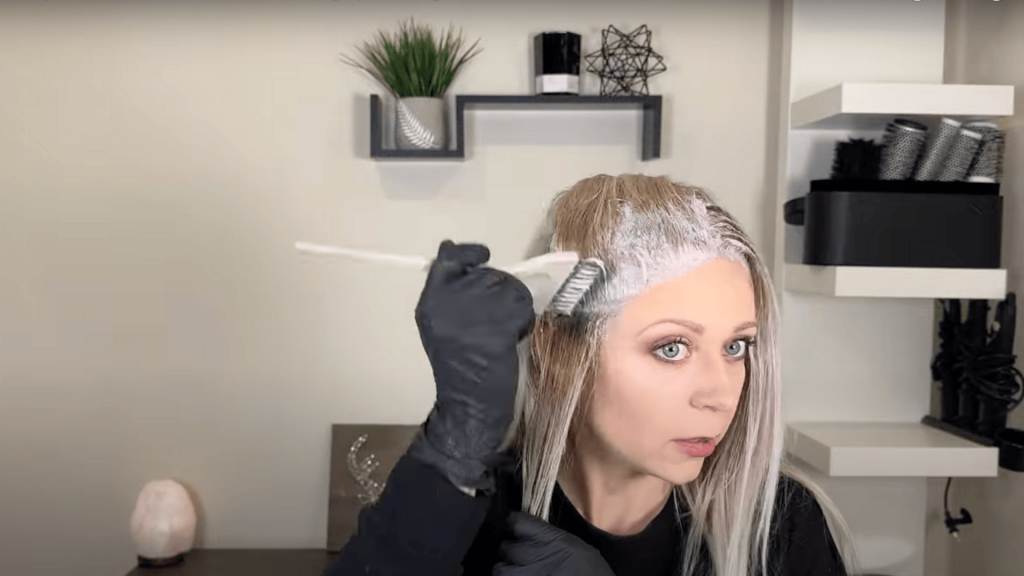
Continue the outline-first, thin-sections approach for each remaining quadrant in your chosen order. Work from top to bottom in each section, ensuring both sides of every strand get color.
Take your time with the front sections near your face, as these are the most visible areas. Use your mirrors frequently to check your progress and catch any missed spots.
Tip: The front quadrants are most visible, so take extra care with saturation and coverage in these areas.
Step 6: Final Check and Processing Setup
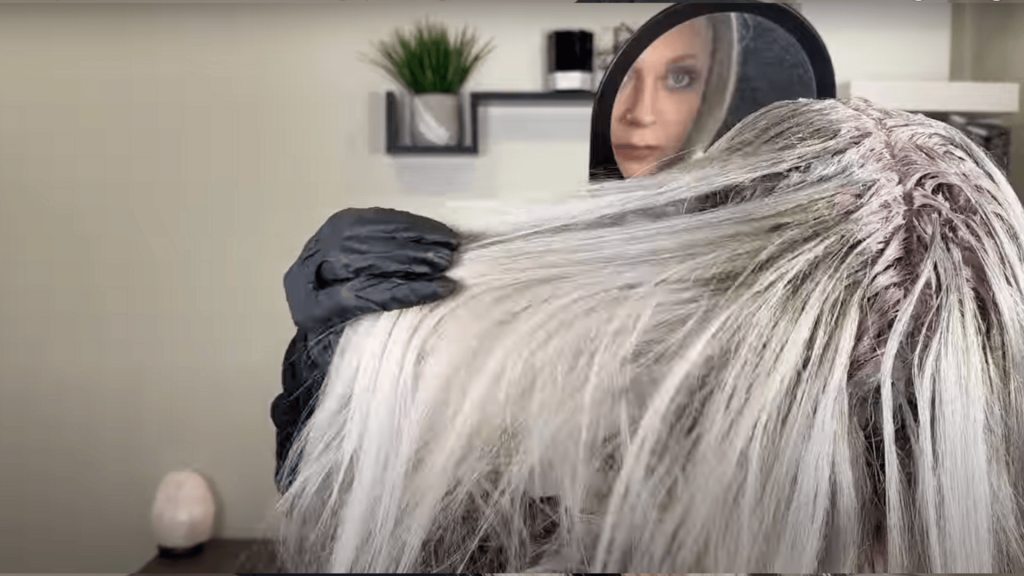
Use your mirrors to do a thorough final inspection, especially at the back of your head. Add more color to any sparse or missed areas you discover during your check.
Wrap your head in a plastic cap to retain heat and prevent the color from drying out. Cover with a towel if desired, then process according to your product’s timing instructions.
Tip: Plastic caps help retain heat for better color development, especially important for lightening processes.
Video Tutorial
Special thanks to Have A Good Hair Day for providing valuable insights in their video, which I referenced while creating this guide.
Expert Advice for Vibrant, Healthy Color
Getting gorgeous, long-lasting hair color requires more than just good technique. Follow these professional secrets to keep your color looking salon-fresh.
- Start subtly with gradual changes. Don’t go more than three levels lighter or darker than your natural shade in one session to avoid damage.
- Consult a professional for major transformations. Dramatic changes, correcting bad color, or going very light work best with a stylist’s expertise and stronger products.
- Choose permanent formulas for gray coverage. Gray hair is more resistant to color, so permanent hair dye works better than semi-permanent options.
- Consider your natural gray pattern. Gray roots show faster with dramatic color changes, so pick shades closer to your natural tone for easier maintenance.
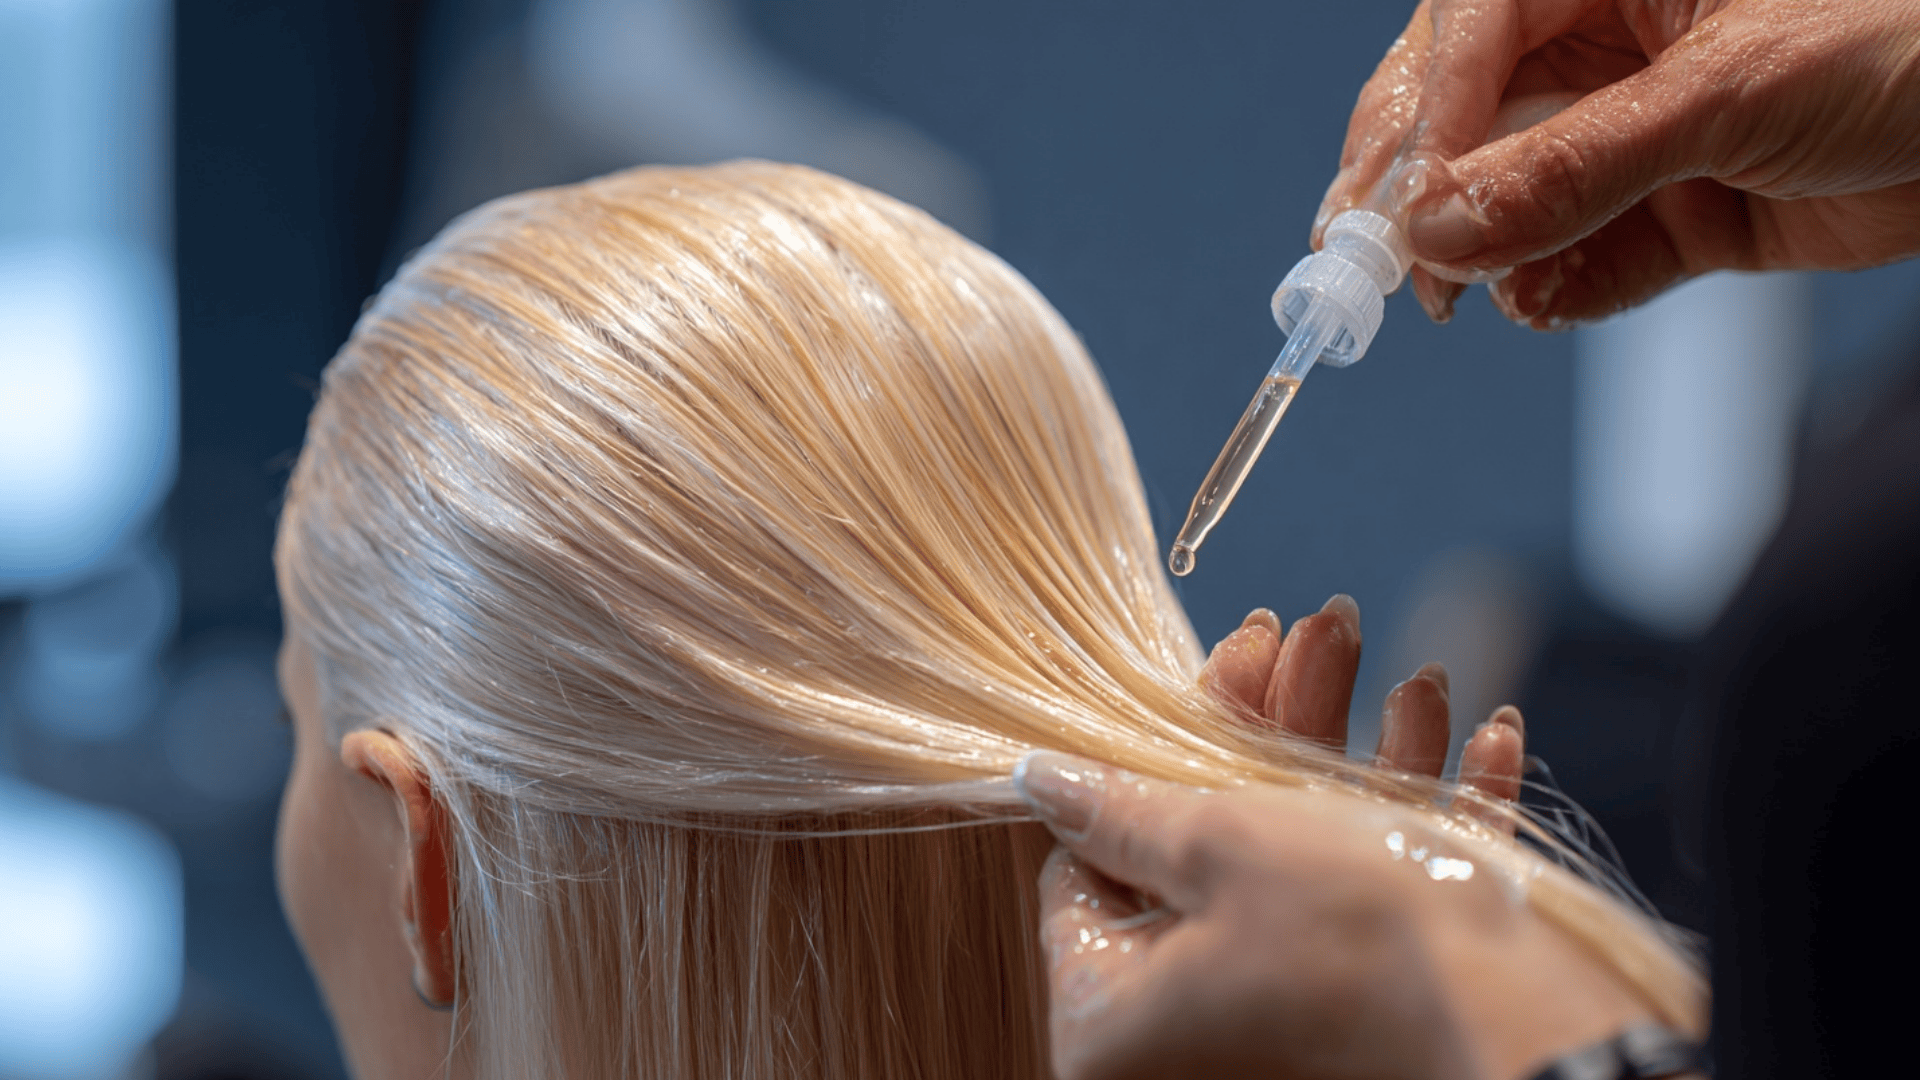
- Invest in your hair’s health first. Damaged hair doesn’t hold color well, so focus on conditioning treatments before major color changes.
Hair Color Maintenance Guide
Different hair colors require different levels of upkeep and commitment. Plan ahead with this maintenance breakdown to keep your color looking fresh.
| Color Type | Touch-Up Frequency | Maintenance Level | Best For |
|---|---|---|---|
| Natural shades close to your base | 8-10 weeks | Low | Busy lifestyles, first-time colorers |
| Subtle highlights or lowlights | 6-8 weeks | Medium | Adding dimension without drama |
| Full head permanent color | 6-8 weeks | Medium | Complete color changes, gray coverage |
| High-contrast colors (very light/dark) | 4-6 weeks | High | Bold looks, fashion-forward styles |
| Fashion colors (pink, purple, blue) | 2-4 weeks | Very High | Creative expression, trend followers |
| Bleached blonde shades | 4-6 weeks | High | Requires toning, special shampoos |
Root growth and color fading happen faster with dramatic changes. Budget both time and money for regular salon visits when choosing high-maintenance colors.
Conclusion
Finding the right hair colors is about more than following trends; it’s about choosing shades that work with your natural features and lifestyle.
Use these color charts, expert tips, and step-by-step guides to make smart choices whether you visit a salon or try professional hair colour at home.
Remember that healthy hair holds color better and looks more vibrant. Take time to prep your hair with conditioning treatments before using permanent hair dye.
Start with subtle changes and build up to bolder looks gradually. Your hair color choice is personal and should reflect who you are.
What hair color are you thinking about trying next? Share your color goals and questions in the comments below – we’d love to help you plan your next shade!
Frequently Asked Questions
What’s The Difference Between Semi-Permanent And Permanent Hair Dye?
Semi-permanent color coats the outside of your hair and fades after 4-6 weeks, while permanent hair dye penetrates deep into the hair shaft and lasts until new growth appears.
Can I Use Professional Hair Colour At Home Safely?
Yes, but follow instructions carefully and do a patch test 48 hours before coloring to check for allergic reactions.
How Often Should I Touch Up My Permanent Hair Dye?
Most people need root touch-ups every 6-8 weeks, but only apply new color to the regrowth area to prevent damage.