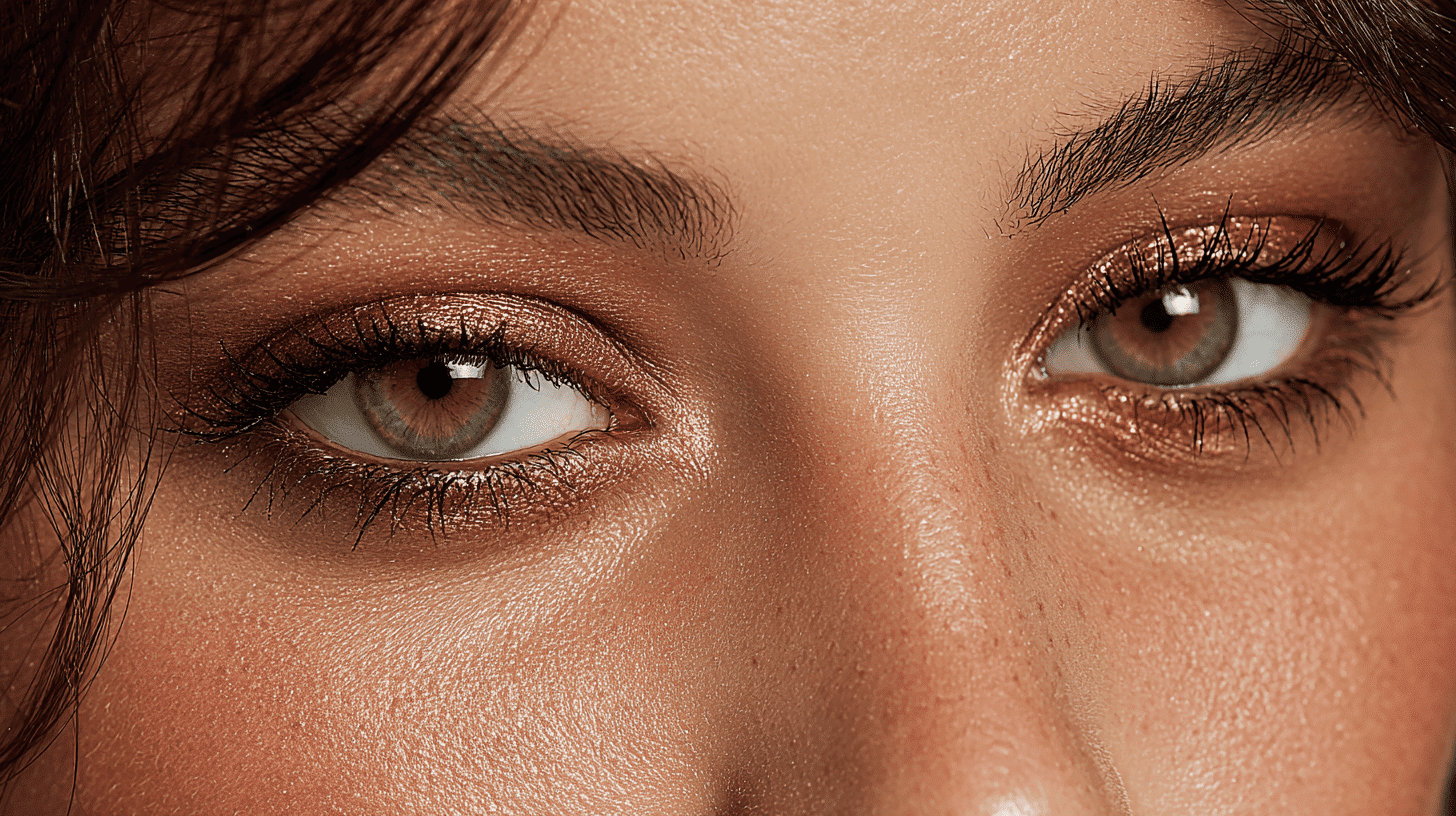
Ever wonder how makeup artists make cheekbones stand out and noses look slimmer? The secret is contouring!
Learning how to contour might sound a little scary at first, but it’s actually easy and fun once you get the hang of it.
Contouring is a makeup technique that uses darker and lighter shades to shape your face and highlight your best features.
It can make your face look more defined, lifted, and even slimmer. The best part? You don’t need to be a pro or have fancy tools to start.
If you’re getting ready for school, a party, or just want to try something new, this beginner-friendly guide will show you exactly how to contour step by step. Let’s get started!
What You Need to Start Contouring
Before you learn how to contour, you’ll need a few simple tools. Start with a contour product, which can be a cream, powder, or stick.
Creams are smooth and easy to blend, great for a soft look. Powders give you more control and are perfect if you’re just starting out.
You’ll also need a highlighter to brighten areas, a contour brush or makeup sponge to blend everything, and a setting powder to lock it all in place.
Many affordable kits from brands like e.l.f., Wet n Wild, or NYX have everything you need. With just these basics, you’re ready to begin contouring confidently!
How to Contour Your Face for Beginners
Learning how to contour the face doesn’t have to be confusing or complicated. Follow these easy steps, and you’ll be sculpting and shaping like a pro in no time, even if it’s your first try!
Step 1: Sculpt the Cheekbones
Find the top section of your ear and start a short line toward the mouth, stopping before the mid-cheek. Keep placement high.
This creates a shadow under the cheekbone so the cheek looks lifted. Repeat on both sides; symmetry matters.
Step 2: Frame the Forehead
To slim the width, place the product near the hairline on the sides, not across the center. Stay above the tail of the brow.
Keep a thin band and leave skin showing. Blend into the hairline so the depth looks natural, not like bruising.
Step 3: Sharpen the Jawline
Hold the stick from beneath and draw along the jaw, staying under the bone from the chin area toward the ear.
Stop before the center if you don’t want to shorten the face. Blend downward into the neck to create a believable shadow.
Step 4: Refine the Nose
Use the stick’s edge to draw two straight lines down the bridge, equal distance apart, avoiding the tip.
Keep the width consistent to prevent flaring. Add a V on the tip to tighten it. Adjust spacing based on your nose’s goals.
Step 5: Blend Like a Pro
Blend by pressing over cheek lines, not scrubbing. Sweep the forehead contour into the hairline. For the jaw, drag downward while holding the brush sideways.
On the nose, use a flat brush to pull lines downward. Optional: foundation layering, also known as underpainting.
For a step-by-step tutorial, check out our detailed video on how to contour like a pro, even if you’re a total beginner:
Where to Put Contour: Placement by Face Shape

Contouring works best when it’s tailored to your face shape. Here’s where to put contour for the most flattering look:
1. Oval Face
Contour under the cheekbones and lightly at the temples. Oval faces are naturally balanced, so subtle sculpting enhances your features without altering your shape too much.
2. Round Face
Apply contour beneath your cheekbones and along the outer jawline to create more angles. Focus on the sides of your face to elongate and add dimension.
3. Square Face
Soften bold features by contouring along the corners of your forehead and jawline. This helps round out the edges and creates a smoother, softer appearance.
4. Heart-Shaped Face
Contour the sides of your forehead and the tip of your chin to reduce width on top and add balance to the lower half of your face. Highlight the center for symmetry.
5. Long Face
Shorten your face visually by contouring horizontally across the forehead and chin. Keep the contour higher on the cheeks to avoid elongating the face further.
Bonus Tip: Always blend your contour upward to lift and sculpt your features naturally.
Common Contouring Mistakes Beginners Make
When starting out, it’s easy to make a few contouring mistakes. Here are some simple tips to help you avoid them:
- Use the right shade: Choose a contour that’s 2–3 shades darker than your skin. Avoid tones that are too warm or orange.
- Blend well: Always blend your contour using a sponge or brush. Harsh lines make the makeup look unnatural.
- Know where to apply: Random placement won’t work. Follow your face shape to know where to put the contour for the best effect.
- Don’t apply too much: Start with a small amount and build slowly. Too much product can look heavy.
Stay patient and keep practicing. Contouring gets easier the more you do it.
Best Beginner-Friendly Contour Products
These contour picks are perfect for defining cheekbones, sculpting jawlines, and adding natural depth to your look, delivered straight to your door:
- e.l.f. Cream Contour Palette: Affordable, creamy, blendable contour kit
- Fenty Beauty Match Stix Contour Skinstick: Sleek, smooth, buildable contour stick
- Maybelline City Bronzer: Soft matte bronzer for contouring
No matter your skill level or skin type, these contours make it easy to define and glow. Just pick your favorite formula, stick, cream, or powder, and you’re ready to make your features like a pro.
Final Thoughts
Contouring might seem tricky at first, but with the right steps and a little practice, anyone can do it!
Now that you know how to contour, where to apply it, and which products to use, you’re ready to shape and highlight your face like a pro.
Remember to start small, blend well, and have fun experimenting with your look. It’s all about finding what works best for your unique features.
Don’t stress over perfection; confidence is the best part of any makeup routine.
Ready to level up your makeup game? Grab a beginner-friendly contour kit and try it today. You’ve got this, your cheekbones will thank you!
Frequently Asked Questions
Can I Contour Without a Full Face of Makeup?
Yes! You can contour lightly on bare skin or over a BB cream for a more natural, minimal makeup look.
How Do I Pick the Right Contour Shade?
Choose a contour that’s 2–3 shades darker than your foundation. Stick to cool or neutral tones for realistic shadows.
Do I Need Different Products for Nose and Cheek Contour?
Not necessarily. You can use the same product, but use smaller brushes for precision on the nose and jawline.
How Long Does Contour Makeup Last?
With proper prepping and setting, contour can last all day. Use setting spray and powder for longevity.