Tired of your hair roots screaming “salon appointment overdue” louder than your morning alarm? You’re not alone.
Most people spend hours in salon chairs and hundreds of dollars trying to achieve that perfect “I woke up like this” hair color, only to end up with obvious roots showing within weeks.
Enter the root smudge – a coloring method that’s about to change your relationship with hair maintenance forever.
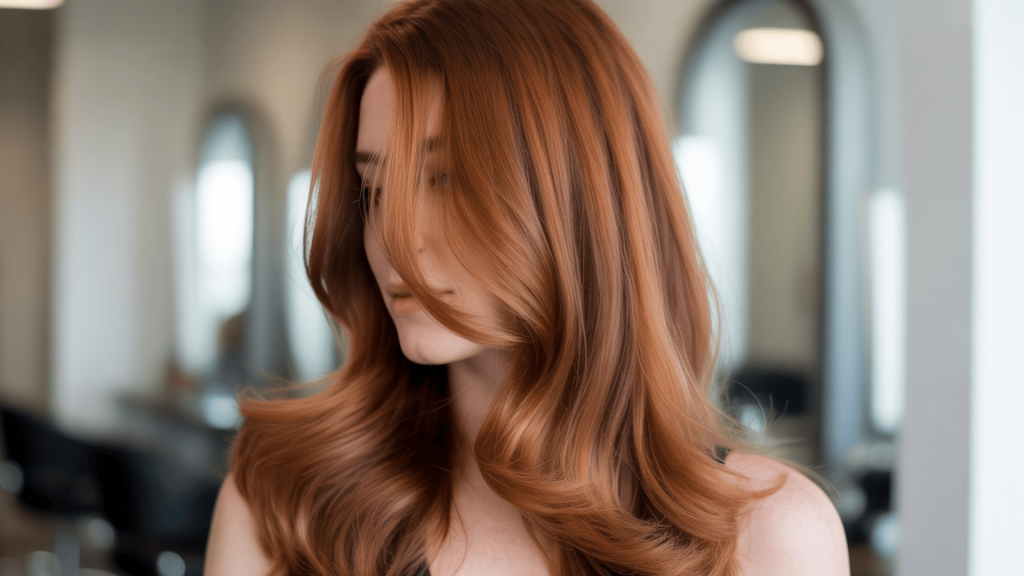
This technique creates beautifully blended roots that grow out naturally, giving you that coveted lived-in look without the constant touch-ups.
No more harsh lines, no more frequent salon visits, and definitely no more color regret. Ready to learn why this might be the smartest hair decision you’ll make this year?
What is a Root Smudge?
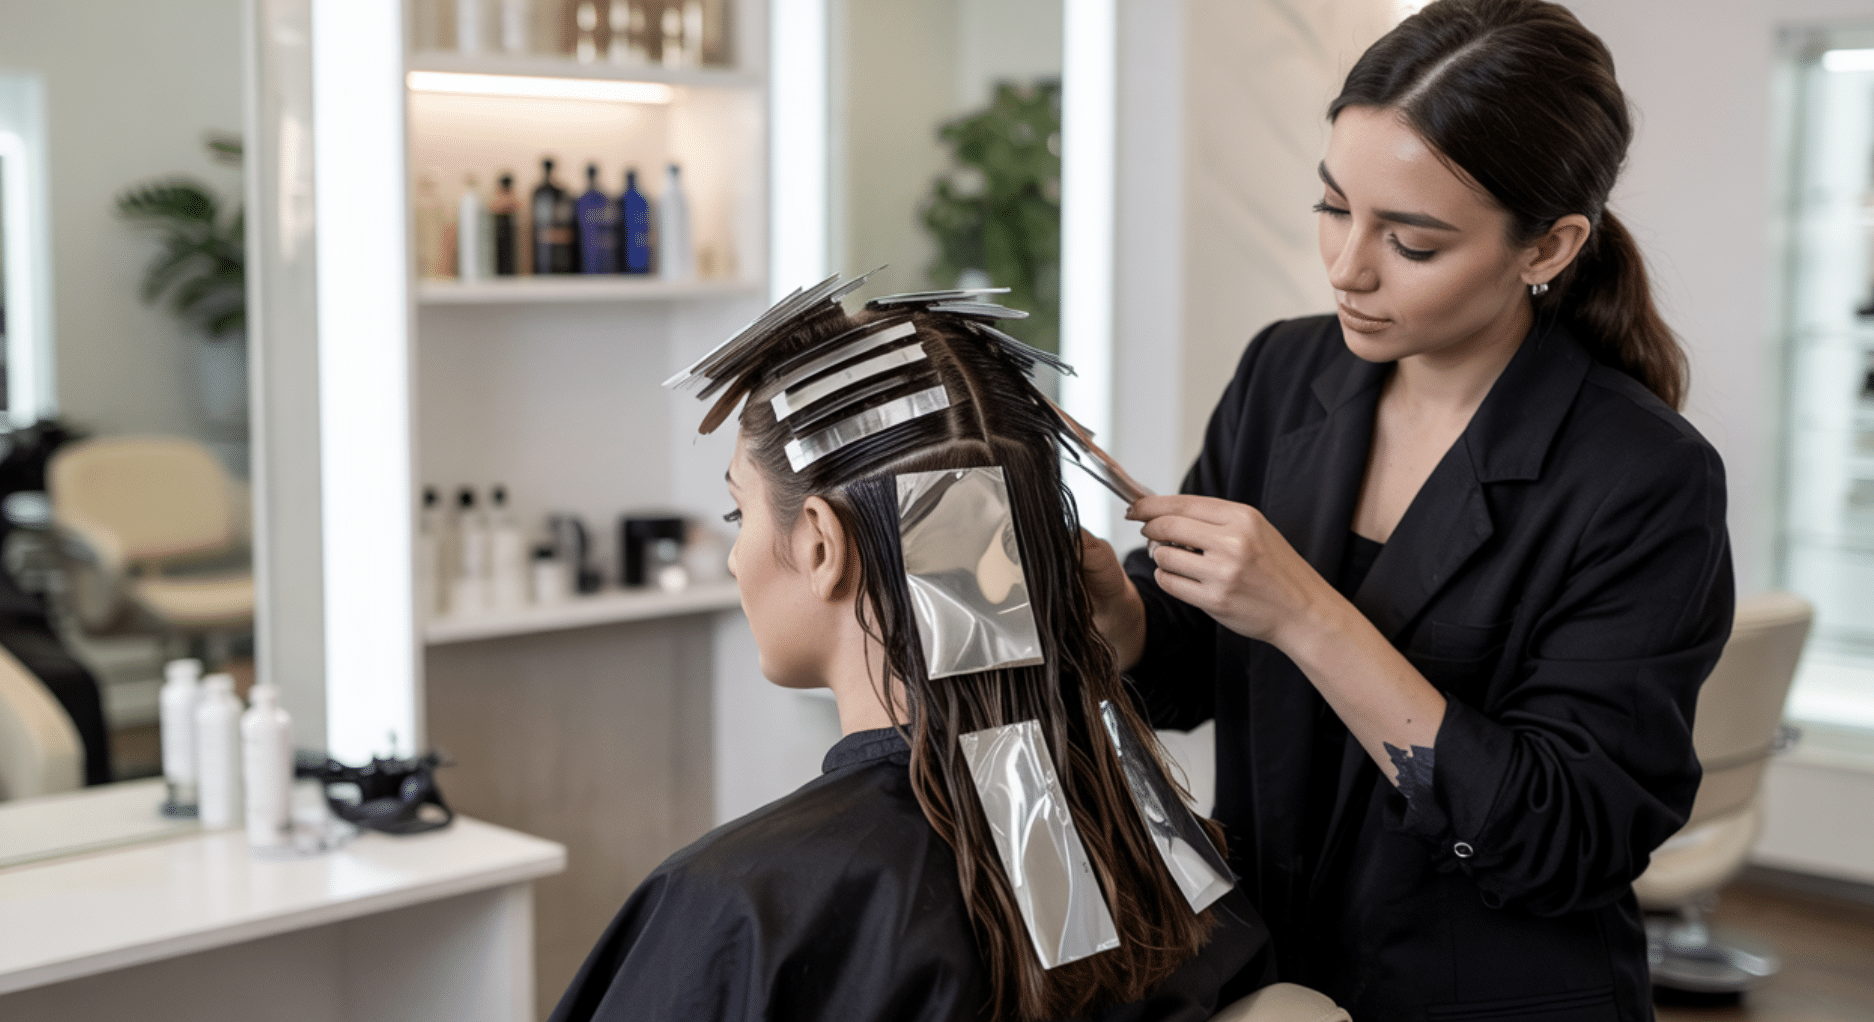
A root smudge is a hair coloring method that blends your natural root color with the rest of your hair. This technique creates a smooth transition from roots to ends, giving you a more natural look than regular coloring.
Hair stylists use root smudging to darken roots while softening harsh lines from previous lightening. It’s perfect for clients who want less maintenance between salon visits.
Unlike standard root coloring that applies a uniform color, root smudging keeps roots looking natural. This method creates a gentle gradient where color flows smoothly through your hair.
Root smudging works well for those who love the “grown-out” style without waiting months. It’s especially good with highlights or balayage, softening the contrast between darker roots and lighter ends.
Key Benefits of Root Smudging:
- Low Maintenance: Hair grows out more naturally, requiring fewer salon visits
- Natural Appearance: Creates subtle, lived-in color with less contrast
- Flexible Options: Works well with balayage or ombré for added dimension
Root smudging offers a simple way to achieve natural, blended roots that look intentional without harsh lines. It’s popular among people who want fresh, polished hair while reducing the need for frequent coloring appointments.
How To Do a Root Smudge: Step-by-Step Guide
Root smudging is a great way to achieve a natural, blended look without harsh lines. It’s an easy process once you get the hang of it, and it doesn’t take long to do.
Here’s a friendly step-by-step guide to help you achieve beautiful, smoothly blended roots!
1. Prep Your Hair
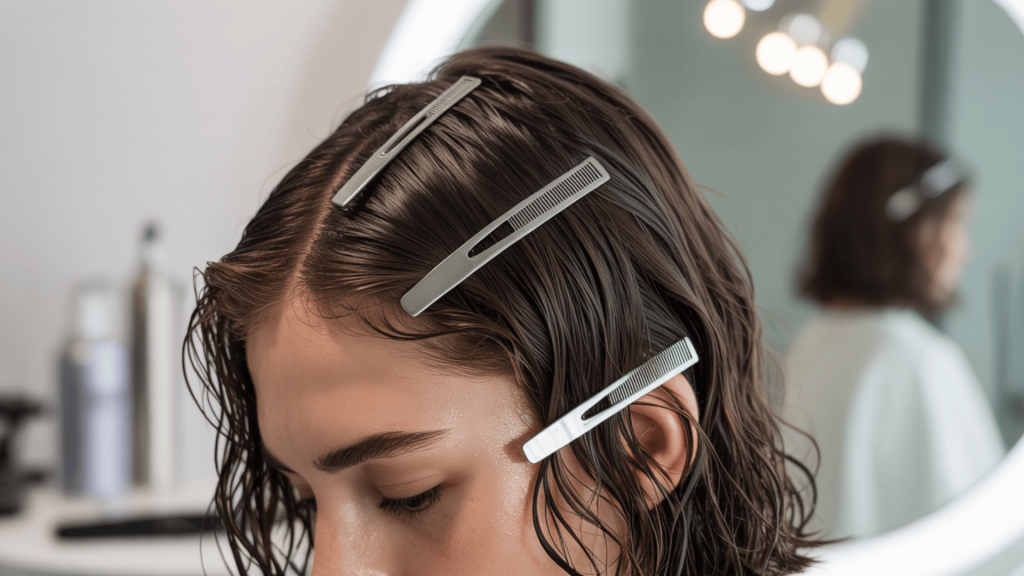
Start with clean, damp hair: Wash your hair with a clarifying shampoo to remove any product buildup, leaving your hair fresh and ready for the color. Towel dry it, leaving it slightly damp—not too wet.
Section your hair: Divide your hair into 4-6 sections, depending on how thick your hair is. This will make it easier to apply the color evenly and keep things neat.
2. Pick the Right Color
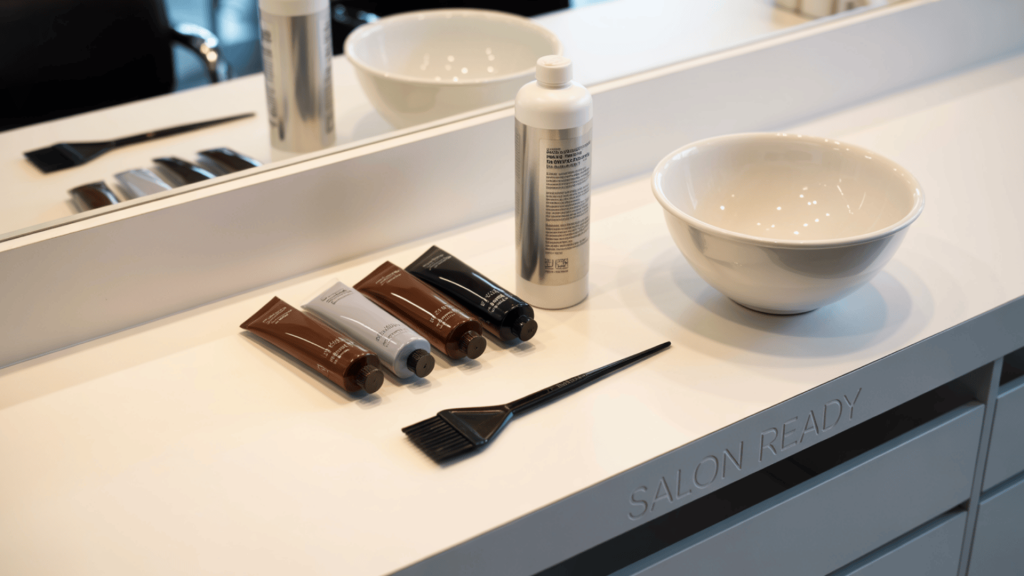
Choose a shade that’s slightly darker than your roots: The goal is to blend the natural root color with the rest of your hair, so select a color that’s just a bit deeper than your natural root shade. If you have highlights, choose a shade that matches or complements the mid-lengths of your hair for a smooth transition.
Pick your developer: A 10-volume developer is usually the best choice for root smudging since it helps deposit color without lightening your natural roots. It’s gentle but effective, perfect for blending without creating an obvious contrast.
3. Apply the Color
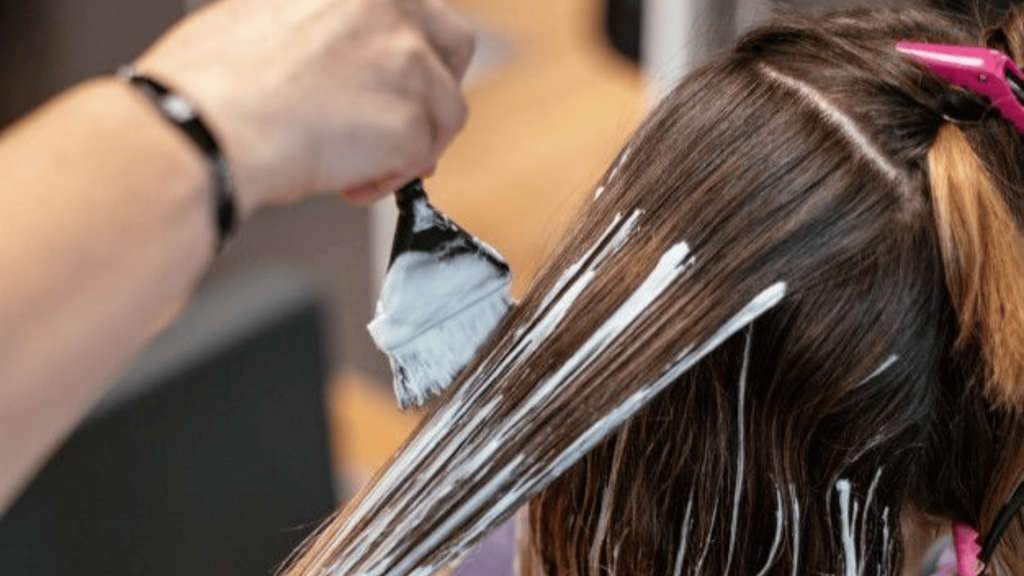
Start at the roots: Use a color applicator brush to apply the color directly to your roots. Focus on the area where your natural color meets your previously colored hair. This is where the root smudge technique works its magic!
Blend downwards: As you apply the color, gently feather it down a bit towards the mid-lengths of your hair, blending it carefully. This softens the color line and helps create a natural, gradient effect.
4. Smudge It Out
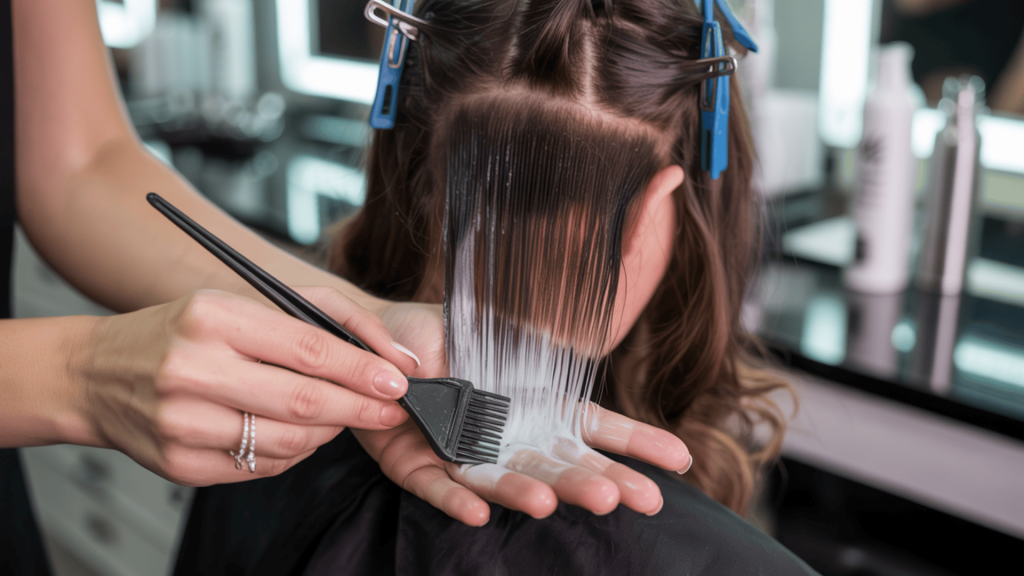
Feather the color: After applying the color to your roots, use a clean brush or sponge to gently “smudge” the color down into your hair. This means lightly pulling the color down with upward strokes to create a soft, smooth gradient. The key is to make sure the color doesn’t create any harsh lines or noticeable demarcation.
5. Rinse and Style
Let it process: Allow the color to process for 20-30 minutes, or as instructed by the product you’re using. Check the color by wiping away a small section to make sure it’s blended perfectly.
Rinse thoroughly: After the processing time is up, rinse your hair with cool water until it runs clear. This helps lock in the color and prevent any excess color from staining your hair.
Condition and style: Use a color-safe conditioner to help seal in the color and keep your hair soft. Dry and style your hair as usual, and enjoy your beautiful, natural-looking root smudge!
With these 5 simple steps, you’ll achieve perfectly blended roots that require minimal maintenance, giving your hair a natural, beautiful look.
How Long Does a Root Smudge Last?
A root smudge typically lasts 4 to 6 weeks, depending on factors such as hair growth rate, texture, and the level of care you provide for your hair.
Since it blends the natural roots with the rest of your hair, it allows for a more subtle grow-out compared to traditional color methods.
Key Factors Affecting Longevity:
- Hair Growth: Faster-growing hair may require touch-ups more frequently.
- Hair Type: Curly or coarse hair may hold color longer.
- Hair Care: Using color-safe products, washing less often, and minimizing heat styling can help extend the life of your root smudge.
Aftercare Tips:
- Use sulfate-free shampoo and conditioner.
- Limit washing to 2-3 times a week.
- Protect from excessive sun and heat styling.
With proper care, you can enjoy your root smudge for several weeks before needing a refresh!
Root Smudge vs. Shadow Root vs. Root Taps – What’s the Difference?
When it comes to hair coloring techniques that blend roots with the rest of the hair, there are several options, each offering a unique look.
Let’s break down the differences between Root Smudge, Shadow Root and Root Taps, so you can understand which one might be best for your hair goals.
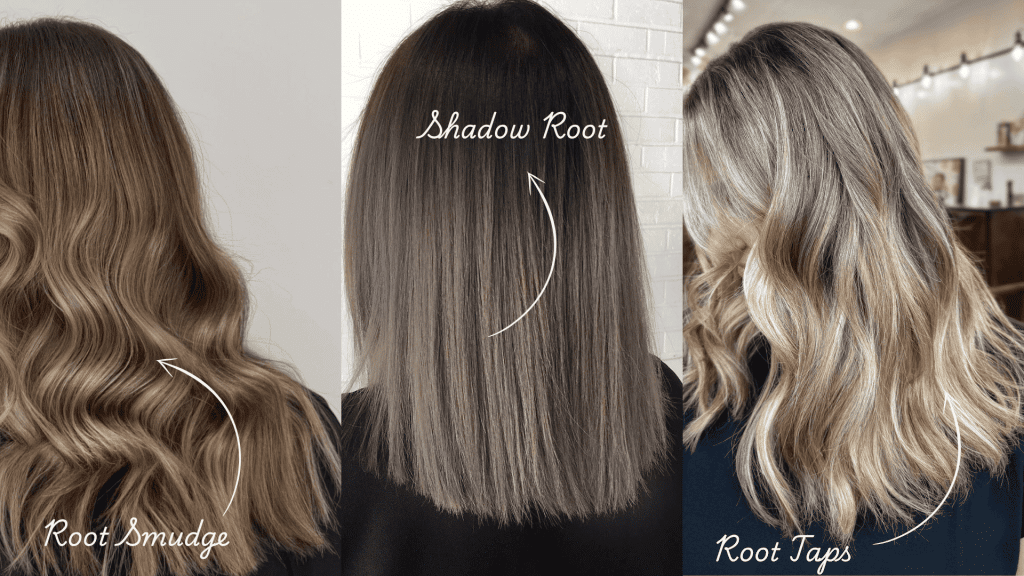
1. Root Smudge
Root smudging involves applying a slightly darker shade to the roots and blending it into the rest of the hair.
The goal is to create a smooth, soft transition that eliminates any harsh lines between the natural root color and the rest of the hair. The result is a natural, “grown-out” effect.
Best for: Clients who want a low-maintenance, natural look with softer roots that grow out effortlessly.
2. Shadow Root
A shadow root is when a darker color is applied to the roots, creating a shadow effect that contrasts with the lighter ends of the hair.
This technique emphasizes the roots by adding depth, giving a soft, smoky look that gradually fades into the lighter sections of the hair.
Best for: People with lighter hair colors who want a more noticeable contrast between the roots and ends, without the harshness of an all-over color.
3. Root Taps
Root taps are a technique where a darker color is softly applied to the roots using a tapping motion.
The color is lightly pressed into the root area and gradually blended out for a soft, diffused transition. This method creates a very subtle, natural-looking depth at the roots without noticeable lines.
Best for: People who want a very soft, subtle root blending that looks natural but with a little more depth.
What Type of Color Should Be Used for a Root Smudge?
The best choice for a root smudge is demi-permanent color. This provides a soft, smooth blend between natural roots and lighter ends, creating a natural grow-out that fades gradually without harsh lines.
1. Demi-Permanent Color (Recommended)
Demi-permanent color is popular for root smudging, creating a smooth transition between natural roots and lighter ends for a subtle, blended look. It lasts longer than semi-permanent but fades gradually, making maintenance easy.
Why it’s recommended? It offers the perfect balance of longevity and flexibility, allowing the color to blend seamlessly without the harshness of permanent color. The gradual fade also ensures a more natural grow-out.
Benefits:
- Soft, natural-looking blend
- Gradual fade for low maintenance
- Doesn’t lock in color, allowing for future changes
2. Semi-Permanent Color
Semi-permanent color is a temporary option that doesn’t penetrate the hair shaft as deeply as demi-permanent color.
It fades completely over time, making it an excellent choice for those who prefer less commitment or want to test the look before opting for a more permanent change.
Why it’s recommended? Semi-permanent color is a safe, non-committal choice, great for experimenting or uncertain about the shade. It’s gentle and fades gradually without damage.
Tip: Use semi-permanent color for a temporary solution or trying a root smudge without long-term commitment. Ideal if planning to lighten roots soon.
Benefits:
- Fades completely, offering no long-term commitment
- Gentle on hair with minimal damage
- Perfect for testing color before committing to demi-permanent or permanent options
Risks:
- Doesn’t offer the same depth or blending power as demi-permanent color
- Needs frequent touch-ups as it fades quicker
3. Permanent Color
Permanent color is typically used for more dramatic or long-lasting results. It involves a more intense formula that saturates the hair shaft and is designed to stay in the hair permanently.
While it can be used for root smudging in specific cases, it’s not the best option for creating a soft, blended look.
Why it’s recommended? Permanent color is needed for strong gray coverage or noticeable demarcation from highlights or old color. It’s ideal for those requiring coverage and not planning to lighten their hair soon.
Tip: Permanent color is mainly for specific needs like gray coverage or sharp contrast. It’s not the first choice for root smudging unless coverage is required.
Benefits:
- Provides long-lasting results
- Ideal for gray coverage or fixing harsh color lines
Risks:
- Makes future color changes or lifting more difficult
- Can create an unnatural line if not blended correctly
Wrapping Up
Root smudge offers the perfect solution for anyone wanting beautiful, low-maintenance hair color. This technique gives you that natural, lived-in look while extending the time between salon visits and reducing overall upkeep costs.
From choosing the right color type to understanding how it differs from other root techniques, you now have all the tools needed to make an informed decision about this popular coloring method.
The best part? Your hair will look intentionally styled rather than grown-out, giving you confidence between appointments.
Ready to try this game-changing technique? Your colorist can help determine if root smudging is right for your hair goals and lifestyle.
Have you tried root smudging before, or are you considering it for your next salon visit? Share your thoughts and experiences in the comments below!