Making your own homemade sunscreen recipe is easier than you might think. With just a few simple ingredients, you can whip up a safe and gentle option for everyday sun protection.
Many people prefer natural blends because they avoid the harsh chemicals found in commercial products, while still offering hydration and protection against the sun’s rays.
A DIY sunscreen recipe usually combines nourishing oils, natural butters, and zinc oxide, the ingredient that helps block UV rays.
Not only does this give you control over what goes on your skin, but it’s also eco-friendly and budget-friendly.
In this blog, you’ll learn how to create your own natural sunscreen at home, step-by-step, along with tips for safe use and storage.
Important Safety Reminder Before You Begin
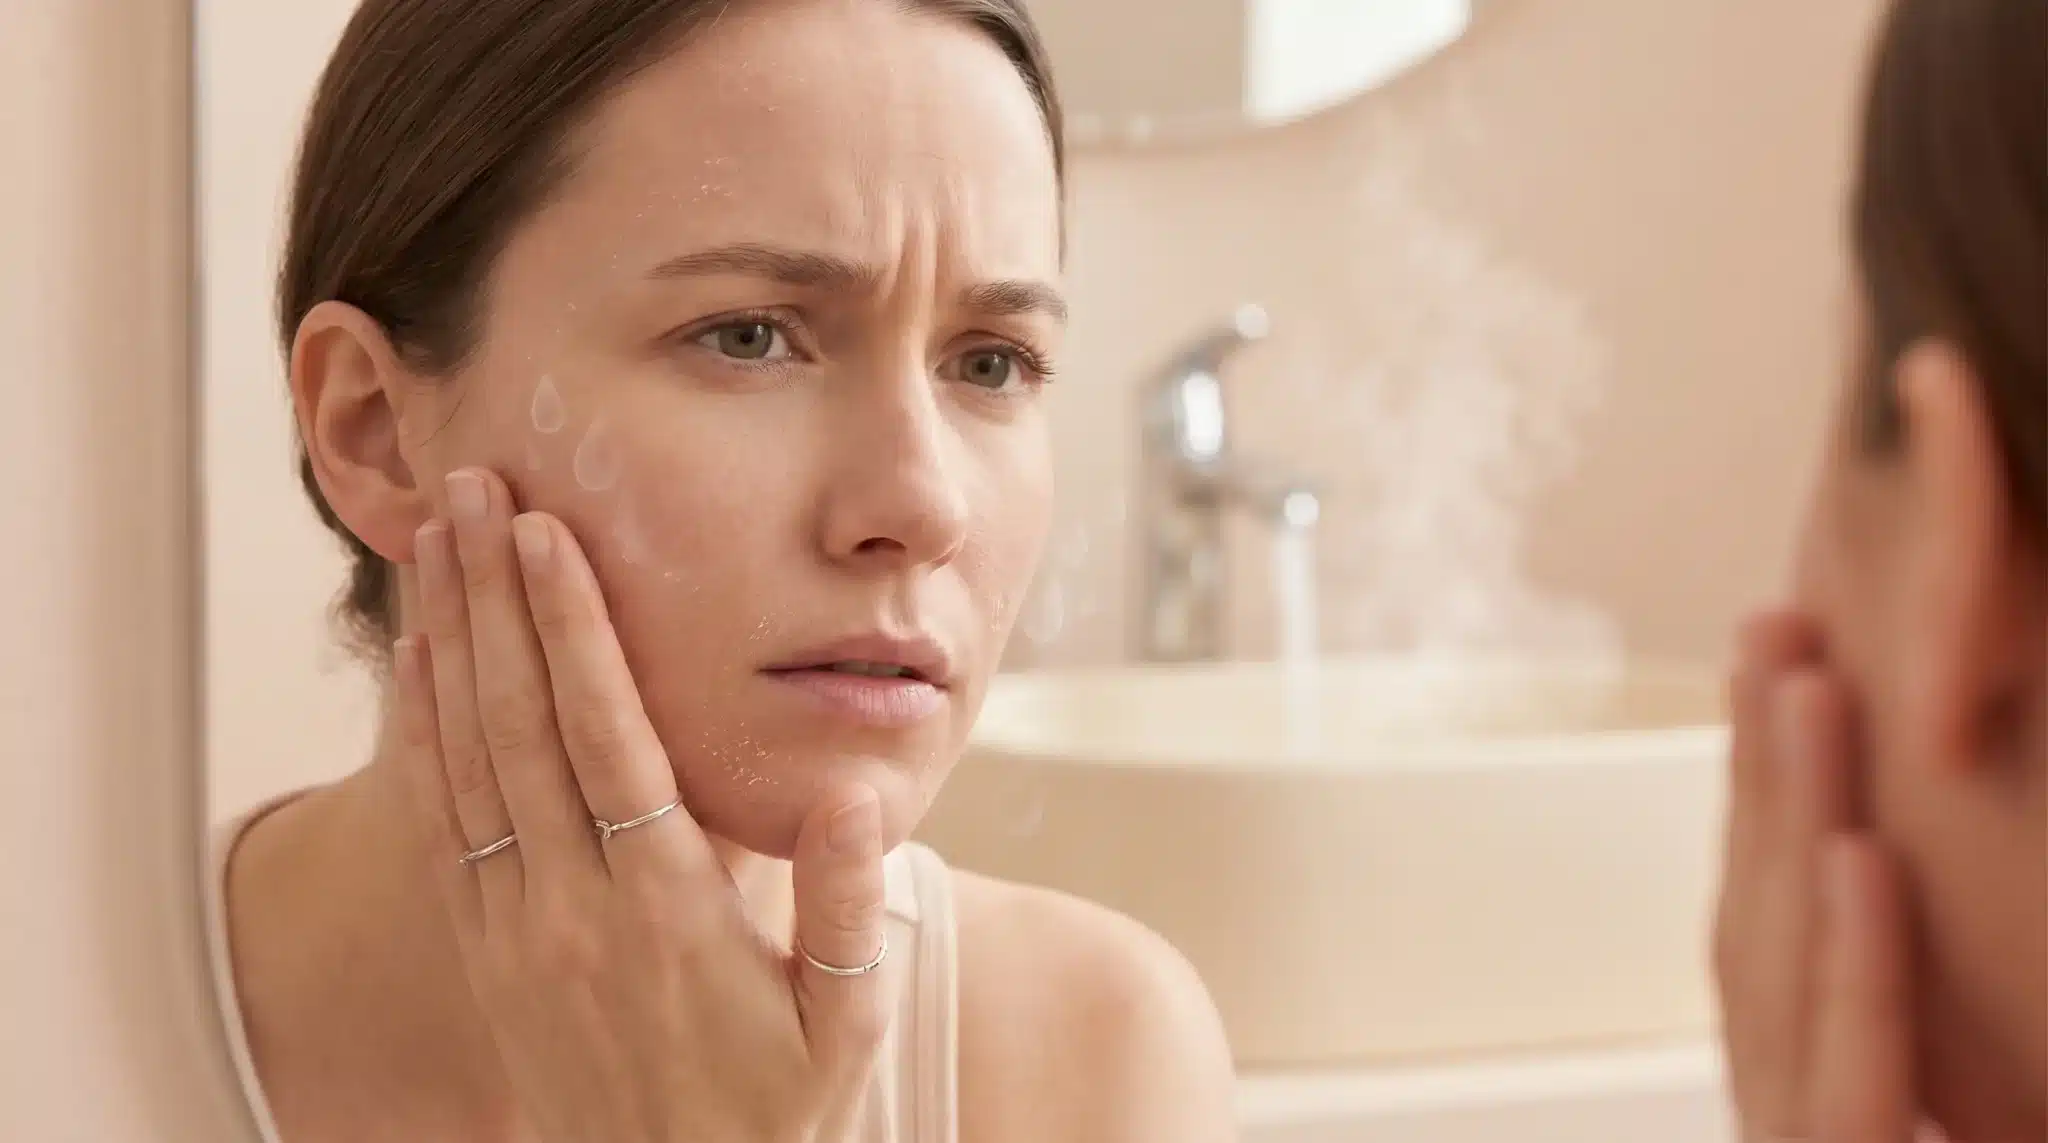
Before making your own natural sunscreen, it’s important to know what to expect. Unlike store-bought products, DIY versions are not tested for exact SPF levels, so protection can vary.
They may work well for short outdoor activities, but relying on them during long beach days or intense sun exposure isn’t recommended.
To stay safe, apply a generous amount each time, reapply every couple of hours, and limit time under the midday sun when rays are strongest.
Always wear protective clothing, hats, or sunglasses for extra coverage. If you choose to add essential oils for scent, be cautious, as some oils can cause skin sensitivity, especially when exposed to sunlight.
A simple patch test on your arm can help ensure your skin reacts well. With the right precautions, homemade sunscreen can be a gentle, eco-friendly option for everyday use.
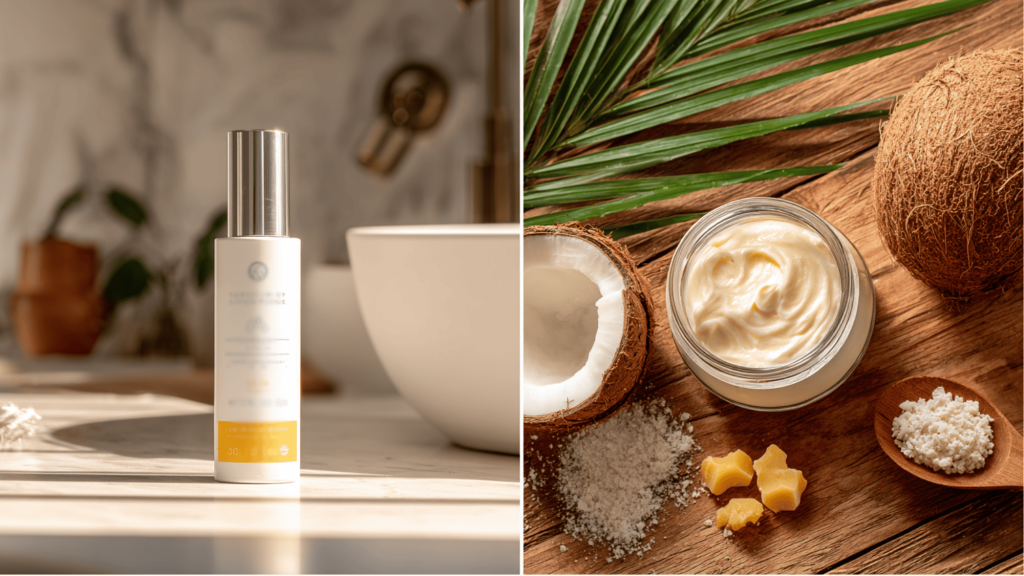
Key Ingredients for Natural Sunscreen
Creating your own sunscreen begins with a handful of readily available ingredients. Each one has a special role; some provide moisture, some give the mixture its texture, and one offers actual sun-blocking power. 2
| Ingredient | Purpose/Benefit | Notes & Options |
|---|---|---|
| Coconut Oil | Moisturizes, adds smooth texture | Can be swapped with almond or avocado oil |
| Shea Butter | Nourishes, soothes, creamy base | Cocoa butter works as an alternative |
| Beeswax | Thickens, makes sunscreen water-resistant | Vegan option: candelilla wax |
| Zinc Oxide (non-nano) | Provides UV protection (broad spectrum) | Essential—don’t skip this |
| Essential Oils | Adds natural scent (optional) | Use only non-phototoxic oils like lavender |
These ingredients form the foundation of a safe and nourishing DIY sunscreen. While oils and butters help your skin feel soft and hydrated, zinc oxide is the real hero that provides protection from the sun’s rays.
How to Make Your Natural Sunscreen
Creating your own sunscreen at home is simple once you have the right ingredients. Follow these easy steps to combine oils, wax, and zinc oxide into a smooth, skin-friendly sunscreen you can use every day.
Step 1: Melt the Base Ingredients

Start by combining your chosen carrier oil, shea butter, and beeswax in a double boiler or heat-safe bowl over simmering water.
Stir gently until everything melts into a smooth liquid. This forms the creamy base that will give your sunscreen the right texture.
Step 2: Remove from the Heat and Cool Slightly

Take the mixture off the heat once it’s fully melted. Let it cool for a minute or two so it’s warm but not boiling hot.
This step is important to avoid clumping when you add the zinc oxide later.
Step 3: Add Zinc Oxide Carefully
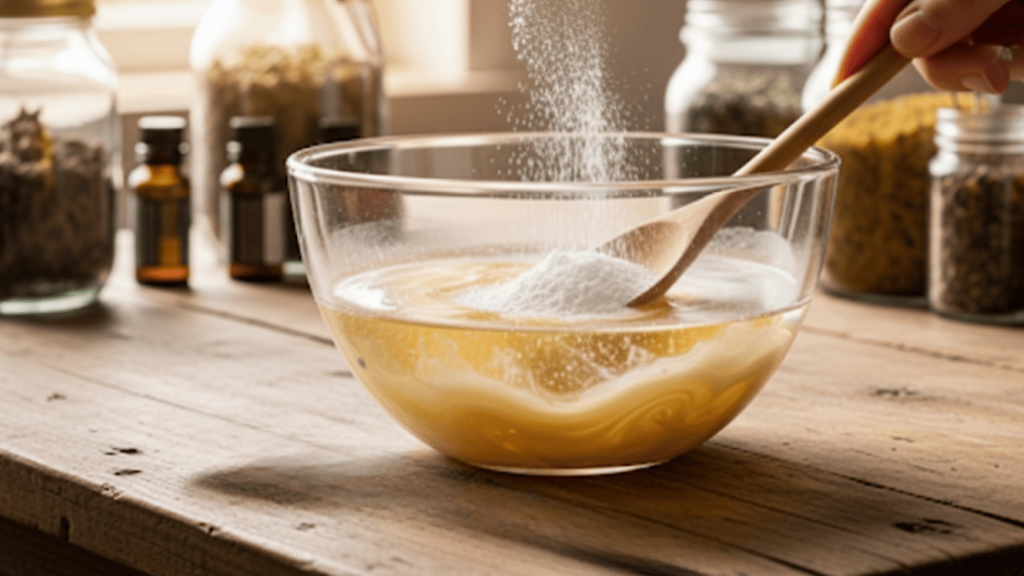
Slowly stir in the non-nano zinc oxide powder while wearing a mask to avoid inhaling fine particles. Blend thoroughly until no lumps remain.
Zinc oxide is the key ingredient that provides protection, so make sure it’s evenly mixed throughout the base.
Step 4: Optional Add-Ins
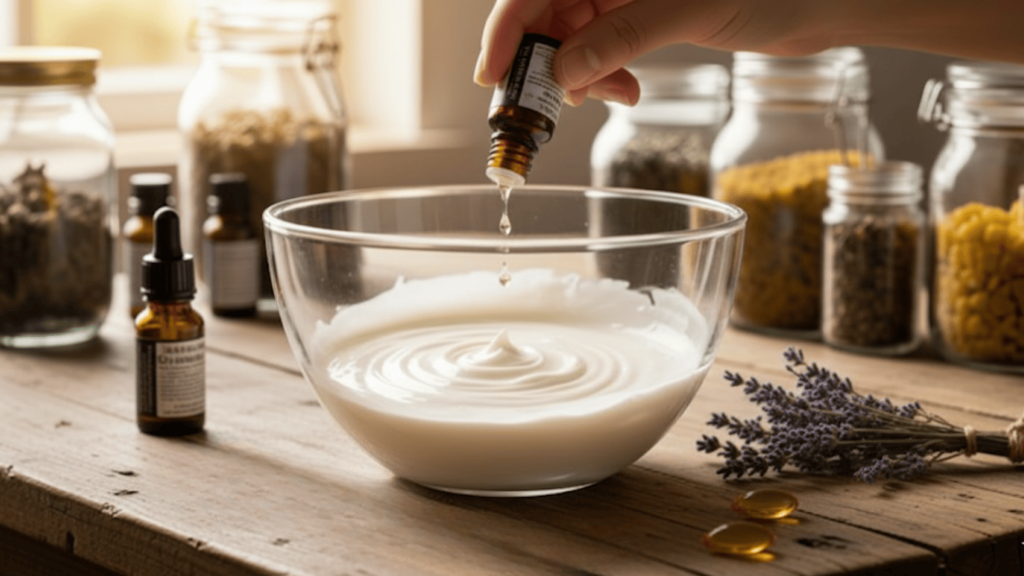
If you’d like, add a few drops of safe, non-phototoxic essential oils such as lavender or chamomile.
These can add a pleasant scent and provide calming properties for the skin. Stir well so the oils blend evenly into the mixture.
Step 5: Pour and Set
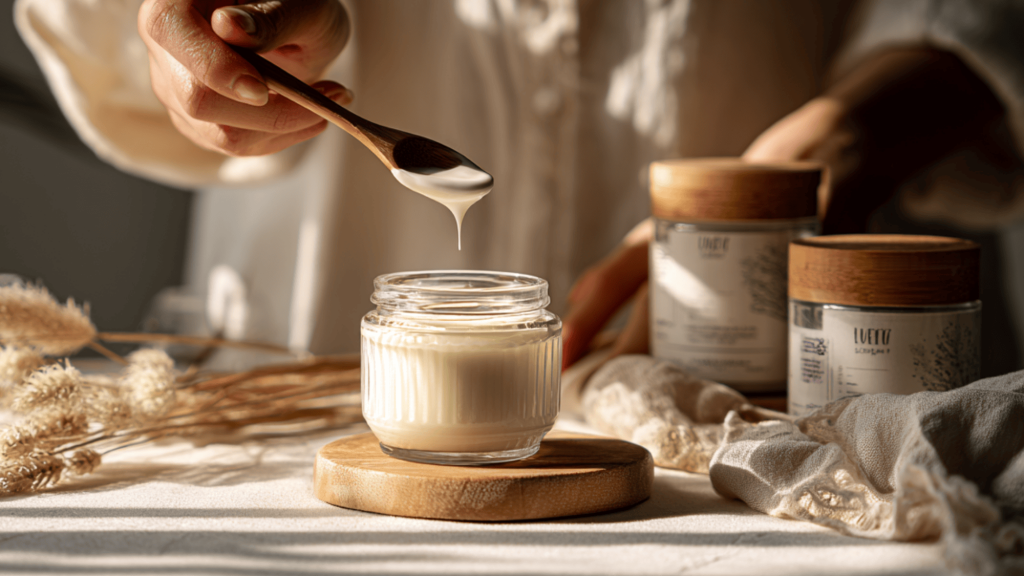
Once everything is well combined, pour the mixture into a clean glass jar or tin. Allow it to cool and harden completely at room temperature.
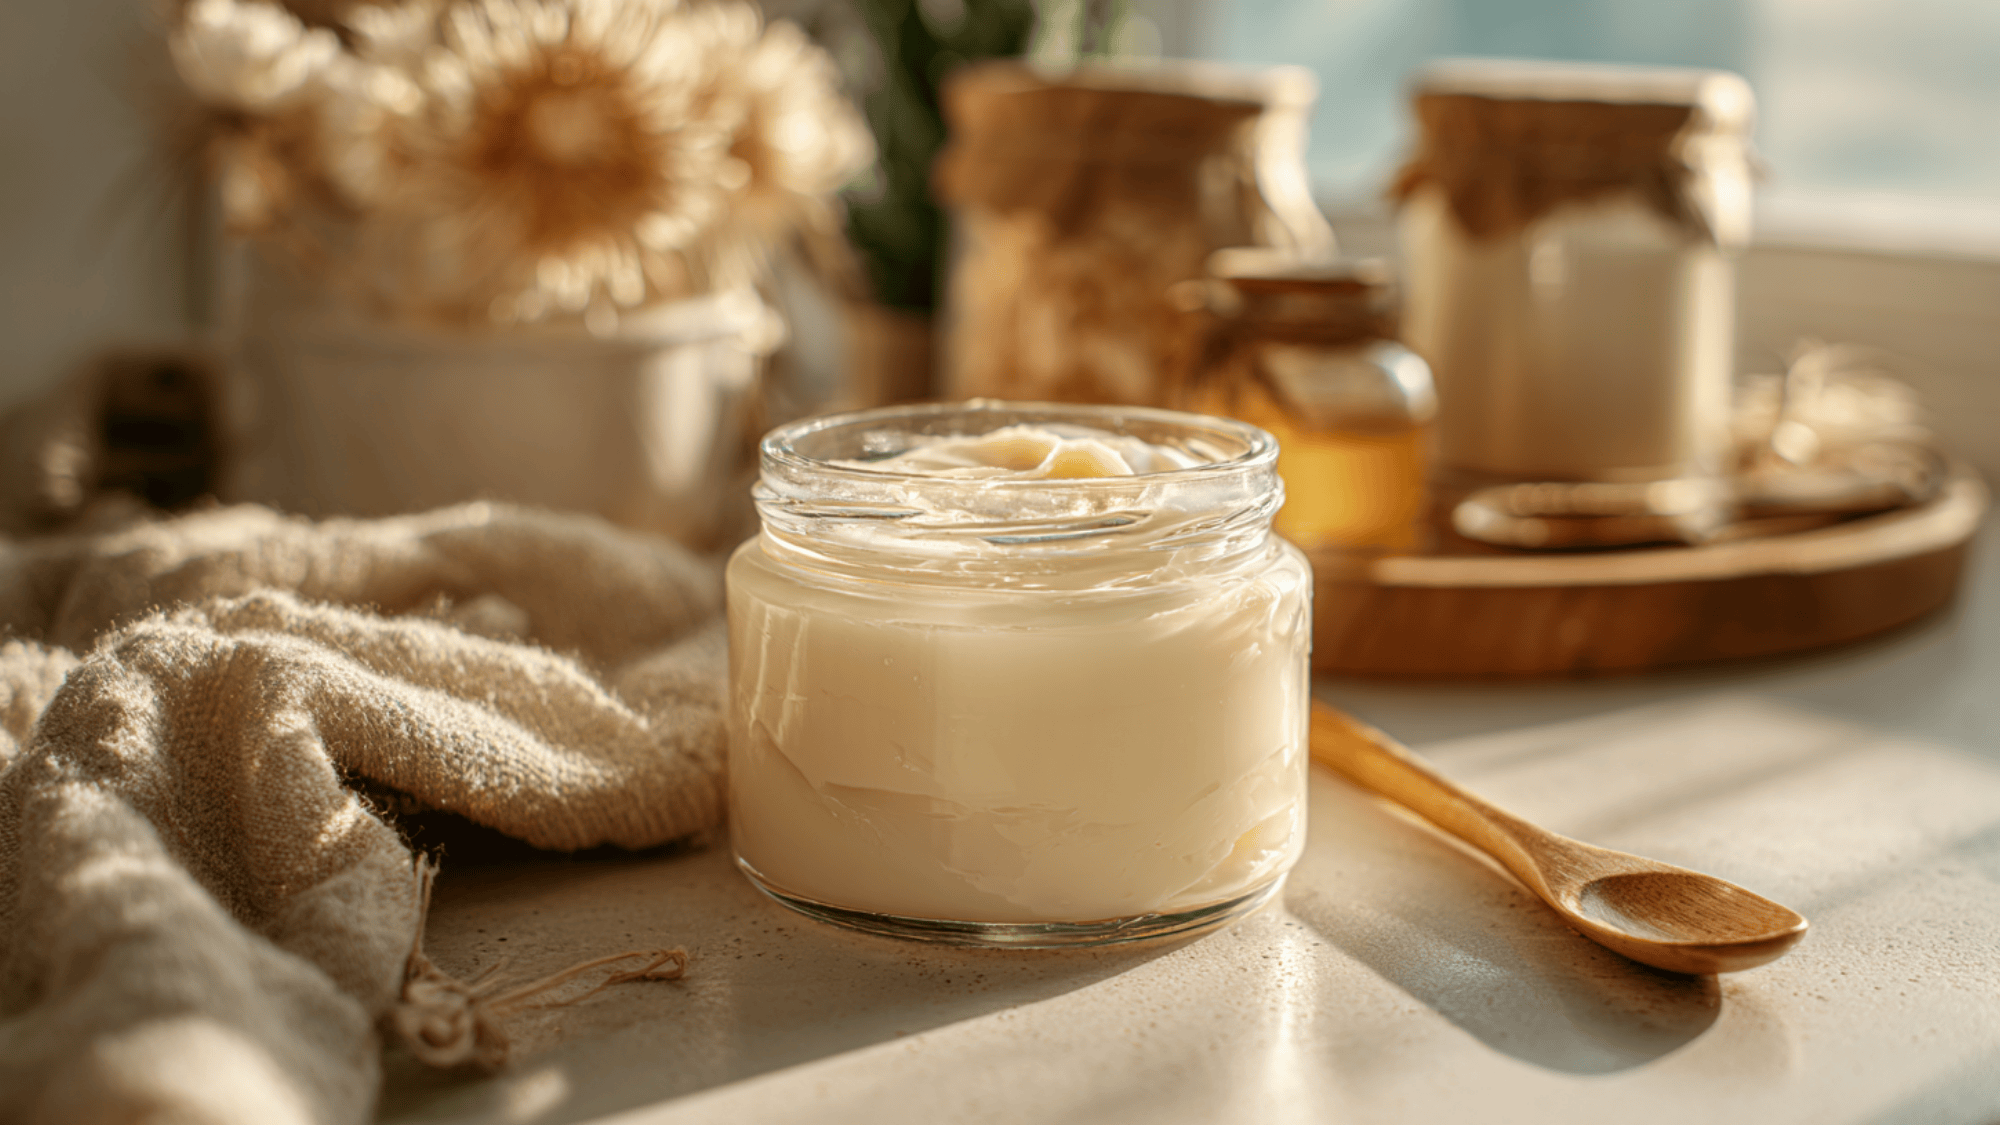
Once set, your homemade sunscreen will be ready to use, smooth, creamy, and easy to apply.
Smart Ways to Store Your Sunscreen
To keep your homemade sunscreen safe and effective, proper storage is essential. Since it doesn’t contain commercial preservatives, it can spoil faster if not handled correctly. Follow these easy tips to extend its freshness:
- Choose airtight containers – Store your sunscreen in glass jars or metal tins with tight lids to keep out air and moisture.
- Keep it cool and dark – Place it in a cabinet or drawer away from direct sunlight and heat, which can cause oils to go rancid.
- Avoid contamination – Use clean hands or a small spatula to scoop it out, preventing bacteria from getting inside.
- Watch the shelf life – Most homemade sunscreens last 3–6 months; if it smells off or changes texture, it’s time to make a fresh batch.
With the right storage habits, your sunscreen will stay smooth, safe, and ready to use whenever you need it.
Benefits of Natural Sunscreen
People love natural sunscreen because it’s simple, gentle, and free from harsh chemicals often found in commercial products.
It gives you full control over what goes on your skin, making it a safer choice for those with sensitivities.
The ingredients, such as shea butter, coconut oil, and jojoba oil, not only provide moisture but also leave the skin feeling soft and nourished.
Another significant advantage is that it’s eco-friendly and reef-safe, eliminating the need for chemical filters that can harm marine life.
Many also enjoy the customizable aspect, which allows them to adjust the thickness, scent, or even swap ingredients to suit their personal preferences.
With the added benefit of being budget-friendly and easy to make at home, natural sunscreen has become a favorite for people seeking both skin protection and a healthier, more sustainable lifestyle.
Simple Ways to Customize Your Sunscreen
One of the best aspects of making your own sunscreen is the ease with which it can be personalized.
Depending on your skin type, lifestyle, or preferences, you can adjust the recipe to get the texture and benefits you want. Here are a few popular options:
|
Change the thickness – Add more beeswax (or candelilla wax for a vegan option) to make the sunscreen firmer and more water-resistant. Use less for a creamier consistency. Soothing add-ins – Blend in aloe vera gel or vitamin E oil to calm irritation and give extra moisture. Vegan swaps – Replace beeswax with candelilla or carnauba wax to keep it fully plant-based. Play with scents – Add safe essential oils, such as lavender or chamomile, for a fragrant touch. Skip citrus oils, which can cause sun sensitivity. |
Customizing your sunscreen makes it truly your own. If you want a rich, protective balm or a light cream with a calming scent, small changes can help you create the perfect blend for your skin.
Best Ways to Apply Your Sunscreen
Knowing how to apply natural sunscreen effectively makes a significant difference in its performance.
Since it doesn’t have a lab-tested SPF rating, proper use is crucial for maximizing the benefits of your homemade blend. Here are some simple tips:
- Apply generously – Cover all exposed skin with a thick, even layer about 15 minutes before heading outdoors.
- Don’t miss small spots – pay attention to areas like the ears, back of the neck, tops of the feet, and hands.
- Reapply often – Use every 1–2 hours, and always after swimming, sweating, or towel-drying.
- Avoid peak sun hours – Limit time outside between 10 a.m. and 4 p.m., when UV rays are strongest.
- Add extra protection – Pair with hats, sunglasses, and long-sleeved clothing for better coverage.
By following these steps, your homemade sunscreen can provide reliable daily protection. Combined with smart sun habits, it becomes a gentle and eco-friendly way to care for your skin outdoors.
Natural Sunscreen vs. Store-Bought Sunscreen
Choosing between natural and store-bought sunscreen can be tricky. Each has unique pros and cons depending on your lifestyle, skin needs, and sun exposure.
| Feature | Natural Sunscreen | Store-Bought Sunscreen |
|---|---|---|
| Ingredients | Oils, butters, wax, and non-nano zinc oxide | Chemical or mineral UV filters, preservatives |
| SPF Accuracy | Not lab-tested, protection may vary | Lab-tested and regulated for reliable SPF |
| Skin Benefits | Moisturizes, soothes, customizable | Some include moisturizers, but may have irritants |
| Eco-Friendliness | Reef-safe, minimal packaging if homemade | Some eco options, but many contain reef-harming chemicals |
| Convenience | Requires preparation and short shelf life | Ready to use, longer shelf life |
| Cost | Budget-friendly, ingredients last multiple batches | It can be more expensive depending on the brand |
Both options have their place. Natural sunscreen is suitable for occasional use, while store-bought sunscreen provides reliable protection for extended periods of outdoor activity.
Final Thoughts on Making Natural Sunscreen
Creating your own natural sunscreen is a rewarding way to take control of what goes on your skin.
With just a few simple ingredients, such as oils, butters, wax, and zinc oxide, you can craft a gentle, eco-friendly product that nourishes while offering sun protection.
While it may not offer the guaranteed SPF of commercial options, it’s ideal for everyday use when combined with smart sun habits, such as reapplying frequently, wearing protective clothing, and limiting exposure during peak hours.
The best part is that you can personalize the recipe to suit your skin and lifestyle, making it truly your own.
If you’re ready to try, gather your ingredients and follow the simple steps above, and you’ll be surprised how easy it is to whip up your first batch. Start small, stay safe, and enjoy a healthier approach to sun care!


One Response
Hi seems nice & easy to make but would be helpful if you gave the amounts of ingredients to be used
Regards
Nick