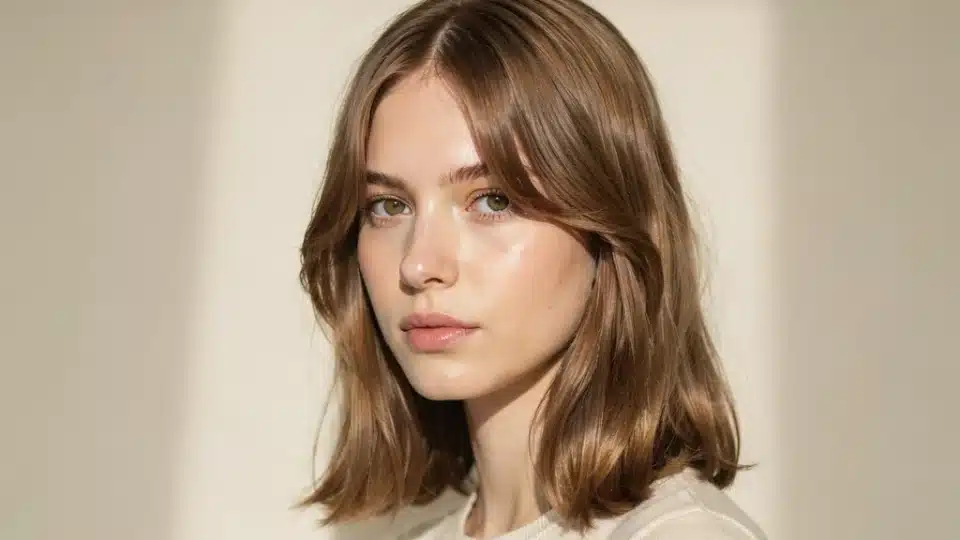
Freshly cut curtain bangs almost always look perfect when you leave the salon. The real challenge starts the next morning.
The secret to how to style curtain bangs is directing them away from your face while using the right tool for your hair texture and finishing the style in a way that helps it hold throughout the day.
It sounds simple, but small details like your natural growth pattern, brush size, heat setting, and cooling technique have a bigger impact than most people realize.
These are the same principles hairstylists rely on to create soft, face framing bangs that stay bouncy without causing unnecessary heat damage.
What Are Curtain Bangs?
Curtain bangs are a face-framing fringe that starts shorter at the center part and grows longer as it reaches your cheekbones, almost like two curtains pulled open.
Unlike a blunt, straight-across bang, this shape is softer and blends into the rest of your layers rather than sitting as a single hard line.
I love recommending curtain bangs because they work on nearly every face shape and most hair textures, from stick straight to wavy to curly.
They also grow out far more gracefully than a blunt fringe, since the length is already tapered rather than one uniform edge.
Are Curtain Bangs Still in Style?
Yes, curtain bangs are still very much in style, and honestly, they have only gotten more popular in my chair over the last year.
The look has shifted slightly to a softer, more blended shape at the sides, but the core shape has not changed. What keeps curtain bangs relevant is their adaptability.
You can wear them sleek and polished for work, tousled and undone for the weekend, or curled for an occasion, and none of those looks require cutting anything new.
Do Curtain Bangs Suit Your Face Shape?
This is one of the most common questions that comes up before committing to the cut, so here’s a quick look at what works best for each face shape.
| Face Shape | Best Approach |
|---|---|
| Round | Keep the shortest point above the brow, not higher, and add length at the cheekbones |
| Oval | Nearly any length or thickness works, which is why this shape stays so popular |
| Square | A wider outward sweep softens a strong jawline |
| Heart | A fuller, slightly longer bang balances a narrower chin |
| Long | More density at the center part shortens the look of the forehead |
None of these are hard rules. Curtain bangs can be cut on every face shape listed here, with length and density adjusted case by case, which is really the point: this cut is forgiving enough to be tailored to almost anyone.
Best Ways to Style Curtain Bangs
Styling curtain bangs comes down to one thing above everything else: direction. Hair naturally tends to fall toward your face, so every technique below is designed to train it to sweep outward instead.
1. The Everyday Round Brush Blowout
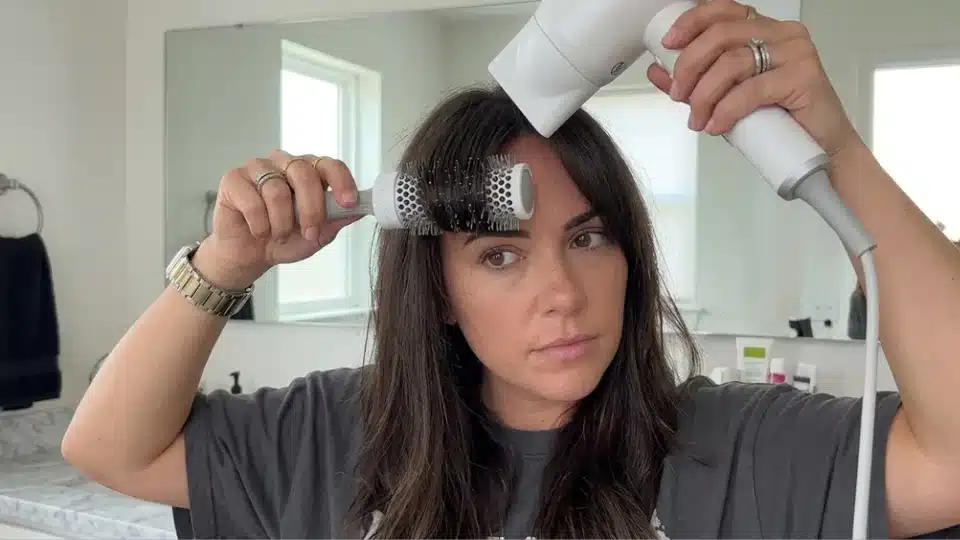
I reach for a round brush more than any other tool, since it gives the most root lift and the softest outward curve of any method here. It is also the easiest technique to teach someone who has never styled a basic blowout before.
Tools and materials needed: Heat protectant spray is applied evenly before any heat touches your bangs, a small round brush, and a blow dryer with a concentrator nozzle
Steps to follow:
- Start with clean, fully dry hair and separate your bangs from the rest
- Apply heat protectant, then wrap small sections around the round brush
- Rotate the brush away from your face as you blow-dry, holding heat at the ends
- Repeat two or three times per side until they hold a soft curve on their own
Pro tip: A blast of cool air before releasing the brush is what actually locks the curve in place, not the heat itself. Skip it and the shape falls within the hour.
2. The Fast Blow Dryer Fix
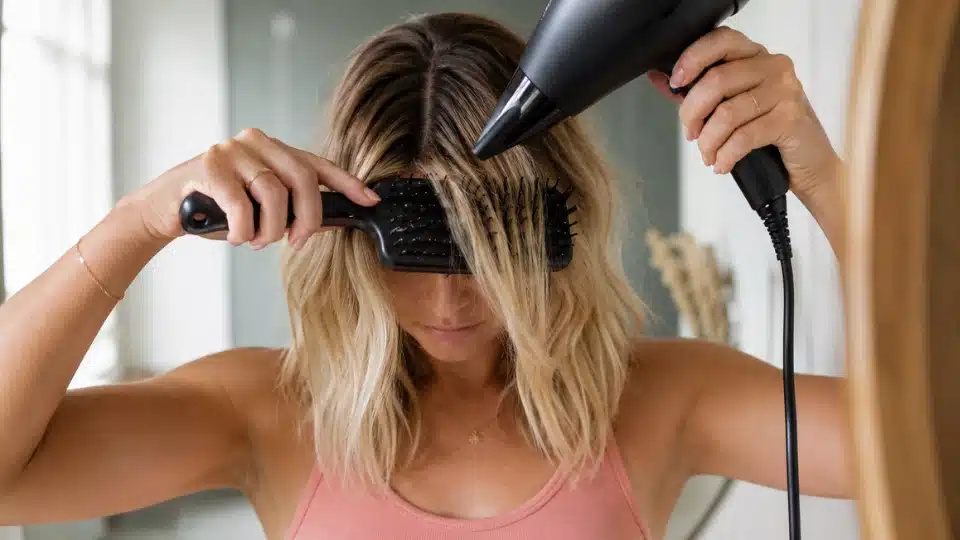
This is the fastest method I teach, and it works especially well if your hair already has some natural wave. No round brush or hot tool is required, just controlled airflow and a bit of tension.
Tools and materials needed: A blow dryer with a concentrator nozzle, A paddle or vent brush, Heat protectant spray
Steps to follow:
- Separate your bangs and apply heat protectant to dry strands
- Hold each section taut with your brush, angled away from your center part
- Blow dry outward and slightly down until the direction sets as it cools
- Finish with a cool shot of air to help the shape hold longer
Pro tip: Keep the dryer moving in one direction the whole time you are drying. Switching directions mid-dry confuses the cuticle, and the bend will not hold once your hair cools.
3. No-Heat Volume Trick With Velcro Rollers
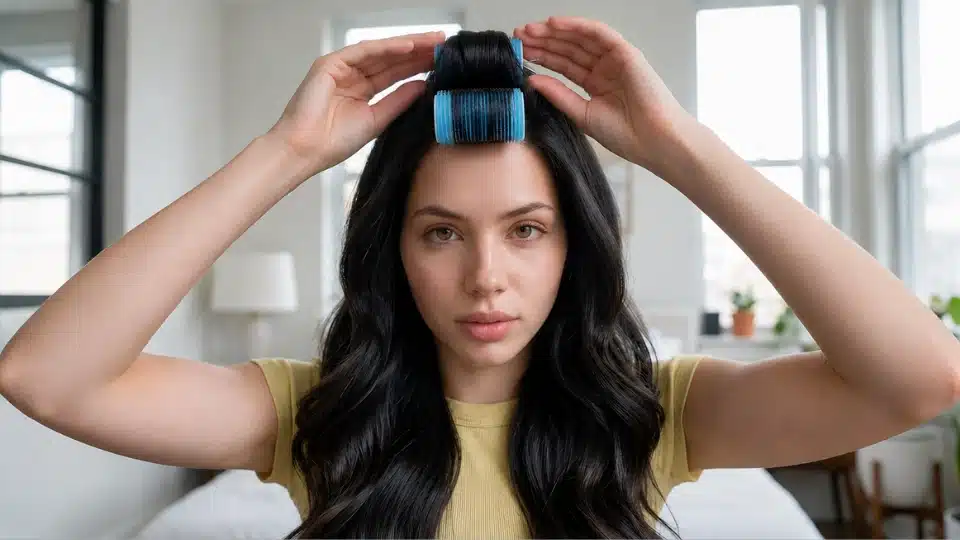
Velcro rollers are my go-to recommendation for anyone who wants volume without direct heat touching their bangs every single day. They also tend to hold up better in humidity than a round brush blowout.
Tools and materials needed: Small Velcro rollers, sized to match the width of your bang sections, A lightweight mousse or blow-dry cream, and Bobby pins
Steps to follow:
- Apply mousse to freshly blow-dried, still warm bangs
- Roll each side away from your face on a small Velcro roller
- Leave the rollers in for ten to fifteen minutes while you finish your routine
- Remove gently and finger comb into place once fully cool
Pro tip: Patience matters more than product here. Taking the rollers out before your hair has fully cooled undoes most of the set, even if you left them in long enough.
4. Flat Iron Finish
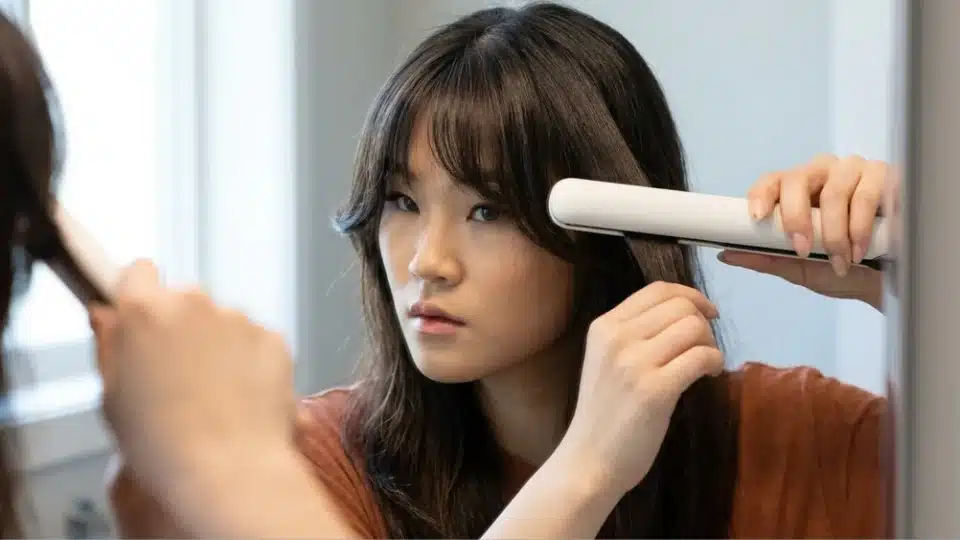
Beyond a basic straight pass, a flat iron can also create a soft curl by rotating the plates as you glide through, which is perfect if you only own one hot tool. This gives you both a smooth finish and a gentle bend from a single pass.
Tools and materials needed: Heat protectant spray, a flat iron with rounded edges, and a wide-tooth comb
Steps to follow:
- Clamp a small section of bangs near the root
- Glide the iron down while rotating it a full turn, similar to a curling iron
- Release at the ends with your wrist turned slightly outward
- Repeat on the opposite side, matching the rotation and speed
Pro tip: Practice the rotation motion on a lower heat setting first, since a slower learning curve here protects your hairline from repeated heat exposure.
5. Special-Occasion Curling Iron Method
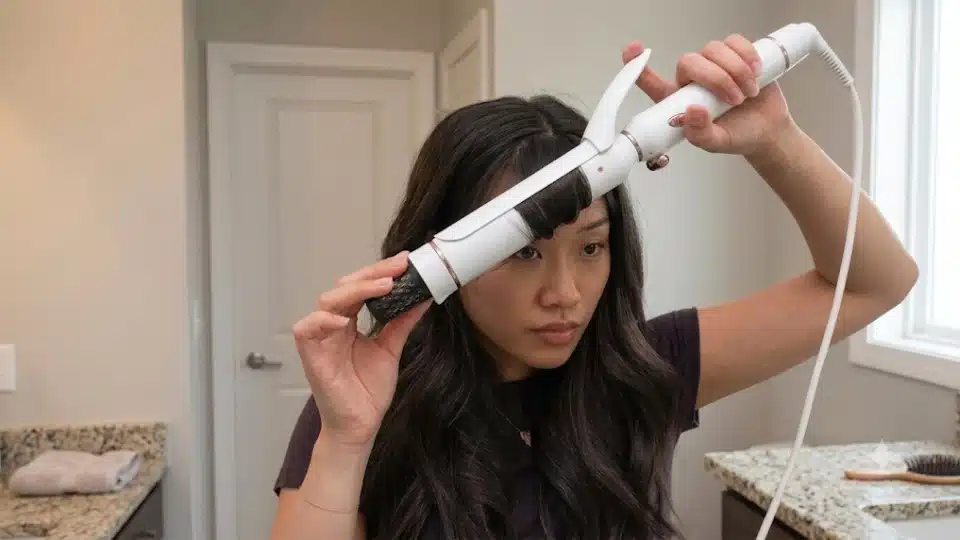
A curling iron gives the most defined, longest-lasting bend of any method on this list, which makes it my top pick for special occasions or long event days. The finished curl also softens beautifully once you brush through it.
Tools and materials needed: A small barrel curling iron, around three-quarters of an inch to one inch, Heat protectant spray, Duckbill clips
Steps to follow:
- Take a small section and wrap it around the curling iron, curling away from your face
- Hold for a few seconds, then release the curl gently
- Repeat on the other side with matching direction and timing
- Once fully cool, brush through gently with your fingers to soften the curl
Pro tip: Always curl away from your face on both sides, since curling inward creates a shape that closes in around your eyes instead of framing them.
6. Healthiest No-Heat Option
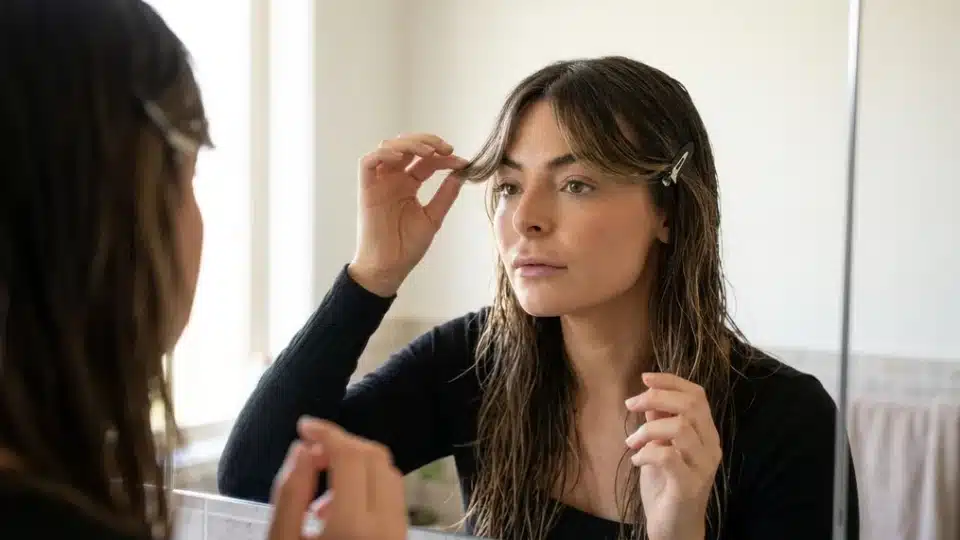
This is the method I use on my own bangs most mornings, since it protects hair health while still giving that soft, swept-open shape curtain bangs are known for. It takes barely any extra time once it becomes routine.
Tools and materials needed: A texturizing spray or lightweight mousse, Small clips, and a wide-tooth comb
Steps to follow:
- Apply texturizing spray or mousse to damp bangs
- Use your fingers to sweep each side away from your center part
- Clip lightly in the direction you want them to dry
- Remove the clips once fully dry and finger-comb into place
Pro tip: Apply product while your bangs are still damp, not after they have air-dried. Product applied too late sits on top of the hair instead of shaping it.
How to Style Curtain Bangs for Different Hair Types
Your hair type changes which technique works best, since straight, wavy, curly, and color-treated strands all hold direction differently, and knowing how your strands absorb moisture can make choosing the right technique a lot easier.
| Hair Type | Best Styling Approach | What to Avoid |
|---|---|---|
| Straight hair | Round brush blowout or flat iron with a soft arc for movement | Air drying alone, since straight bangs tend to fall flat toward the center |
| Wavy hair | Air drying with texturizing spray, or a light round brush touch-up | Overusing a curling iron, which can look inconsistent with natural waves |
| Curly hair | Finger diffusing with a curl cream, defined while hair is still damp | Cutting or heavily manipulating bangs while soaking wet, since shrinkage changes the length |
| Fine hair | Velcro rollers or a small round brush for lift at the root | Heavy creams or oils, which weigh fine bangs down fast |
| Thick or coarse hair | Flat iron to smooth bulk, followed by a light texturizing spray | Skipping heat protectant, since thick hair often needs higher heat settings |
| Color-treated hair | Lower heat settings paired with a bond-building heat protectant | High heat without protection, which fades color and causes breakage faster |
Once you know where your hair type falls on this list, choosing among the tools above becomes much easier. Match the approach to your texture first, then layer on the styling method that fits your day.
Easy Curtain Bangs Styles to Try
Once you have the basic techniques down, these are seven of my favorite looks to build from that same foundation. Each one uses tools you already own, just applied a little differently.
1. The Air-Dried Wispy Fringe

This look leans into texture instead of fighting it, using a texturizing spray and fingers scrunched into damp bangs for a soft, undone finish.
It takes less than five minutes and skips heat entirely, which makes it my go-to recommendation for busy mornings. The result looks effortless while still keeping your bangs shaped away from your face.
2. Curled and Bounced
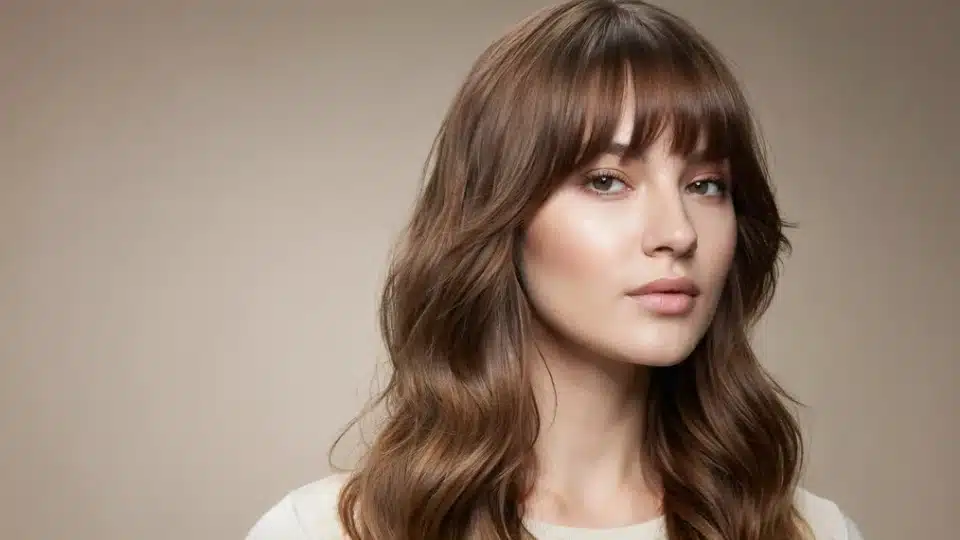
A small barrel curling iron creates soft waves through the bangs, and then a quick brush with your fingers loosens the curls into something more natural.
This retro, bouncy shape photographs beautifully and holds up well through a full night out. I recommend it for special occasions when you want your fringe to feel a little more done up than usual.
3. Pinned Back Curtain

Style your bangs as usual, then pin them loosely at the temples with small decorative clips for days you want your face fully open.
This works especially well when you are growing your bangs out or simply want a break from styling them daily. It also adds a nice detail to an otherwise simple hairstyle.
4. Tousled Beach Texture

A sea salt or texturizing spray scrunched into damp bangs creates a lived-in, beachy finish that feels relaxed rather than styled.
This look works especially well on wavy hair, since the spray enhances texture that is already there. It is my favorite pick for warm weather days when a polished blowout feels like too much effort.
5. Half Up With Face Framing
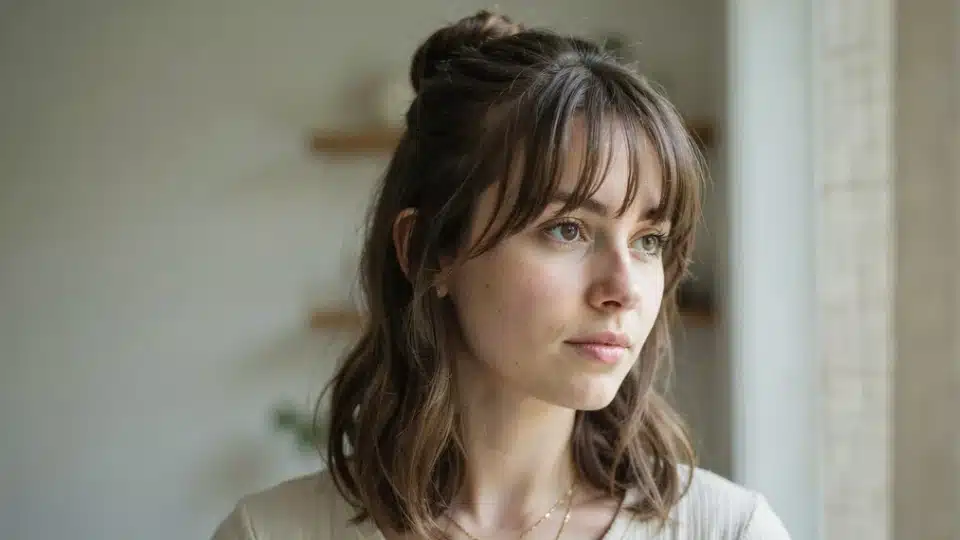
Pull the rest of your hair into a half-up style while leaving your curtain bangs down and swept, letting the fringe carry the whole look.
This style puts all the attention on your face-framing pieces without requiring extensive styling of the rest of your hair. It is an easy way to dress up a simple half-up look in under a minute.
Any of these seven styles can be built from the tool techniques above, so pick whichever one matches your day. Rotating among a few keeps your bangs feeling fresh rather than repetitive.
Best Products for Styling Curtain Bangs
The right product makes every technique above easier, from heat protection to extra grip to a quick touch-up between washes. Here are the products I actually keep stocked for my own use.
| Product | Type | Best For |
|---|---|---|
| CHI 44 Iron Guard Thermal Protection Spray | Heat protectant | Everyday heat styling on any hair type |
| Kenra Platinum Blow Dry Spray | Blowout spray | Smoothing frizz before a round brush blowout |
| Garnier Fructis Sleek and Shine 10 in 1 Leave-In Spray | Heat protectant and detangler | Budget-friendly daily protection |
| Kérastase Genesis Défense Thermique | Heat protectant | Fine or fragile hair needing lightweight protection |
| Oribe Thick Dry Finishing Spray | Texturizing spray | Adding grip to straight or fine bangs |
| Drybar Detox Dry Shampoo | Dry shampoo | Refreshing bangs between washes |
| Aveda Air Control Hairspray | Light hold hairspray | Setting the finished shape without stiffness |
You do not need every product on this list to get good results, just one heat protectant and one finishing product. Build from there based on which styling method you use most.
How Often Should You Trim Curtain Bangs?
Plan on a trim every three to four weeks to keep the shape sharp and the length consistent at the cheekbones.
Curtain bangs grow out more gracefully than blunt bangs, so you have some flexibility here compared to other fringe styles.
If you are letting them grow into your layers on purpose, you can stretch that to six weeks or longer, since the tapered shape blends naturally as it lengthens.
Just keep an eye on the center part, since that section grows into your eyes the fastest.
Curtain Bang Styling Mistakes to Avoid
Even with the right tools, a few small habits can undo a good style before you leave the house. These are the mistakes I correct most often in my chair.
- Skipping heat protectant on any hot tool pass, which speeds up breakage right at your hairline. Research in PubMed found that hair structure changes become permanent above roughly 140°C (284°F), a range most flat irons and curling irons reach daily, which is exactly what a heat protectant is meant to buffer against.
- Drying bangs straight down instead of outward, which is the single biggest reason bangs collapse flat toward your nose
- Using too large a curling barrel, which creates a loose bend that falls out within an hour
- Applying heavy product meant for lengths onto fine or straight bangs, which weighs them down instead of lifting them
- Cutting or trimming bangs while soaking wet, especially on curly or wavy hair, since shrinkage changes the finished length dramatically
- Ignoring your natural growth pattern and forcing a part where your hair does not naturally fall
Fixing even one or two of these habits usually makes the biggest visible difference. Pair that with the right tool from earlier, and your bangs will hold their shape far longer.
Final Thoughts
The best styling routine is the one that works with your hair instead of against it.
Small adjustments to your tools, technique, and heat settings can improve both the look of your curtain bangs and the long-term health of your hair.
As your bangs grow, revisit your routine and make simple changes when needed to keep them looking soft, balanced, and easy to maintain.
Frequently Asked Questions
Do Curtain Bangs Work With Bangs That Have a Cowlick?
Yes, curtain bangs can work with a cowlick. Blow-drying the roots first helps control the cowlick before styling the rest of the bangs.
How Do I Keep Curtain Bangs From Looking Greasy Faster Than the Rest of My Hair?
Use a small amount of dry shampoo at the roots to absorb oil between washes. Since bangs touch your forehead, they often become oily sooner than the rest of your hair.
How Long Does a Curtain Bang Blowout Actually Last?
A curtain bang blowout usually lasts 1 to 2 days, depending on your hair type and the weather. A quick morning touch-up can help restore the style.
Can I Style Curtain Bangs if They Have Grown Out Unevenly?
Yes, you can still style uneven curtain bangs with a round brush or a little texturizing spray. A trim is only needed when the length becomes difficult to manage.