Tired of spending a fortune on handmade soap bars that cost more than your lunch? What if you could whip up those same luxury soaps in your own kitchen for a fraction of the price?
You’re about to master simple methods that turn basic ingredients into professional-quality soap bars.
From quick melt-and-pour recipes to traditional scratch methods, these proven soap-making techniques work for complete beginners and busy schedules alike.
The process starts with a foolproof starter recipe that requires no special skills and delivers gorgeous results every single time.
Within minutes of reading this, you’ll know exactly which method suits your time, budget, and soap-making dreams.
Get ready to create custom bars that rival expensive boutique soaps without breaking the bank.
Why Make Homemade Soap?
Making soap at home puts you in complete control of every ingredient that comes into contact with your skin. No harsh chemicals, artificial fragrances, or mystery additives that cause irritation.
Store-bought soaps strip away natural oils, while homemade soap retains moisturizing glycerin, resulting in softer skin.
You have complete creative freedom to choose ingredients based on your skin type, like lavender for relaxation or peppermint for energy.
The cost savings are significant, as homemade bars are much cheaper than store-bought.
Plus, your custom soap makes thoughtful gifts people actually use. There’s real satisfaction in making beautiful, useful items with your own hands.
Melt-and-Pour Soap Making
This beginner-friendly method involves melting pre-made soap bases and adding your own colors, scents, and designs. It requires no harsh chemicals, such as lye, and produces ready-to-use soap in just a few hours.
Materials You’ll NeedEquipment
Ingredients
|
Note: One pound of soap base makes 4-6 bars, depending on mold size.
Step-by-Step Instructions
Follow these simple steps to create professional-looking soap bars in under an hour.
1) Prep & Cut

Pick a clear base for bright colors or a white base for pastels. A clear base allows for true color payoff, while a white base creates softer tones.
Chop the base into small, even cubes using a sharp knife. Uniform pieces melt evenly, preventing hot spots that can scorch your soap.
2) Melt (Low & Slow)
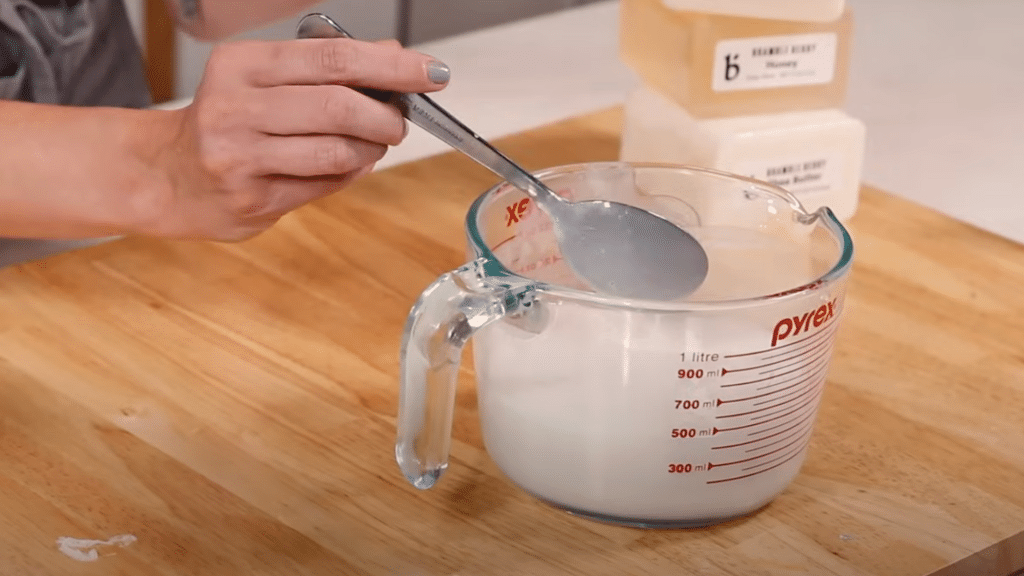
Microwave in 30-second bursts, stirring between each interval. For 1 pound of base, expect a total heating time of roughly 2-2.5 minutes.
Keep the temperature between 140°F and 156°F, and never exceed 160°F, to avoid scorching. If small chunks remain at 155°F, stir to melt with residual heat.
3) Scent (Stir Thoroughly)
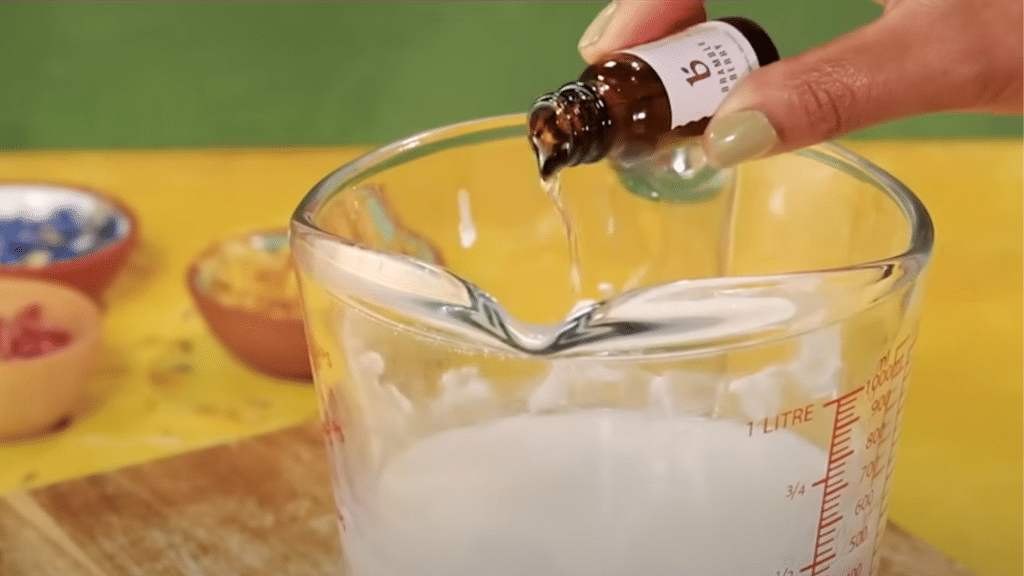
Add skin-safe fragrance oil at calculator-suggested rates for best results. Medium strength is a good starting point for beginners.
Stir for at least 30 seconds, until fully incorporated with no oil streaks remaining. This step is especially important for the white base to prevent pitting.
4) Color (One of Two Ways)
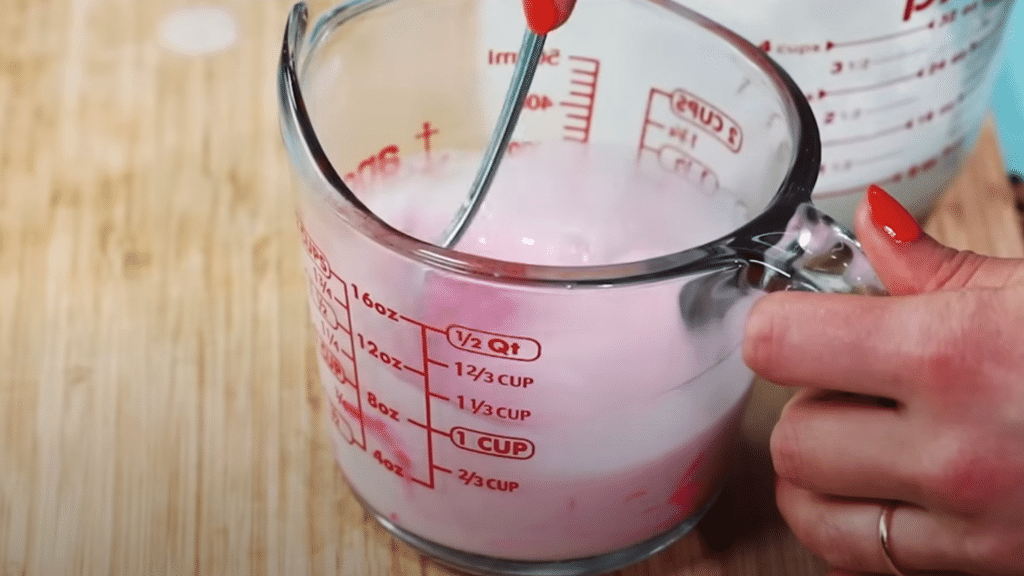
For powders: pre-disperse 1 tsp of color in 1 tbsp of alcohol first. Then add this mixture to the soap and stir until you reach the desired shade.
For color blocks: shave small pieces directly into warm soap. Stir until completely melted and evenly distributed throughout.
5) Pour, Finish, Unmold & Wrap
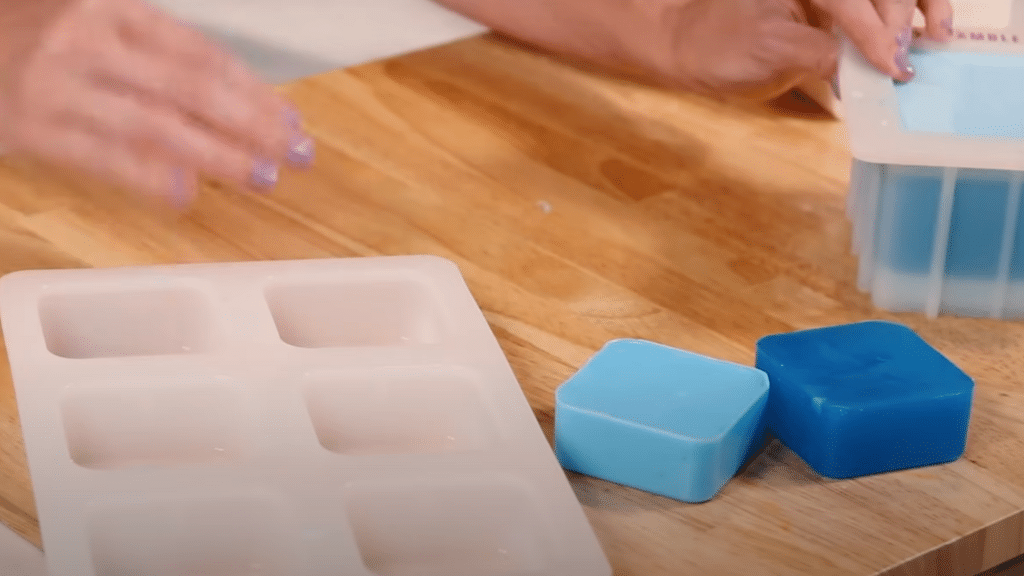
Pour the mixture into molds and spray the surface with alcohol to remove any bubbles. Work quickly, as the soap begins to set within minutes.
Let the mold harden for 2-6 hours, depending on the mold size, then unmold when firm. Wrap to prevent glycerin dew if needed – ready to use immediately.
Common pitfalls: Overheating above 160°F leads to yellowing, thick texture, and poor color dispersion. Keep temperatures in check and melt gradually for best results.
Video Tutorial
Special thanks to BrambleBerry for providing valuable insights in their video, which I referenced while creating this guide.
Cold Process Soap (From Scratch)
The cold process offers complete creative control, but it requires more patience and safety precautions. This traditional method allows you to select every ingredient and create truly unique formulations.
Materials You’ll NeedIngredients:
Tools & Safety:
|
Step-by-Step Instructions
Follow these steps carefully for a successful cold process soap-making process.
1) Prep Workspace & Gear
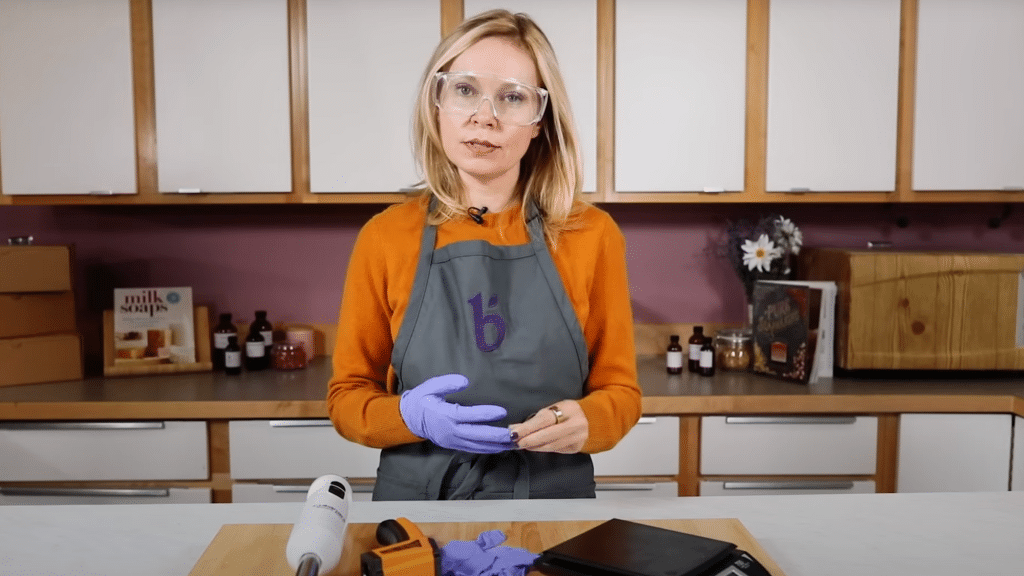
Suit up with goggles, gloves, and covered skin while ensuring good airflow. Clear the area of children and pets completely.
Plan 30-60 minutes of uninterrupted time for the process. Protect counters and set out lined mold, tools, pre-weighed oils, fragrance, and pre-mixed colorant.
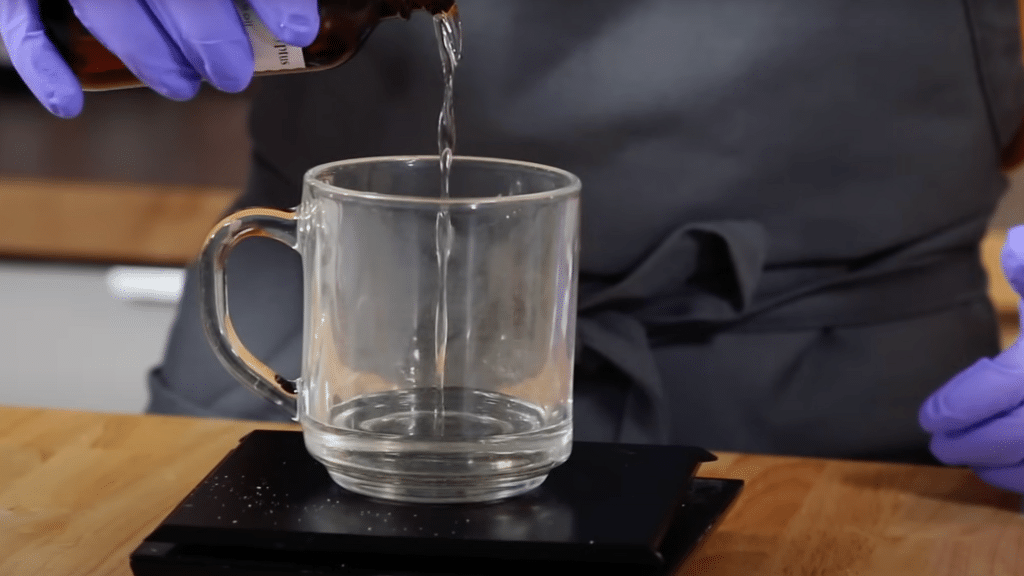
2) Make the Lye Solution (Safely)
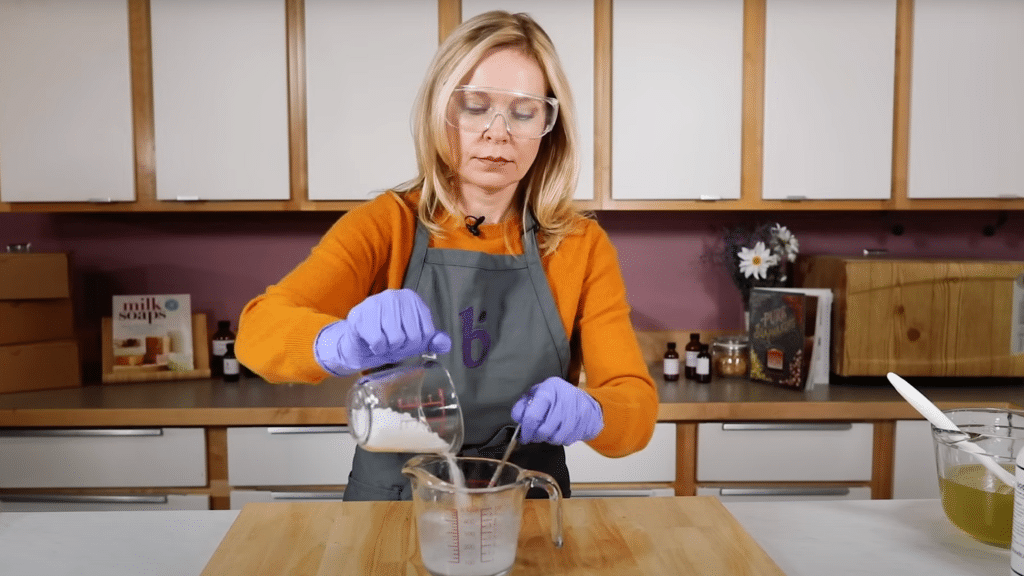
Weigh distilled water into a heat-safe container and separately weigh the lye. Always add lye to water, never water to lye.
Add lye slowly in portions while stirring gently as the mixture turns cloudy. Expect very hot temperatures (180-200°F) and irritating fumes, so maintain ventilation.
3) Prepare Oils & Additives
Melt and temper your oils to bring them to a similar temperature range as cooling lye. Weigh your fragrance oil for accurate measurement.
Pre-disperse powdered colorant in a small amount of oil to remove lumps. This prevents streaking in finished soap.
4) Combine, Emulsify, and Trace
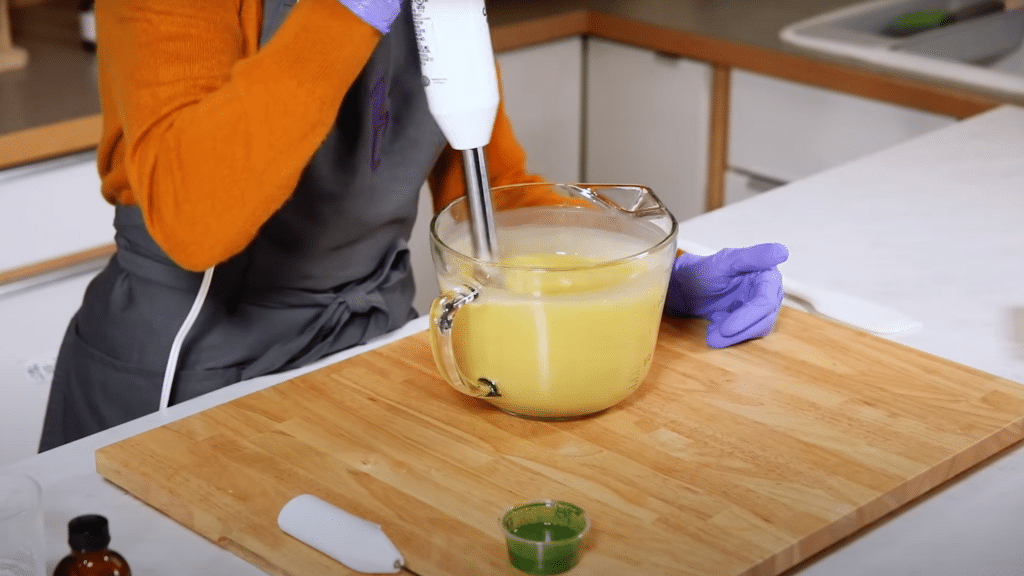
Pour the cooled lye solution gently down the shaft of the spatula or stick blender to avoid air bubbles. “Burp” the stick blender to release trapped air.
Pulse/blend for 30-60 seconds in short bursts until you reach a trace (thin cake batter consistency). Add color first, then fragrance, stirring well between additions.
5) Pour, Set, Unmold & Cure
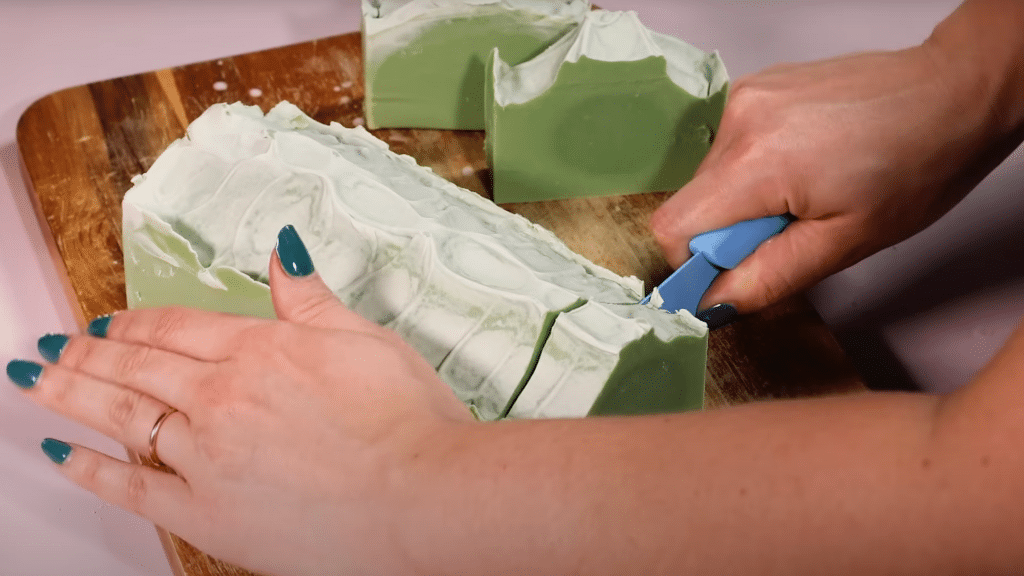
Pour the mixture slowly into the mold, scraping the bowl clean to minimize waste. Let the soap sit 2-3 days in the mold until it releases cleanly.
Slice bars and cure for 4-6 weeks in a cool, dry, well-ventilated area. Rotate bars every 4-6 days for proper airflow during the curing process.
Cleanup tip: Wipe fresh batter, then wash tools in very hot water with grease-cutting dish soap. Never run oily/soapy tools through the dishwasher.
Video Tutorial
Special thanks to BrambleBerry for providing valuable insights in their video, which I referenced while creating this guide.
Essential Supplies & Your First Starter Kit
Soap making requires precise measurements and proper equipment for safe results. A digital kitchen scale is essential since recipes depend on weight, not volume.
Begin with a digital scale, stick blender, and thermometer for mixing and temperature control. Add safety gear, silicone molds, and stainless-steel bowls for safe handling.
Beginners can use soap bases for simple melt-and-pour methods. Advanced makers require oils and sodium hydroxide for cold- and hot-process techniques.
Fragrance oils and colorants add personal touches to creations. Start small with one method, then expand as skills develop.
Time, Difficulty & Cost Comparison
Here’s a quick side-by-side look at each method to help you choose the right approach:
| Method | Active Time | Total Time to Use | Difficulty | Cost Per Bar |
|---|---|---|---|---|
| Melt-and-Pour | 10–30 min | 2–4 hours | Easy | $1–3 |
| Cold Process | 1–2 hours | 4–6 weeks | Medium | $0.50–1.50 |
Select the method that best suits your schedule, budget, and experience level.
Key Takeaways: Melt-and-pour offers fast results for beginners, while the cold process method requires patience but is less expensive.
Getting Started with Homemade Soap-Making
Making your own soap at home is easier than you think!
If you choose the quick melt-and-pour method or the more advanced cold process technique, you’ll create something great with your own hands.
Start with melt-and-pour if you’re a beginner – it’s fast, safe, and fun. Once you become comfortable, you can try cold-process soap for complete control over your ingredients.
Both methods let you create skin-friendly soap that’s more interesting and cost-effective than store-bought bars, great for gifts loved by friends and family.
Ready to create your first batch? Grab your supplies and start making beautiful soap today!