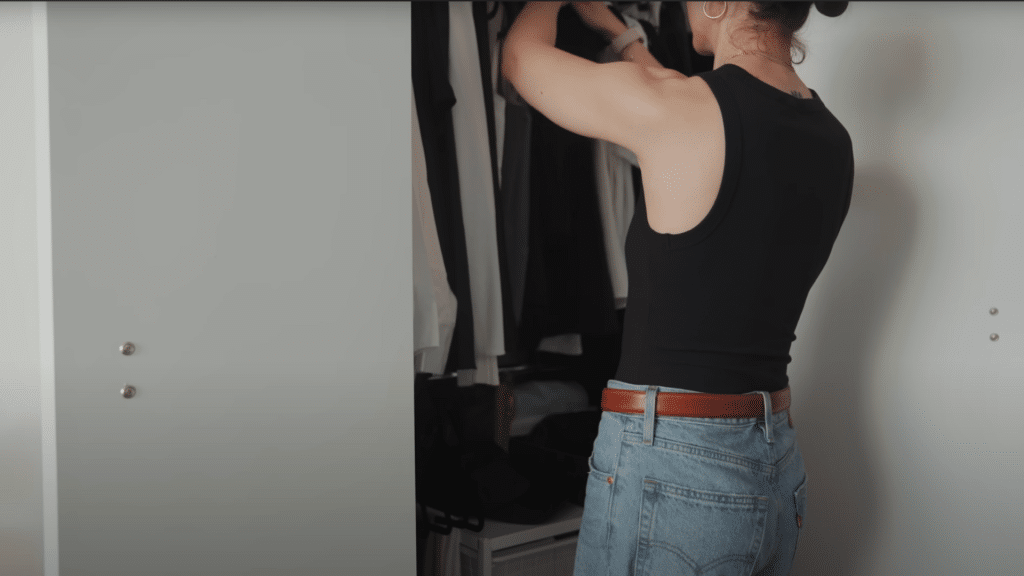
We’ve all been there, staring at a packed closet where nothing feels accessible, even though you know exactly what’s buried in there somewhere.
Living with lots of clothes in a small space isn’t about getting rid of everything you love. It’s about working smarter with what you have.
The truth is, most closet chaos comes from random placement, not lack of space.
This guide walks you through a complete reorganization process, from prep to maintenance, with visual tips and folding techniques that actually work.
Every solution here is renter-friendly, meaning no drilling or permanent changes are required.
What Makes a Small Closet Work
A functional small closet isn’t magic. It comes down to three practical elements. First, you need to edit your collection so you’re only storing what you actually wear.
Second, you have to use strategic storage zones, thinking vertically, using doors, and stacking where it makes sense. Third, visual consistency matters more than you’d think.
Uniform hangers, clear bins, and tidy folds create a sense of order that makes everything easier to find.
Now that you know what makes an efficient small closet, let’s walk through the process step by step.
How to Organize a Small Closet: Step-by-Step
Organizing a small closet can feel impossible when space is limited, but with the right system, even the tiniest wardrobe can be functional, clutter-free, and stylish.
The key is to combine vertical storage, smart folding techniques, and renter-safe solutions that make the most of every inch.
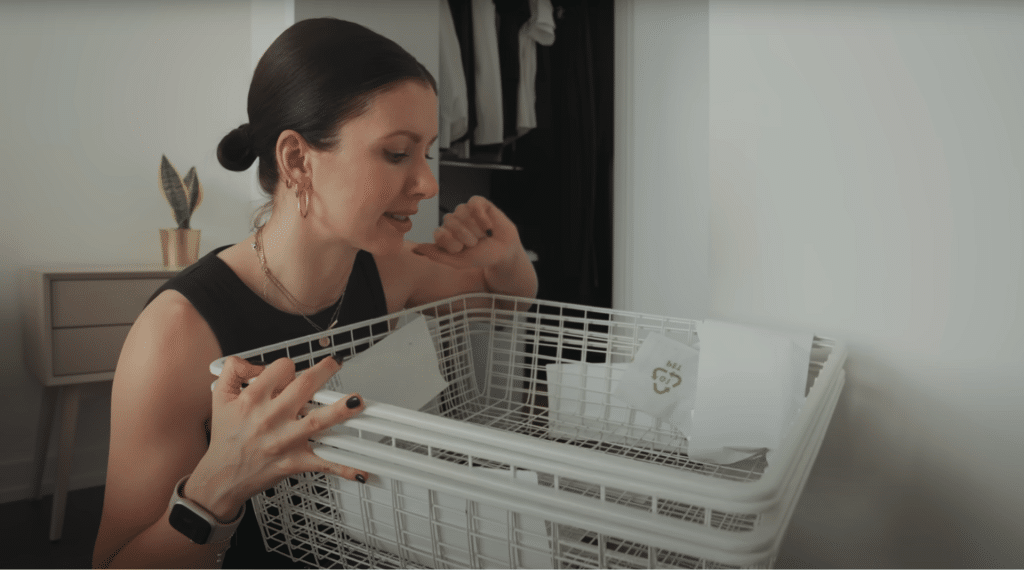
Materials Required
Before you begin organizing, gather these renter-friendly essentials to make the process efficient and stress-free.
| Item | Purpose |
|---|---|
| Slim, non-slip hangers | Maximize hanging space and keep clothes from slipping |
| Modular drawer unit | Adds extra drawer storage under hanging clothes |
| Drawer organizers/dividers | Keep small items like socks and underwear separated |
| Clear storage bins | Stackable containers for shoes, bags, or seasonal items |
| Fabric baskets or boxes | Group similar items neatly on shelves |
| Under-bed storage containers | Store bulky or off-season clothes out of sight |
| Adhesive or over-door hooks | Hang hats, scarves, and bags without drilling |
| Tiered or hanging shoe rack | Keep footwear visible, accessible, and tidy |
| LED motion or stick-on lights | Brighten dark closets instantly |
| Labels or label maker | Maintain clarity and consistency for easy access |
| Measuring tape | Ensure organizers fit your space perfectly |
| Fabric refresher or sachets | Keep clothes smelling clean and fresh |
Step 1: Assess the Space
Start by examining the closet layout. Identify how much hanging space, shelving, and floor area are available.
Look for vertical potential, such as adding a second hanging rod or stacking bins.
Take note of any challenges like limited depth, sliding doors, or uneven shelving. Planning around these constraints ensures efficient use of space later.
Step 2: Declutter Before Organizing
Remove everything from the closet and sort items into keep, donate, repair, or store categories. Only organize what is actually worn and loved.
This prevents wasted time and helps maintain a manageable wardrobe. A smaller, curated selection always looks and functions better in compact spaces.
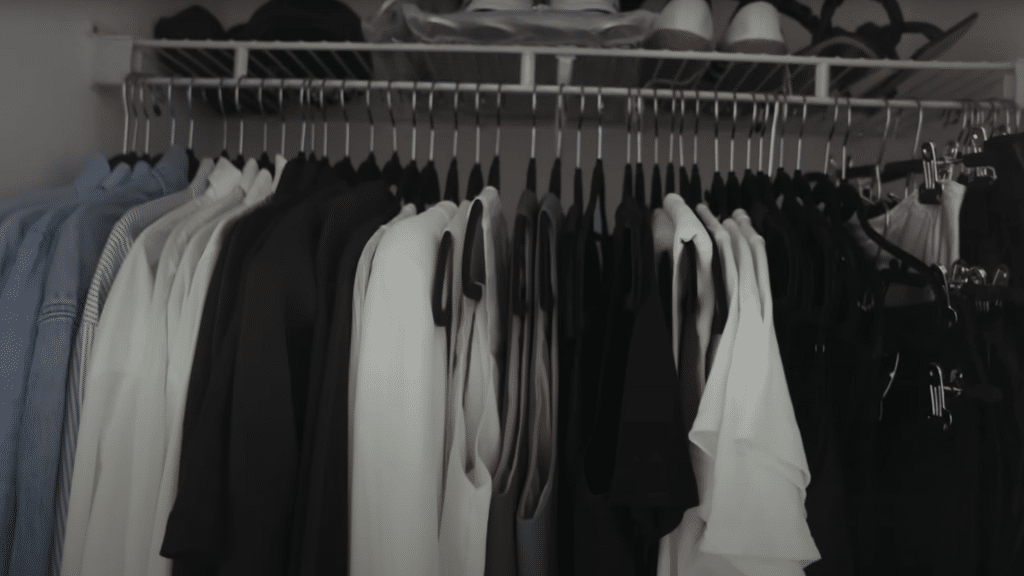
Step 3: Use Matching Hangers
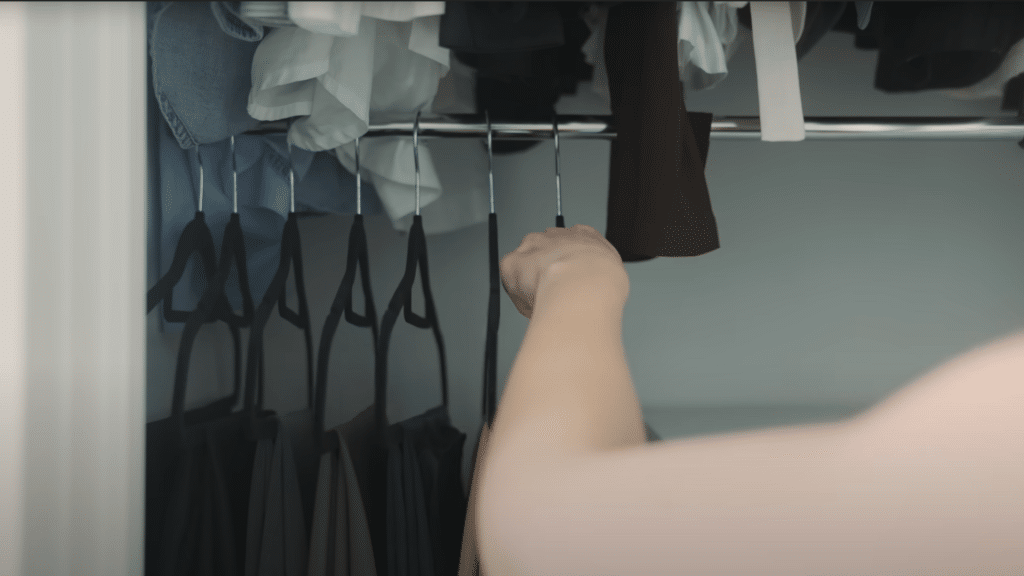
Replace mismatched hangers with a single type, such as slim velvet or wood hangers.
Uniform hangers create a visually calm, streamlined look and help maximize rail capacity. Hang all clothing facing the same direction and group by category and color for easy visibility.
Step 4: Add Drawer Storage Inside the Closet
If the space allows, place a slim drawer unit or wire drawers beneath hanging clothes.
These drawers are ideal for underwear, activewear, sweaters, and pajamas, items that don’t require hanging.
Modular drawer systems or lightweight plastic units are great renter-friendly options that can be reconfigured easily.
Step 5: Fold Vertically to Save Space
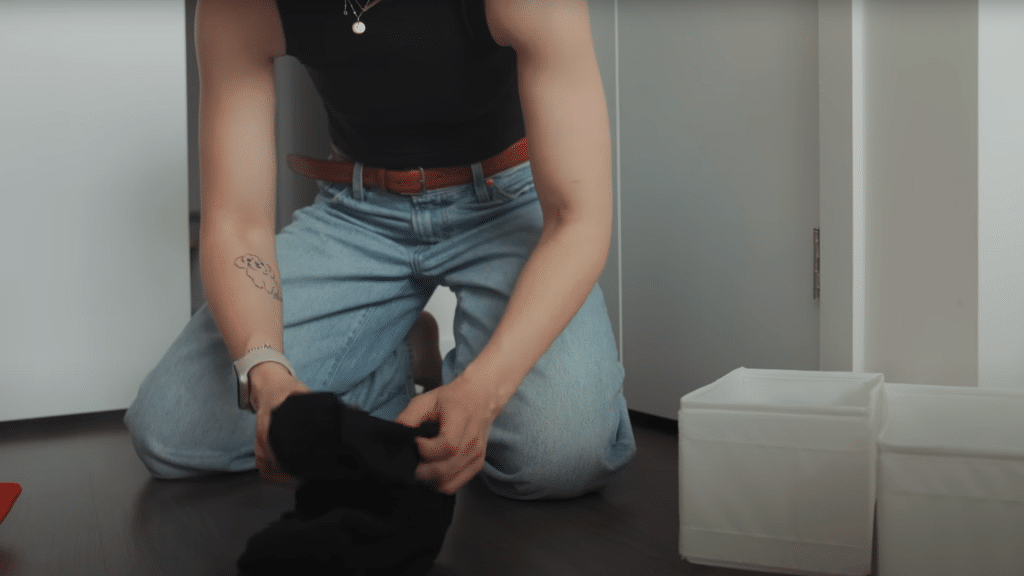
Adopt the vertical folding method, folding clothes into thirds and standing them upright like files in a drawer.
This technique allows all items to be seen at once, prevents stacking messes, and increases drawer capacity. It works especially well for T-shirts, leggings, and gym wear.
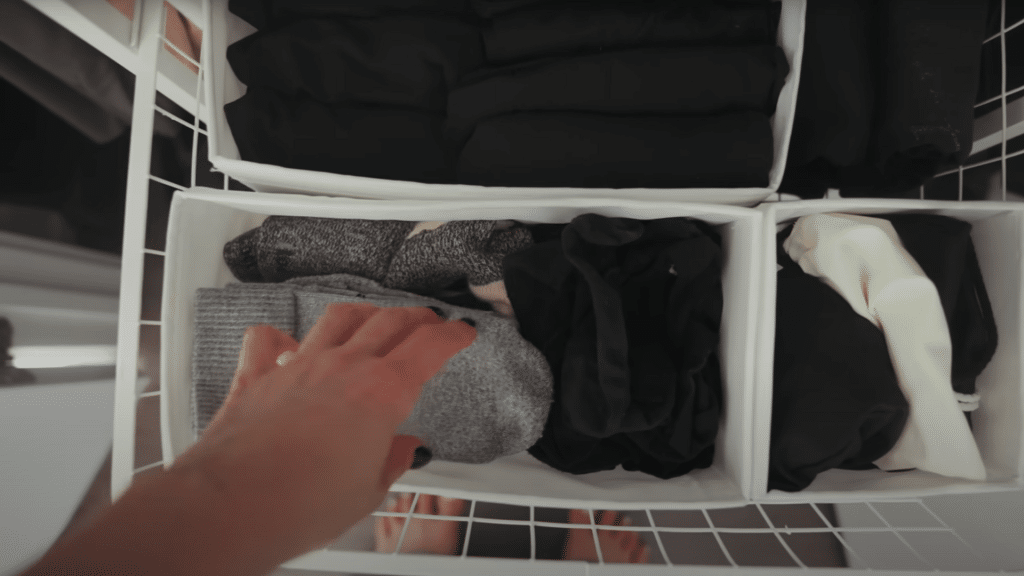
Step 6: Use Drawer Organizers and Baskets
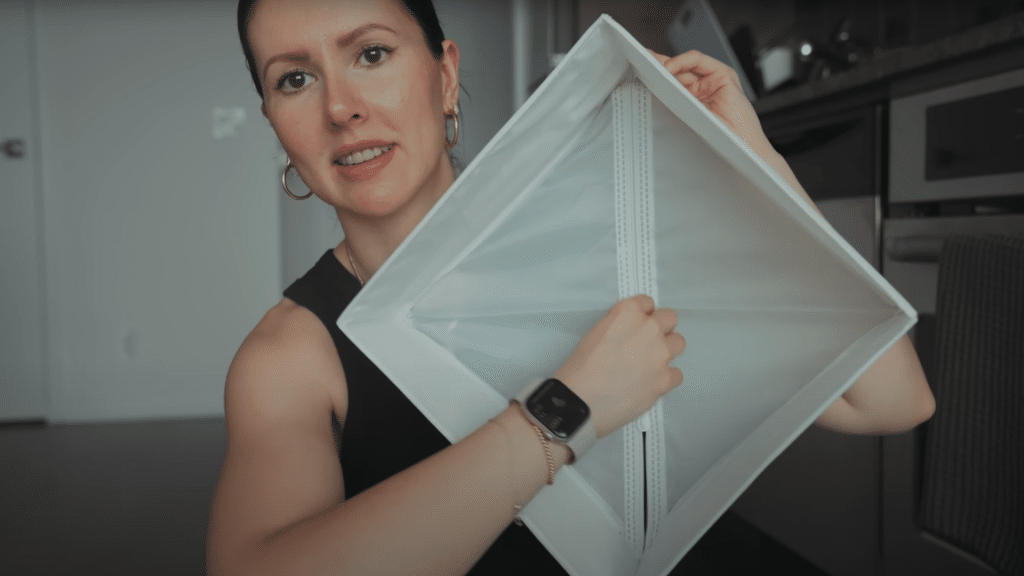
Drawer dividers or small boxes are essential for separating smaller categories like socks, underwear, and accessories.
Soft fabric boxes or repurposed shoeboxes help maintain structure and visibility. On shelves, use baskets or bins to group similar items such as purses, scarves, or sunglasses.
Step 7: Use Shoe Organizers
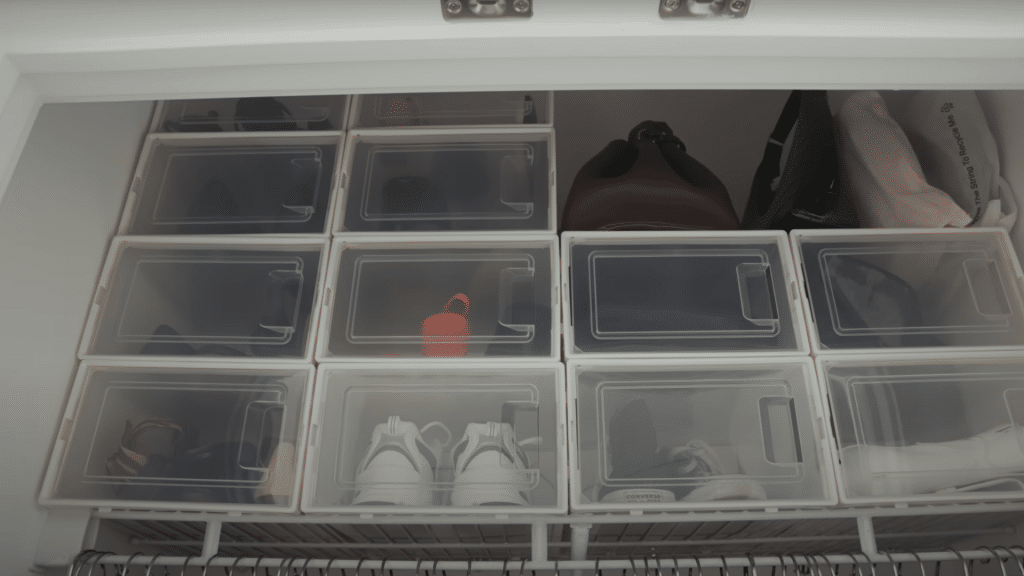
Store shoes in clear front-opening boxes or stackable organizers so every pair is visible.
Tiered racks or over-door storage work well for renters who can’t drill or install permanent shelving. Keep everyday shoes within easy reach and place formal or seasonal pairs higher up.
Step 8: Maximize Vertical Hanging Space

Install a second hanging rod to double the available space or use “waterfall hooks” to hang multiple pieces vertically.
Shorter clothing, such as shirts, skirts, and pants, can occupy the lower rod, while longer items like dresses or coats hang on top. This simple upgrade dramatically increases capacity without construction.
Step 9: Add Hooks for Extra Storage
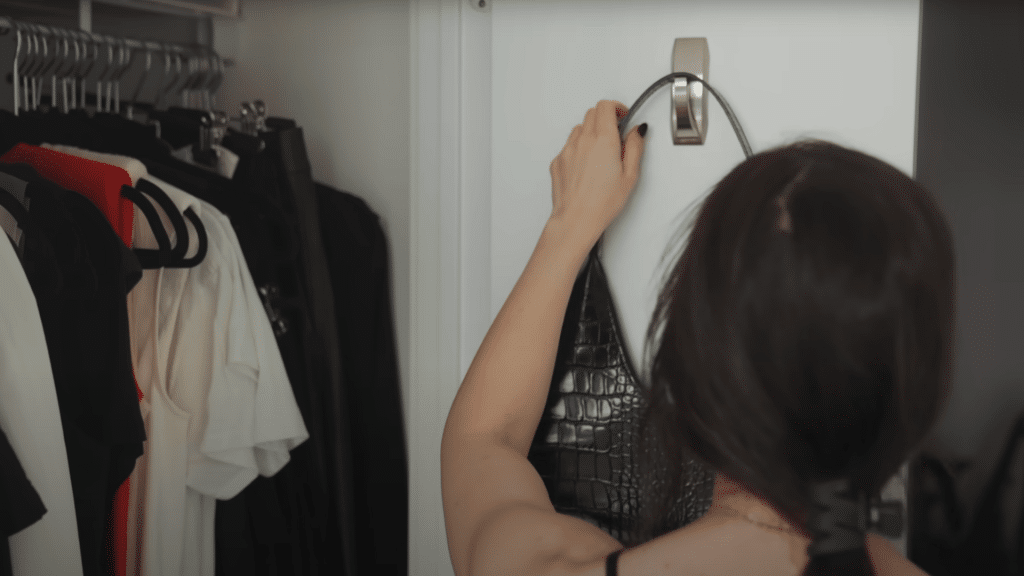
Use adhesive or over-door hooks to store frequently used items such as handbags, hats, or scarves.
Hooks are an easy, renter-friendly way to utilize door backs and walls without drilling holes. They also help keep clutter off shelves and floors.
Step 10: Use Under-Bed Storage for Overflow
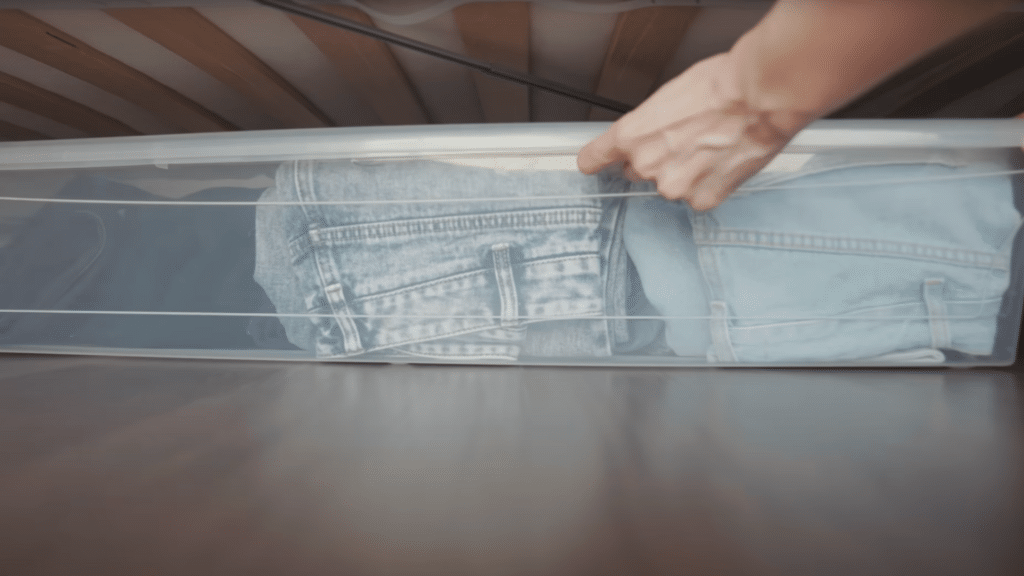
For items that don’t fit in the closet, under-bed storage bins provide hidden yet accessible space.
Choose plastic containers with lids to protect clothes from dust or pests. Store off-season items such as heavy sweaters, coats, or denim, and air them out periodically to prevent mustiness.
Step 11: Separate and Store Off-Season Items

Rotate clothes based on the season. Keep year-round essentials in the closet and store bulky winter items or swimwear elsewhere.
This reduces visual clutter and ensures that the closet remains easy to navigate throughout the year.
Step 12: Maintain a Weekly Closet Reset
Perform a quick 10-minute tidy each week. Refold any messy drawers, rehang displaced garments, and remove items that no longer fit or suit your style.
Keeping a small donation bag inside the closet encourages ongoing decluttering.
Bonus Tips for Tiny Closets
Add LED motion lights if your closet is dim. Good lighting makes a huge difference. Consider using mirrors or light-colored bins to make the space feel larger.
Stick to a consistent color scheme for hangers and storage containers; it creates visual calm. Keep a small spray bottle with fabric refresher or a few scented sachets to keep clothes smelling clean.
Video Tutorial
Special thanks to Christina Mychasfor providing valuable insights in their video, which I referenced while creating this guide.
Common Mistakes to Avoid
Even the best organizing plan can fall apart if you skip these basics.
- Before buying organizers, measure your closet dimensions first, or you’ll end up with bins and drawers that don’t actually fit your space.
- Mixing unrelated items in one container: Keep each bin dedicated to one category; throwing socks, scarves, and gym clothes together defeats the purpose of organizing.
- Overstuffing your hanging rod: Leave a finger’s width of space between hangers so you can pull out clothes without disturbing everything around them.
- Hanging heavy knits and sweaters: These will stretch out and lose their shape on hangers. Always fold chunky knits, cardigans, and wool sweaters instead.
Pro tip: Label every bin and drawer, even if you think you’ll remember what’s inside. Labels keep everyone in your household accountable to the system.
Conclusion
Organizing a small closet with lots of clothes is completely doable when you follow a clear process: declutter first, categorize what’s left, hang strategically, fold vertically, and maintain regularly.
The guiding principle is simple: if it’s visible, reachable, and labeled, it stays organized. You don’t have to overhaul everything at once.
Start with one drawer or one section of hanging clothes. Small progress builds momentum.
Watch the full video tutorial and begin your own closet transformation today. You’ll be surprised how much space you actually have.