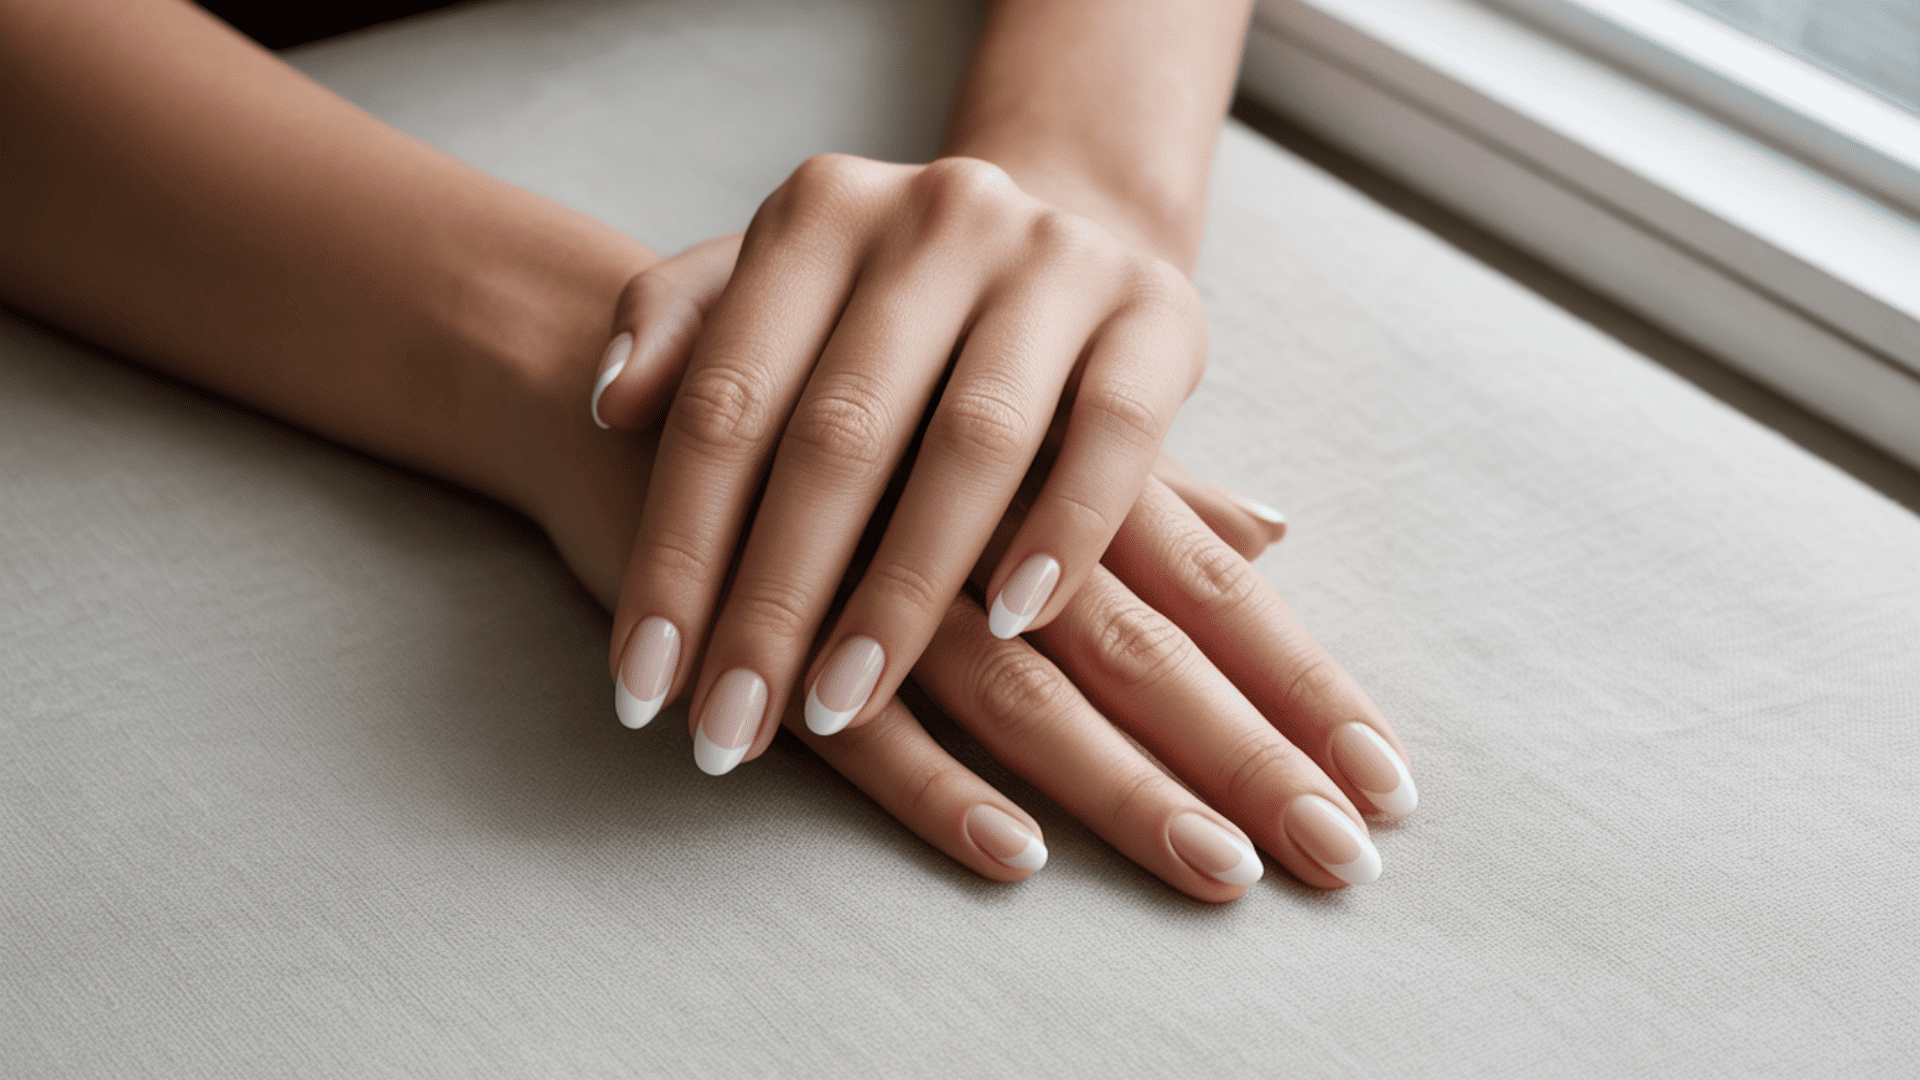
Gel polish is designed to resist water, soap, and regular nail polish remover, so “no acetone” removal needs the right plan, not extra force. The fastest way without acetone is usually a purpose-made acetone-free gel remover, but you still have to protect the nail plate and avoid peeling.Dermatologists consistently warn that picking or scraping gel off can thin and damage the nail surface.
This guide answers the real question behind “how do you remove gel polish without acetone”: what works, what only seems to work, and how to get the gel off while keeping your nails smooth afterward.
Why Removing Gel the Right Way Matters
Gel adheres strongly to the nail plate, so removal is where most damage happens. When gel is peeled or aggressively scraped, it can lift layers of the nail surface, leaving nails thin, rough, and prone to splitting.
Even “gentle” methods can turn harsh if you rush. If you feel tempted to pry up an edge, that’s a sign to pause, re-soften the product, and try again with patience instead of pressure.
First, Check What You Have (Gel Polish vs Builder Gel)
Before you try to remove gel nail polish without acetone, confirm what’s on your nails, because the safest method changes.
You likely have gel polish if:
- Your nails look like your natural length, just shinier and more durable.
- The surface feels smooth and thin, like a regular manicure but tougher.
You may have builder gel, BIAB, hard gel, or extensions if:
- Your nails feel thicker, structured, or noticeably reinforced.
- Your nails are longer than usual or have a pronounced “apex” (a thicker center for strength).
If you’re unsure, treat it like builder gel and avoid soaking tricks. Builder gel and hard gel often require controlled filing and, ideally, professional removal to prevent over-filing the natural nail.
What You’ll Need (No-Acetone Edition)
You do not need a drill to do this safely. In fact, pros advise against using a drill on yourself at home because it’s easy to remove nail surface along with product.
Here’s the practical kit for acetone-free removal:
- A 180–240 grit nail file (for gently breaking the top coat seal)
- A buffer (optional, for smoothing only after product is mostly off)
- Acetone-free gel remover (look for products specifically labeled for gel removal)
- Cotton pads (or lint-free wipes)
- Nail clips or small strips of plastic wrap (to hold pads in place)
- Cuticle oil and a thick hand cream (aftercare is not optional)
Important safety note: Avoid “gel removers” with prohibited or unsafe solvents. The U.S. Food and Drug Administration has warned that some products marketed as gel nail polish removers have contained methylene chloride, a chemical not allowed in cosmetics.
If your product doesn’t have clear ingredient labeling, skip it.
Method 1 (Best Option): Acetone-Free Gel Remover + Clips
This is the most nail-friendly answer to “how do you remove gel nail polish without acetone” because it relies on softening the gel instead of forcing it off.
Step 1: Wash hands, then fully dry
Clean nails remove oils that can block the remover from penetrating. Dry thoroughly so you don’t dilute the remover on contact.
Step 2: File only the shine off the top coat
Use the file with light pressure to remove the glossy seal. Stop as soon as the shine is gone. The goal is to create micro-openings so the remover can reach the gel, not to “sand down” your nail.
Pro tip: If you see white dust and feel heat, you’re pressing too hard. Slow down and lighten your hand.
Step 3: Saturate cotton and secure it tightly
Soak a cotton pad with acetone-free gel remover and place it directly on the nail. Use a nail clip or plastic wrap so the pad stays flush with the nail surface.
Good contact matters more than using “extra product.” If the cotton is loose, the remover evaporates and removal takes longer.
Step 4: Wait, then check one nail before touching the rest
Follow the product’s timing instructions exactly. Start by checking one nail first. If the gel looks soft, wrinkled, or lifted at the edges, you’re ready to move to the next step. If it still looks smooth and hard, rewrap and wait longer rather than scraping.
Step 5: Gently slide off softened product
Use a wooden stick or pusher with a feather-light touch to nudge the gel away only where it has already released. If you meet resistance, stop and rewrap. Forcing it is what damages nails.
Step 6: Rinse, then do immediate aftercare
Once the product is off, wash hands, dry, then apply cuticle oil and a rich hand cream. Your nails may look chalky for a few hours because removal dehydrates the surface temporarily. Rehydration fixes the look faster than more buffing.
Method 2: Gentle Filing (When You Don’t Have Remover)
If you don’t have an acetone-free gel remover, filing is the safest “no-acetone” option, but only when you treat it like reducing product, not “removing everything.”
Step 1: Shorten and stabilize
If your nails are long, trim them slightly. Long nails flex more, which makes over-filing and accidental cracks more likely.
Step 2: Remove the glossy top coat first
Use a 180–240 grit file and light pressure to take off the shine. This step matters because the top coat is the most resistant layer.
Step 3: File the gel down in thin, even passes
File parallel to the nail, not side-to-side aggressively. Stop often and look closely. You’re aiming for a thin, matte layer of gel, not bare nail.
Pro tip: Natural nail dust looks finer and the surface starts to look slightly uneven. If you see that change, stop filing and switch to aftercare.
Step 4: Leave a whisper-thin base layer if needed
If the last layer won’t budge without pressure, leave it. A thin layer of gel is safer than a thinned nail plate. You can let it grow out and gently file it down over a few days, or have it removed professionally.
Step 5: Smooth only at the end
If the surface feels rough, use a buffer lightly and briefly. Over-buffing is one of the fastest ways to make nails feel “paper-thin” later.
Step 6: Rehydrate immediately
Apply cuticle oil and a thick cream. Gel removal is drying, and hydration helps nails stay flexible and less prone to splitting.
Method 3: Warm Soak Methods (What to Expect)
Warm soaks can help loosen gel after you break the top coat, but they do not reliably dissolve gel polish the way acetone does. Think of these as a slow assist, not a guaranteed removal hack.
When warm soaks can help
- You’ve already filed off the shine and reduced the gel thickness.
- You have mild lifting at the edges and want to soften it further before gently nudging it away.
A practical approach
Soak fingertips in warm (not hot) water for a few minutes, dry thoroughly, then apply oil and gently massage it in. Repeat if the gel starts to look more flexible at the edges.
What not to expect
Warm water, soap, vinegar mixes, or oils alone usually won’t “melt” gel off cleanly. If you try to force the result by scraping, the method becomes damaging.
Common Mistakes to Avoid
Most nail damage comes from a few predictable habits.
- Peeling or picking at lifted edges
If you can lift it, you can also lift nail layers with it. That’s the fastest route to thin, rough nails. - Over-filing to “reach the nail”
The goal is safety, not perfection. Leaving a thin layer of product is better than removing keratin from the nail plate. - Using “magic” removers with unclear ingredients
Avoid products that promise gel removal in minutes without proper labeling. The U.S. Food and Drug Administration has warned that some gel nail polish removers contain methylene chloride, a prohibited cosmetic ingredient. - Scraping with sharp metal tools
Metal edges can gouge the nail plate, especially when the gel is only partially softened. - Buffing to fix dryness
Chalky-looking nails after removal are often dehydrated, not “ruined.” Buffing removes more nail. Moisture restores appearance faster than abrasion.
Aftercare: How to Get Your Nails Smooth Again
After gel removal, nails often feel dry, slightly rough, or bendy. That can happen even with good technique, because the process stresses the surface and pulls moisture out.
The simplest recovery routine (48 hours)
- Apply cuticle oil 2–3 times a day, then seal with hand cream.
- Keep nails short and softly shaped to reduce snagging.
- Avoid another gel set immediately if your nails feel tender or thin.
If your nails look visibly thinner after repeated gel cycles, that’s not unusual. Clinical and lab research has linked gel use and removal processes to structural changes in nail plates, especially when removal is aggressive.
Final Thoughts
Removing gel nail polish without acetone is possible, but the best results come from softening, not forcing. If you have an acetone-free gel remover, use it with tight contact and patience.
If you don’t, reduce the gel carefully with gentle filing and protect the nail plate by stopping early.
The real win is walking away with nails that still feel strong a week later.
Frequently Asked Questions
Can You Remove Gel Nail Polish without Acetone?
Yes, especially with an acetone-free remover formulated for gel. If you don’t have one, careful filing is the most reliable alternative, as long as you avoid over-filing and peeling.
Will Removing Gel without Acetone Damage My Nails?
It can be gentle, but damage usually comes from picking, scraping, or filing too deeply. Dermatology guidance consistently warns that peeling and aggressive removal can harm the nail plate.
How Long Does It Take without Acetone?
It depends on the product and how thick the gel is. In general, acetone-free approaches tend to be slower, and filing is often faster than soak-style methods but requires a careful hand.
What if It’s Builder Gel or Gel-X, Not Gel Polish?
Treat it like a structured product. Avoid soak tricks, don’t try to pry it off, and file down gradually. If you’re not confident, professional removal is safer than guessing at home.