A small closet doesn’t mean small potential. If you have a tiny reach-in or a shared space, the secret is working smart with what you have.
With a few clever hacks, space-saving tools, and simple style touches, even the most cramped area can look neat and feel spacious.
Start by clearing out what you don’t need, then organize what you love in ways that make sense for your lifestyle.
You’ll find smart ways to fold, hang, and store everything, making it easy to find and keep your closet looking great. The result is a wardrobe that works harder and looks better every day.
Organizing Your Closet Successfully
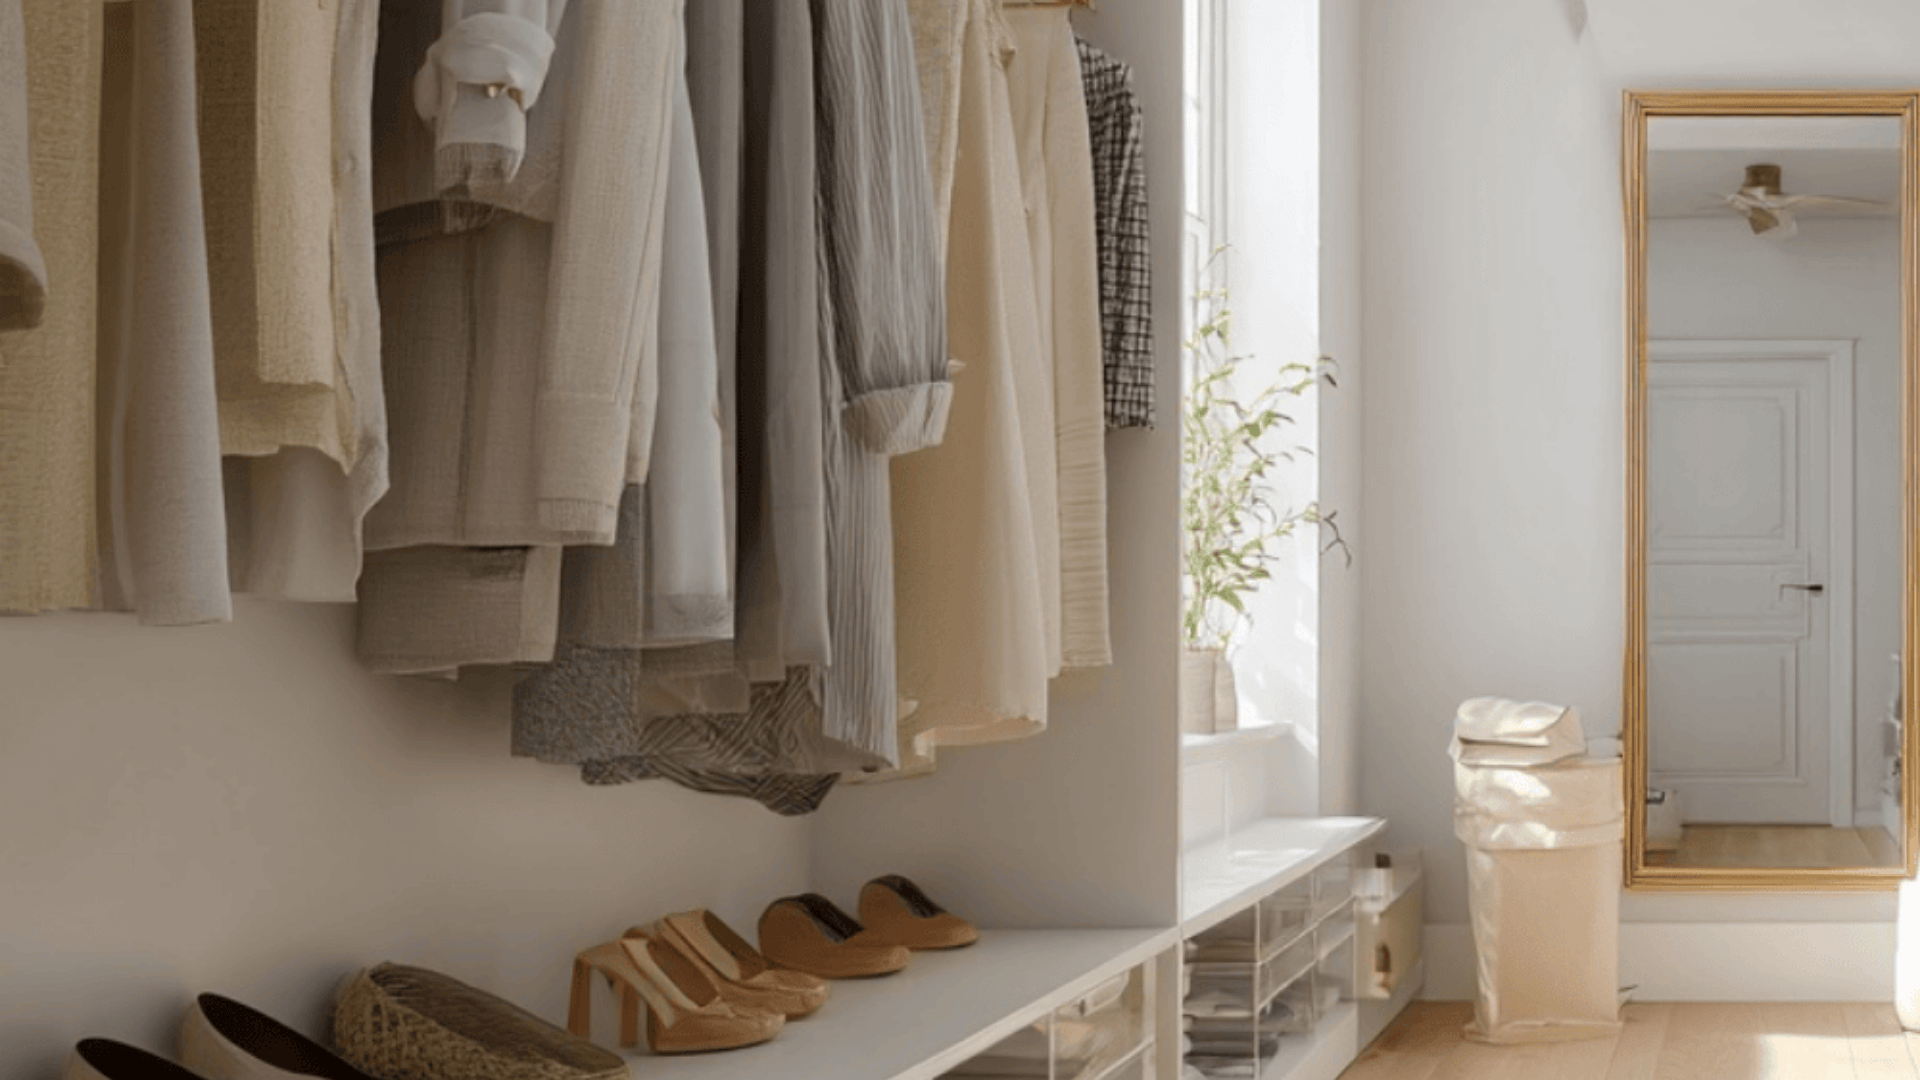
Styling your compact wardrobe is about more than looks; it’s about creating a space that feels calm, functional, and truly yours.
Begin by choosing a style that fits your taste, whether clean and minimal or colorful and boutique-like.
Use matching hangers, fabric bins, or small containers to keep things neat and unified. Try adding a pop of personality with removable wallpaper or soft lighting.
Group similar items together, arrange clothes by color, and keep everyday pieces at eye level.
When you learn how to organize a small closet, it becomes easier to maintain routines and enjoy a space that feels both stylish and effortless.
Decluttering & Planning
Decluttering represents the most important first step. Without removing excess, even superior organizing approaches fail.
1. Empty the Entire Wardrobe and Clean Every Surface
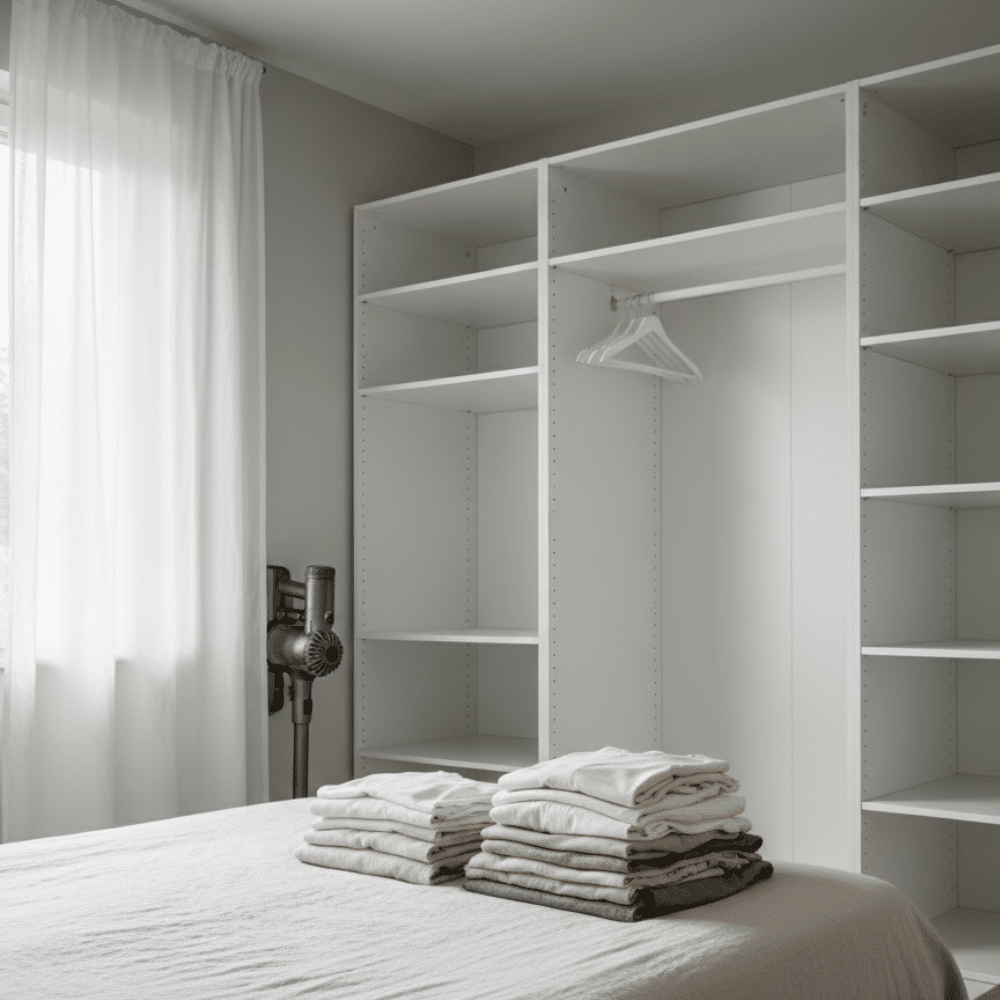
Pull everything out, every single piece. Place garments on beds, footwear on floors, and accessories in clear view.
Starting with clean slats makes reorganization more satisfying and helps spot needed repairs, such as loose shelving and broken rods.
2. Sort into Keep, Donate, Toss

While evaluating each piece, create three distinct piles. “Keep” piles should only contain pieces worn during the past 12 months, serving specific purposes.
“Donate” piles hold pieces in good condition that no longer fit lifestyles. “Toss” piles include damaged, stained, and worn-out garments. Be honest, holding onto garments “just in case” contributes to disorder.
3. Measure Before Buying Organizers
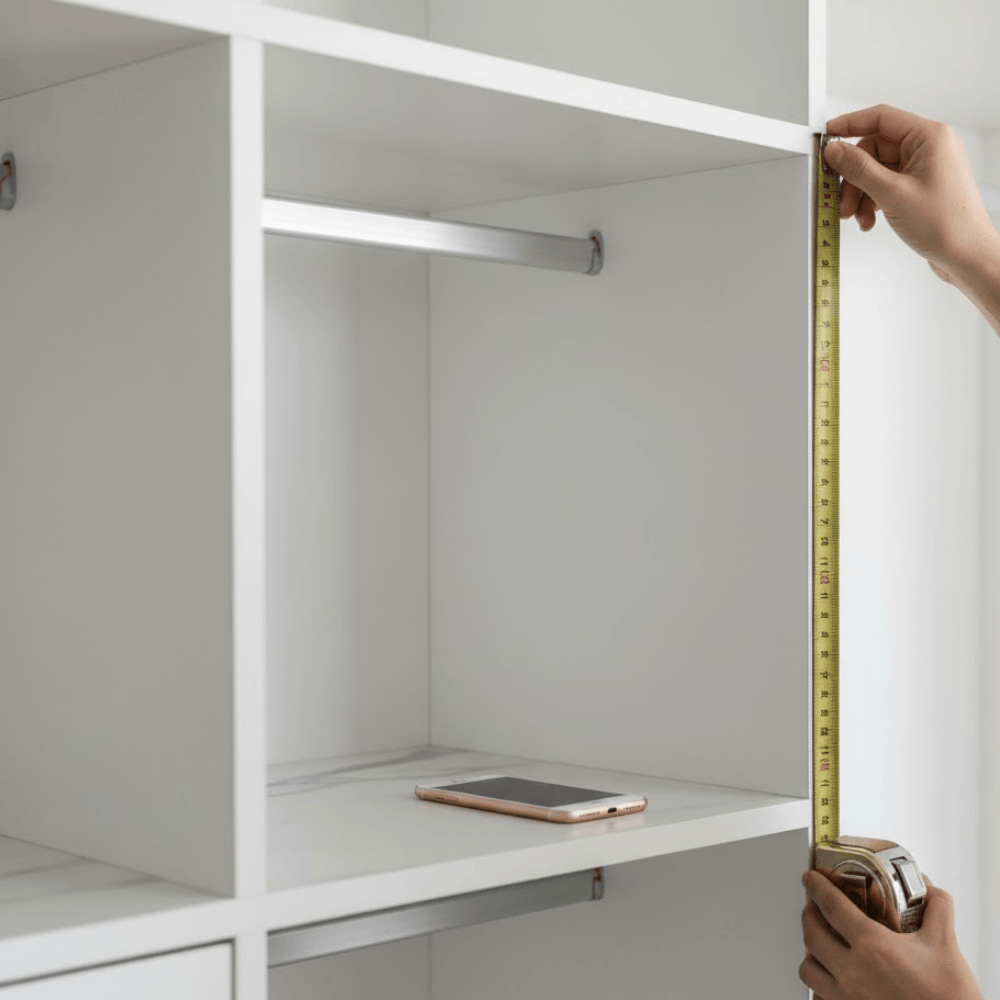
Grab tape measures, record dimensions. Measure heights from floors toward ceilings, widths of rods, and depths of shelving. Don’t forget to measure doorways and areas behind doors.
These measurements prevent costly mistakes, such as purchasing organizers that do not fit properly. Write down measurements on phones, notebooks, and referenceable materials while shopping online, in stores.
4. Sketch Quick Layouts
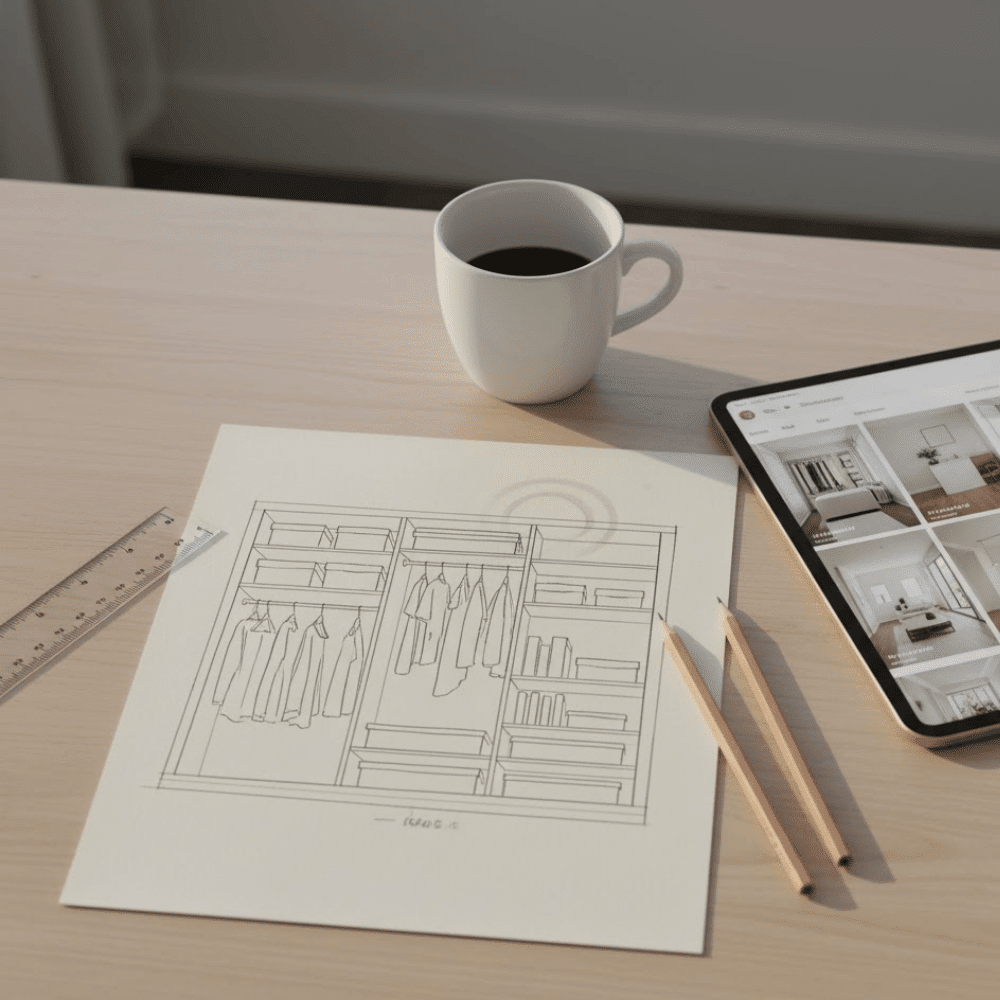
Draw simple diagrams. Mark wanted hanging garments, folded pieces, footwear, and accessories. Visual plans help think through traffic flow and accessibility.
Artistic skills aren’t needed; rough sketches on paper, quick digital drawings work perfectly. Consider which pieces are used daily, and place those in the most accessible spots.
5. Group Garments by Category
Instead of organizing by outfits, organize similar pieces together by occasion. Place tops in one section, pants in another, and continue similarly.
This category-based method makes getting dressed faster, and helps see duplicates that are potentially unnecessary. When similar items are together, easily assessed.
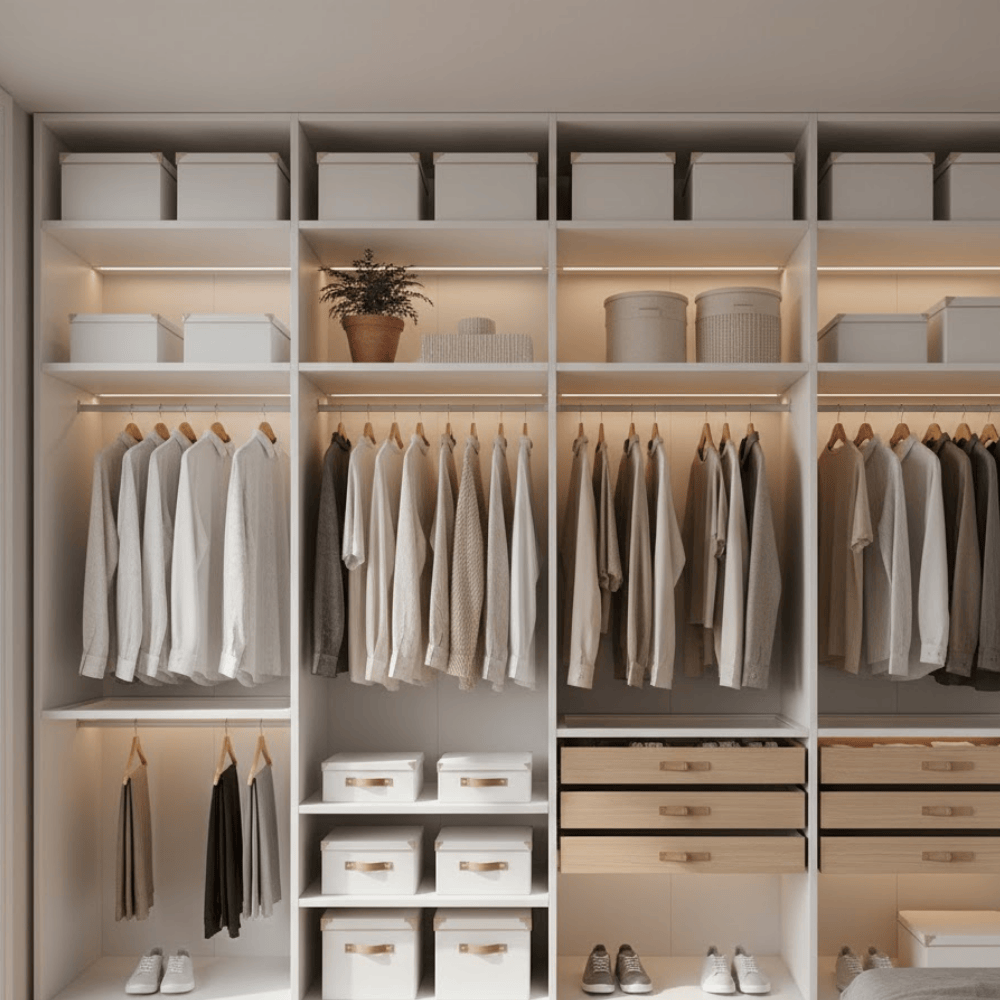
6. Assign Each Section Purpose
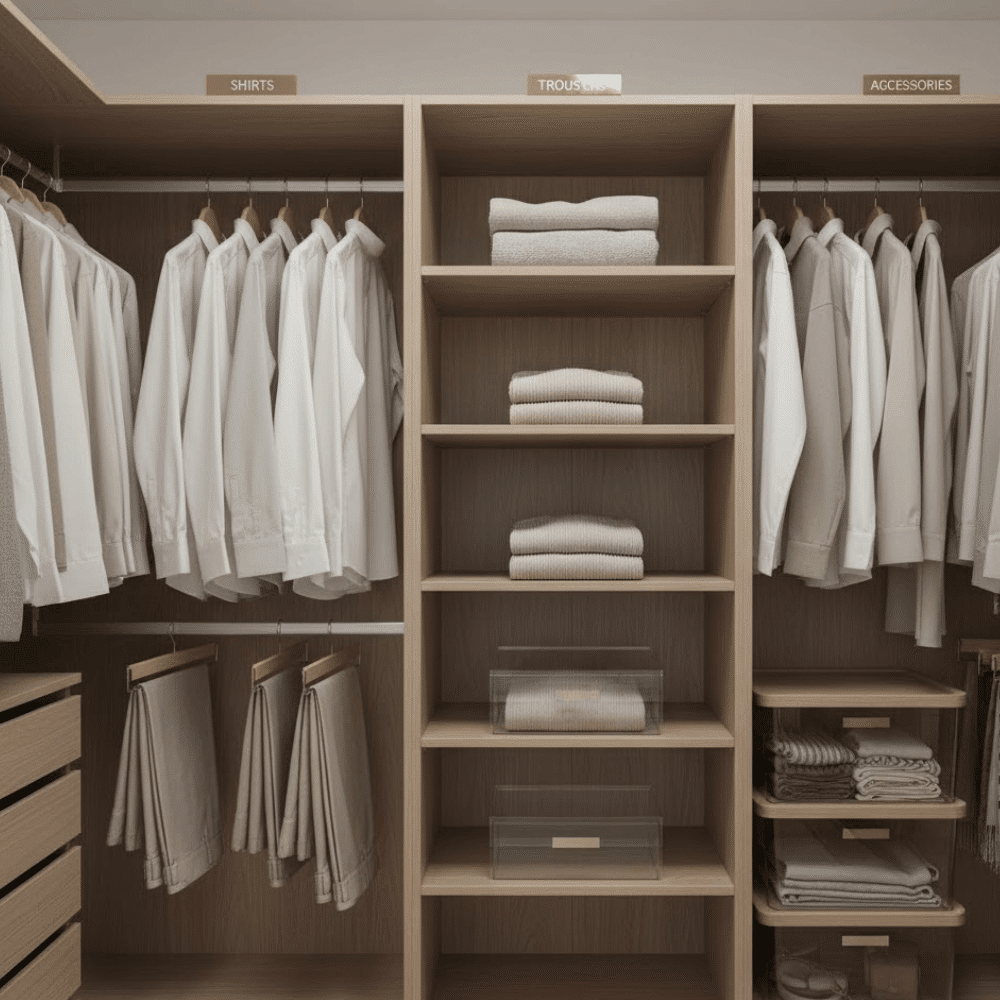
Every area should have designated functions. Top shelving might hold off-season pieces, main rods for everyday hanging garments, and lower attachments for bags.
Avoid creating catch-all zones labeled “miscellaneous” because these quickly become disorganized dumping grounds. When each section has a clear purpose, putting things away becomes automatic, and maintenance requires less effort.
Maximize Vertical & Hidden Areas
Compact wardrobes often have plenty of unused vertical areas, hidden spots doubling capacities. This section shows looking up, down, and around to find opportunities that might have been missed.
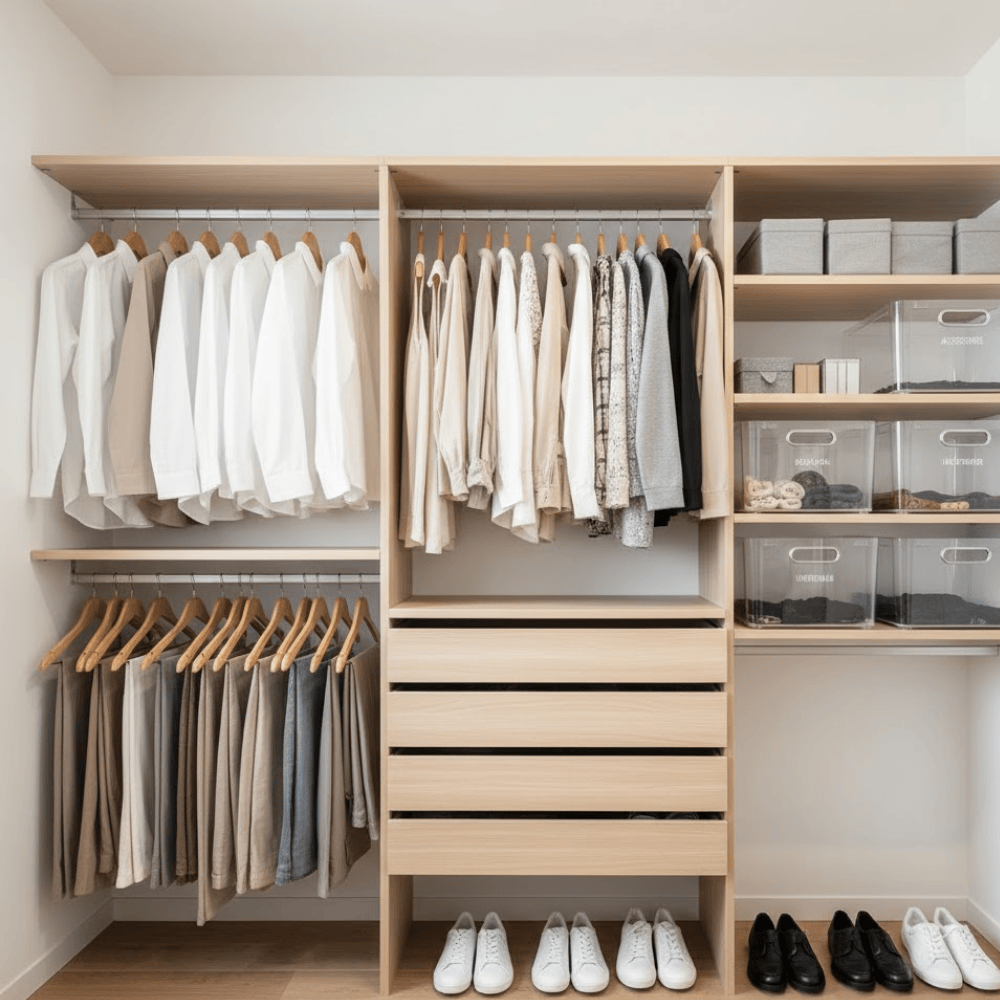
7. Add Double Hanging Rods (Upper Plus Lower Tiers)
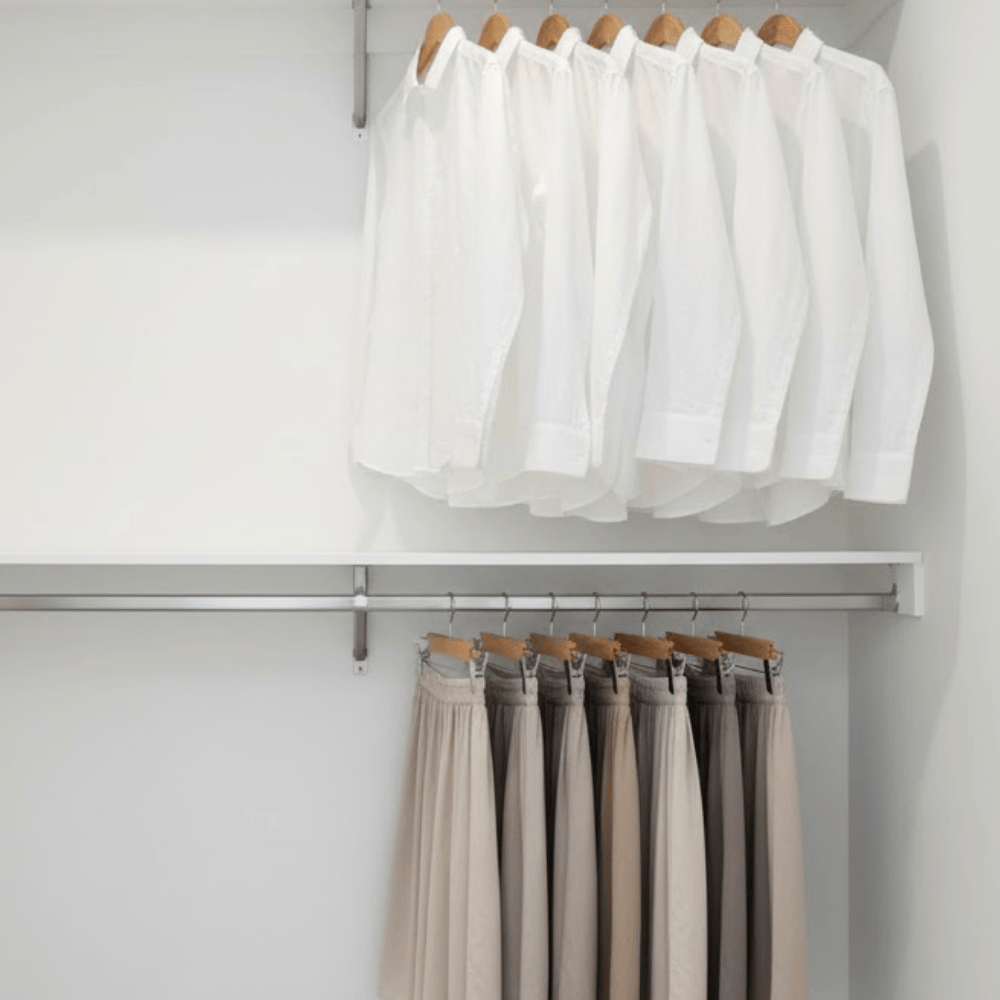
Installing second rods below existing ones instantly doubles hanging capacities. Upper rods work perfectly for shirts, blouses, folded pants over hangers, while lower rods hold skirts, shorts, and additional tops.
Purchase adjustable double rod configurations, and install the second rods yourself with basic hardware.
8. Install Ceiling-High Shelving for Off-Season Pieces

Empty areas between the current top shelving and ceilings represent valuable real estate. Install additional shelving that reaches the ceilings for storing off-season garments, luggage, extra bedding, and special occasion pieces.
Use transparent containers and labeled boxes to identify contents without pulling everything down. Keep step stools nearby for safe access.
9. Apply Under-Shelf Baskets Layering Extra Capacity
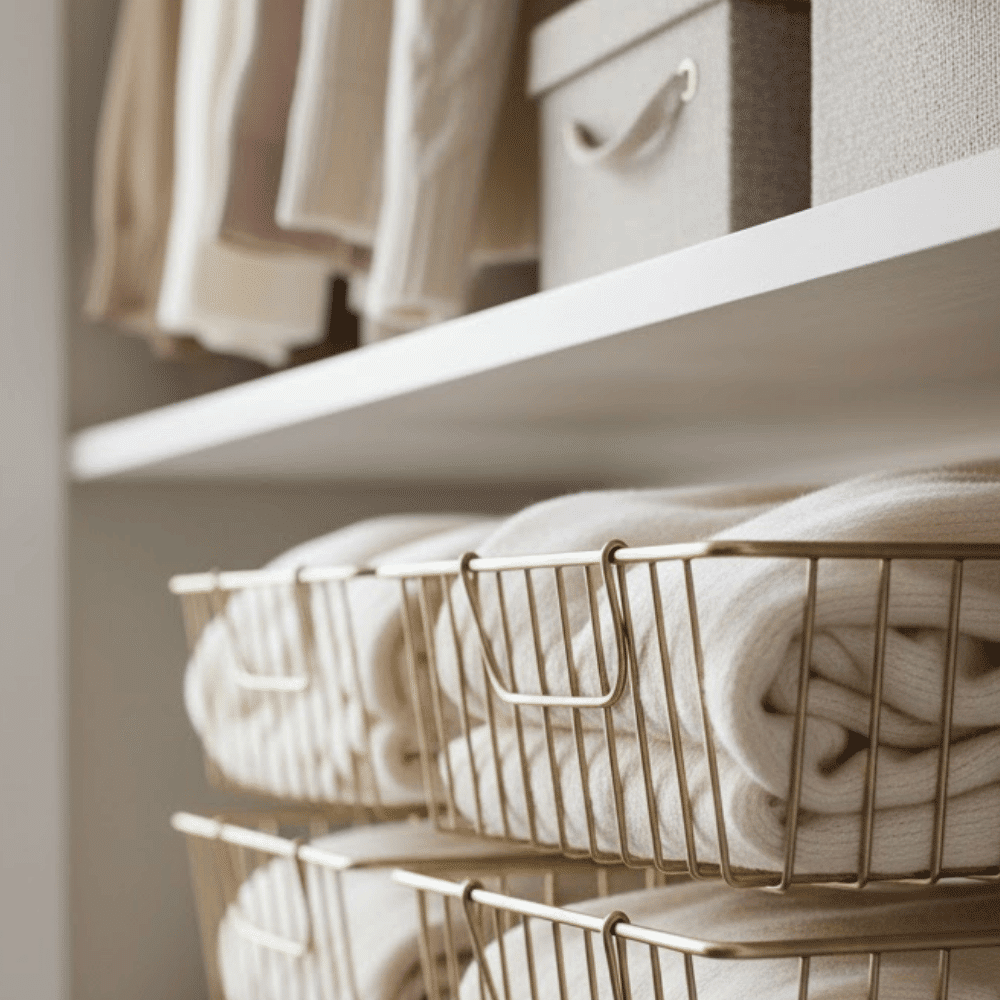
Slide-on wire baskets hanging from existing shelving create extra capacity without requiring installation.
These clever organizers take advantage of vertical areas underneath shelving, work perfectly for folded sweaters, t-shirts, and accessories. They’re removable, adjustable, and budget-friendly, making them ideal for renters and anyone wanting flexible options.
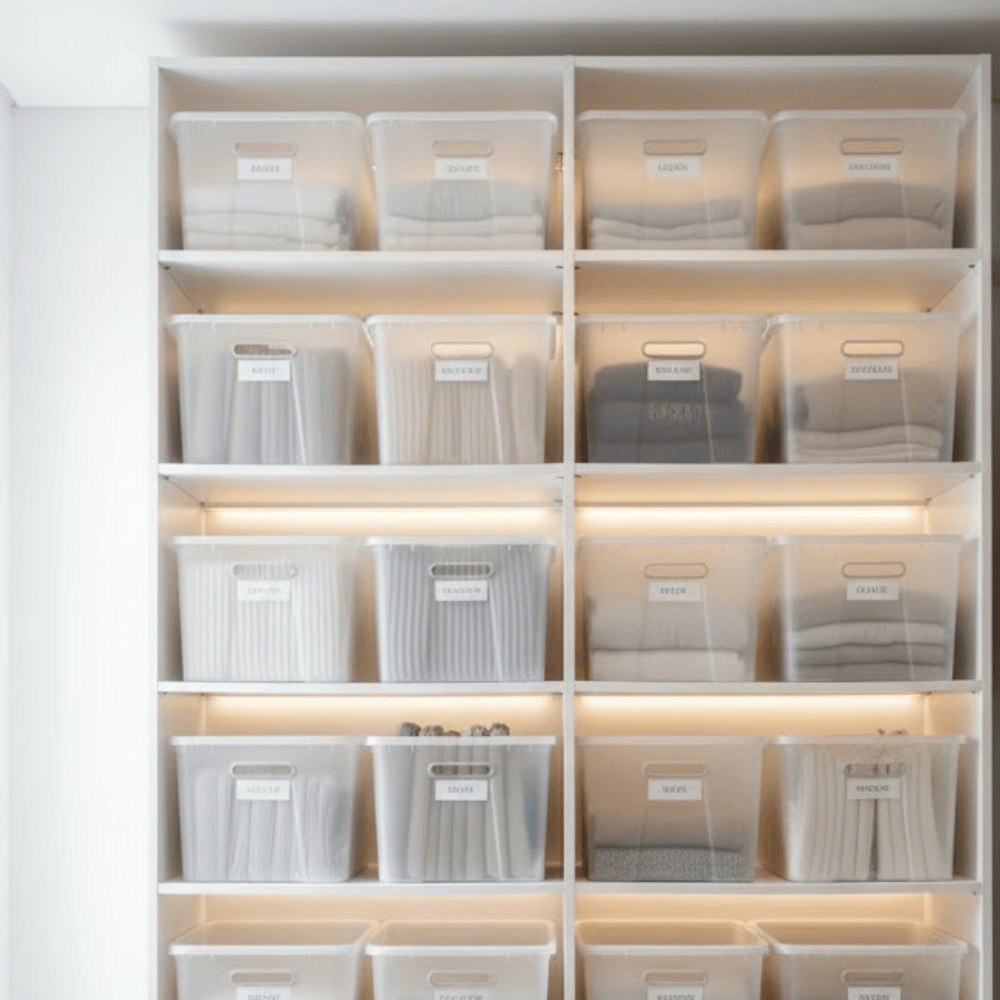
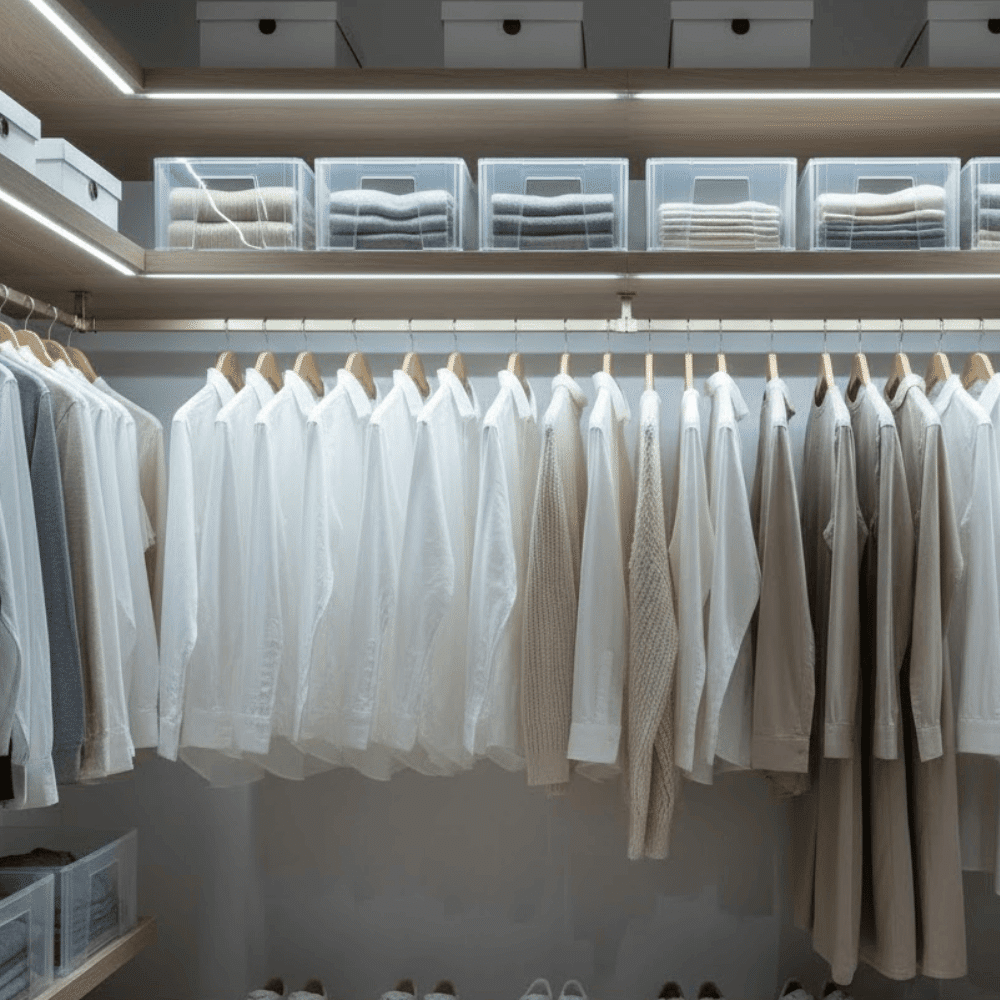
10. Stack Transparent Containers, Modular Cubes Vertically

Rather than spreading pieces horizontally across shelving, stack vertically. Transparent plastic containers let you see contents at a glance, while modular cube configurations create customized arrangements.
Label each container clearly, and rotate seasonal pieces, keeping current garments accessible. Stackable configurations make efficient use of vertical areas while keeping everything organized and protected from dust.
11. Mount Attachments, Rails on Side Surfaces, Doors
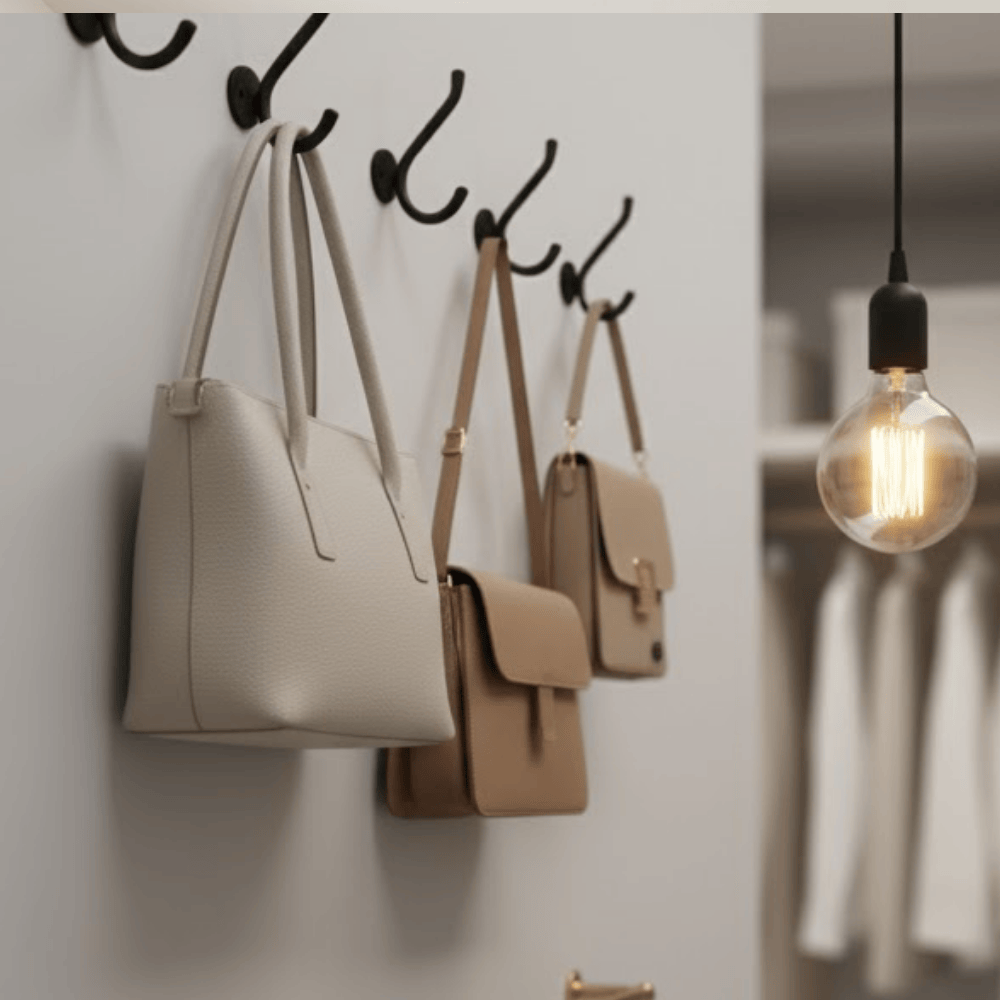
Interior side surfaces, back of doors, offer prime real estate for attachments, rails. Mount sturdy attachments for bags, belts, scarves, and tomorrow’s outfits.
Install towel bars, tension rods for ties, necklaces, and hanging accessories. These additions take up virtually no floor area while significantly increasing capacities.
12. Store Infrequently Needed Pieces in Labeled Top Containers
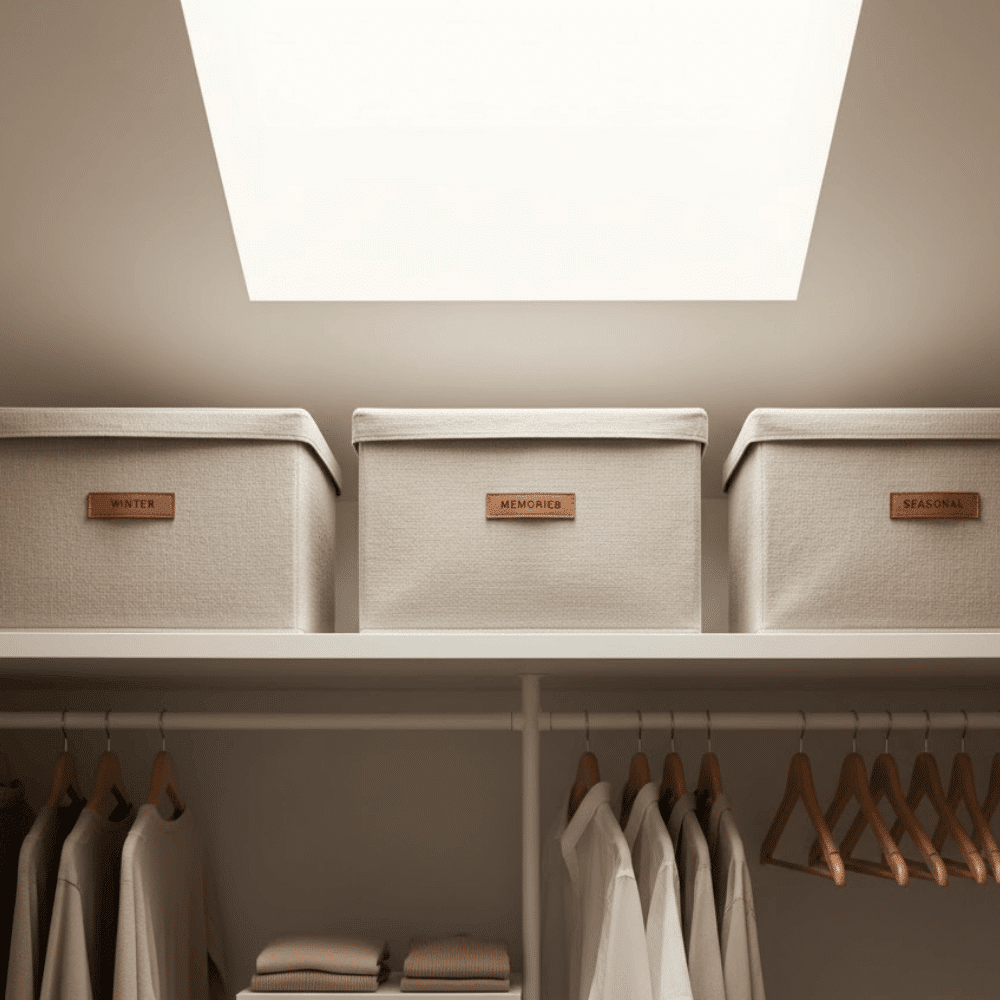
Highest shelving should house pieces rarely needed but can’t be discarded, such as formal wear, seasonal decorations, and sentimental garments.
Apply matching containers with large, transparent labels facing outward. Consider labeling approaches with categories and dates to quickly locate pieces. Keeps most accessible areas free for daily essentials while ensuring everything has proper homes.
Smart Hanging & Garment Approaches
How hanging garments dramatically affects what fits, and how quickly you get dressed. These solutions optimize hanging areas and create approaches that work with lifestyles.
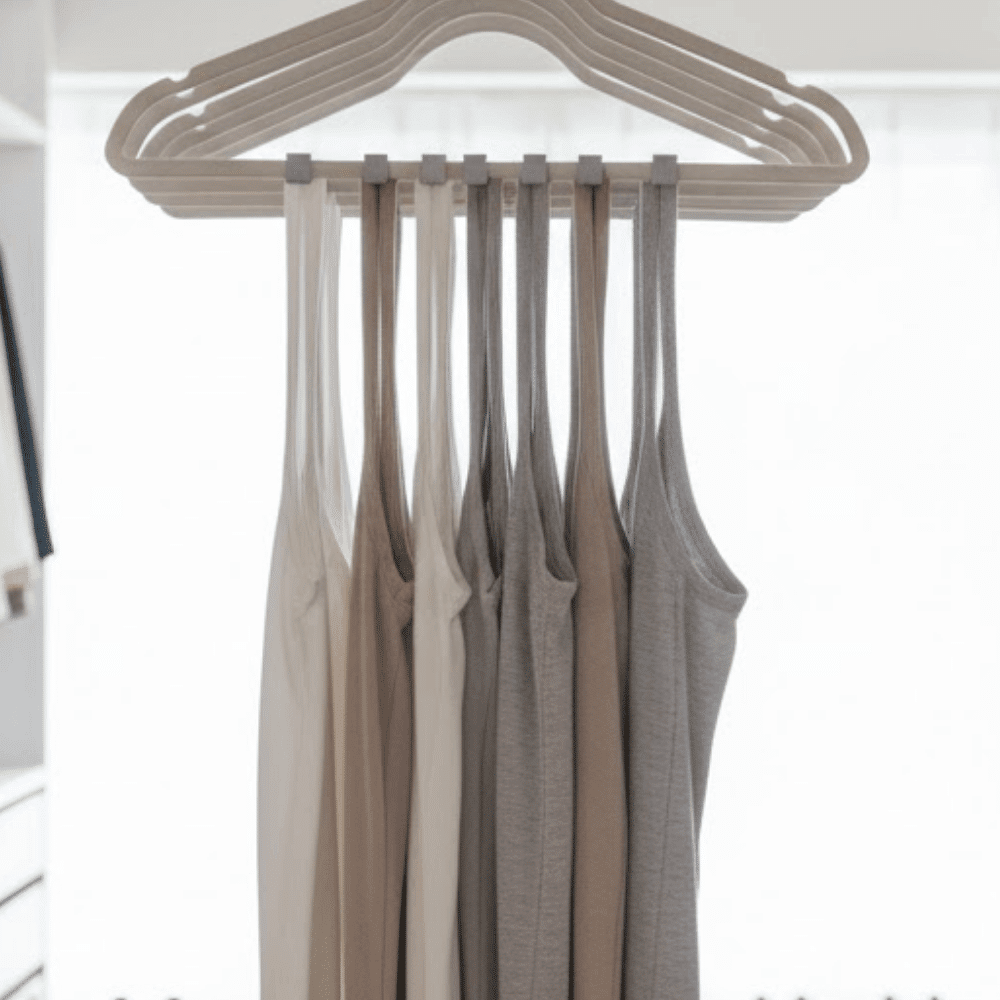
13. Switch Toward Slim, Non-Slip Velvet Hangers

Bulky plastic, wire hangers waste precious rod areas. Velvet hangers are thinner, preventing garments from slipping off; their uniform appearance creates a boutique-like look.
Complete hanger switchovers can increase hanging capacities 30-50%. Choose neutral shades like black, gray, and cream that coordinate with the unique look. Investments pay off in both function, appearance.
14. Try Cascading Hangers Suspending Multiple Pieces Vertically
Cascading hangers feature loops the allow multiple hangers to be suspended vertically from a single rod area. This approach works perfectly for tank tops, scarves, and outfits that want to be kept together.
Instead of taking up five horizontal inches of rod areas, five cascading hangers consume just one inch. This multiplication of areas helps compact wardrobes accommodate larger collections.
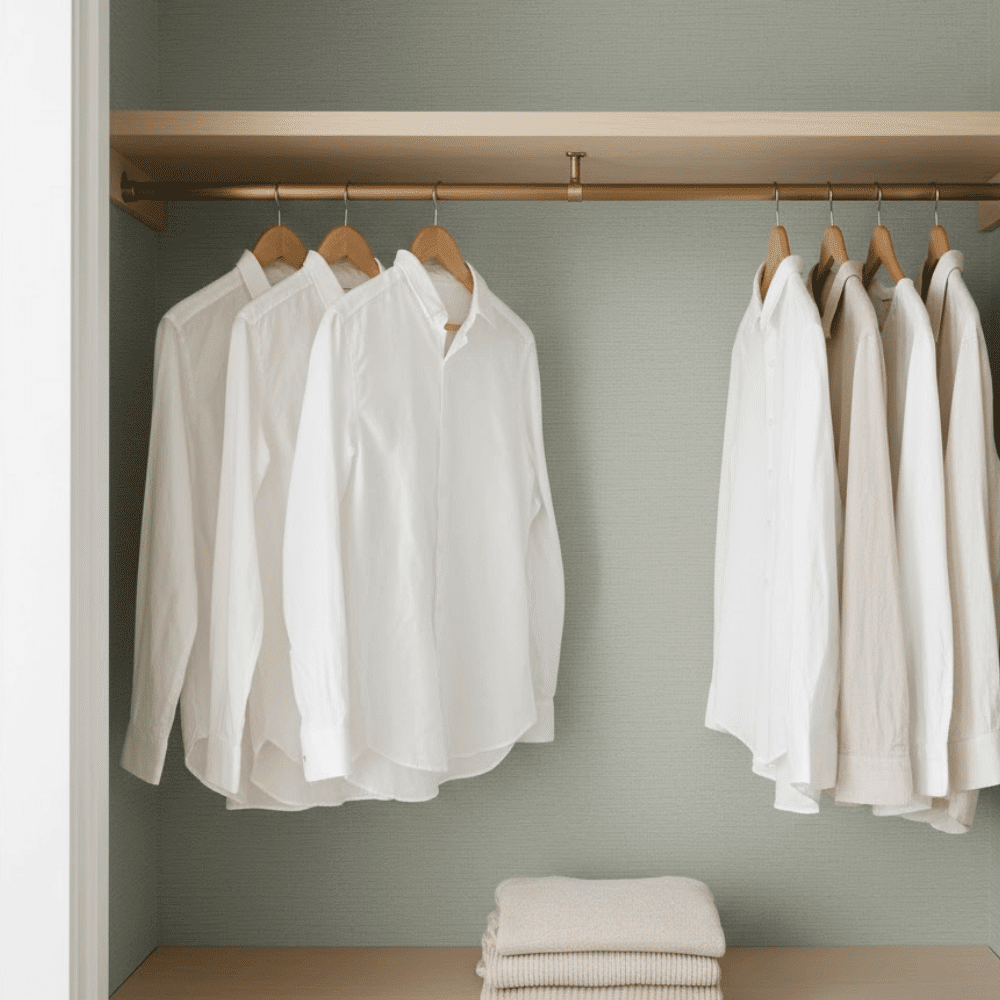
15. Group Garments by Shade, Outfits Saving Time
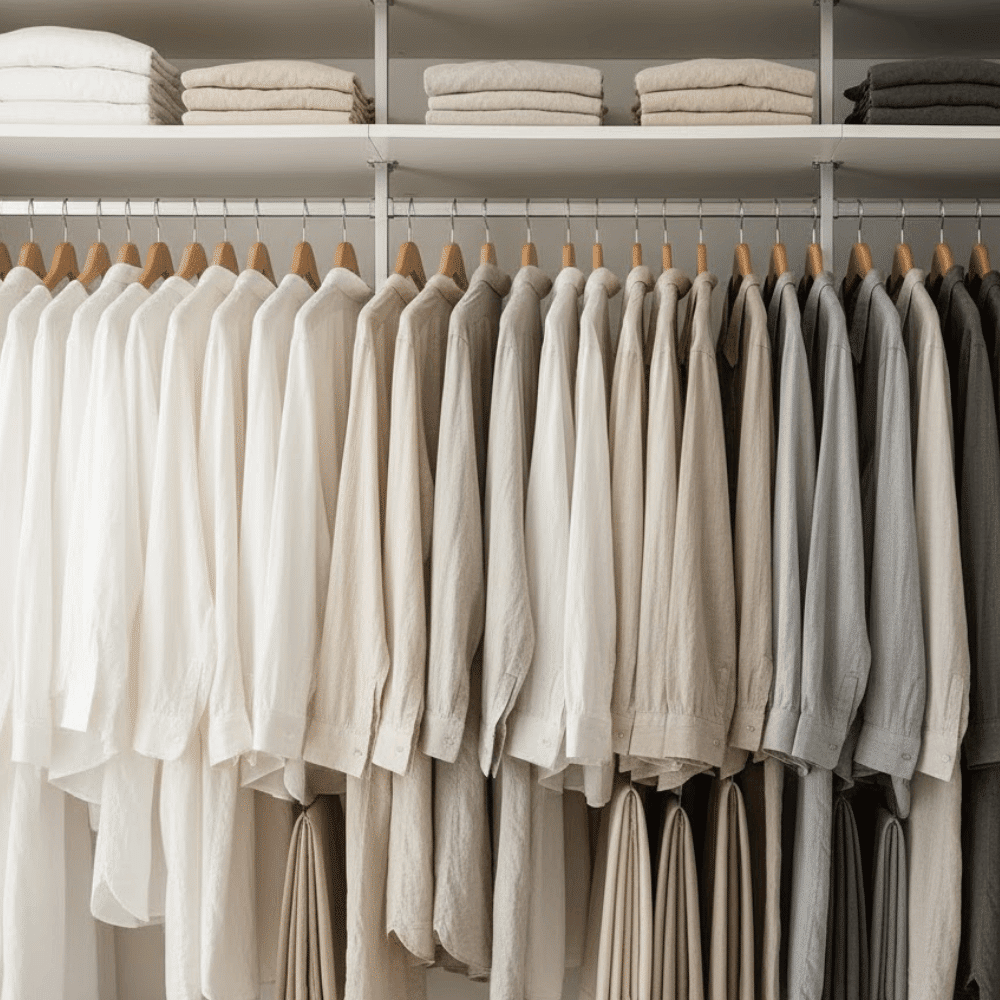
Arranging garments by shades creates visual harmony, makes finding pieces effortless.
Start with whites, progress through rainbows toward blacks, and patterns. Alternatively, group complete outfits together if you prefer grab-and-go dressing. Both methods reduce decision fatigue in the mornings, help spot gaps during shopping.
16. Apply Pull-Out Valet Rods for Outfit Planning
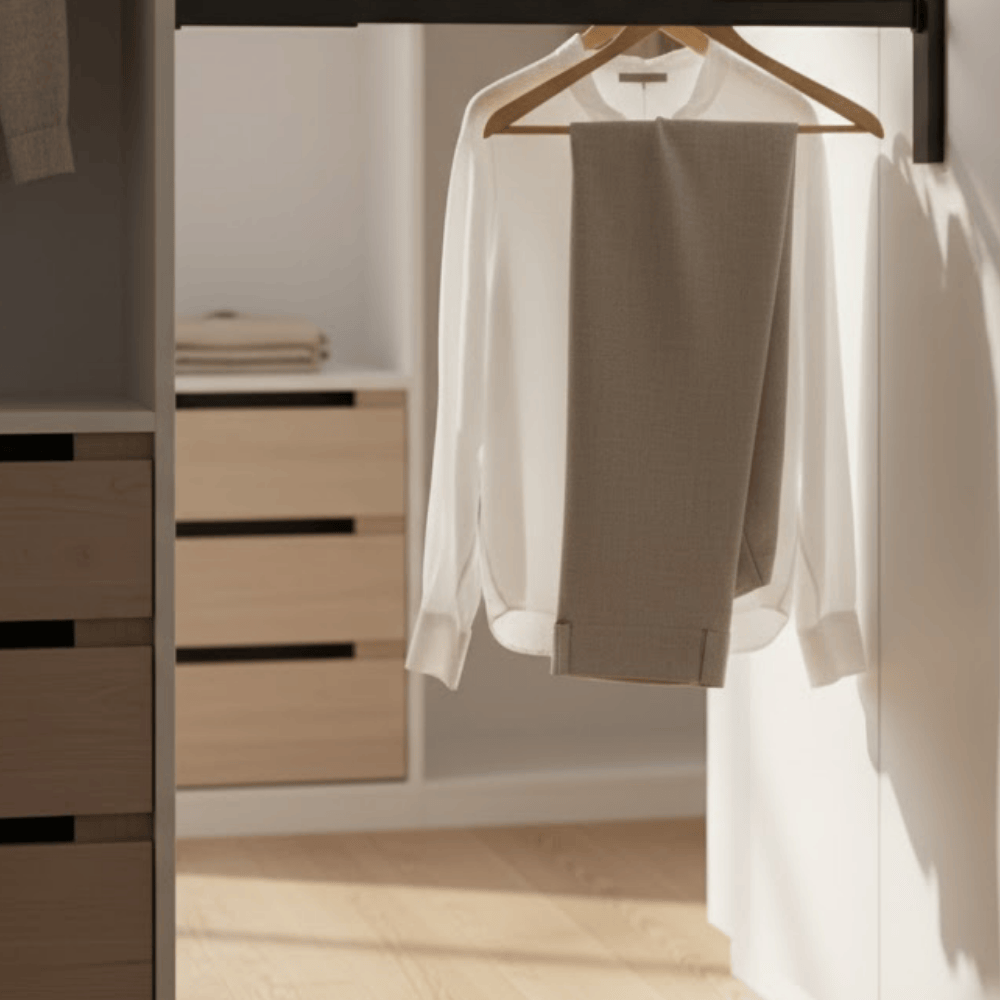
Valet rods pull out from walls, side panels, providing temporary hanging spots for tomorrow’s outfits, garments being considered. After usage, it tucks back out of the way.
These additions prevent draping garments over chairs and doorknobs, streamlining morning routines. Some models mount toward walls, others attach to existing configurations.
17. Suspend Bulky Pieces (Coats, Blazers)
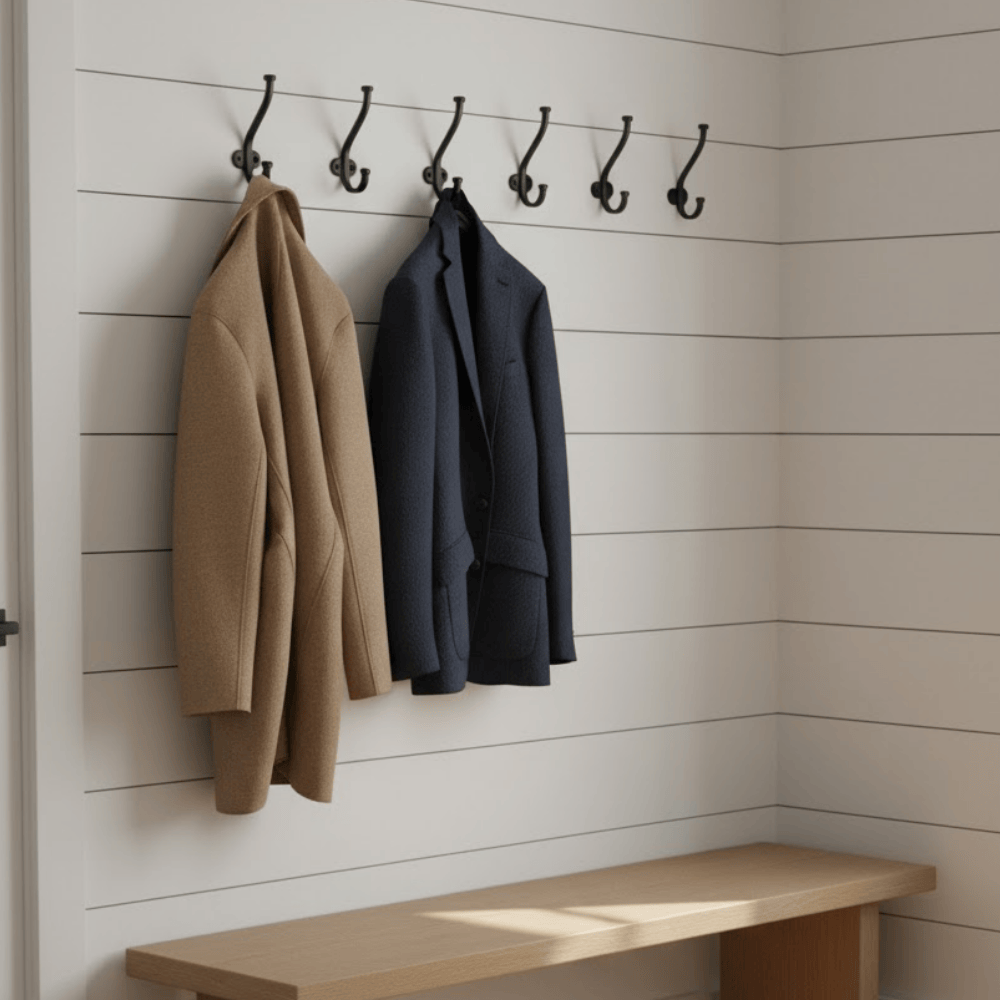
Heavy coats, winter jackets, and structured blazers take up significant rod areas and can weigh down standard rods. Instead, install heavy-duty attachments in entryways, mudrooms, and bedroom walls for these pieces.
This approach frees up valuable areas for lighter, more frequently worn garments while keeping outerwear accessible where actually needed.
18. Face Hangers Single Direction for Uniformity

This simple trick makes wardrobes look instantly more organized. Point hanger attachments are single, directional, typically opening toward users facing wardrobes.
This uniformity creates visual calm, makes sliding hangers along rods smoother. Some organizing experts recommend turning hangers backward at the start of the season and then forward as pieces are worn, making it easy to identify unworn garments.
Doors, Surfaces & Compact Arrangements
Wardrobe doors, surfaces, and corners hold hidden capacities. These solutions help utilize every surface without making areas feel cramped.
19. Suspend Over-Door Organizers for Footwear, Accessories
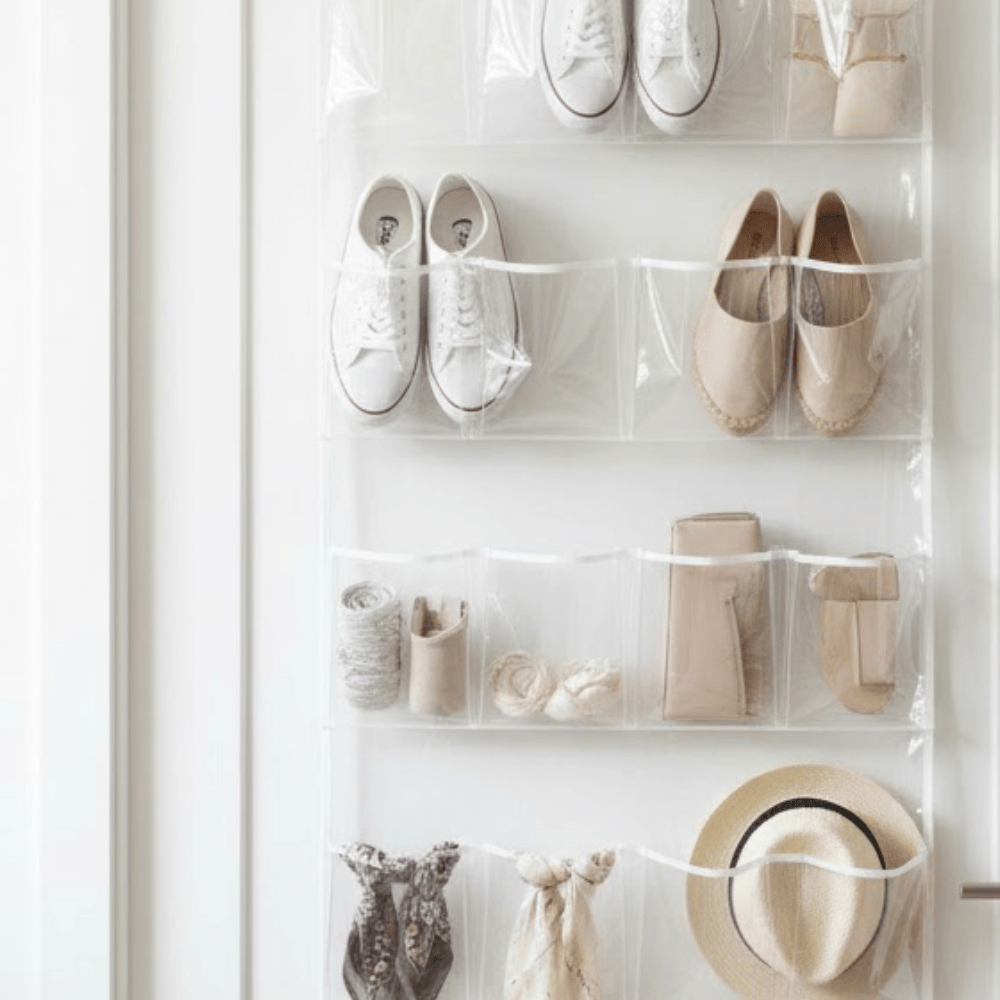
Over-door organizers with transparent pockets change wasted door areas into valuable spaces. They’re perfect for flat footwear, rolled scarves, accessories, and even cleaning supplies.
Transparent pockets let you see everything at a glance, making morning routines faster. These organizers require no installation beyond suspending over doors, making them ideal for renters, anyone wanting quick arrangements.
20. Apply Inside Doors for Attachments, Suspended Racks

Beyond over-door organizers, consider installing permanent attachments, suspended racks on door interiors. Mount rows of decorative attachments at varying heights for bags, hats, and jewelry.
Suspended racks with multiple bars work well for ties, belts, and tank tops. This approach maximizes door surface areas while keeping pieces visible, accessible.
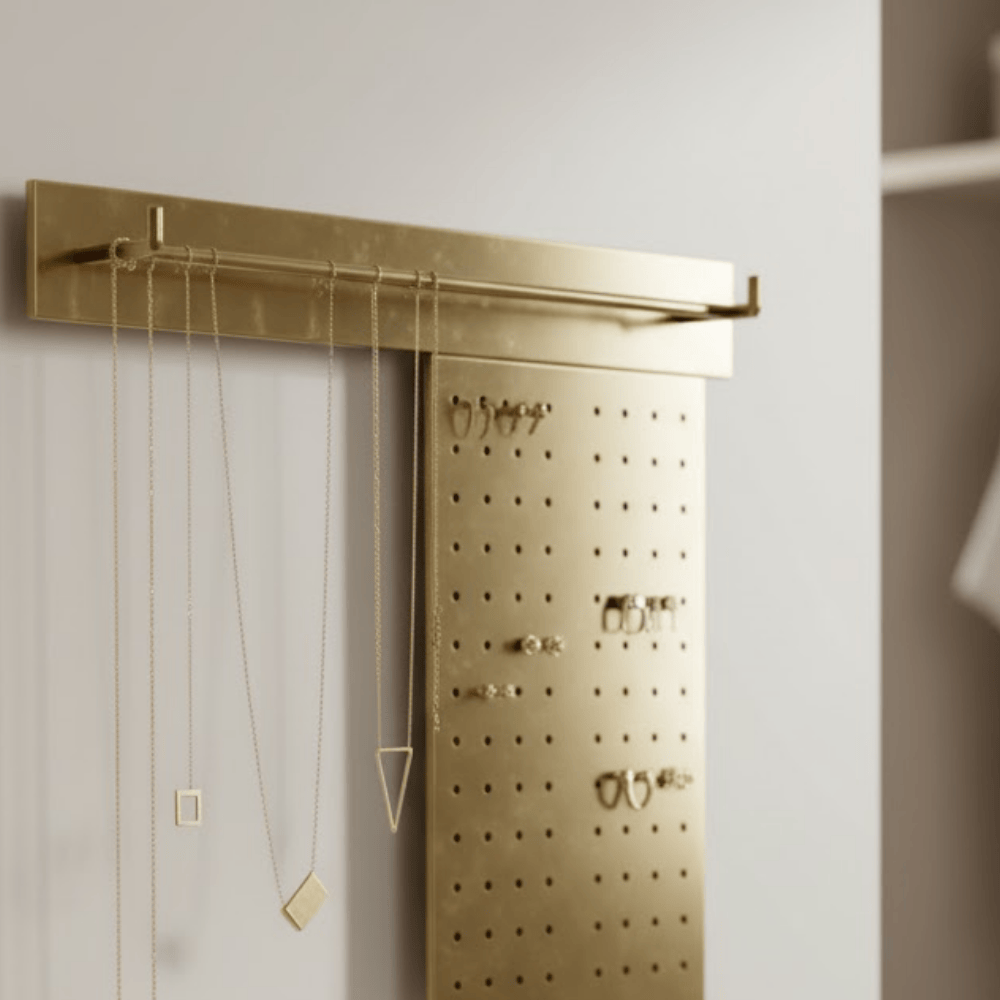
21. Install Pegboards, Slatwalls for Belts, Jewelry, Hats

Pegboards offer customizable arrangements that adapt as needs change. Install pegboard sections on side surfaces, add attachments, shelving, and specialized holders for accessories. Slatwall panels provide similar solutions with more finished appearances.
Both options turn vertical surface areas into functional capacities without permanent commitment and allow rearranging attachments and accessories as often as needed.
22. Mount Floating Shelving in Narrow Corners

Corner areas often go unused, but narrow floating shelving can turn them into functional arrangements. Install shelving at staggered heights for folded pieces, footwear, and decorative containers.
Corner shelving works especially well in walk-in configurations, larger reach-in setups where corners would otherwise remain empty.
23. Add Tension Rods for Scarves, Ties
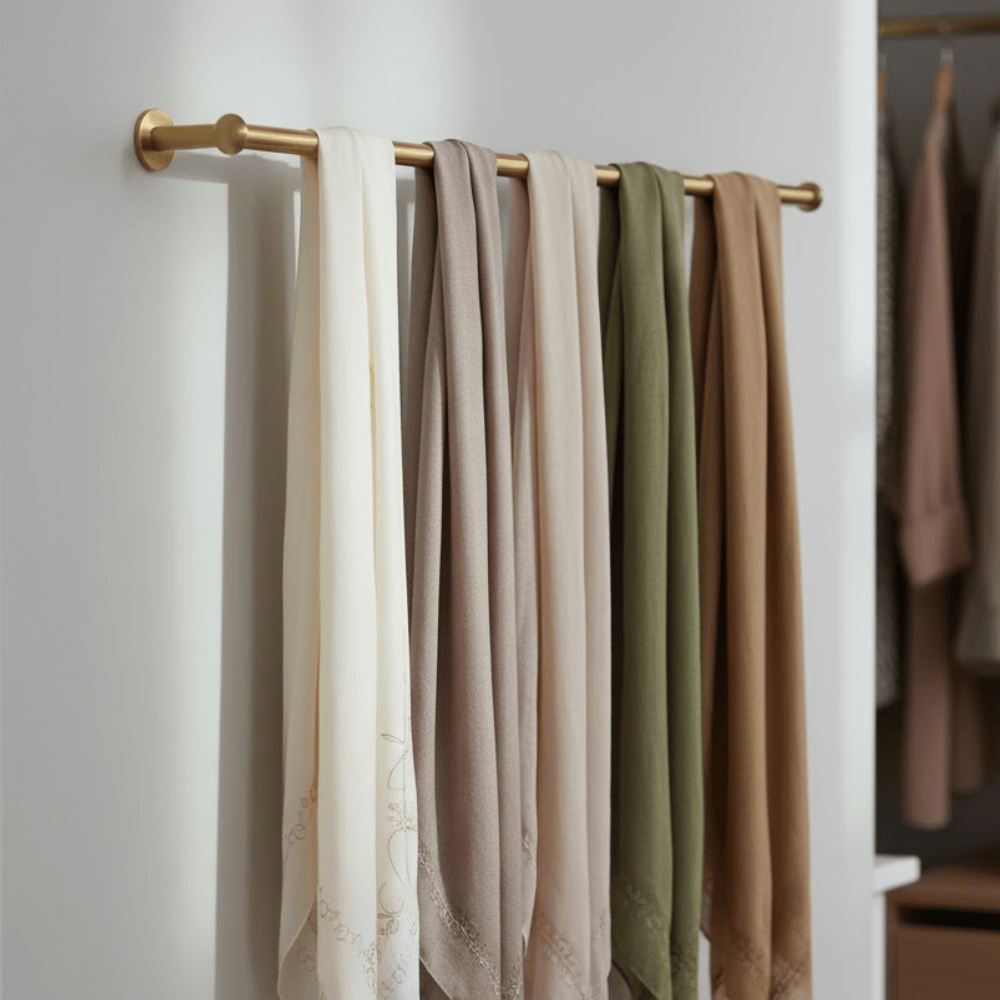
Tension rods install without hardware, simply wedged between surfaces using spring tension. Add across narrow surface sections, between uprights suspending scarves, ties, and belts.
Rods keep these accessories wrinkle-free, visible, and easy to grab. Install multiple tension rods at different heights to maximize vertical space.
24. Place Mirrors, Lighting Strips, Brightening Tight Areas
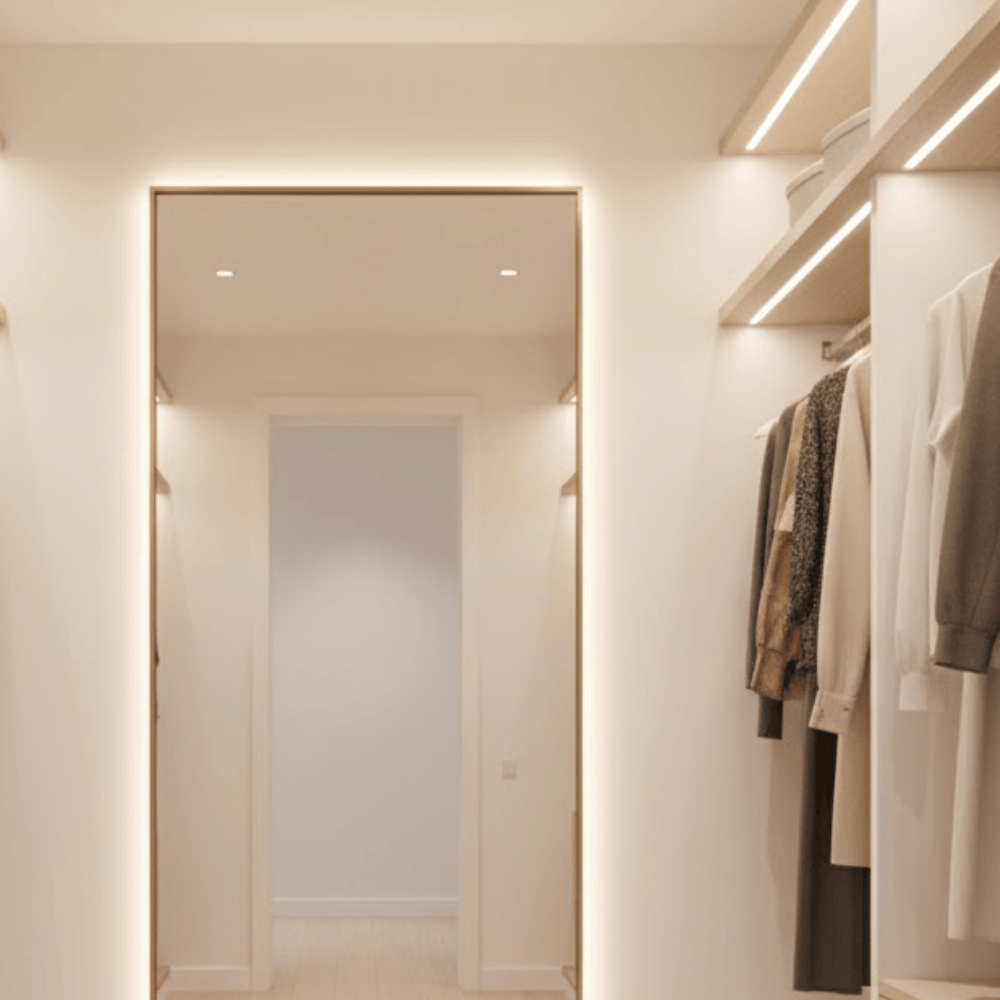
Compact wardrobes often lack natural light, making them feel cramped and making it difficult to see garment shades accurately.
Mount full-length mirrors on surfaces reflecting light, making areas feel larger. Add battery-powered LED strip lights under shelving, along rods for better visibility. Motion-sensor lights provide hands-free operation when opening wardrobes.
Accessories, Footwear & Smaller Pieces
Smaller pieces create the biggest organizational challenges because they’re easy to lose, difficult to store efficiently. These solutions keep accessories, footwear, and smaller pieces neat and accessible.
25. Store Footwear in Transparent Stackable Boxes, Cubbies
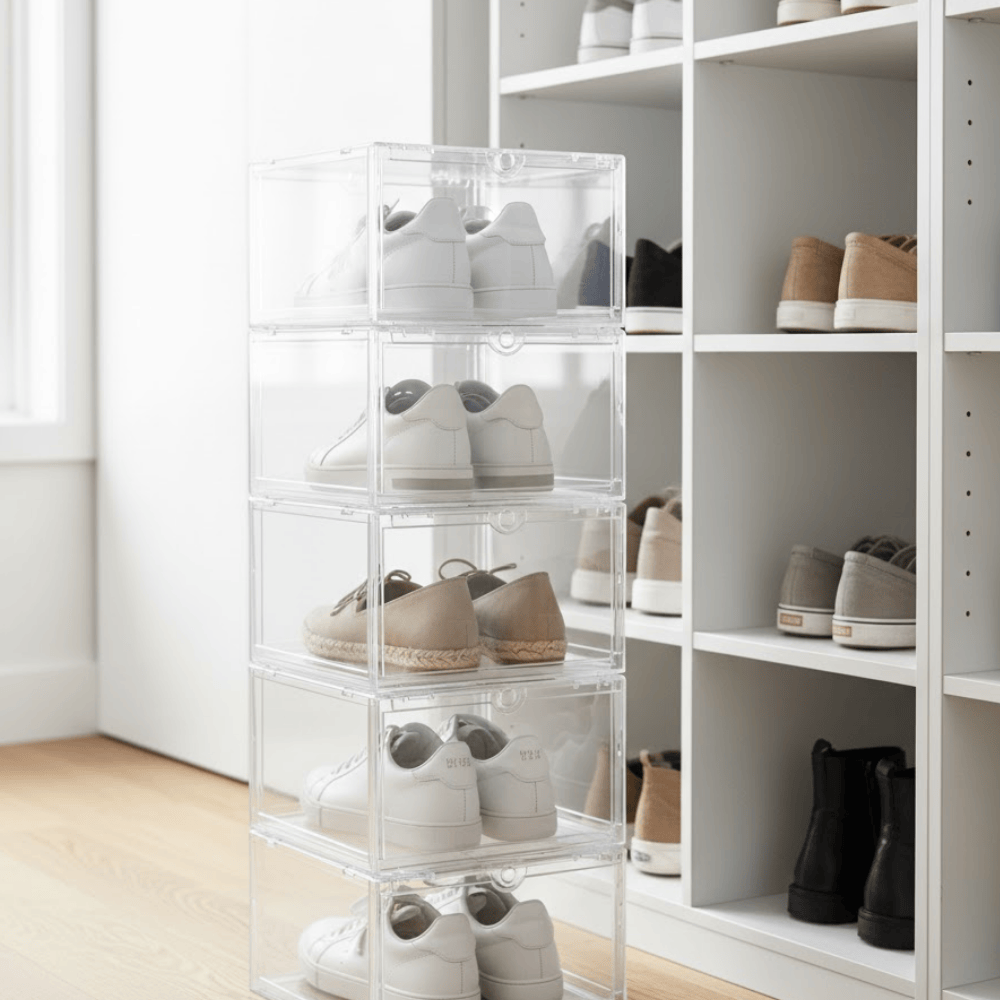
Transparent footwear boxes protect from dust while letting you see exactly what’s inside. Stackable designs maximize vertical areas on floors, shelving.
For budget-friendly alternatives, consider cubby configurations and simple footwear racks. Group footwear by type, sneakers together, dress footwear together, and sandals together, to make selection quick and prevent digging through piles.
26. Add Drawer Dividers for Underwear, Socks, Ties
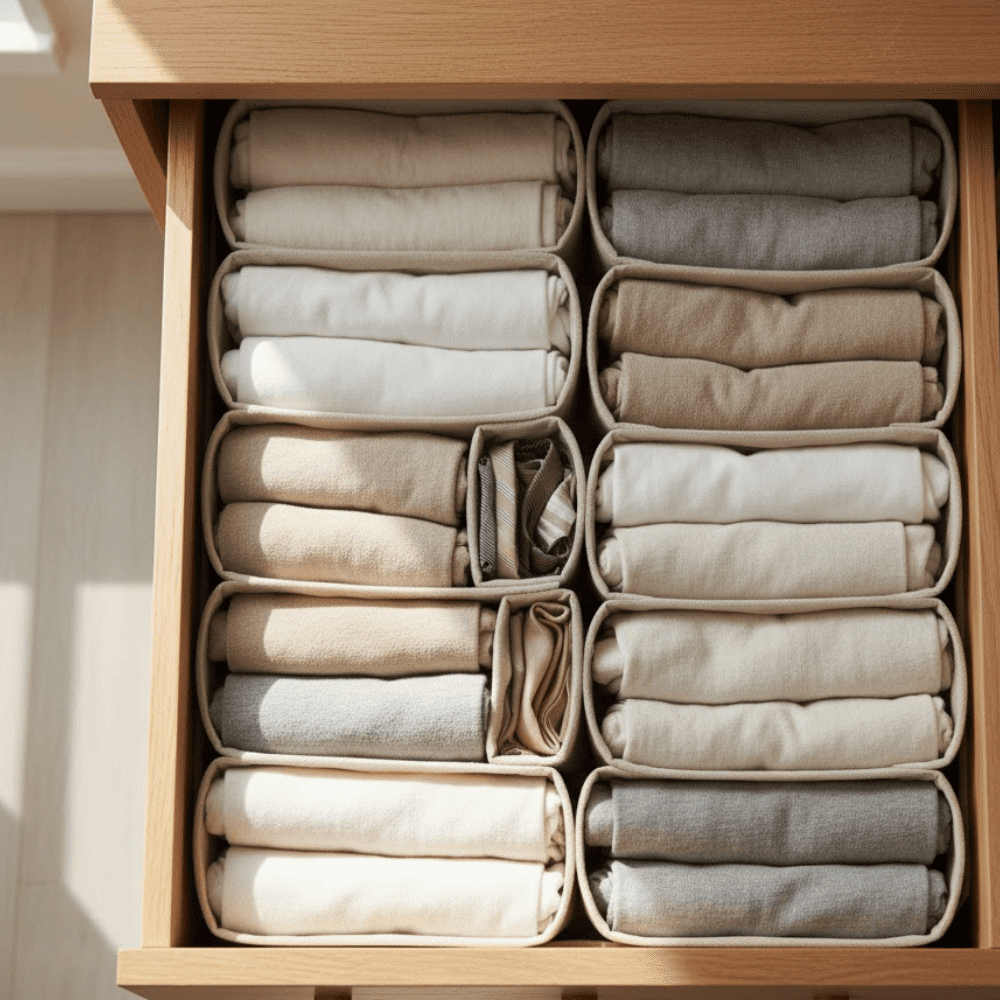
Drawer dividers change chaotic drawers into organized compartments. Fabric and plastic dividers create sections for different types of undergarments, socks, ties, and accessories.
This approach prevents pieces from mixing together, making it easy to see when running low on essentials. Adjustable dividers adapt to different drawer sizes and can be rearranged as needs change.
27. Apply Baskets, Containers for Handbags, Hats
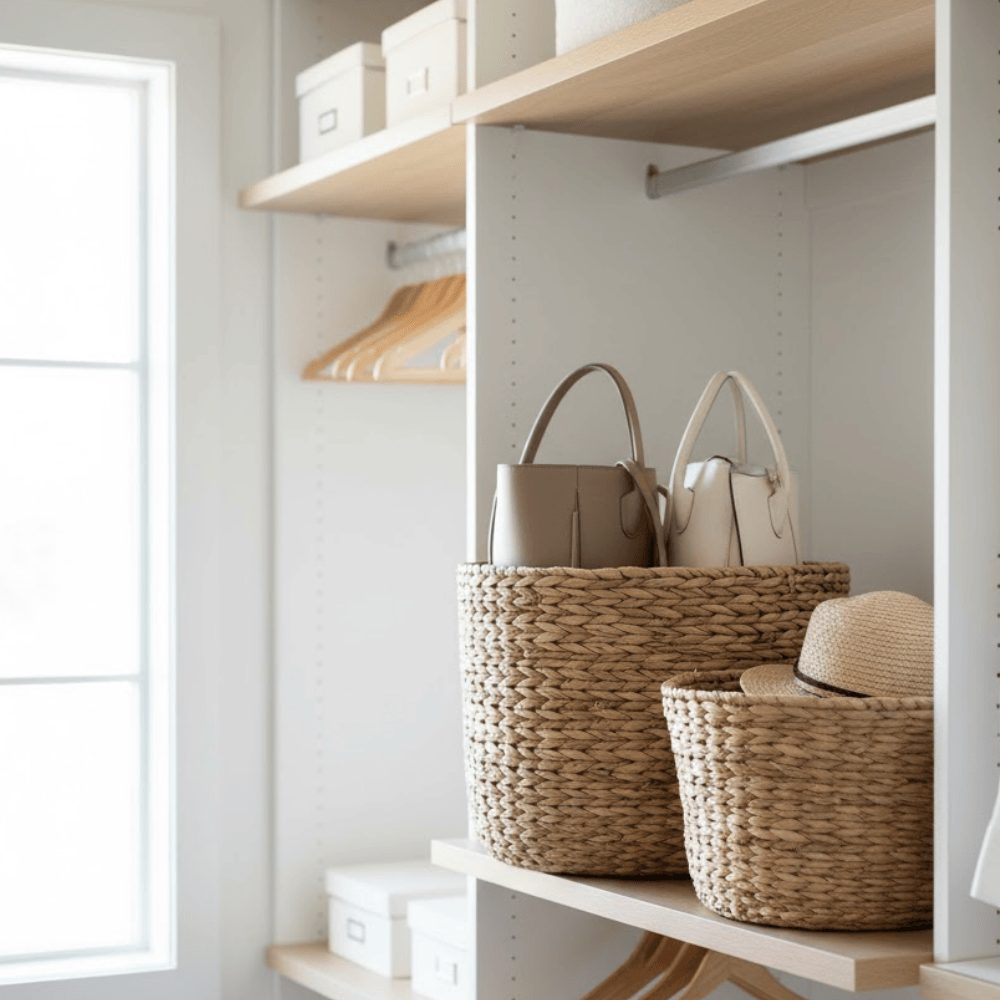
Instead of stacking purses, crush them and store them upright in shelf-mounted baskets or containers. This method protects structures while keeping them visible, accessible.
Apply shelf dividers to prevent bags from toppling. Hats can be stored similarly in containers or on attachments, depending on the styles and materials. Group seasonal accessories together for easy swapping.
28. Mount Trays, Jewelry Organizers on Surfaces
Surface-mounted jewelry organizers keep necklaces tangle-free, display earrings so that they are easy to see. Trays, shallow boxes on shelving, corral rings, bracelets, watches.
This approach prevents jewelry from getting lost in drawers and makes selecting accessories part of the outfit-planning process. Consider installing dedicated jewelry sections with attachments, trays at eye level.
29. Label Containers, Drawers for Quick Access
Labels eliminate guessing, making maintenance easier for everyone sharing wardrobes. Apply label makers, printable labels, and handwritten tags to mark each container’s contents.
Be specific, “winter scarves” works better than just “accessories.” Labels also help during seasonal swaps, making it easy to identify which containers need rotating.
30. Keep Catch-All Boxes for Daily Accessories
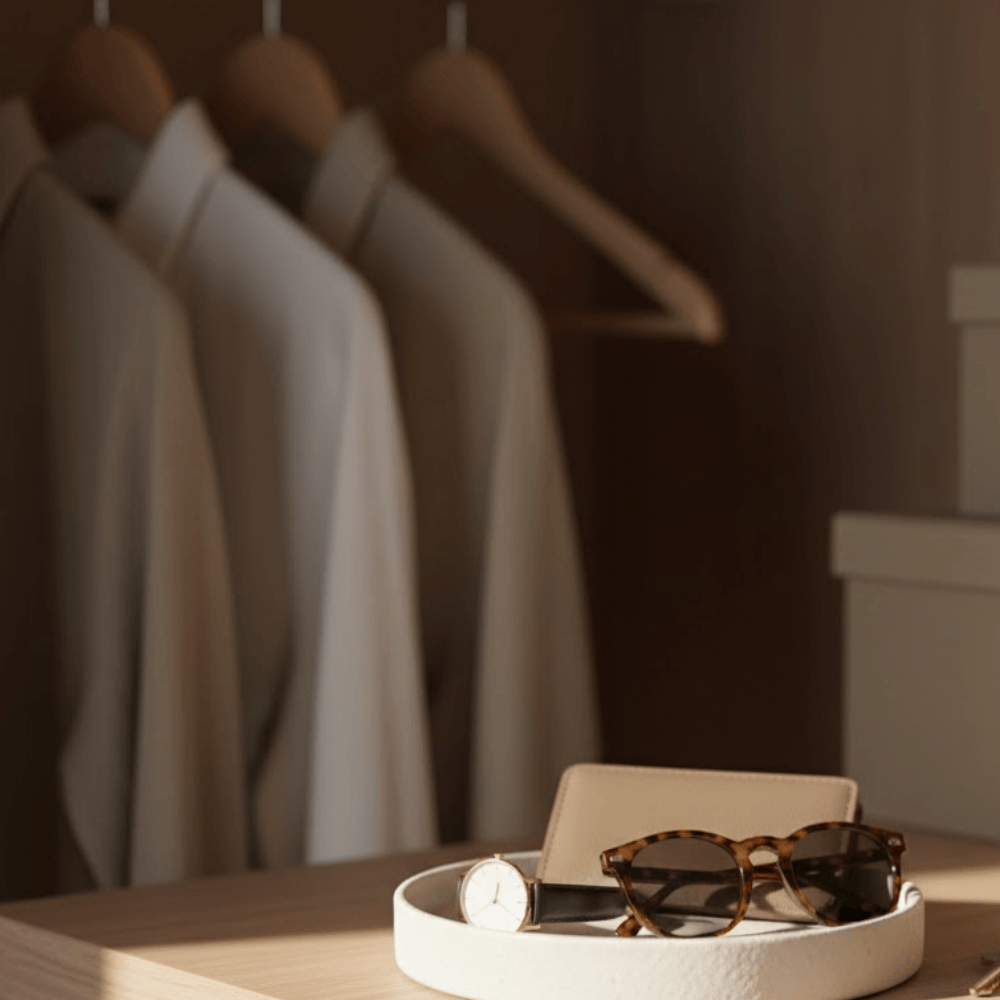
Designate single boxes, trays for accessories worn daily, watches, everyday jewelry, wallets, keys, and sunglasses. Place on shelving at arm’s reach, nearby dressers.
This dedicated spot prevents these pieces from migrating throughout homes, ensuring they are always easy to find. Empty and reset boxes weekly to prevent them from becoming cluttered.
DIY & Budget-Friendly Styling
Expensive custom configurations aren’t needed to create beautiful, functional wardrobes. These DIY, budget-conscious solutions deliver professional results at a fraction of the cost.
31. Repurpose Crates, Jars, Magazine Holders for Arrangements
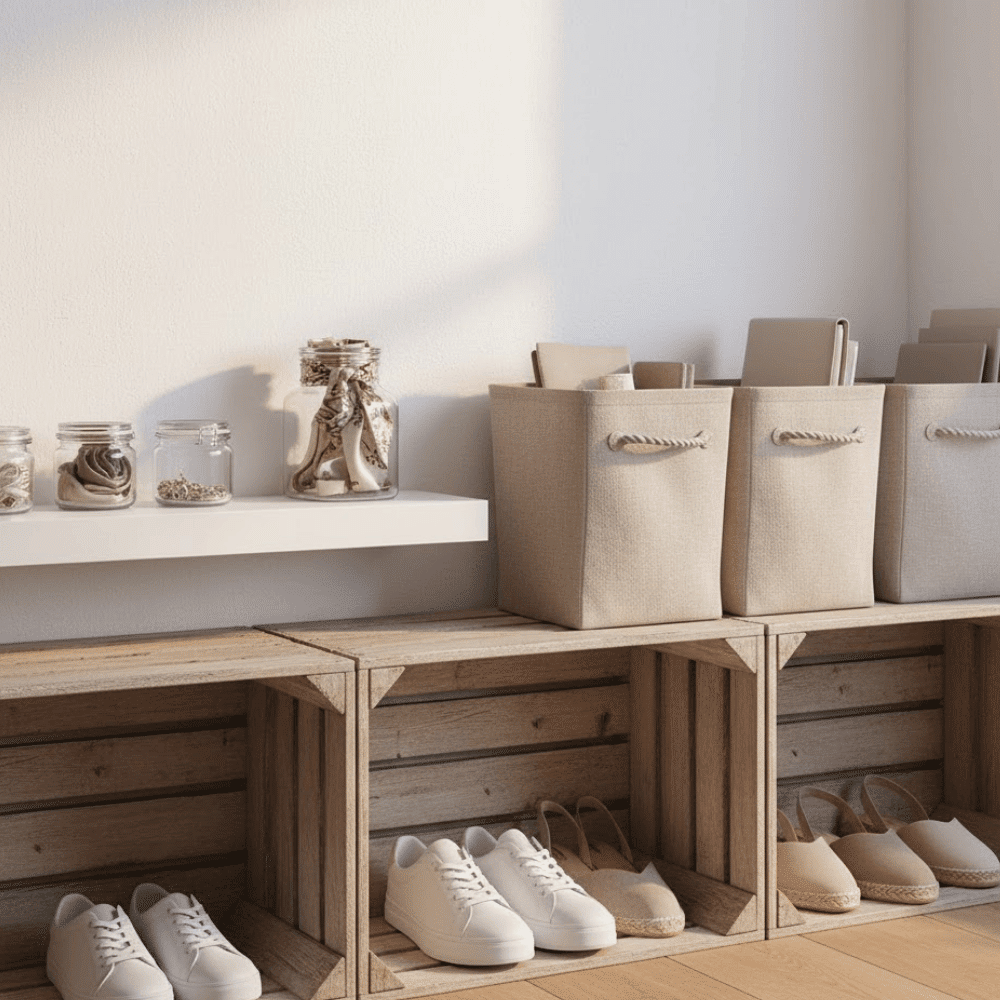
Wooden crates turned on their sides create rustic cubbies for footwear, folded garments. Mason jars are mounted toward the shelving, and pegboards hold accessories.
Magazine holders organize clutches, scarves, and folded pants. These repurposed pieces cost little but add character, function. Paint, stain them to match the vibe for a cohesive look.
32. Apply Peel-and-Stick Wallpaper Refreshing Backdrops
Alter plain surfaces with removable wallpaper. Choose subtle patterns for sophisticated looks, bold designs for personality.
Peel-and-stick wallpaper is renter-friendly, easy to install, and completely removable without damage. This simple upgrade makes wardrobes feel like designed areas rather than afterthoughts, increasing motivation and maintenance.
33. Add Battery-Powered LED, Motion Lights
Adequate lighting makes a huge difference in functionality. Battery-powered LED strips stick anywhere without electrical work.
Motion-sensor lights turn on automatically when opening wardrobes, turn off when leaving, saving batteries. Place lights under shelving, along rods, inside drawers, eliminating shadows, making shade matching easier.
34. Customize Inexpensive IKEA Units, Modular Configurations
IKEA’s modular wardrobe configurations offer customizable arrangements at accessible price points. Mix and match shelving, drawers, and suspended sections to fit exact needs.
Many bloggers and DIYers share tutorials for upgrading these configurations with paint, new hardware, and additional features. This approach provides functionality of custom wardrobes at DIY-friendly prices.
35. Match Containers, Hangers for Cohesive looks

Mismatched arrangements, random hangers create visual chaos. Invest in matching sets, even budget-friendly options look polished when uniform.
Choose shade palettes (like all white, natural wood, black), stick to them. This consistency makes wardrobes look intentional, put-together, changing from mere repositories into styled parts of homes.
Organizing for Different Numbers of People
Sharing a small closet? Smart planning keeps everyone happy and organized, no matter how many people use the space.
| Category | 1 Person | 2 People | 3+ People |
|---|---|---|---|
| Space Use | Personalize fully | Split sections | labeled zones |
| Style | Group by type | Use color-coded hangers | Label and color-code sections |
| Storage | Match bins to habits | Add dividers for balance | Stack vertically, rotate items |
| Maintenance | Weekly quick reset | Monthly check-ins | Seasonal group cleanups |
| Tip | Make it boutique | Respect each side | Use extra dressers if needed |
Clear zones and small habits prevent chaos, stay consistent, communicate often, and enjoy a closet that works for everyone.
Final Thoughts
Your small closet can become a space that inspires ease, confidence, and calm each day.
Once you’ve created an order, the goal is to keep it alive by refreshing, rotating, and making it yours.
Treat your wardrobe as a reflection of how you want to start each morning: clear, intentional, and effortless.
Spend just a few minutes each week maintaining your flow and enjoy the sense of calm that comes with it. Organization isn’t perfection; it’s progress that feels good.
So take that first small step, add your personal touch, and watch your closet evolve into a space that truly supports your daily life.