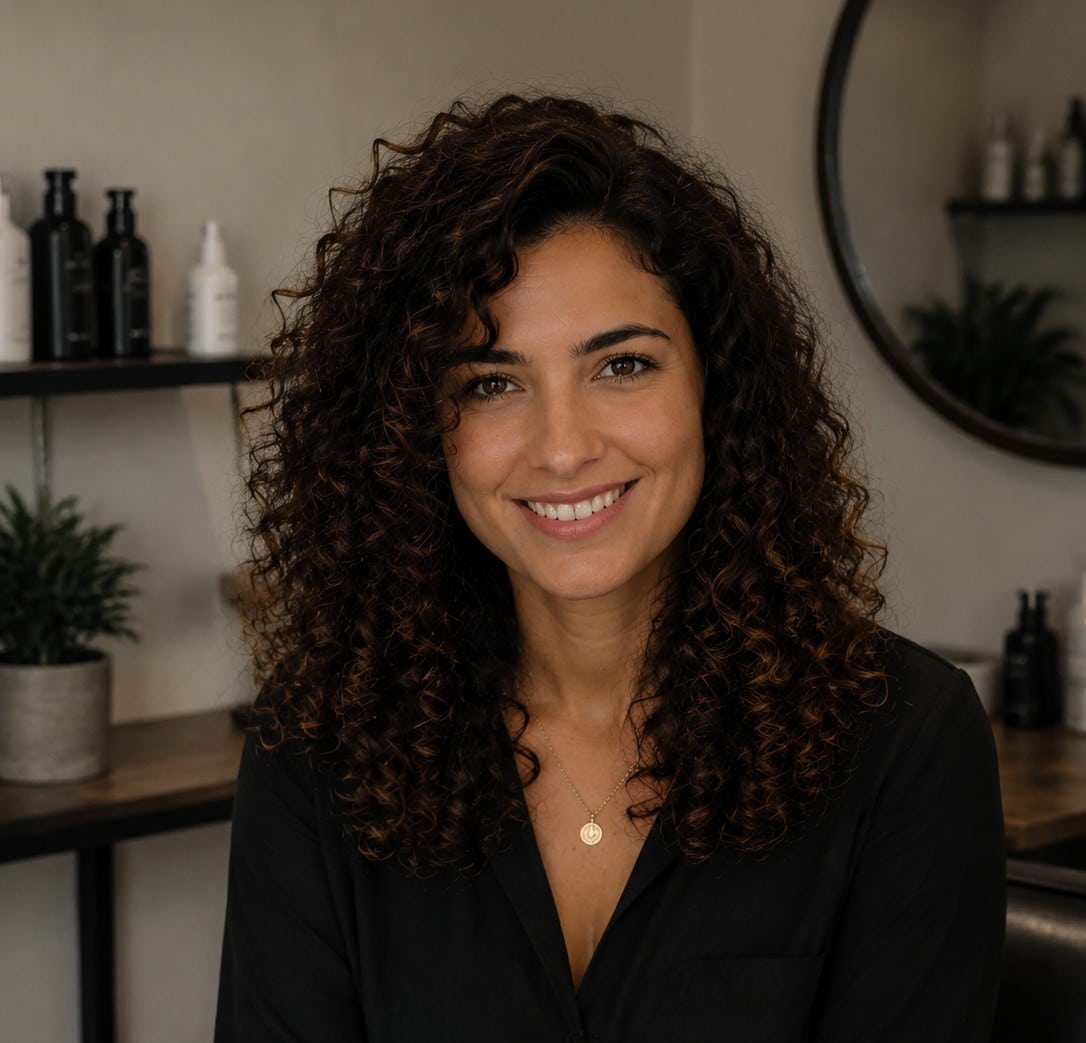
I used to wake up every morning and stare at my reflection in horror. My hair looked like I’d stuck my finger in an electrical socket. Sound familiar?
Here’s what I’ve learned after a decade of helping people with their hair: most people don’t even know they have curly hair. They think their hair is just “frizzy” or “unmanageable.” They spend years fighting their natural texture with straighteners and harsh brushing.
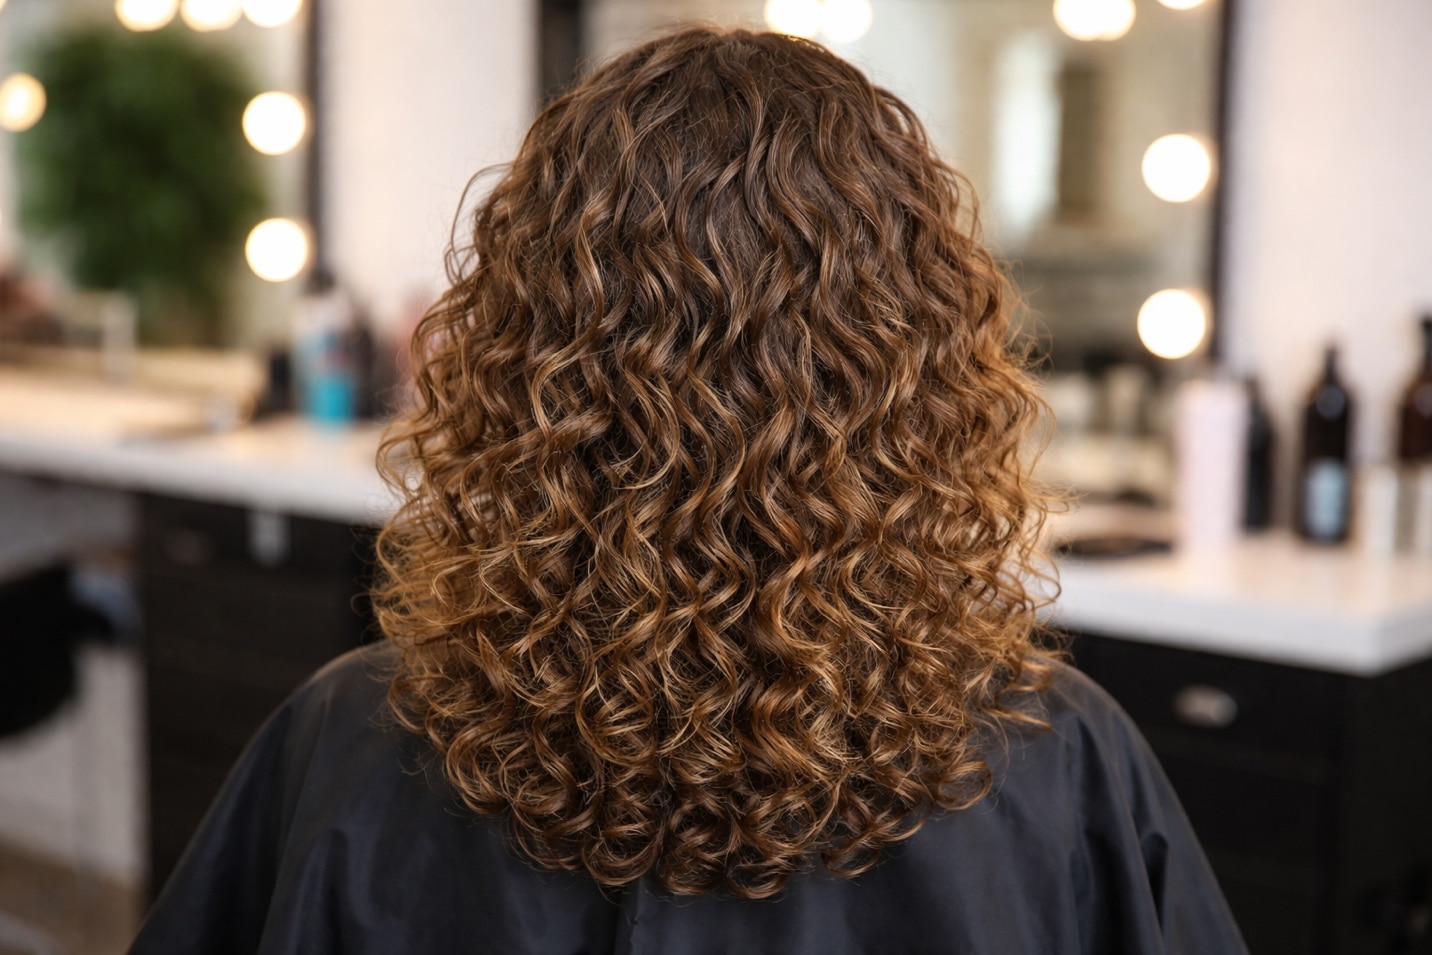
Once you learn the right curly hair routine steps, everything changes. Your hair becomes softer. Shinier. More defined. And way easier to style.
I’m going to show you exactly how to build a simple routine that works. These are the same methods I’ve used to help thousands of people finally understand and love their natural hair texture.
What is the CGM (Curly Girl Method)?
The Curly Girl Method is a way of caring for curly hair that actually makes sense. It was created by Lorraine Massey in the early 2000s. She wrote a book called “Curly Girl” that changed how we think about curly hair care.
Here’s the basic idea: stop doing things that damage your curls.
Most hair care routines are made for straight hair. They involve harsh shampoos that strip your hair. Brushing that breaks your curl pattern. Heat tools that fry your strands. Towels that cause frizz.
The Curly Girl Method says no to all of that.
Instead, you use gentle, sulfate-free cleansers. You condition your hair a lot more. You scrunch instead of brushing. You let your hair air dry or use a diffuser on low heat.
The method works because curly hair is different from straight hair. It’s more porous. It needs more moisture. It’s more fragile. When you treat it gently, it responds by forming beautiful, defined curls.
Will the Curly Girl Method Work for My Hair Type?
This is probably the first question you’re asking yourself right now. And I get it. You’ve tried so many things that didn’t work.
The short answer is: probably yes.
I’ve used these techniques with people who have loose waves, tight coils, and everything in between. The method works because it focuses on hair health, not just curl pattern.

Fine, Wavy Hair (2A-2C):
- Use lighter products
- Avoid heavy creams that weigh hair down
- Wash more frequently (2-3 times per week)
Thick, Coily Hair (3C-4C):
- Use richer, heavier products
- Your hair loves creams and oils
- Wash less often (once a week or less)
Quick Hair Type Test:
Look at one wet strand with product in it:
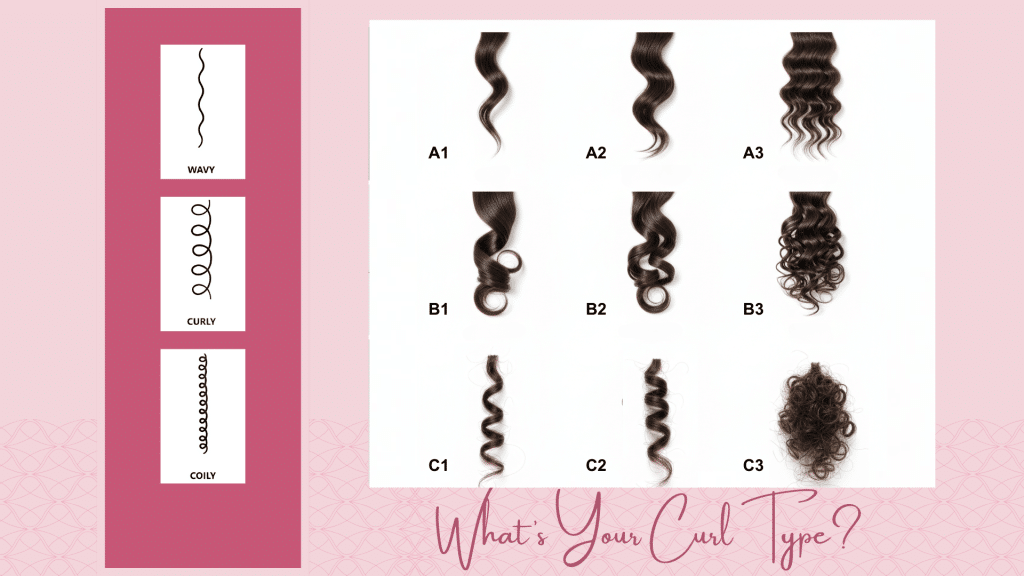
| Hair Pattern | What You’ll See | Hair Type |
|---|---|---|
| Loose S-shapes | Gentle waves | 2A-2C |
| Spiral curls | Springy ringlets | 3A-3C |
| Tight coils/zigzags | Dense, small curls | 4A-4C |
How to Start Your Curly Hair Routine Steps
You’re probably looking at your bathroom shelf right now, wondering what to throw away first.
Here’s what I tell everyone: start small.
Setting Up Your Routine Schedule
Non-Wash Day Routines: Protect your hair while sleeping with a satin pillowcase or scarf to prevent friction and breakage. Apply a small amount of leave-in conditioner to the ends if they feel dry or brittle.
Wash Days: Start with washing 2-3 times per week. You can adjust this later based on how your hair responds.
Refresh Days: These are the days between washes when you reactivate your curls with water and a little product.
Deep Conditioning: Plan for once a week initially. Your damaged hair needs extra moisture.
Timeline Expectations:
- Week 1-2: Your hair might feel different (this is normal!)
- Month 1: You’ll start seeing some improvement
- Month 3-6: This is when the real magic happens
- Month 6+: Your hair reaches its full potential
Step-by-Step Curly Hair Routine Guide
Now let’s get into the actual steps. This is where things get real.
I’m going to walk you through each step exactly like I would if you were sitting in my chair. No confusing terms. No fancy techniques you can’t pronounce.
Step 1 – The Reset Wash (Clarifying Treatment)
This is your fresh start. Think of it as hitting the delete button on all the buildup in your hair.
Why You Need This: Your hair probably has months or years of product buildup. Silicones from old conditioners. Wax from styling products. Mineral deposits from hard water.
All of this stuff is coating your hair strands. It’s blocking moisture from getting in. Until you remove it, nothing else will work properly.
How to Do Your Reset Wash:
- Choose your clarifying shampoo – Look for something with sulfates (yes, sulfates are okay for this one time)
- Wet your hair completely – I mean, really soaked, not just damp
- Apply shampoo to your scalp – Focus on the roots, not the ends
- Massage gently for 2-3 minutes – Let the shampoo do its job
- Rinse thoroughly – Spend more time rinsing than you think you need
- Repeat if your hair feels slippery – That slippery feeling means there’s still buildup
How Often: Once at the beginning, then only when you feel a buildup again. For most people, that’s every 4-6 weeks.
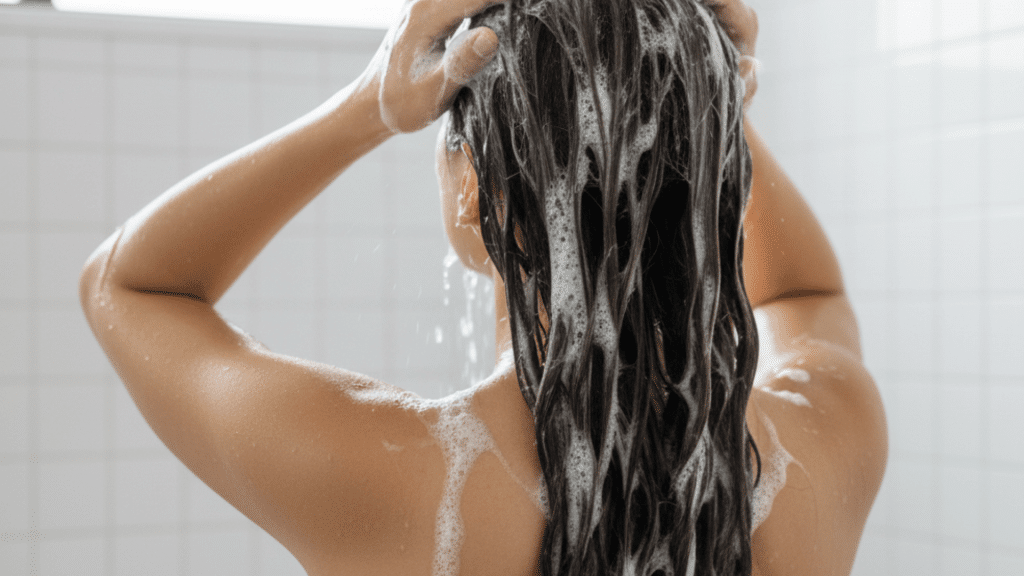
Step 2 – Gentle Cleansing Method
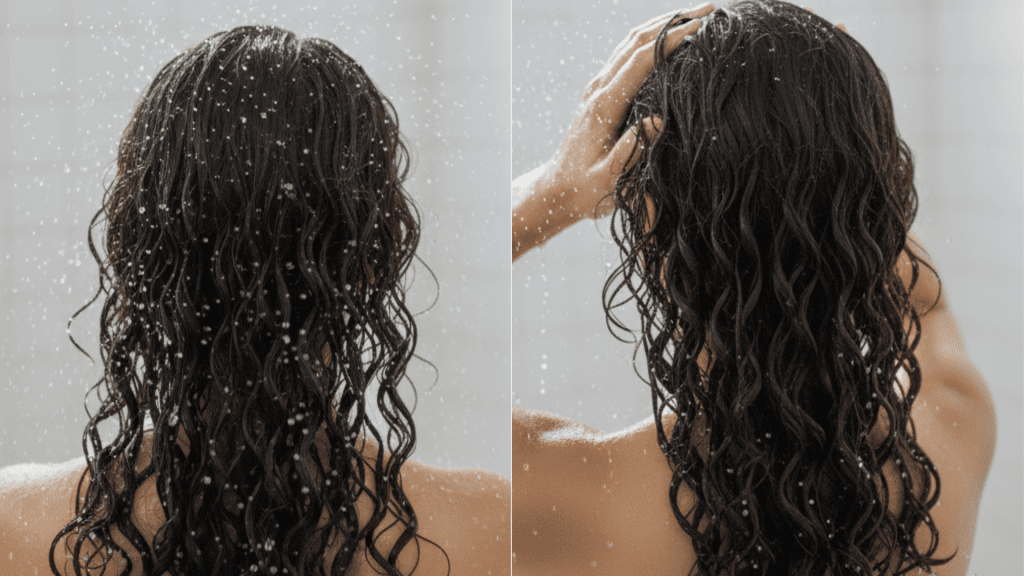
After your reset wash, you’re done with harsh shampoos forever. From now on, it’s all about being gentle.
You have two main options for cleansing: low-poo or no-poo. Don’t worry about these funny names.
Low-poo means using gentle, sulfate-free shampoos. It still gives you that clean feeling and works great if you have an oily scalp or exercise a lot.
No-poo means cleansing with conditioner only (called co-washing). It’s more moisturizing but takes some getting used to. Perfect for very dry or damaged hair.
How to Low-Poo:
Wet your hair thoroughly and apply the gentle shampoo only to your scalp. Use your fingertips to massage in small circles for about a minute. Don’t scrub hard or use your nails. Focus on the roots where oil builds up. Rinse completely until the water runs clear.
How to Co-Wash (No-Poo):
Wet your hair completely and apply conditioner directly to your scalp. Use more than you normally would. Massage it in with your fingertips, working from scalp to ends. Rinse most of it out, but leave a tiny bit for moisture.
Step 3 – Deep Conditioning Process
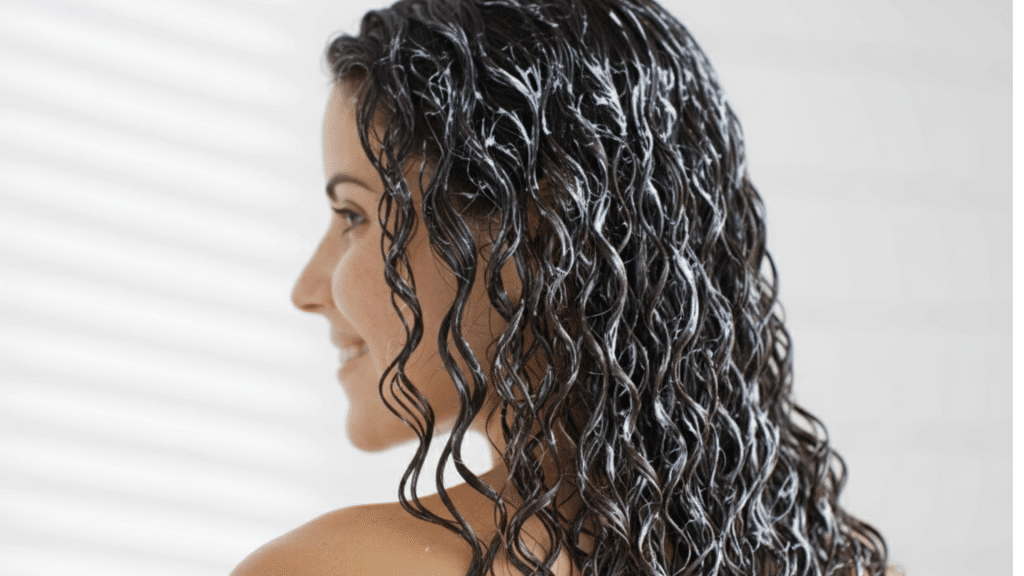
Curly hair is naturally drier. Your scalp’s oils can’t travel down those twists and turns easily. So you need to add moisture back in.
How Much Conditioner to Use: Forget what you learned before. You need way more than you think. For shoulder-length hair, use about a quarter-sized amount. For longer hair, use even more. Your hair should feel slippery when the conditioner is in.
The Application Method:
- Apply conditioner from mid-length to ends (avoid the roots)
- Use your fingers to work it through every strand
- Focus extra attention on your ends – they’re the oldest part of your hair
- Let it sit for 3-5 minutes while you do other shower tasks
Detangling While Conditioning: This is the only time you should detangle curly hair. Start from the ends and work your way up. Use a wide-tooth comb or just your fingers.
Never detangle dry curly hair. Never use a regular brush. These are curl-killers.
Leave-In vs. Rinse-Out: Most of your conditioner gets rinsed out, but you can leave a tiny bit in for extra moisture. Some people also add a separate leave-in conditioner after rinsing. Start with just the rinse-out version and see how your hair responds.
Step 4 – Styling and Product Application
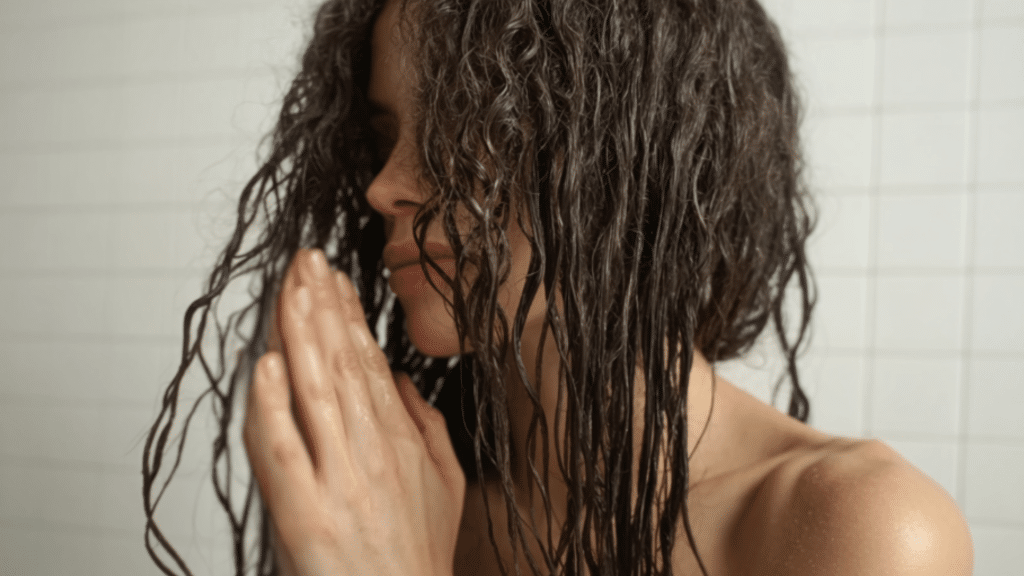
The biggest mistake people make is applying products to soaking wet hair. Your hair should be damp, not dripping. Gently squeeze out excess water with a microfiber towel or cotton t-shirt.
The Right Order Matters: Think of it like getting dressed – you put on underwear before your shirt, right? Products work the same way.
- Leave-in conditioner (if using) – goes on first for moisture
- Curl cream – for definition and control
- Gel – for hold and frizz control
You don’t need all three. Start with just one or two and see how your hair responds.
Application Techniques:
Praying Hands Method: Put product in your palms and smooth it down your hair like you’re praying. This keeps your curl pattern intact instead of disrupting it.
Scrunching: Cup sections of your hair in your palm and gently squeeze upward. This encourages curl formation. Do this after applying each product.
Step 5 – Drying and Final Touches
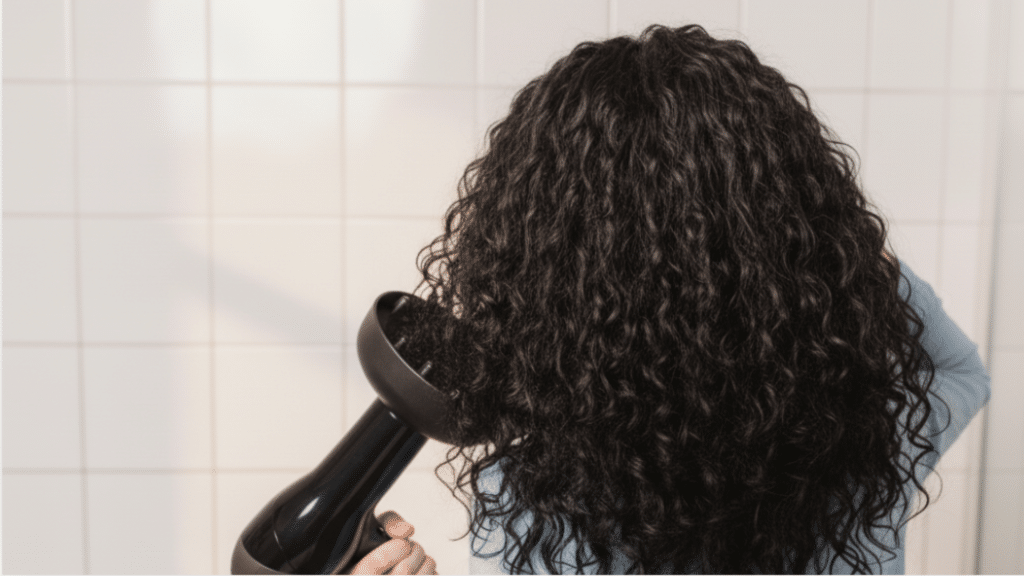
This final step can make or break your curls. The way you dry your hair determines how your curls will look for the next few days.
Air Drying: This gives the best results but takes the longest. After applying products, don’t touch your hair. Seriously. Every time you mess with it, you create frizz. Just let it do its thing.
Some people “plop” their hair in a microfiber towel or cotton t-shirt for 10-20 minutes first. This removes excess water without disturbing the curl pattern.
Diffuser Drying: If you need faster results, use a diffuser attachment on your blow dryer. Keep these settings: low heat, low speed. High heat will fry your curls and create frizz.
How to Diffuse:
- Cup a section of curls in the diffuser bowl
- Lift toward your scalp and hold for 30-60 seconds
- Move to the next section without dragging the diffuser through your hair
- Dry until about 80% complete, then let the air dry the rest
Breaking the Gel Cast: Once your hair is completely dry, it might feel crunchy. Don’t panic! This is called a “gel cast” and it’s actually protecting your curls.
Gently scrunch your hair with your hands to break this cast. Your curls will become soft and bouncy.
Best Curly Hair Routine Products for Beginners
Now that you know the steps, let’s talk about what products actually work. You don’t need to spend a fortune to get great results.
| Product Category | Product Name (linked) | Why It Works | Price Range |
|---|---|---|---|
| Reset Wash | Sukin Daily Detox Shampoo | Natural ingredients, gentle detox | $10-25 |
| Aesop Scalp Purifying Shampoo | Balances scalp, sulfate-free | $50 | |
| Low-Poo Shampoos | The Jojoba Company | Hydrating, good for most hair types | $40-50 |
| Co-Wash Products | Curlsmith No-Poo Moisture Co-Wash | Cleansing & conditioning co-wash | $40-50 |
| Conditioners | Davroe Moisture Senses Hydrating Conditioner | Rich, deeply moisturizing | $30-40 |
| Leave-In Treatments | Miss Jessie’s Multi-Cultural Curls | Lightweight, curl-defining | $40-50 |
| Gels for Hold | Aussie Instant Freeze Gel | Medium hold, affordable | $25-35 |
What Ingredients to Look For
Learning to read ingredient lists will save you money and bad hair days.
Good Ingredients:
- Glycerin – Attracts moisture to your hair
- Aloe vera – Soothing and moisturizing
- Coconut oil – Penetrates the hair shaft
- Shea butter – Heavy moisture for thick, coarse hair
- Protein (hydrolyzed wheat, rice, silk) – Strengthens damaged hair
Ingredients to Avoid:
- Sulfates (except for your reset wash) – Too harsh for regular use
- Drying alcohols – Look for denatured alcohol, ethanol, and isopropyl alcohol
- Heavy silicones – Dimethicone, cyclopentasiloxane (they build up over time)
Good Alcohols (Yes, Some Are Fine!):
- Cetyl alcohol, stearyl alcohol – These are moisturizing fatty alcohols
Essential Tools and Accessories for Curly Hair Care
The right tools can make your routine so much easier. You don’t need everything at once, but these basics will change your curly hair game.
• Drying options: Microfiber towels (Aquis orDevaTowel) are super absorbent and gentle, while cotton t-shirts are even softer for squeezing out water without creating frizz.
• Detangling tools: Use wide-tooth combs (Cricket Ultra Smooth) or Wet Brushes (Original Detangler) only on wet, conditioned hair, or try Denman brushes (D3 or D4) for product distribution and curl definition.
• Sleep protection: Satin pillowcases (Bedsure) or silk scarves reduce friction overnight, while medusa clipping (Goody Spin Pins) keeps curls loosely gathered on top of your head.
• Diffuser features: Look for long fingers that lift curls, multiple heat settings, and a wide bowl – popular options include Xtava Black Orchid and DevaCurl DevaFuser.
Conclusion
Your curls have been waiting for this moment your entire life.
All those years of straightening, brushing, and fighting your natural texture? That ends today. You now have everything you need to start honoring the hair you were born with.
Once you see your hair healthy and happy, there’s no going back.
Your first wash day might feel overwhelming. Start anyway. Pick up that sulfate-free shampoo. Apply way more conditioner than feels right. Scrunch instead of brushing.
Trust the process. Trust your hair. Most importantly, trust yourself.
What’s holding you back from starting your curly hair routine today? Share your biggest fear about going natural in the comments below.
Frequently Asked Questions About Curly Hair Routines
What If the Curly Girl Method Isn’t Working for Me?
Be patient – results take 3-6 months. Adjust product amounts or try modified versions. Consider that your hair might need more protein or moisture.
Why Is My Hair Frizzy and How Can I Get Better Curl Definition?
Use more leave-in conditioner and apply gel to soaking wet hair, not damp hair, to lock in moisture and create better curl definition.
Can I Still Color or Chemically Treat My Hair While Following the Curly Girl Method?
Yes, but you’ll need to adjust your routine. Colored or chemically treated hair typically needs more protein treatments and deeper conditioning.