My closet used to be a pile of clothes and mismatched bins, so I finally got around to building my own DIY closet shelves.
A weekend of work and a few basic tools turned that cramped mess into a space where everything has its own spot, and honestly, it wasn’t as hard as expected.
Basic tools and a bit of patience were really all it took. The shelves ended up fitting my space perfectly and made everything way easier to find.
It’s a fun weekend project, no special skills or fancy equipment needed. Sizing everything to my own closet beat any off-the-shelf organizer I looked at, hands down.
Why Choose DIY Closet Shelves
Building my own closet organizer had a lot going for it compared to buying one or hiring someone.
It saved money since only basic materials were needed: wood, screws, and paint, way cheaper than any store-bought system. Designing it myself meant picking the height, depth, and spacing that actually worked for what I own.
No special skills required, just simple tools like a saw, drill, and level. Even as a beginner, building sturdy shelves only took a little time and care.
There’s real satisfaction in building something useful with your own hands. Not gonna lie, walking into that closet afterward felt pretty great.
Tools & Materials You’ll Need
Gather everything before you start. Having your tools and materials ready makes the whole build faster and way less annoying.
| Materials | Tools |
|---|---|
| Seven 8-ft 1×12 boards (pine or MDF) | Tape or laser measurer |
| 1×3 support boards for cleats | Circular saw, or miter saw |
| 2-inch wood screws | Power drill with bits |
| Finishing or brad nails | Level (4-foot recommended) |
| Wood filler | Square |
| Caulk | Stud finder |
| Paint or stain | Safety glasses |
| Sandpaper (120-grit and 220-grit) | Work gloves |
| Optional: closet rods, hooks, baskets | Dust mask |
Budget Overview: Budget-wise, the whole project ran me about $80 to $120, which is a solid deal next to what pre-made organizers cost.
How to Build Closet Shelves
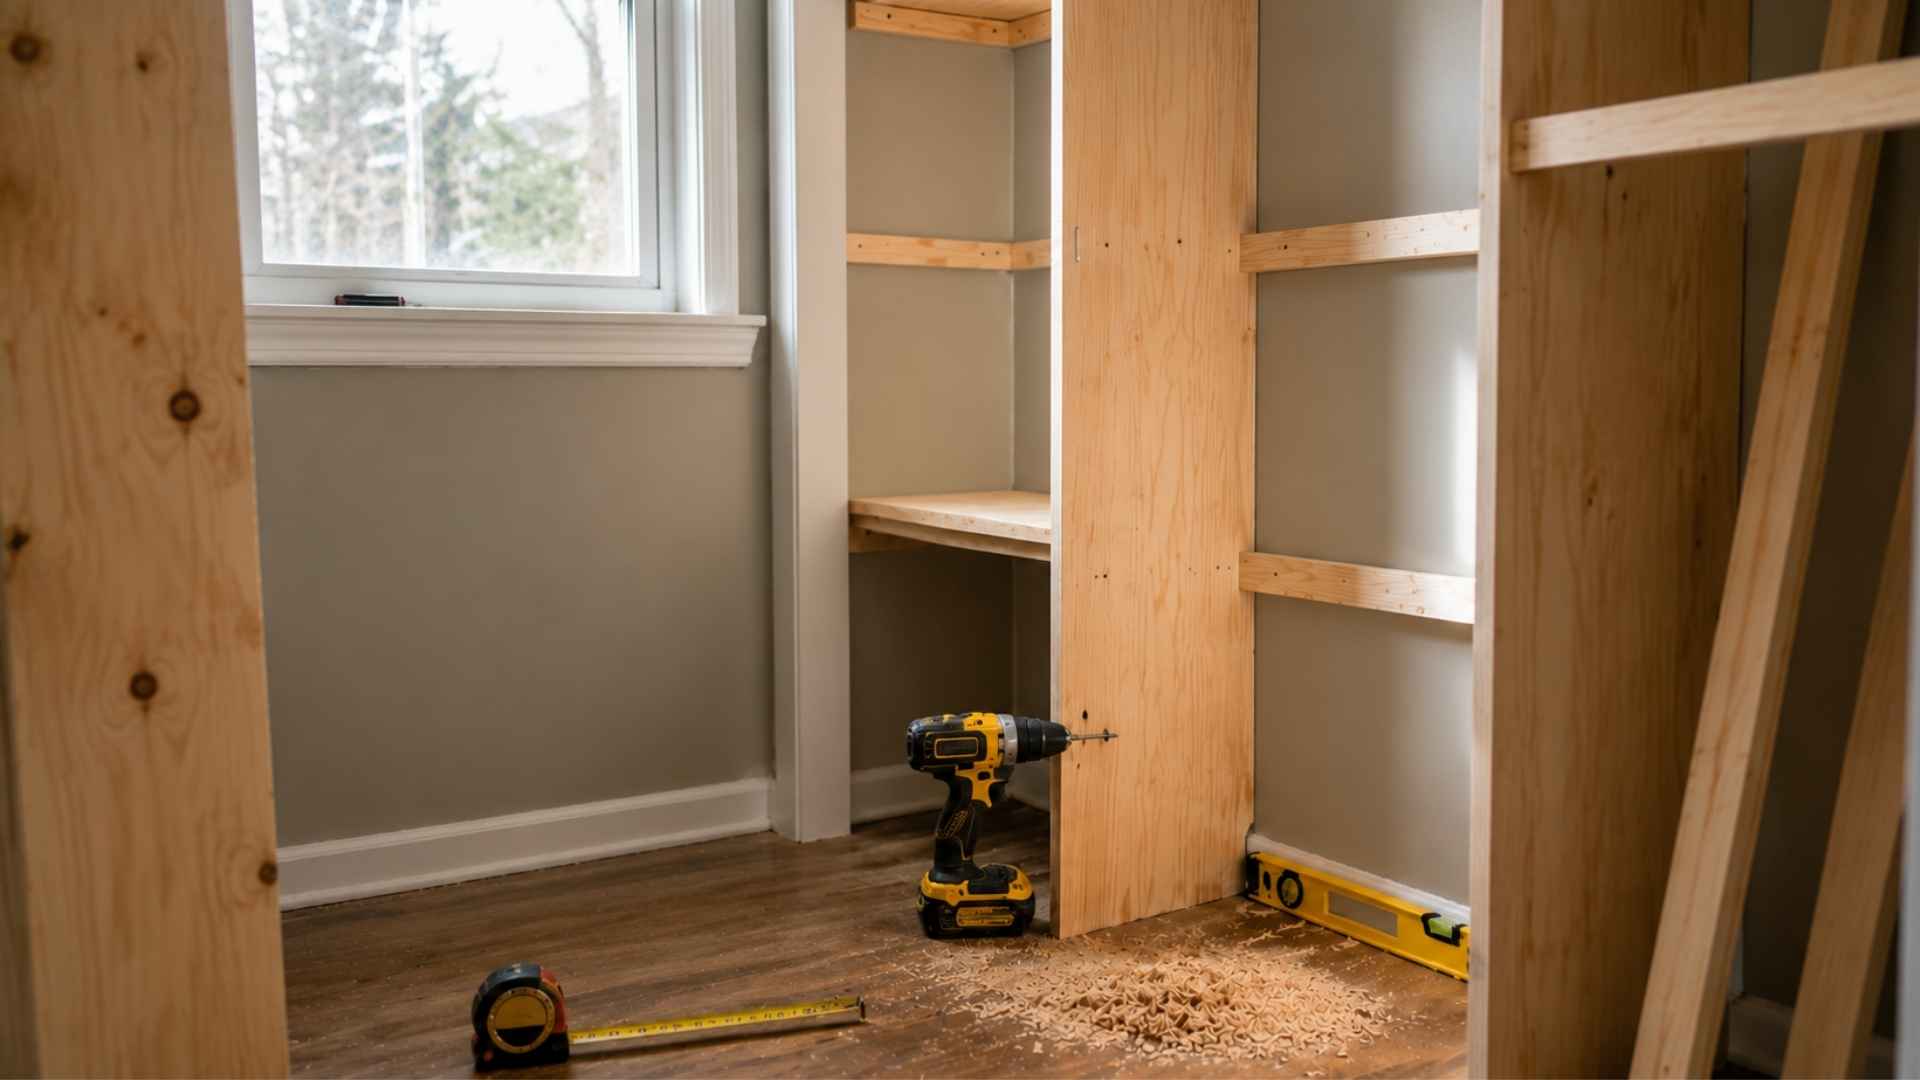
Create strong, custom shelves using simple tools and easy steps to organize your space and give your closet a clean look.
Step 1: Measure Your Closet
Start by measuring the height, width, and depth of your closet with a tape measure, then mark every wall stud using a stud finder. These marks matter later when you’re anchoring panels, so don’t skip this step.
Plan taller sections for hanging clothes and shorter ones for folded items, shoes, or bins, since shelf height should follow what you’re storing, not the other way around.
Pro tip: Measure twice at different heights; closets are rarely perfectly square.
Step 2: Cut the Wood
List out every panel and support piece before you touch the saw. Use a circular or miter saw for clean, straight cuts, and if you’re not confident with sizing, most hardware stores will cut boards to spec for a small fee or free with purchase.
Once everything’s cut, sand each piece with 120-grit paper first, then finish with 220-grit to smooth rough edges before assembly and painting.
Step 3: Assemble the Center Unit
Lay your side panels flat and mark exactly where each shelf will sit. Pre-drill pilot holes at these marks to keep the wood from splitting when you drive screws in.
Secure each shelf so it sits level and square against the panel. Painting or staining the pieces now, before installation, gives you a cleaner finish since you won’t be working around walls or corners.
Pro tip: Prime raw wood first; it stops paint from soaking in unevenly.
Step 4: Install the Side Panels
Position the side panels upright against the closet walls and check them with a level before securing anything. Anchor into the studs you marked in Step 1 using long screws, since drywall alone won’t hold the weight of loaded shelves.
Tighten screws evenly on both sides to prevent tilting or gaps, and confirm the panels are plumb before moving on to the next step.
Step 5: Add Shelves and Supports
Attach 1×3 cleats to the wall and side panels at each shelf line, then rest the shelves directly on top before fastening them down. Slide the center unit into place between the two side panels for added rigidity and weight distribution.
Check every shelf with a level again here; small errors compound once you start loading clothes, shoes, and bins onto the structure.
Step 6: Customize and Finish
Install closet rods for hanging clothes and add hooks or baskets wherever you want extra storage. Fill every screw hole with wood filler, sand it flush once dry, and touch up with matching paint or stain.
Run a bead of caulk along the panel edges where they meet the wall for a built-in look. Let everything cure fully before loading the closet back up.
Pro tip: Let caulk cure a full 24 hours before painting over it.
Closet Shelves DIY Tips for Success
Follow these simple tips to make your DIY closet shelves sturdy, level, and professional-looking from start to finish.
- Always find the studs: Secure supports directly into wall studs for strength and safety. Avoid attaching heavy shelves only to drywall.
- Use a level at every step: Check alignment often to keep shelves straight. Uneven shelves look messy and can cause items to slide.
- Add mid-supports for long shelves: For shelves over 36 inches, add a center cleat or bracket to prevent sagging, especially with heavy storage.
- Label your cuts: Mark each piece as you cut to stay organized and prevent mistakes during assembly.
- Paint before installing: Apply paint or stain before assembly for smooth edges and a clean, professional finish.
These simple tips help your closet shelves last longer, look cleaner, and perform better for everyday use.
How Much Weight Can Closet Shelves Hold?
From what I’ve seen, most solid wood or plywood closet shelves hold roughly 20 to 40 pounds per linear foot before they start to sag, and the real limit comes down to the span between supports, not just the material.
According to UMass Amherst’s building technology program, longer spans and lighter framing cut down how much weight a shelf can carry safely, which is exactly why I add a center cleat under anything over 36 inches wide now.
Top 4 Closet Shelf Design Ideas
Upgrade your storage space with these creative and practical designs. Several of which track closely with the current home design trends homeowners keep gravitating toward this year.
Each option enhances your closet’s look, improves functionality, and helps you make the most of every inch, without adding unnecessary cost or complexity.
1. Floating Closet Shelves
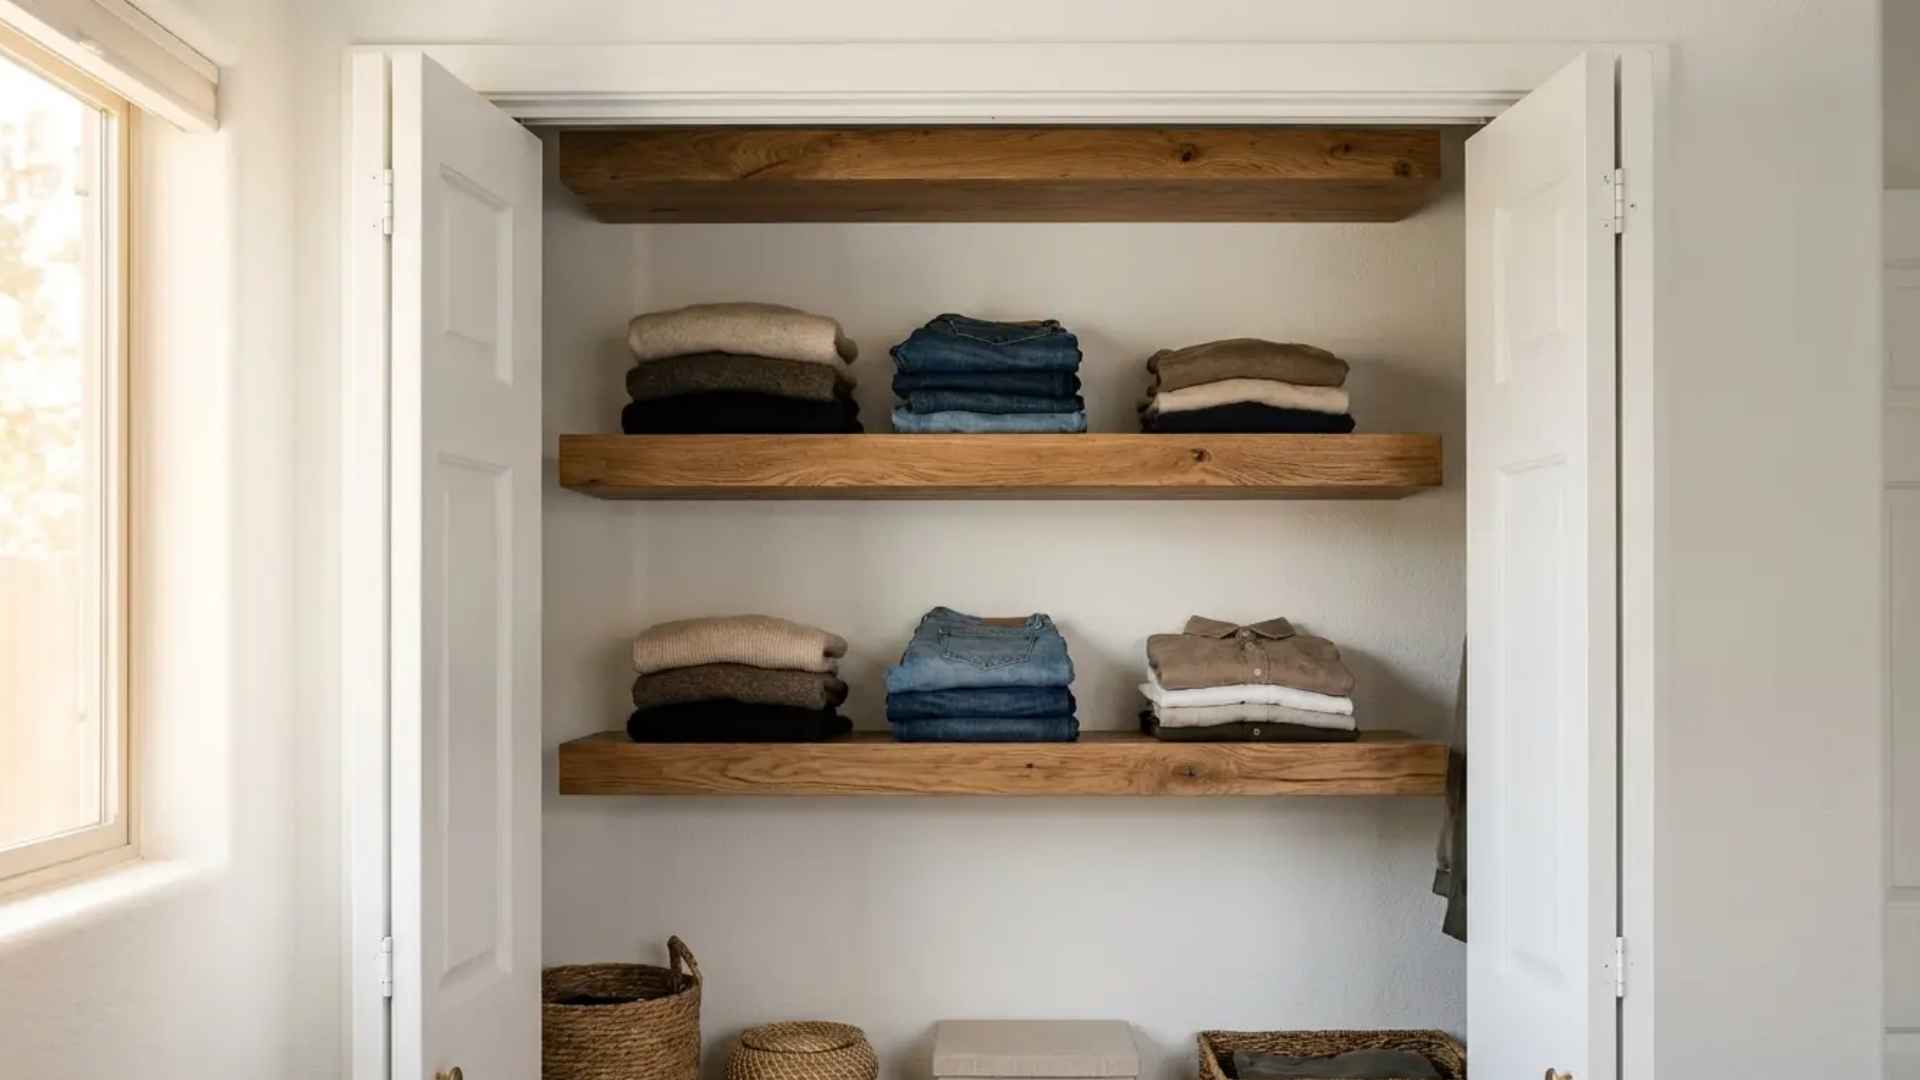
If you want a modern, minimalist look, floating shelves are the move.
Hidden brackets or French cleats hold everything up while staying out of sight, so the space feels more open. This style is a solid pick for a small reach-in closet where every inch of visual space counts.
2. Modular Cube Shelves
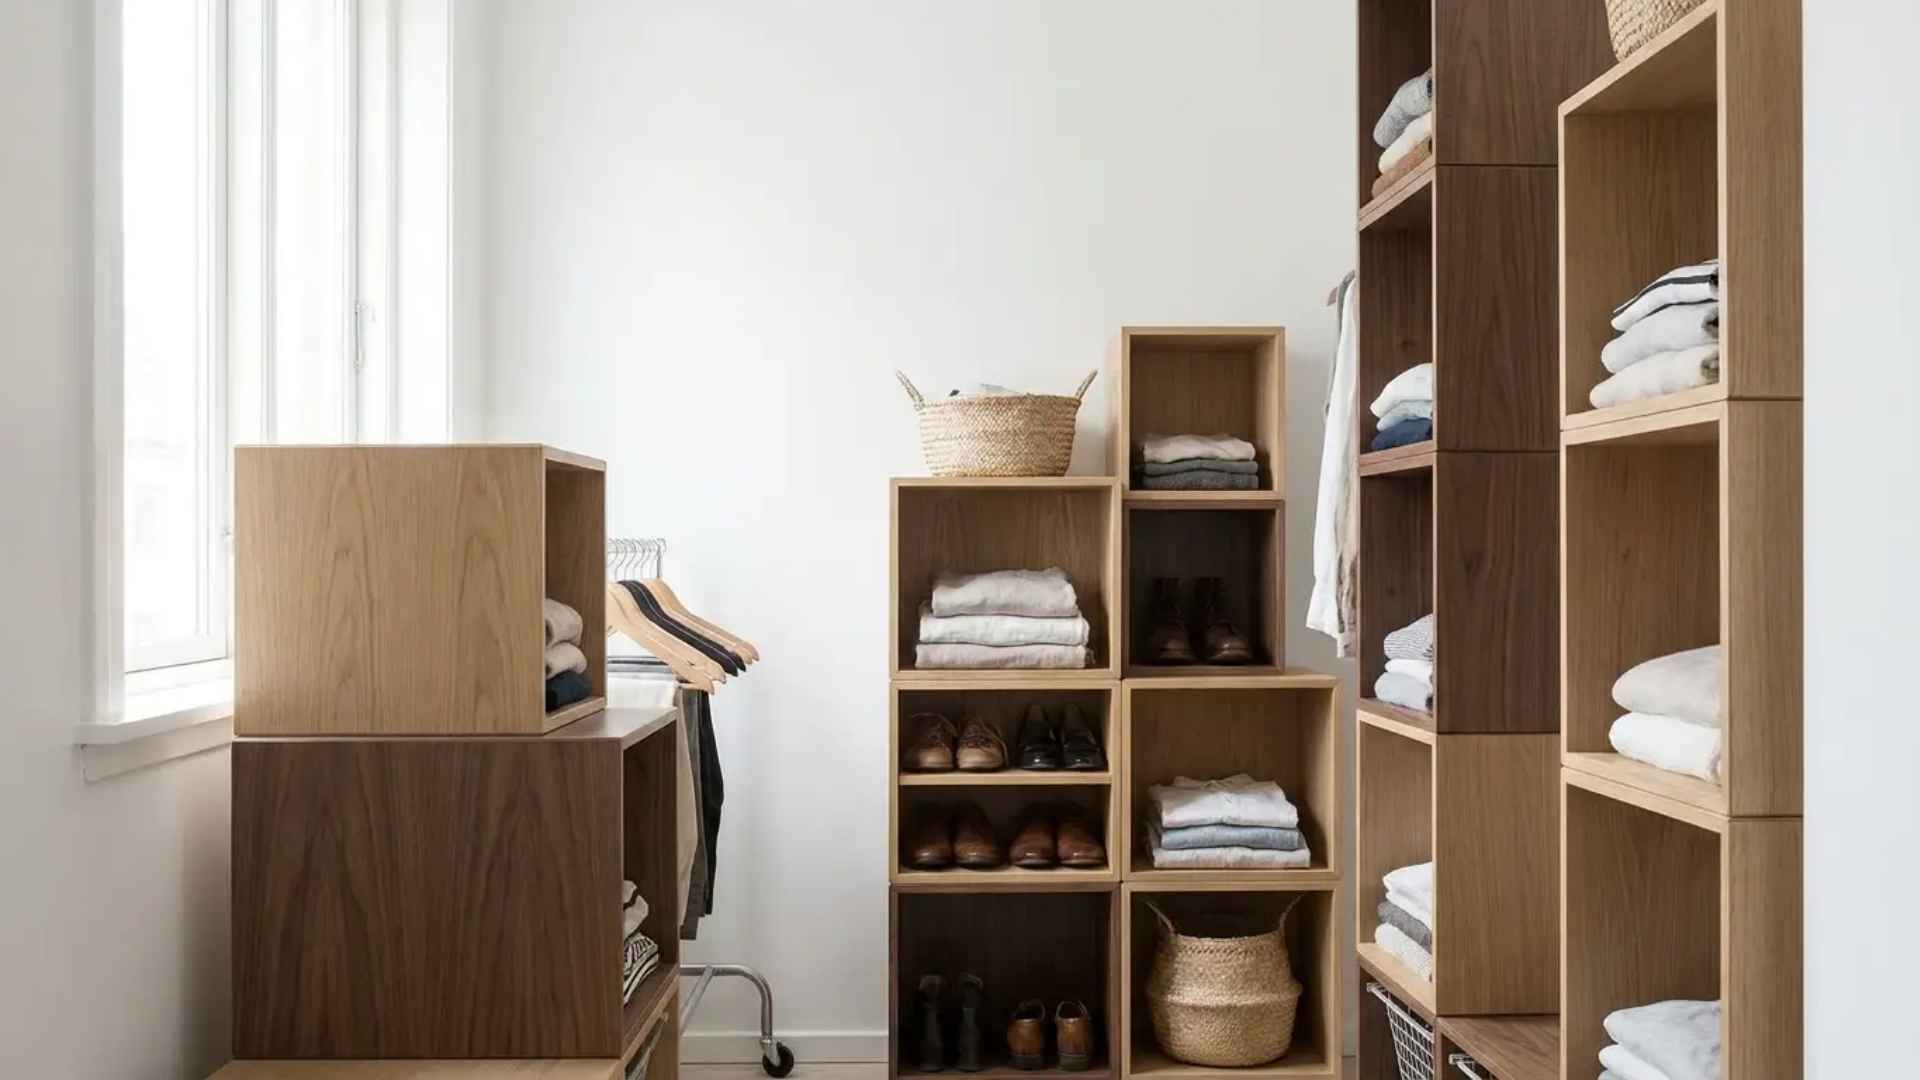
You can build cube-shaped units in different sizes and arrange them however works for you.
These movable cubes make it easy to switch up your storage layout, which is great since what I needed storage for changed within a year of building mine.
3. Slanted Shoe Racks
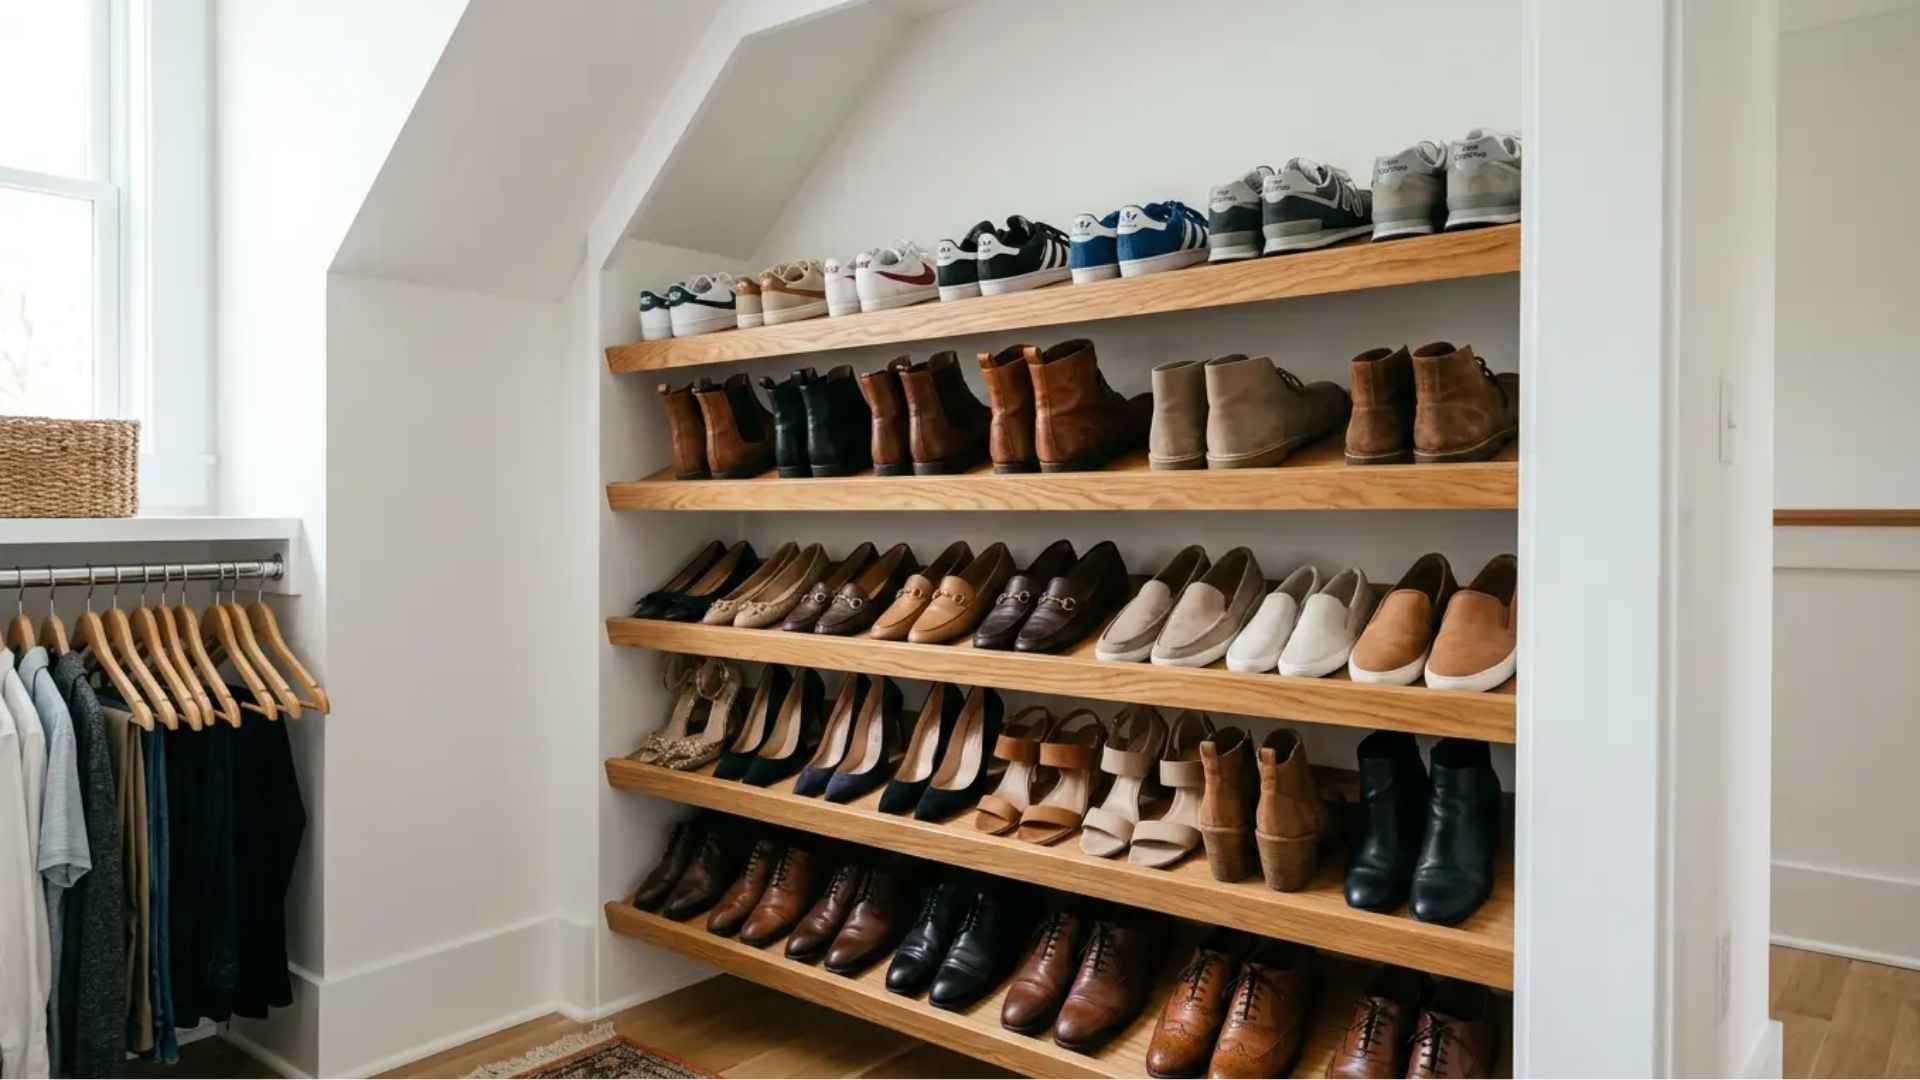
Tilted shoe racks keep your shoes visible and organized while saving space.
The angled supports hold each pair in place and make grabbing the right shoe way easier; no more digging through a pile.
4. Corner or L-Shaped Units
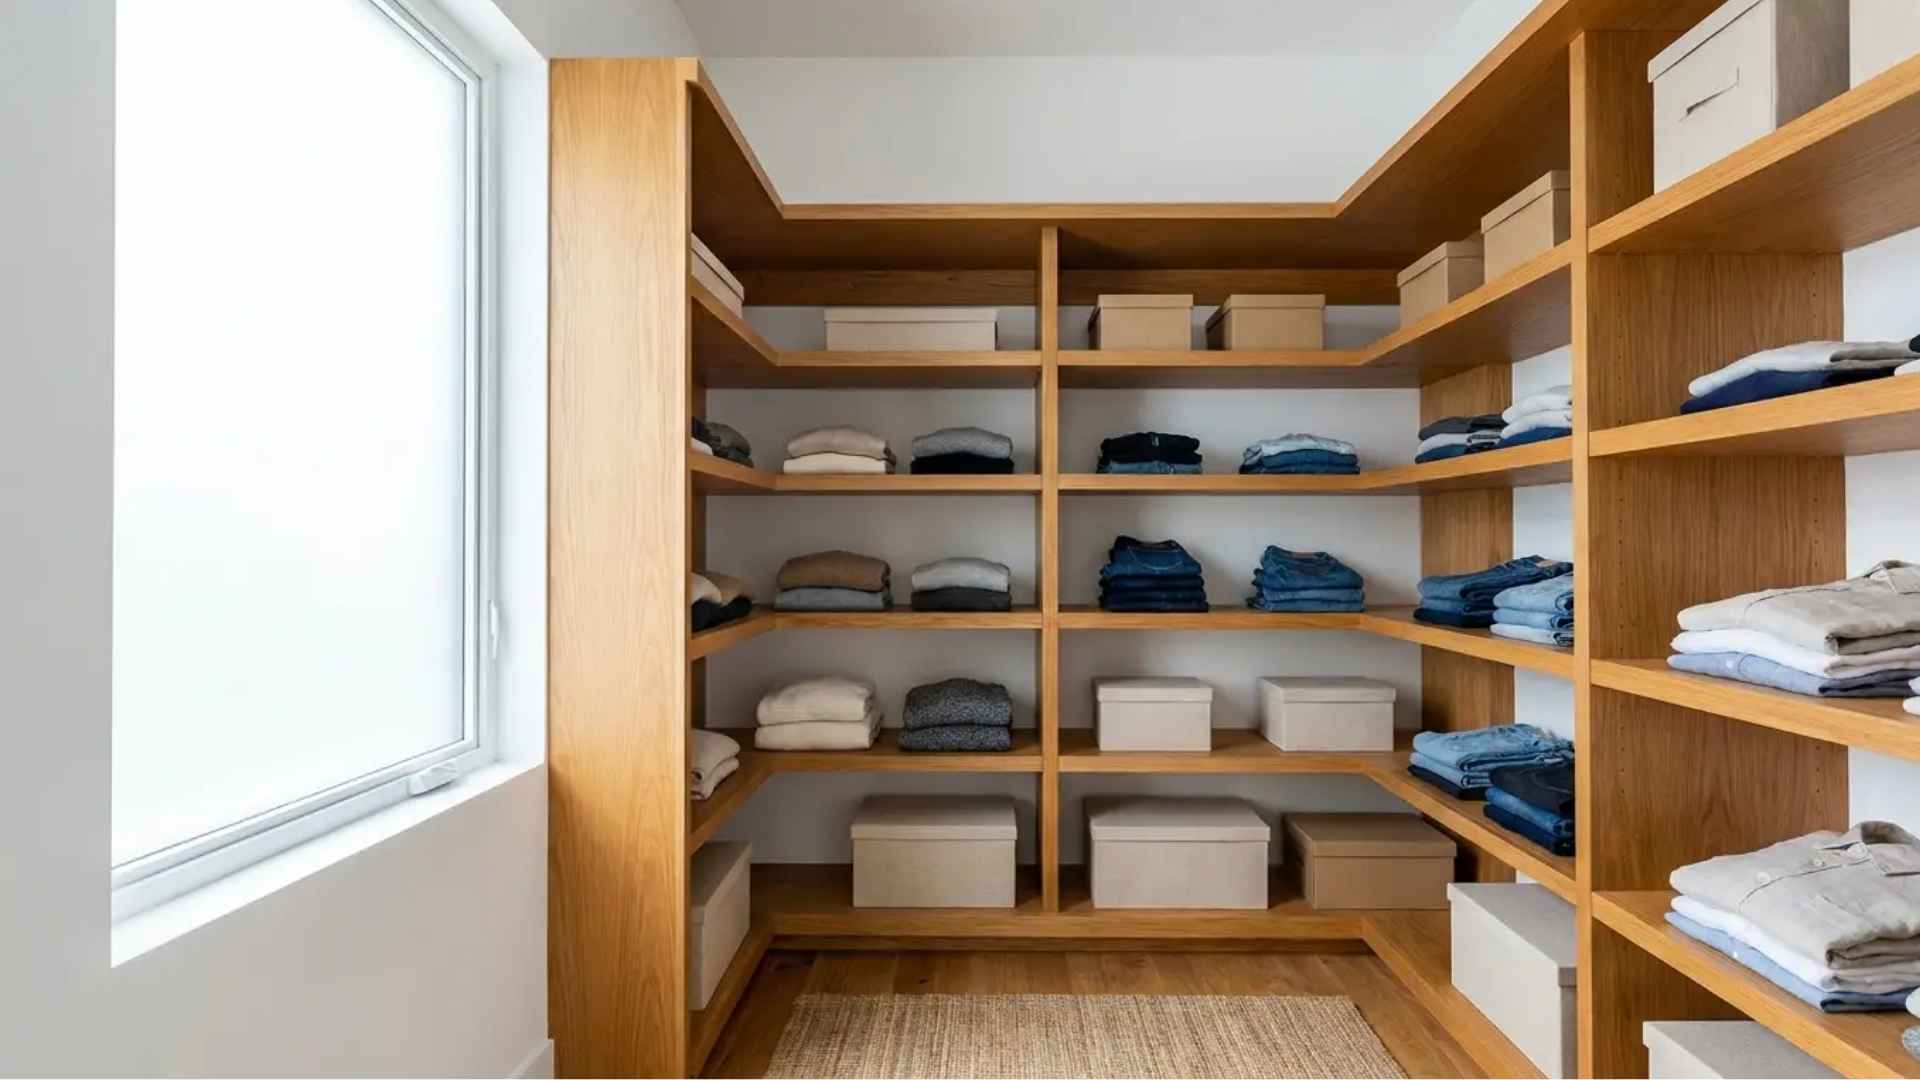
Maximize corner areas with shelving that wraps around the walls. This gives the closet a built-in look and puts space to use that would otherwise just sit empty, which works especially well for walk-in closets or bigger rooms.
Budget Overview: These four design ideas combine creativity and practicality, letting you build a beautiful, customized closet that fits your budget and your style.
Common Mistakes to Avoid
A few careful checks are the difference between a build that holds up and one you’ll be redoing in six months.
- Not securing into studs: Always anchor supports directly into wall studs. Drywall anchors alone can’t handle heavy loads and may pull out over time.
- Overloading wide shelves: Shelves wider than 36 inches can sag under pressure. Add a center support or limit how much weight you place on them.
- Forgetting about baseboards: Baseboards can interfere with panel placement. Notch your side panels or remove a small section of baseboard for a flush fit.
- Uneven shelf spacing: Avoid guessing shelf heights. Measure and mark carefully, then use a level to ensure even spacing across all tiers.
- Poor leveling: Even slight slopes are noticeable once the shelves are filled. Check for level after every step and adjust before tightening screws.
Double-check every measurement and keep your level close by. It’s a small habit that saves you a big headache later.
If You’d Rather Skip the Build
Wire shelving kits mount straight into studs with minimal measuring. Wood freestanding units look more like real furniture. Plastic systems are lightest and work well for renters. Whatever you pick, anchor it to the wall if it’s holding real weight.
Final Touches
A few small details are what took my closet shelves from just functional to actually finished-looking.
Matching baskets and bins keep things neat now, and uniform hangers pulled the whole look together. A fresh coat of paint brought some warmth to the space, plus soft LED strip lights for a calm little glow when the doors open.
Before-and-after photos happened once everything was done, and not gonna lie, seeing the difference was the best part of the whole project.
Take a step back and enjoy it. This closet finally feels like mine, and it’s worth every weekend hour that went into it.
Frequently Asked Questions
What’s the Best Wood for Closet Shelves?
Plywood and pine are great choices for strength and affordability. MDF is budget-friendly, while cedar adds a pleasant scent and natural moth resistance.
How Thick Should Closet Shelves Be?
Use ¾-inch boards for clothing storage. For heavier items like bins or books, choose a 1-inch thickness or add extra brackets for stronger support.
Can I Paint Melamine or Plywood Shelves?
Yep. Lightly sand the surface and use primer before painting. For melamine, a bonding primer made for glossy finishes helps it stick.
How Deep Should Closet Shelves Be?
Closet shelves typically range from 12 to 16 inches deep. Shallower shelves suit shoes, while deeper ones easily accommodate folded clothes or linens.