To thin nail polish, add 2–3 drops of nail polish thinner, roll the bottle gently to mix, and test on paper until it flows smoothly, repeating in small increments until you reach the right consistency.
If you don’t have thinner on hand, a warm water soak or a single drop of acetone can work as a temporary fix, though neither restores the polish’s original formula the way a proper thinner does.
Opening a bottle of your favorite polish only to find it gloopy and hard to spread is a common frustration, but it doesn’t mean the color is beyond saving.
Thickened polish usually happens when solvents evaporate over time, and the good news is it can often be fixed at home with a few simple steps.
Even if you’re reaching for a proper nail polish thinner or wondering if acetone could work in a pinch, safe and practical methods can bring your polish back to a smooth, usable texture again.
Why Does Nail Polish Get Thick Over Time?
Nail polish contains solvents that evaporate slowly once the bottle is exposed to air, and that loss changes the formula’s texture bit by bit.
Opening and closing the bottle repeatedly speeds this along, too.
A few habits make it worse. Leaving the brush out while painting or twisting the cap on loosely lets extra air in every time.
Storing bottles near heat or sunlight breaks the formula down faster, and reaching for an old bottle often means dried polish has already built up around the opening, keeping the cap from sealing properly.
How to Thin Nail Polish With Nail Polish Thinner
Nail polish thinner is made specifically to restore the smooth texture of thickened polish. It replaces the solvents that evaporate over time, helping improve consistency without changing the color or original formula in any way.
Step 1: Add a Few Drops of Nail Polish Thinner
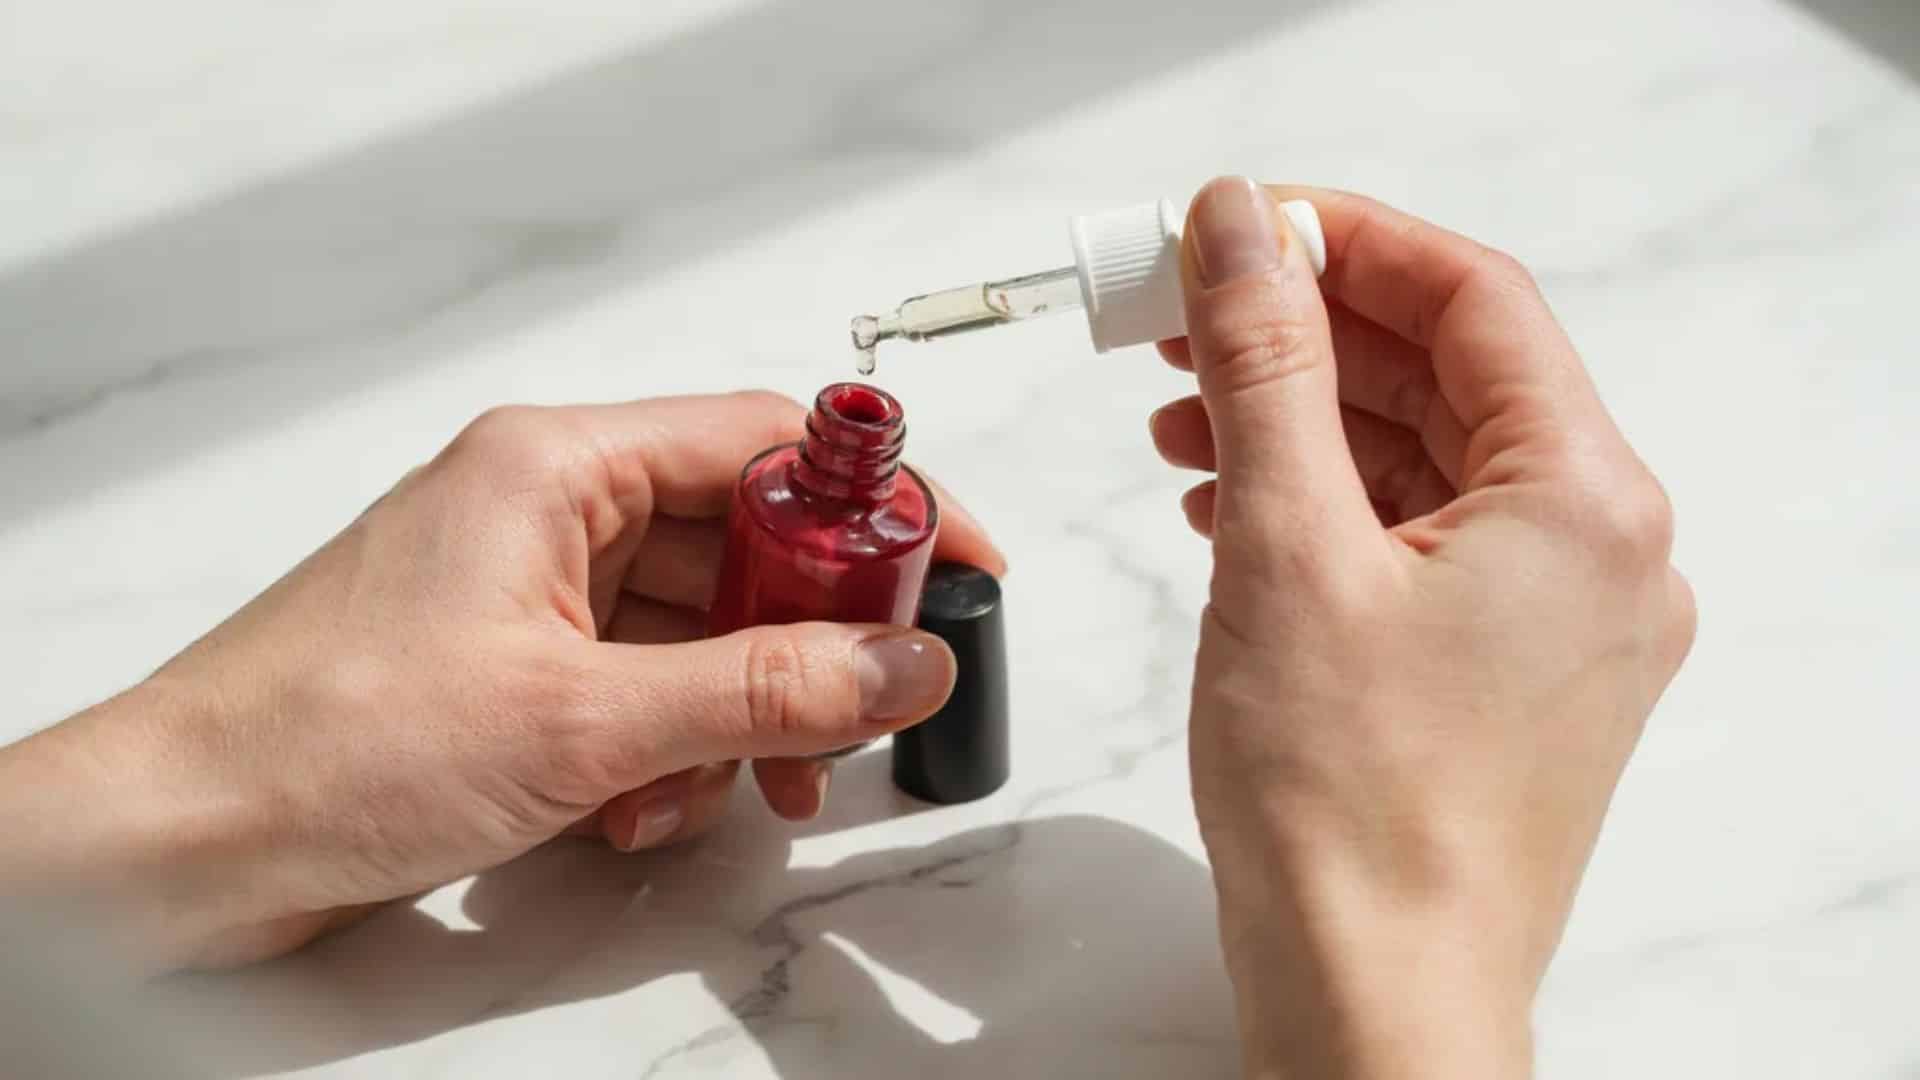
Open the bottle and add two to three drops of nail polish thinner.
It’s best to start small, since too much thinner at once can make the formula runny and harder to control when you apply it to your nails.
You can always add a bit more later if needed, but it’s tricky to fix polish that has become too thin, so patience at this stage really does make a difference.
Step 2: Mix the Nail Polish Gently
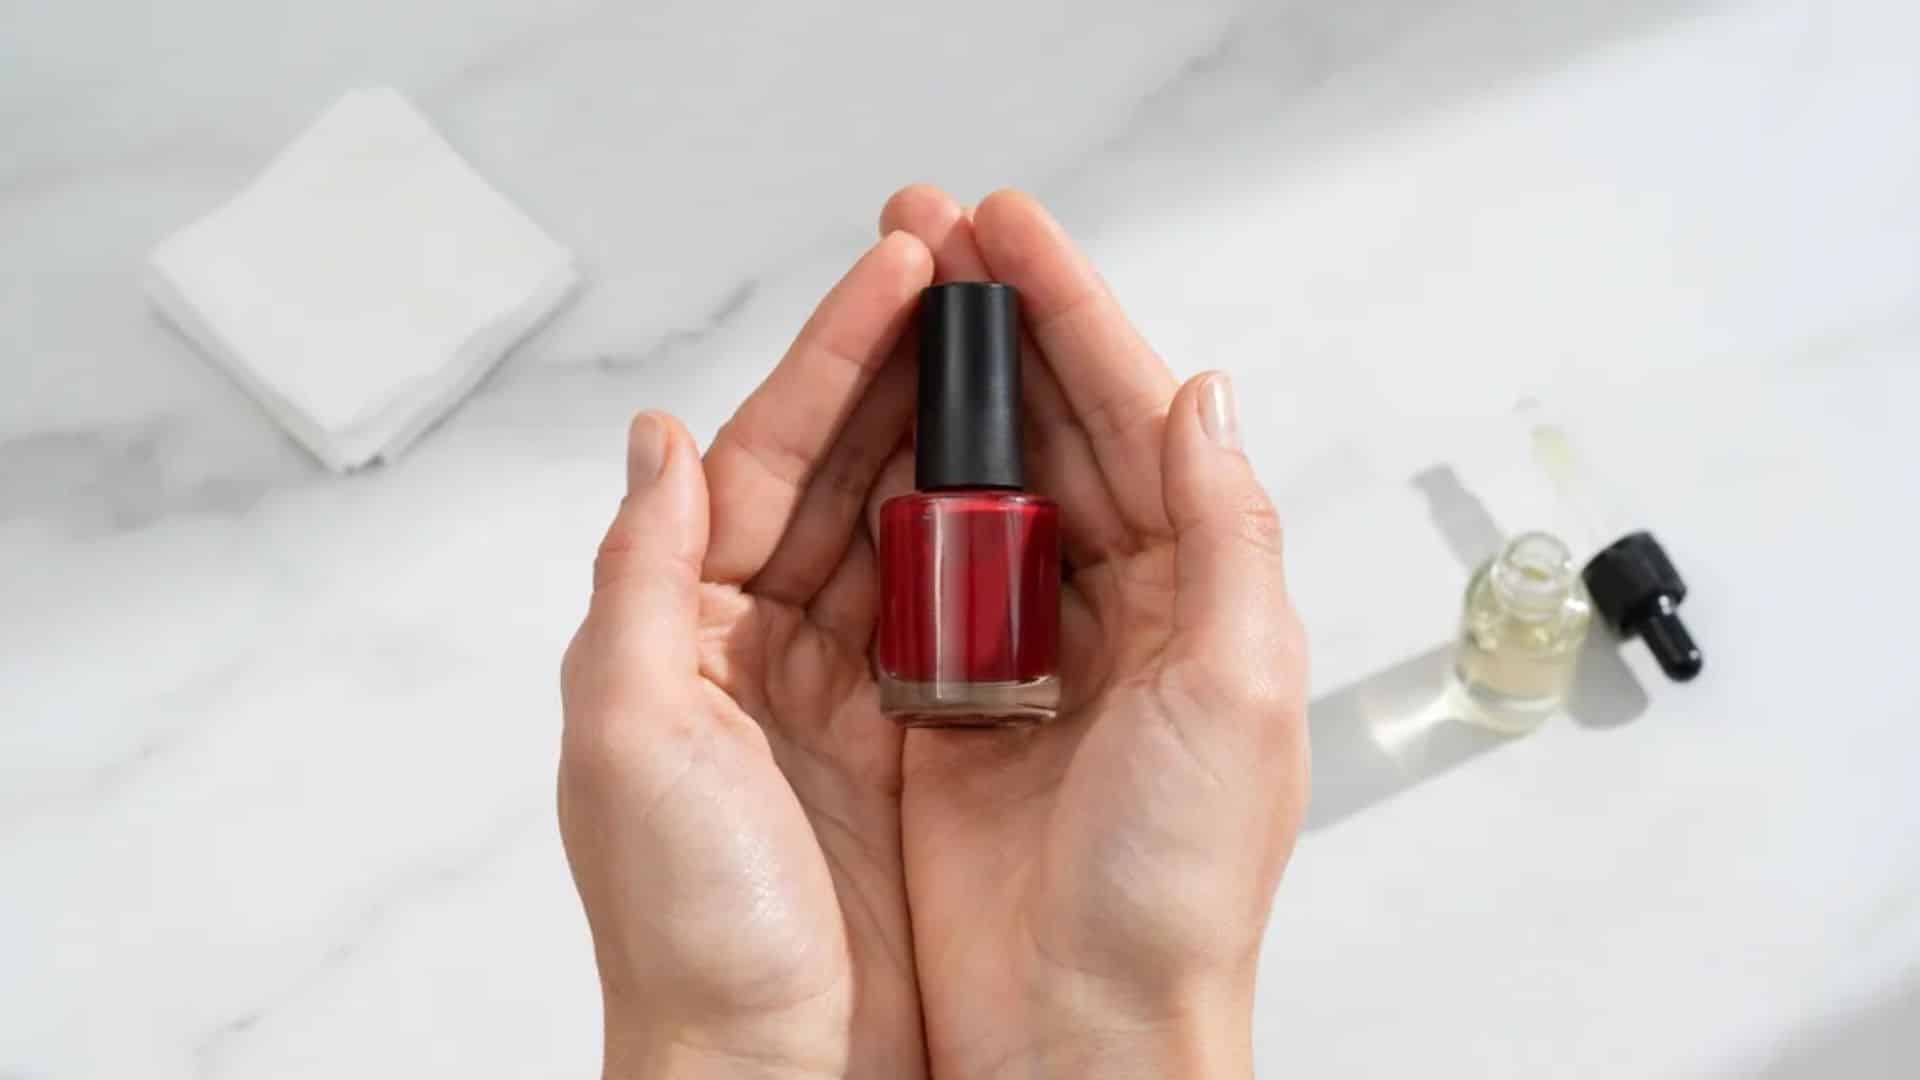
Close the cap tightly and roll the bottle between your palms for a few minutes.
Rolling helps the thinner blend evenly throughout the polish while preventing air bubbles that shaking the bottle often causes.
Take your time with this step, since a thorough roll ensures the thinner reaches every part of the formula rather than settling unevenly near the top or bottom.
Step 3: Check the Nail Polish Texture
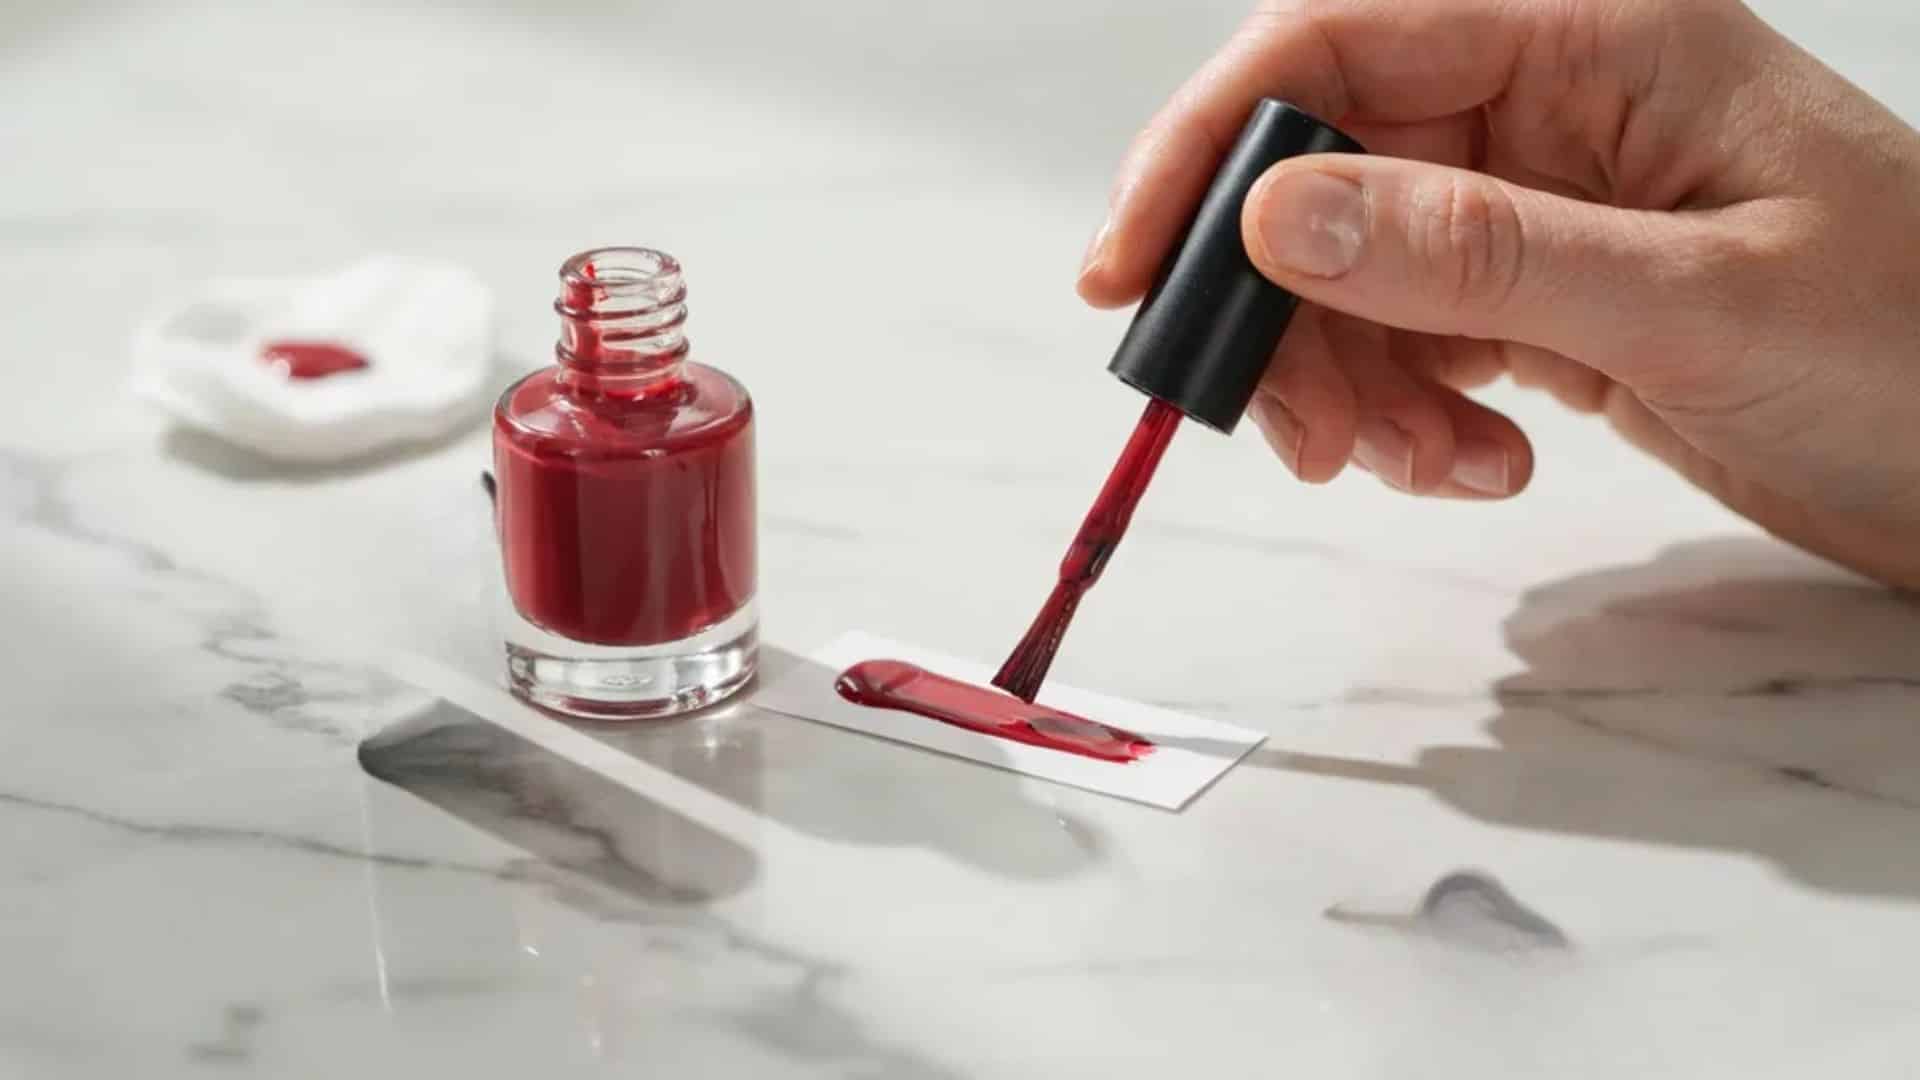
Open the bottle and swipe the brush across a scrap of paper or your nail. The polish should glide on smoothly and evenly.
If it drags, clumps, or feels uneven, the formula likely needs a little more work before it’s ready for your next manicure.
Testing on paper first also saves you from applying a coat you might need to redo right away.
Step 4: Add More Thinner If Needed
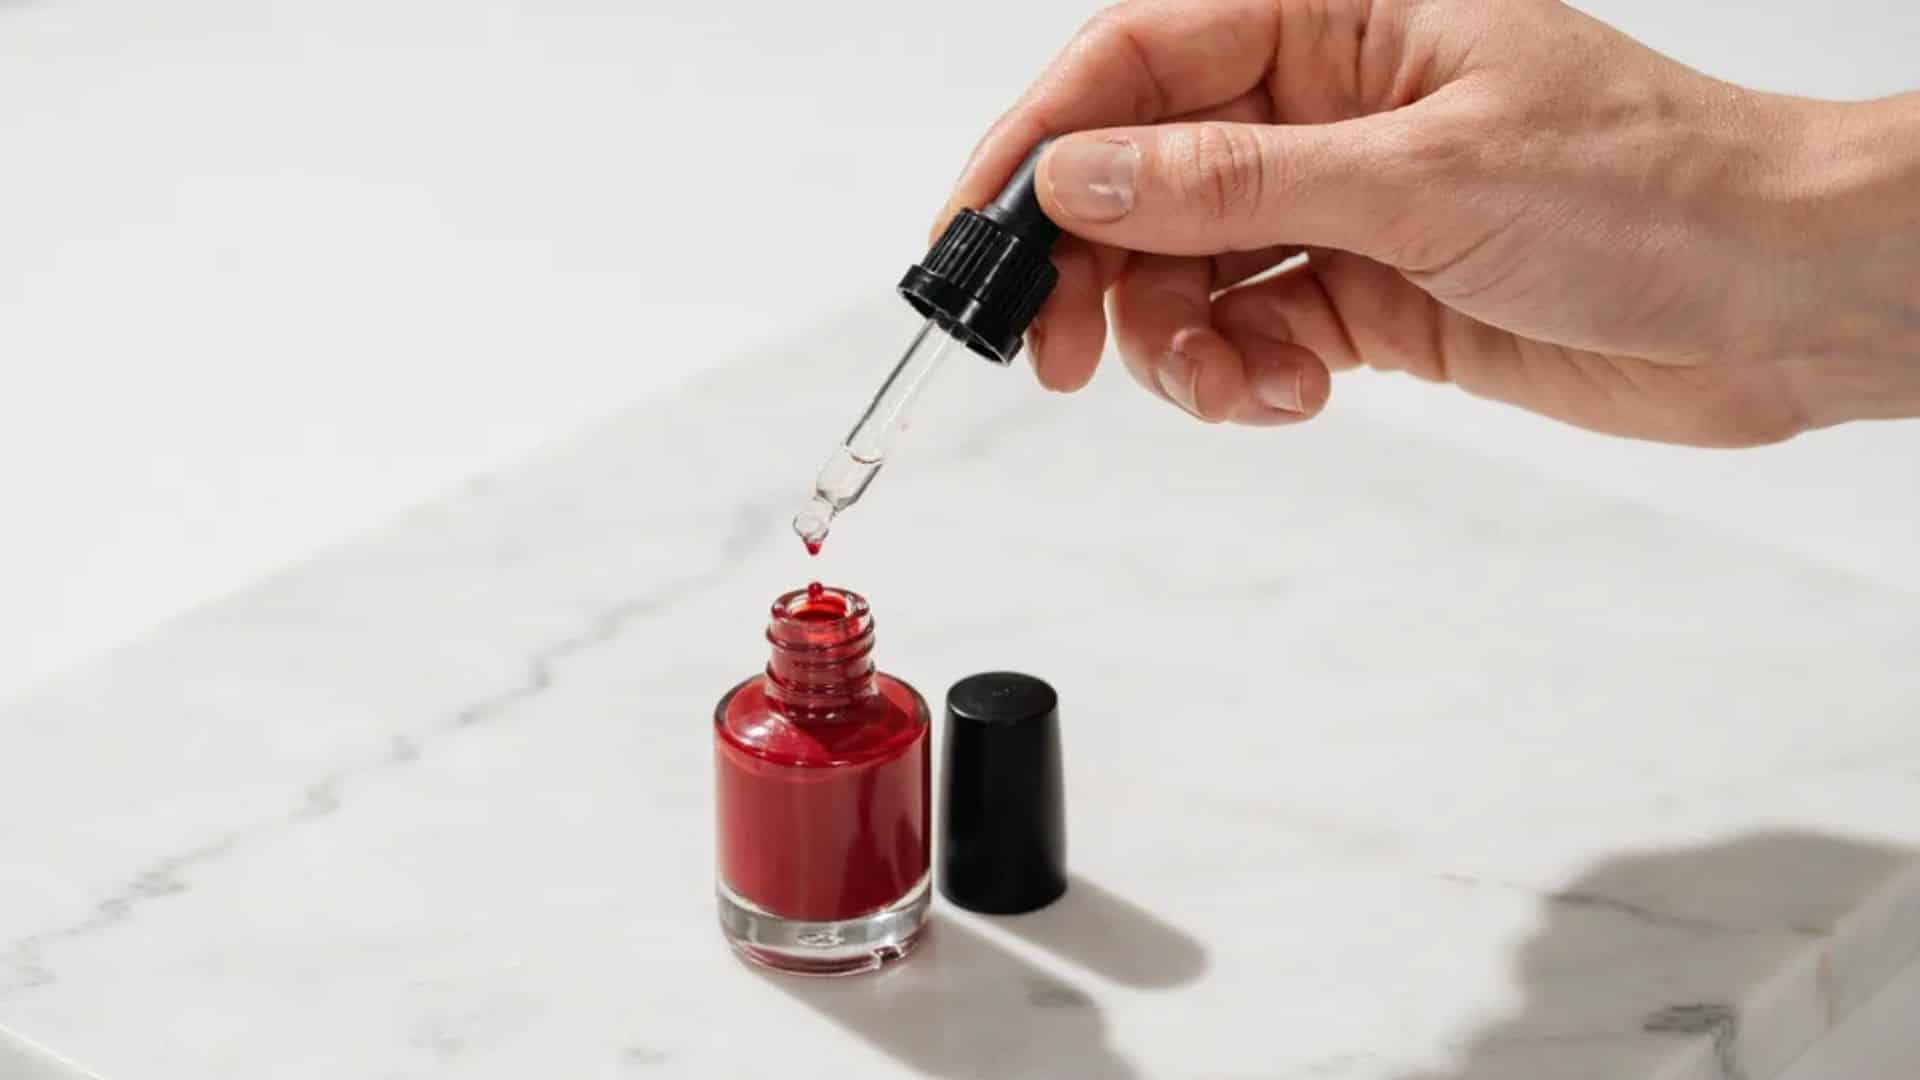
If the polish still feels thick after testing, add a few more drops of thinner.
Repeat the mixing and checking steps until the polish flows smoothly off the brush and reaches the texture you want.
Working in small increments like this gives you better control over the final result and helps you avoid overcorrecting the consistency.
How Long Does Nail Polish Thinner Take to Work?
Nail polish thinner usually works within a few minutes.
After adding a few drops, rolling the bottle for two to three minutes is often enough to restore a smooth consistency, though extra-thick polish may need a bit more time and an additional drop or two.
How to Make Nail Polish Less Thick Safely
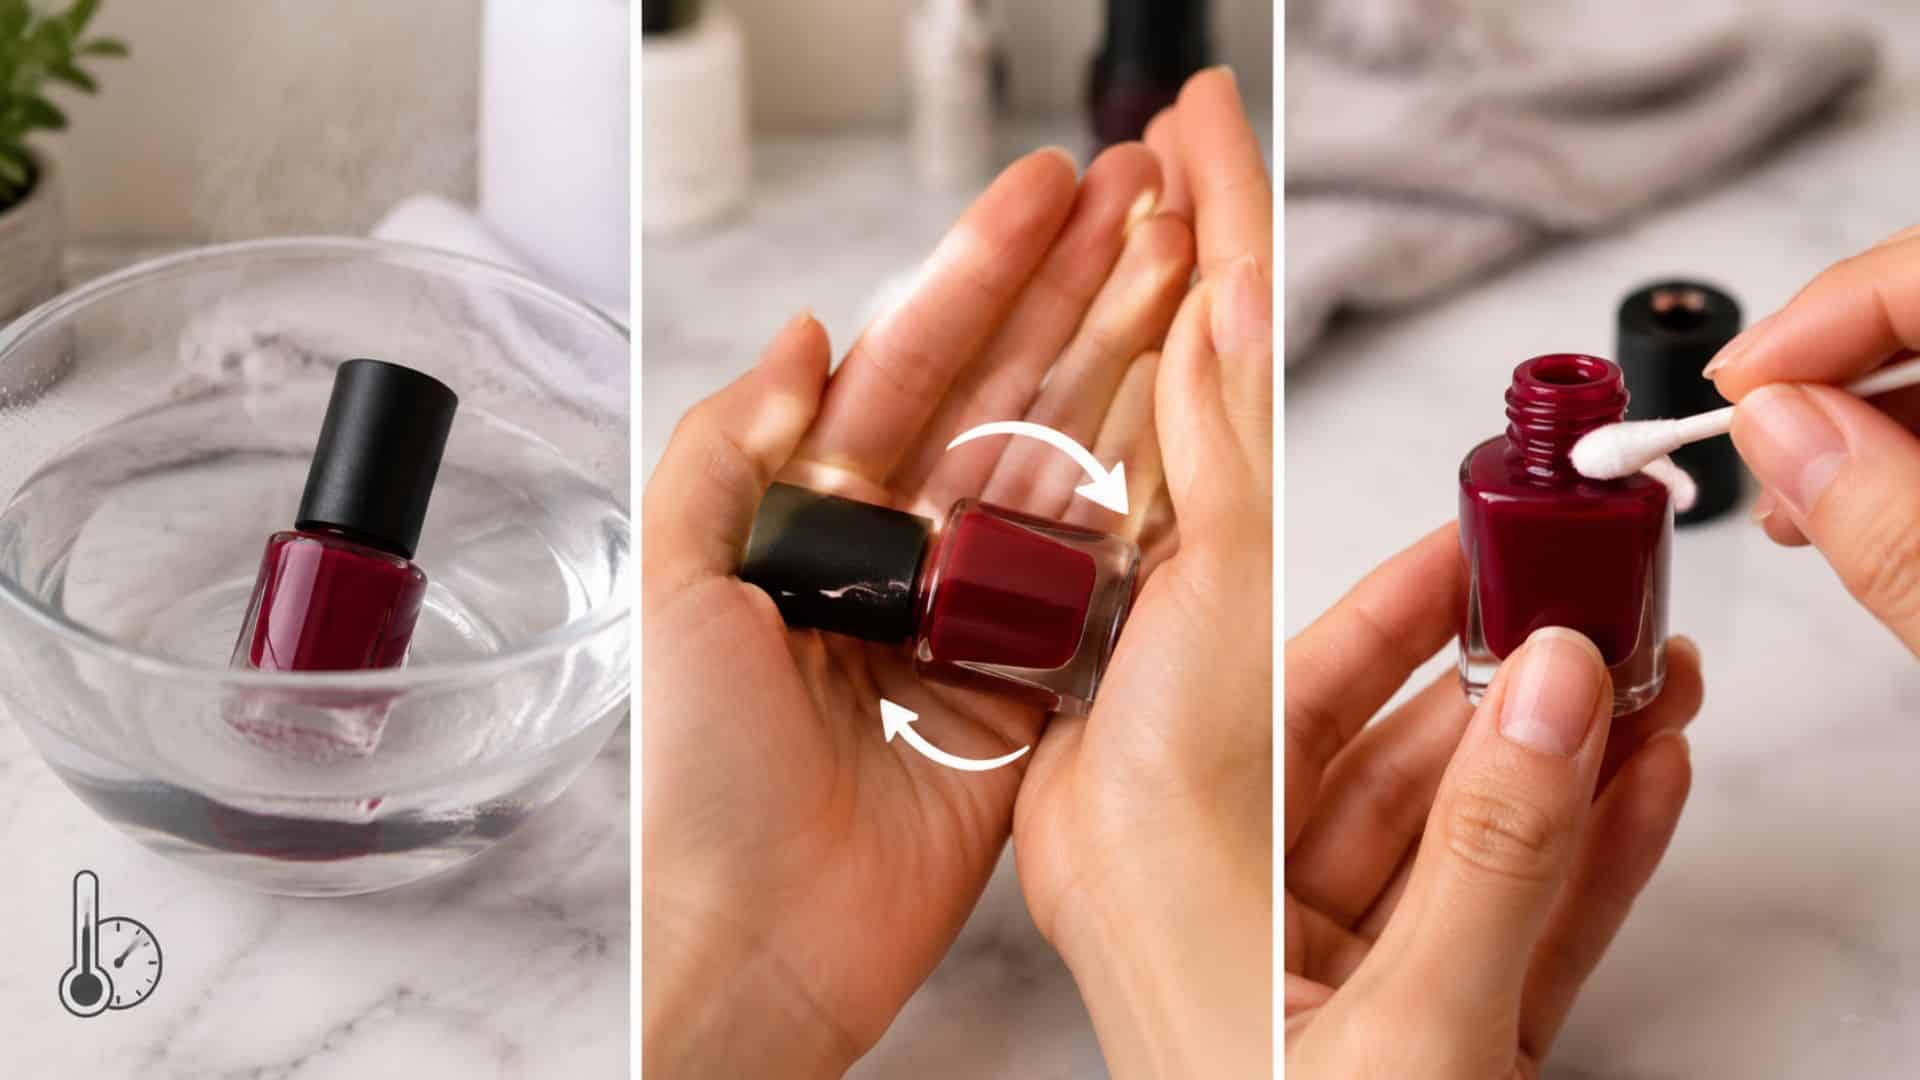
Small adjustments can genuinely improve thick polish, but not every trick out there is safe for the formula. A few gentle methods work well, while others risk damaging the polish or its texture entirely.
Warm the Closed Bottle Before Use
Place the sealed bottle in a bowl of warm water for 2 to 5 minutes before opening it. The heat can temporarily soften thickened polish, making it easier to work with.
Once warmed, remove the bottle and let it cool for a minute or two before opening; it can be hot to the touch.
Then roll the bottle gently before opening the cap. Avoid boiling water or direct heat, as too much can damage the polish and change its color or texture.
Roll the Bottle Instead of Shaking It
Rolling the bottle between your palms mixes the ingredients evenly without introducing air. Shaking, on the other hand, tends to create air bubbles that affect how smoothly the polish applies.
Those bubbles often show up once the polish dries, leaving an uneven or bumpy finish instead of the smooth coat you’re after.
Remove Dried Polish Around the Bottle Neck
Dried polish that builds up around the bottle’s opening can stop the cap from closing tightly, leading to faster thickening. Wiping the rim clean with a cotton swab or acetone helps the cap seal again.
This simple habit reduces air exposure between uses and can extend how long your polish stays at its original, smooth consistency.
Can You Thin Nail Polish With Acetone?
Yes, one drop of pure acetone can temporarily thin thick nail polish, but it’s a last resort rather than a real fix. It doesn’t replace the evaporated solvents, so it can affect color, finish, and the manicure’s longevity.
Acetone can also alter the finish and wear time, making polish chip faster than usual.
It’s also worth using acetone in a well-ventilated space, since the fumes can irritate the eyes and throat with prolonged exposure.
Most importantly, it doesn’t replace the specific solvents that evaporate from the formula, so the fix is temporary at best and can leave your polish worse off in the long term.
Nail Polish Thinner vs Acetone
When you’re deciding between the two, it helps to see how they actually compare side by side. While both can affect polish consistency, only one is designed to properly restore your polish’s original formula.
| Feature | Nail Polish Thinner | Acetone |
|---|---|---|
| Made for Polish | Yes | No |
| Restores Consistency | Better option | Temporary effect |
| Changes Formula | Less likely | More likely |
| Recommended Amount | 2–3 drops | 1 drop max |
| Recommended Use | Thick polish | Removing polish |
For long-term results, nail polish thinner remains the safer, more reliable choice, while acetone works best for quick polish removal rather than fixing thickened formulas.
Does This Work for Gel Polish Too?
Regular nail polish thinner is made for standard lacquer, not gel or UV-cured formulas.
If your thickened polish is a gel formula, look for a thinner labeled specifically for gel polish, since regular thinner may not blend evenly with a gel base and can affect how well it cures.
Acetone-free, gel-specific thinners are widely available at beauty supply stores and work the same way: a few drops, rolled in gently.
What Works (and What Doesn’t) Without Nail Polish Thinner
Many people search for household alternatives when they run out of thinner. Some methods offer a safe, temporary fix, while others can seriously damage your polish and should be avoided entirely.
Safe Temporary Options
If you don’t have thinner on hand, a few gentle methods can help in a pinch:
- Warming the sealed bottle in warm water for 2–5 minutes
- Mixing the formula gently by rolling, not shaking
- Cleaning the bottle neck to help the cap seal again
- Adding one drop of pure acetone as an absolute last resort
These small steps won’t fully replace thinner, but they can keep your polish usable a little longer.
Things You Should Never Add to Nail Polish
Certain household liquids may seem like an easy fix, but end up ruining the formula. Avoid adding:
- Water
- Perfume
- Hand sanitizer
- Rubbing alcohol
- Other household liquids not designed for polish
These substances break down the polish’s ingredients, often leaving it clumpy, discolored, or unusable rather than smoother.
When to Thin Nail Polish vs. When to Toss It
Not all thick polish needs to be tossed out right away. As a general rule, if the polish is still within one to two years of opening and only the texture has changed, not the color or smell, it’s usually worth trying to save.
If the brush still picks up product, the formula spreads but feels a bit heavy, or you notice slight separation in the bottle, it’s usually still salvageable with a little thinning and some patience.
On the other hand, certain signs point to polish that’s genuinely done for good.
If it’s completely dried inside the bottle, gives off a strange chemical smell, stays clumpy even after adding thinner, has separated into layers that won’t remix, or still applies poorly after fixing, it’s best to replace it entirely rather than keep trying to save a formula that has already broken down well beyond repair.
Common Mistakes When Thinning Nail Polish
Even with good intentions, a few habits can make thick polish worse instead of better. Here are the most common mistakes people make when trying to fix it.
- Adding too much thinner at once often makes the polish watery, so it’s best to add small amounts gradually and check consistency each time.
- Using nail polish remover instead of thinner is a common mix-up. Nail polish remover often contains conditioning agents that regular thinner doesn’t, and it breaks down the formula faster over repeated use. It’s better saved for actually removing polish (or for removing acrylic nails the right way) than for fixing thickened polish.
- Shaking instead of rolling traps air bubbles that show up once the polish is applied. Stick to rolling, as covered above.
Avoiding these simple mistakes can prevent further damage to your polish and help you restore its texture safely and effectively.
How to Store Nail Polish to Prevent Thickening
Good storage habits go a long way in keeping polish smooth for longer.
Always close the bottle tightly right after use, and avoid leaving it open for extended periods while painting your nails, since even a few extra minutes of air exposure add up over time.
Storing bottles upright also helps prevent polish from pooling or drying around the cap, which keeps the seal tighter.
Keep your polish away from heat and sunlight by choosing a cool, dry spot for storage. Bathrooms often see frequent temperature swings from showers, so it’s usually better to store polish elsewhere to help it stay usable for longer.
It also helps to rotate your shades regularly.
Polishes that sit unused for long stretches tend to thicken faster than the ones you reach for often, so working through your collection instead of always grabbing the same bottle can keep more of it in good shape.
Conclusion
Thick, clumpy polish doesn’t have to mean the end of a favorite shade.
With a proper nail polish thinner, a bit of patience, and small adjustments along the way, most bottles can be brought back to a smooth, workable consistency.
Acetone might seem like a quick fix, but it works best for removing polish rather than restoring it, so it’s worth reaching for the right product when you can.
Pairing these fixes with better storage habits, like keeping bottles sealed and away from heat, can help your polish stay usable for much longer.
A little care now means fewer wasted bottles and smoother manicures down the road.
Frequently Asked Questions
Is It Safe to Use Nail Polish Thinner?
Yes, it’s made specifically for polish and doesn’t damage the formula when used correctly.
How Many Drops of Thinner Should I Add?
Start with two to three drops, adding more gradually if needed.
Can Old Nail Polish Be Saved?
Often, yes, unless it’s completely dry, clumpy, layered, or has an odd smell.
Does Shaking Ruin Nail Polish?
Shaking can introduce air bubbles, so rolling the bottle gently works better.
How Often Should I Add Thinner to Old Polish?
Only when it feels thick again, not as a regular routine.
How Long Does Thinned Nail Polish Last?
Thinned polish can last a few months if stored properly in a cool, dry place with the cap tightly sealed, though it may need another round of thinner sooner than a fresh bottle would.