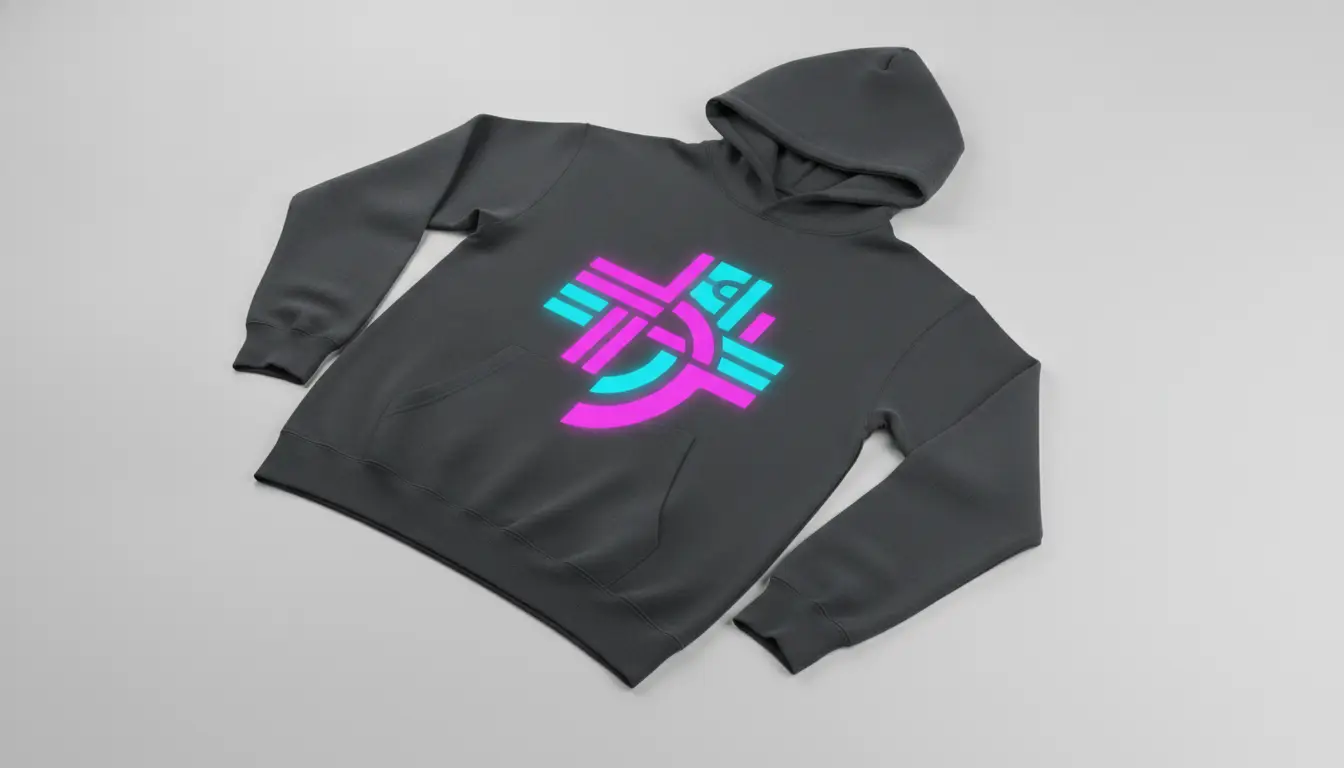
When you want your custom hoodies to look sharp and professional, the quality of the artwork file you send to the maker is essential. A blurry design will ruin the look of an otherwise fantastic garment, which is why professionals always use vector assets for printing. This article explains how you should prepare your vector files so that your hoodie maker can deliver a final product that looks as you intended.
Understanding the Power of True Vector Graphics
A true vector file is built using mathematical formulas rather than tiny squares of colour known as pixels, which is how standard photos are made. This means you can stretch the design to any size, and it will never lose its sharpness or become distorted on the fabric. You should create or save your artwork in standard vector formats like AI or SVG to ensure compatibility with your printer’s equipment.
Converting All Text into Solid Outlines
One of the most common issues in custom printing happens when the printer opens your file and does not have the specific font you used. To prevent this, you must convert all the text in your design into solid vector outlines before you send the final file. Always remember that this process locks the shape of the letters in place, turning them into standard graphics rather than editable text fields.
Grouping Your Artwork Elements Logically
A messy file with hundreds of loose pieces can cause errors if an element gets accidentally moved while the printer is setting up the job. You should take a few moments to group all related parts of your design to keep the file organised and easy to manage. Following this important step helps the printer handle your artwork safely and ensures that all pieces of your complex logo stay exactly where they belong.
Specifying the Correct Pantone Colours
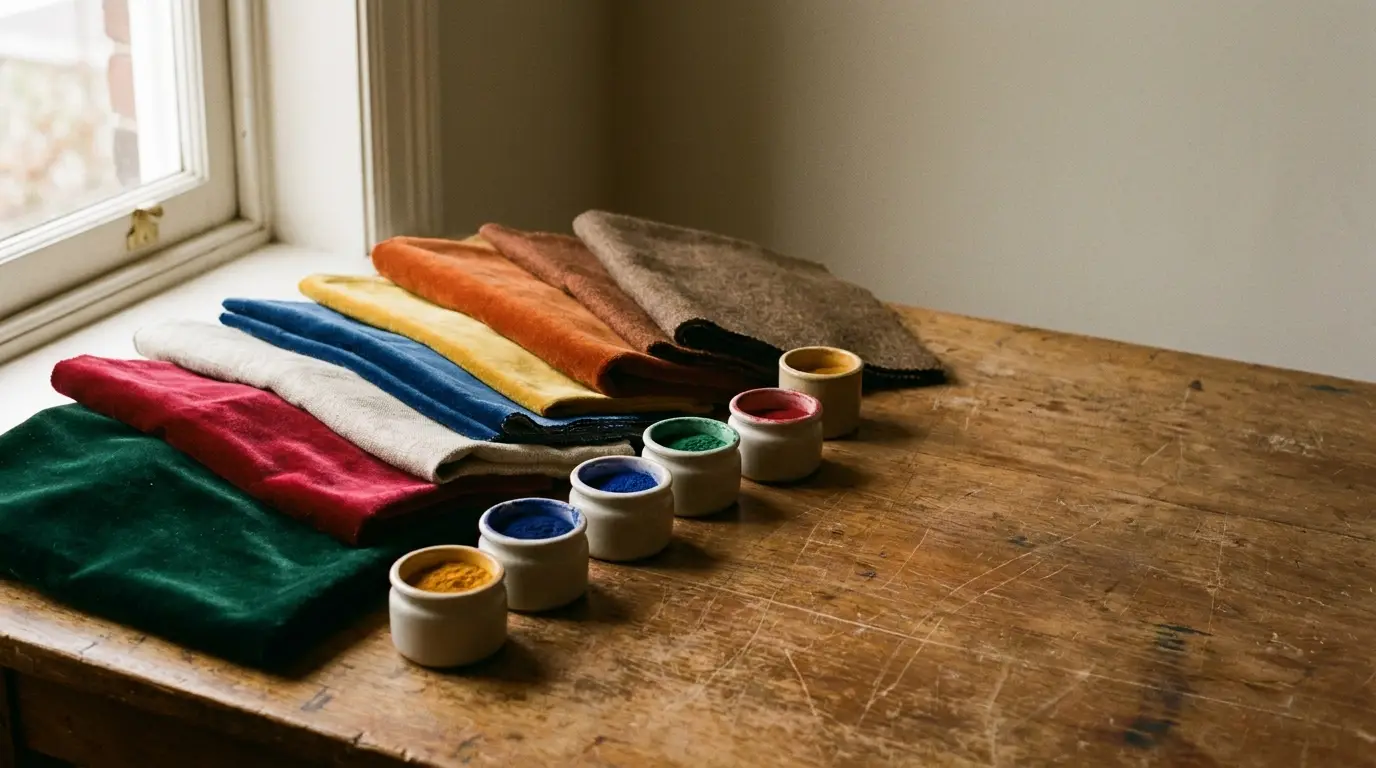
If your brand has very specific colours that must be matched, you need to include the correct Pantone colour codes within your vector file. Printers use these codes as a universal language to mix the exact shade of ink needed for your custom hoodie project. If you just send a digital file without these codes, the colours might look different when printed on fabric compared to your bright computer screen.
Removing All Hidden Background Layers
When you are designing, it is common to use a background layer to see how the logo looks, but this layer must be removed before printing. If you leave a white or coloured box behind your design, the printer might accidentally print that box onto your hoodie, ruining the look. Delete all background elements entirely, leaving only the transparent area behind the actual shapes you want printed on the fabric.
Checking Your Final File at Full Print Size
Before you hit send, it is always a good practice to carefully view your vector file on your screen at the actual size it will be printed. Zooming in to 100% scale allows you to spot any tiny errors, stray anchor points, or uneven curves that you might have missed earlier. In addition to that, you want to make sure the lines are smooth and the details are large enough to be seen clearly from a distance.
Keeping a Backup of Your Original Editable File
Once you have converted your text to outlines and the file for printing, you should always save it as a separate version. You need to keep your original editable file safe in case you ever need to change the wording or adjust the design in the future. By maintaining both a print-ready version and a working version, you give yourself the flexibility to make quick updates without having to start from scratch.
A Good Check for Perfect Production
Converting text, organising layers, and providing clear colour codes remove the guesswork from the production process and guarantee a better result. Take a moment to review your files against this checklist before you submit them, ensuring everything is as sharp as possible. Preparing your artwork correctly is the best way to secure a professional, high-quality finish for your custom apparel investment.