Does your skin feel rough and lackluster despite using expensive lotions? You’re not alone; millions struggle with dull, dry skin that seems impossible to revive.
However, what most people don’t realize is that the solution isn’t found in costly spa treatments or chemical-laden products. The secret lies in simple, natural ingredients you likely already have in your kitchen.
A homemade exfoliating scrub can change your skin’s texture and radiance in ways that will surprise you.
Ready to learn how to create spa-quality treatments at home for a fraction of the cost?
Why Choose Homemade Body Scrubs?
Creating your own body scrubs offers many advantages over store-bought versions. You gain full control of every ingredient, avoiding harsh chemicals, artificial fragrances, and preservatives that can irritate sensitive skin.
The cost savings are also significant; most ingredients are inexpensive, and a single purchase can yield multiple treatments.
For example, a sugar scrub that costs $25 at a spa can be made at home for under $3. Homemade scrubs also allow complete customization.
You can tailor exfoliation levels, scents, and recipes to your skin’s needs, gentle blends for sensitive areas or stronger scrubs for rough spots, such as elbows and feet.
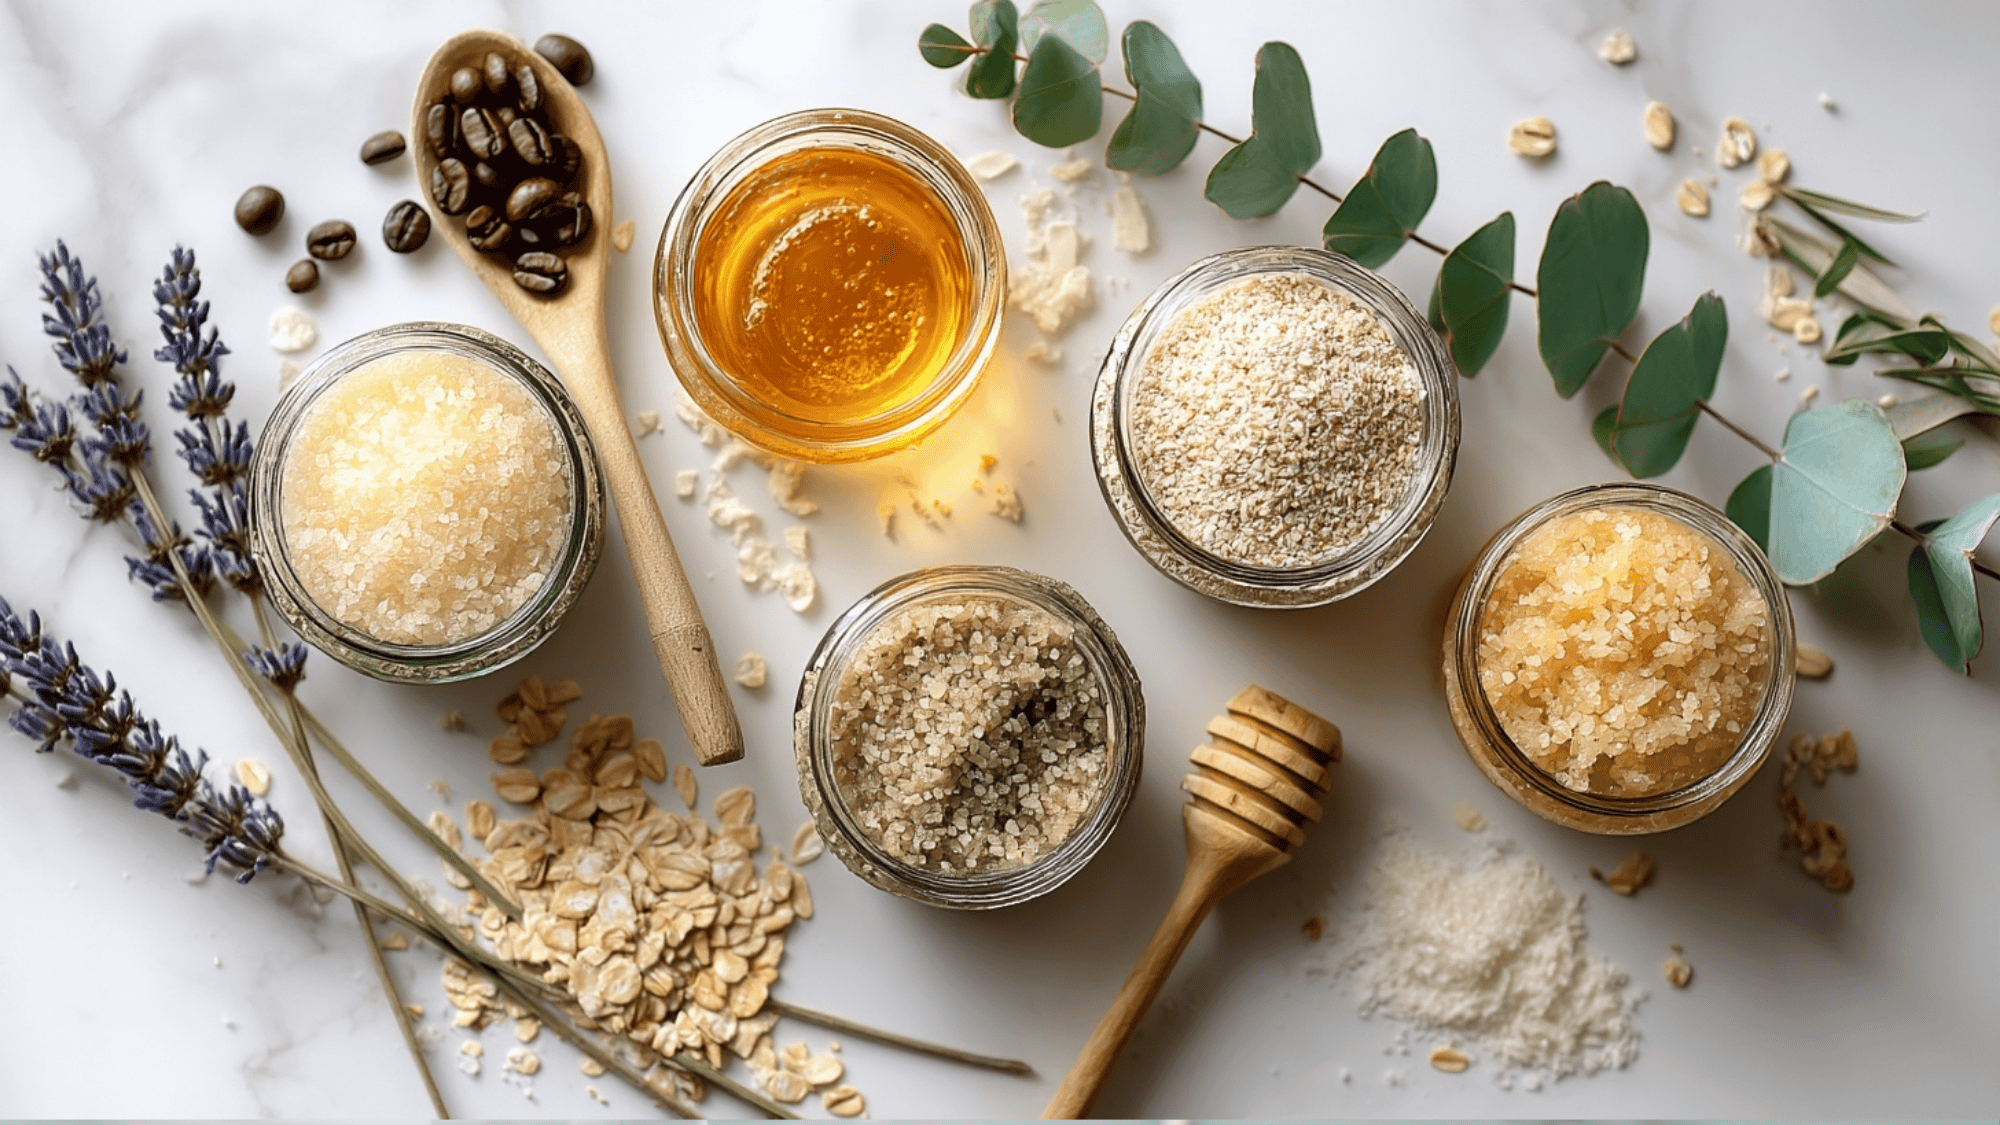
Key Ingredients for DIY Body Scrubs
Effective body scrubs need balanced ingredients. Pair exfoliators with a nourishing base, such as coconut oil, for soft, glowing skin.
| Ingredient | Exfoliation Level | Best For |
|---|---|---|
| Sugar | Gentle | Sensitive skin |
| Salt | Intense | Normal to oily skin |
| Coffee Grounds | Moderate | Most skin types, cellulite-prone |
| Ground Oatmeal | Very Gentle | Extremely sensitive skin |
| Coconut Oil | Moisturizing Base | All skin types, especially dry skin |
Combining exfoliators with coconut oil creates balanced scrubs. This blend builds skin texture and hydration, leaving it naturally radiant.
Proven Body Scrub Recipes
These proven scrub recipes bring spa-quality treatments to your home. Each blend is carefully made to suit different skin types and needs, ensuring healthy, radiant-looking skin.
1. Energizing Coffee & Coconut Scrub
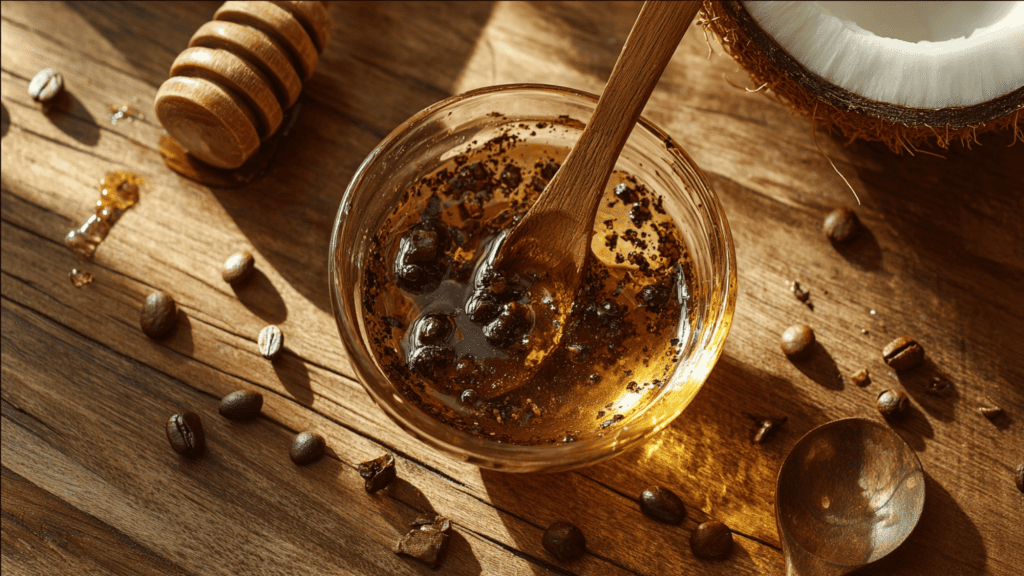
A revitalizing scrub that wakes up your senses while nourishing skin with natural oils. Perfect for morning use.
- 1/2 cup fresh coffee grounds
- 1/4 cup melted coconut oil
- 1 tablespoon honey
The coffee invigorates circulation while coconut oil locks in moisture, leaving your skin refreshed and energized to start the day.
2. Gentle Brown Sugar & Olive Oil Scrub
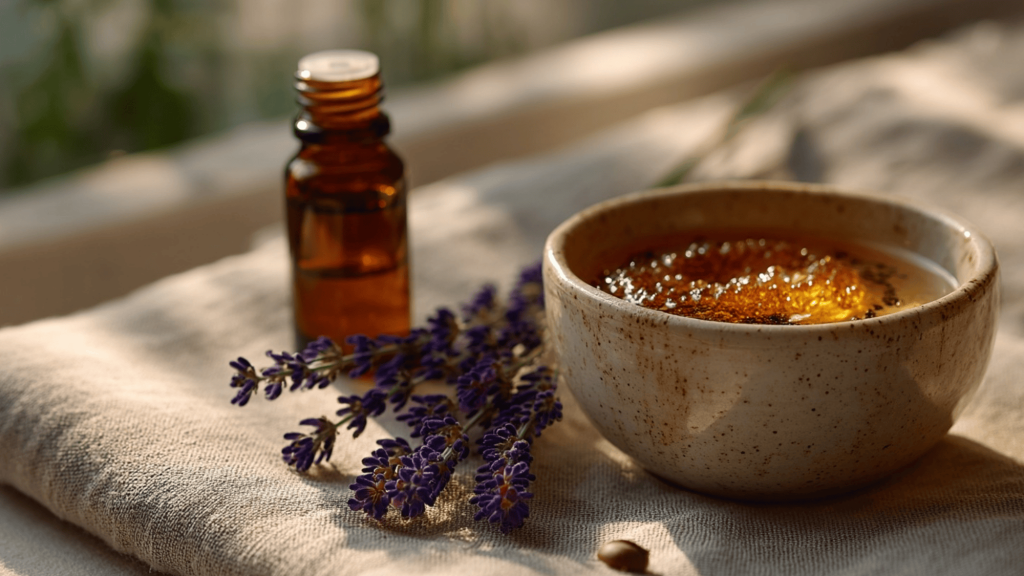
A mild scrub that soothes and moisturizes, making it ideal for sensitive or delicate skin types.
- 1 cup brown sugar
- 1/2 cup olive oil
- 5 to 7 drops of lavender essential oil
This blend provides gentle exfoliation and lasting hydration, while lavender creates a calming, spa-like aroma for evening relaxation.
3. Soothing Oatmeal & Honey Scrub
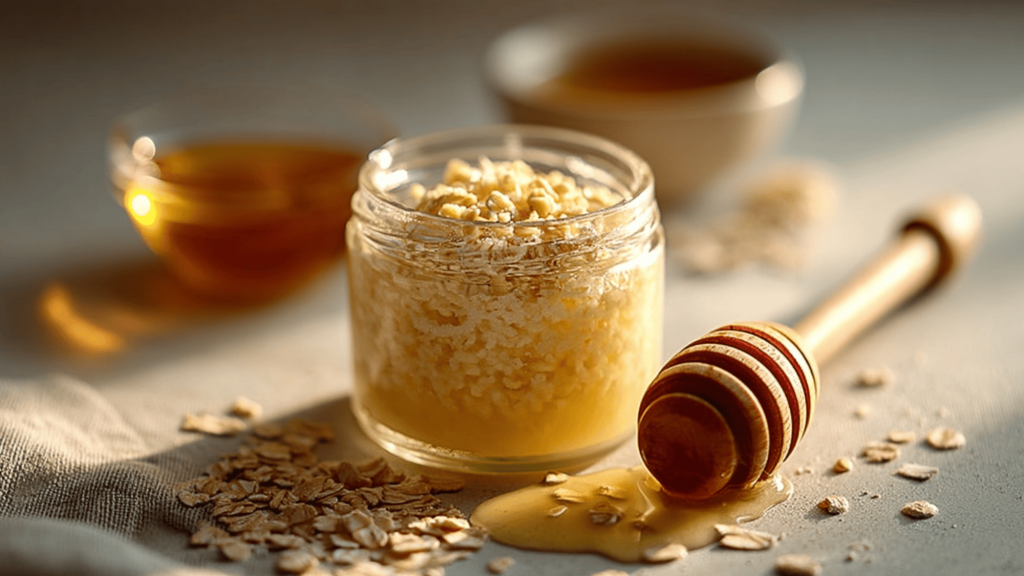
A calming recipe designed for irritated or extra-sensitive skin needing the softest exfoliation.
- 1/2 cup finely ground oats
- 1/4 cup almond oil
- 2 tablespoons honey
Oatmeal gently soothes irritation while honey and almond oil restore softness, leaving skin smooth, nourished, and deeply comforted.
4. Detoxifying Sea Salt Scrub
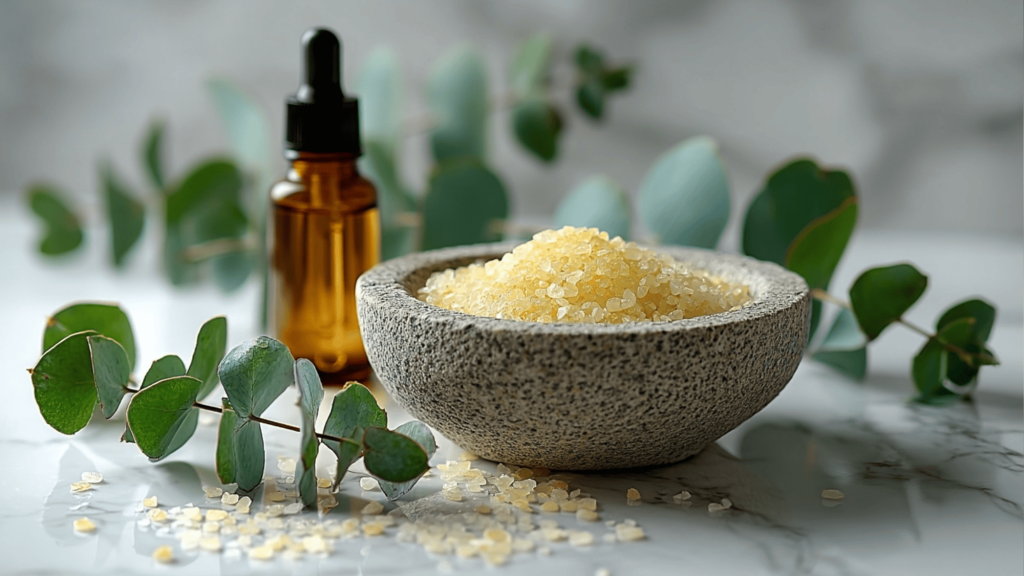
A powerful exfoliant that detoxifies and polishes skin, suitable for normal to oily types or stubborn dry patches.
- 1 cup fine sea salt
- 1/3 cup jojoba oil
- 3 to 4 drops of eucalyptus essential oil
The salt buffs away roughness, while eucalyptus and jojoba refresh and hydrate, creating a truly invigorating spa-like treatment at home.
Application Frequency & Guidelines
The right exfoliation schedule depends on your skin type. Follow these frequency suggestions to maintain smooth, healthy, and balanced skin.
- Normal skin: 2–3 times per week
- Sensitive skin: 1–2 times per week
- Oily skin: Up to 3 times per week
- Dry skin: 2 times per week with moisturizing oils
Consistency is key, avoid over-exfoliating, skip scrubs on irritated skin, and stop use immediately if you notice redness, burning, or sensitivity.
Step-by-Step Application Process for Body Scrubs
Properly applying a body scrub enhances results, leaving skin smooth, hydrated, and glowing. Follow these steps for safe, effective exfoliation.
Step 1: Prep Your Skin
Begin with a warm shower or bath for 3–5 minutes. The steam softens dead skin cells and opens your pores, making exfoliation more effective.
Ensure your skin is damp but not dripping wet before applying the scrub so the product spreads evenly and works deeply.
Step 2: Cleanse First
Wash your body with a gentle cleanser to remove dirt, sweat, and oils. This step prepares your skin for exfoliation, ensuring the scrub focuses on lifting away dead cells rather than surface impurities.
A clean base always leads to smoother, longer-lasting results after scrubbing.
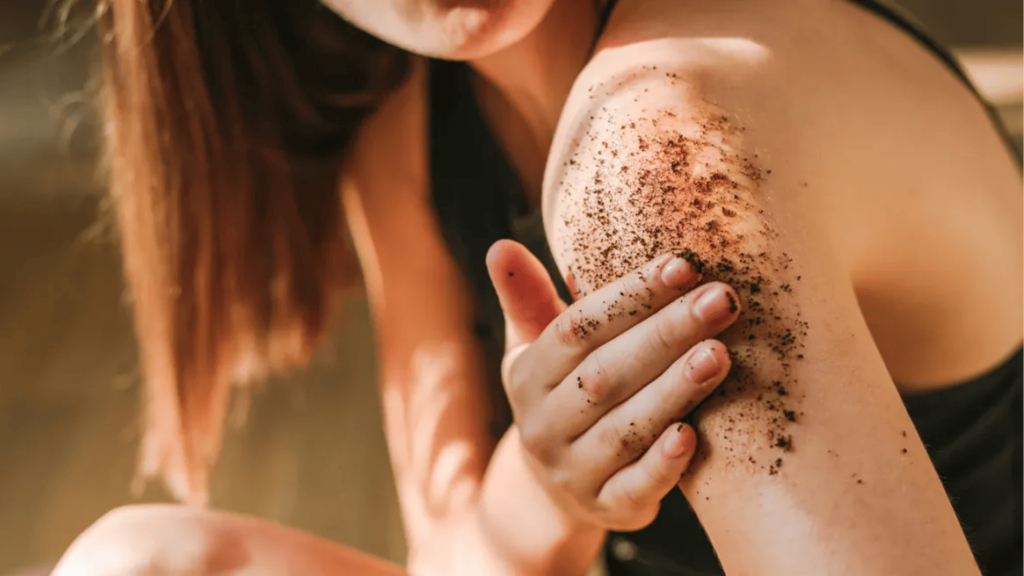
Step 3: Apply the Scrub
Scoop a small amount of scrub, about two tablespoons, into your palm. Gently massage it onto damp skin using circular motions with light to medium pressure.
This method removes dead cells effectively without damaging your skin barrier or leaving you feeling overly sensitive afterward.
Step 4: Focus on Key Areas
Give special attention to rough spots such as elbows, knees, and heels. These areas tend to develop thicker, drier skin and benefit from more intensive exfoliation.
For sensitive areas, such as the chest and inner arms, use lighter pressure to avoid irritation while still refreshing the skin.
Step 5: Rinse Thoroughly
Rinse your body with warm, not hot, water to remove all scrub particles. Be sure to wash between your fingers and toes, where grains often accumulate.
The natural oils from the scrub should remain on your skin, leaving it soft, smooth, and nourished rather than greasy.
Step 6: Lock in Moisture
After rinsing, gently pat your skin dry with a clean towel, rather than rubbing. This helps retain hydration and the nourishing oils left behind.
While skin is still damp, apply coconut oil or your favorite moisturizer to seal in softness and achieve a natural glow.
For a full step-by-step demonstration with tips and techniques, check out my detailed video on how to do a body scrub:
Optional Enhancers for Body Scrubs
Additional ingredients can boost the quality of your basic scrub by adding therapeutic properties, pleasant fragrances, or targeted skin benefits.
These items enable you to create a personalized scrub tailored to address specific concerns, such as acne, dryness, or relaxation.
| INGREDIENT | PRIMARY FUNCTION | KEY BENEFITS | BEST FOR |
|---|---|---|---|
| Honey | Natural humectant | Draws moisture into skin, antibacterial properties | Acne-prone areas, dry skin |
| Essential Oils | Fragrance & therapy | Varies by oil type | All skin types |
Remember that these enhancers should be added sparingly to maintain the scrub’s effectiveness without overwhelming your skin.
Begin with small amounts and adjust according to your skin’s response and personal preferences.
Application Frequency & Guidelines
The right exfoliation schedule depends on your skin type. Follow these frequency suggestions to maintain smooth, healthy, and balanced skin.
- Normal skin: 2–3 times per week
- Sensitive skin: 1–2 times per week
- Oily skin: Up to 3 times per week
- Dry skin: 2 times per week with moisturizing oils
Consistency is key, avoid over-exfoliating, skip scrubs on irritated skin, and stop use immediately if you notice redness, burning, or sensitivity.
Benefits of Homemade Body Scrubs
Homemade scrubs offer natural, affordable, and customizable skincare solutions. They gently exfoliate while nourishing your skin without the use of harmful chemicals.
| Benefit | Description |
|---|---|
| Natural | Free from harsh chemicals and additives. |
| Affordable | Costs far less than store-bought scrubs. |
| Customizable | Tailor ingredients to skin type and preference. |
| Skin-Boosting | Exfoliates, smooths, and brightens naturally. |
| Eco-Friendly | Uses biodegradable ingredients, less packaging. |
By choosing homemade scrubs, you embrace skincare that’s safe, sustainable, and effective, leaving your skin healthy, glowing, and refreshed.
Storage & Patch Test Essentials
Homemade scrubs require careful storage to maintain freshness and safety. Always use airtight glass jars, as they prevent contamination, absorb odors, and prevent ingredient separation.
Store scrubs in a cool, dry location, away from direct sunlight and bathroom steam, which can introduce moisture and bacteria.
When properly stored, most scrubs last two to three months, though making smaller batches is recommended for maximum freshness.
To protect sensitive skin, always patch test before first use. Apply a small amount to your inner wrist and wait 24 hours to check for irritation, redness, or allergic reactions before applying fully.
Final Thoughts
Homemade body scrubs are a simple yet powerful way to upgrade your skincare routine.
By using natural ingredients like sugar, salt, coffee, or oatmeal, you create spa-quality treatments that exfoliate, hydrate, and nourish without harsh chemicals.
Beyond the glowing skin benefits, DIY scrubs save money and let you customize each recipe for your unique needs.
Start today by choosing a recipe that matches your skin type and gathering the necessary ingredients.
For beginners, try the Brown Sugar & Olive Oil Scrub; for a boost, the Coffee & Coconut Scrub is perfect.
Ready to glow? Make your first batch today!