That moment when you spot the perfect piercing on someone else’s ear and immediately think, “I need that.” Welcome to the mid-helix effect.
This trendy piercing has taken over social media for all the right reasons. It sits perfectly at the outer rim of your ear, creating that effortless cool-girl vibe everyone’s after.
Unlike some piercings that scream for attention, the mid-helix whispers. It’s subtle enough for your conservative workplace but stylish enough to complete your weekend look. Plus, it plays well with other piercings if you’re building an ear stack.
But before you rush to the nearest piercing studio, there are some important things to know. From healing times to jewelry choices, getting the facts first can save you months of trouble later.
What Is a Mid-Helix Piercing?
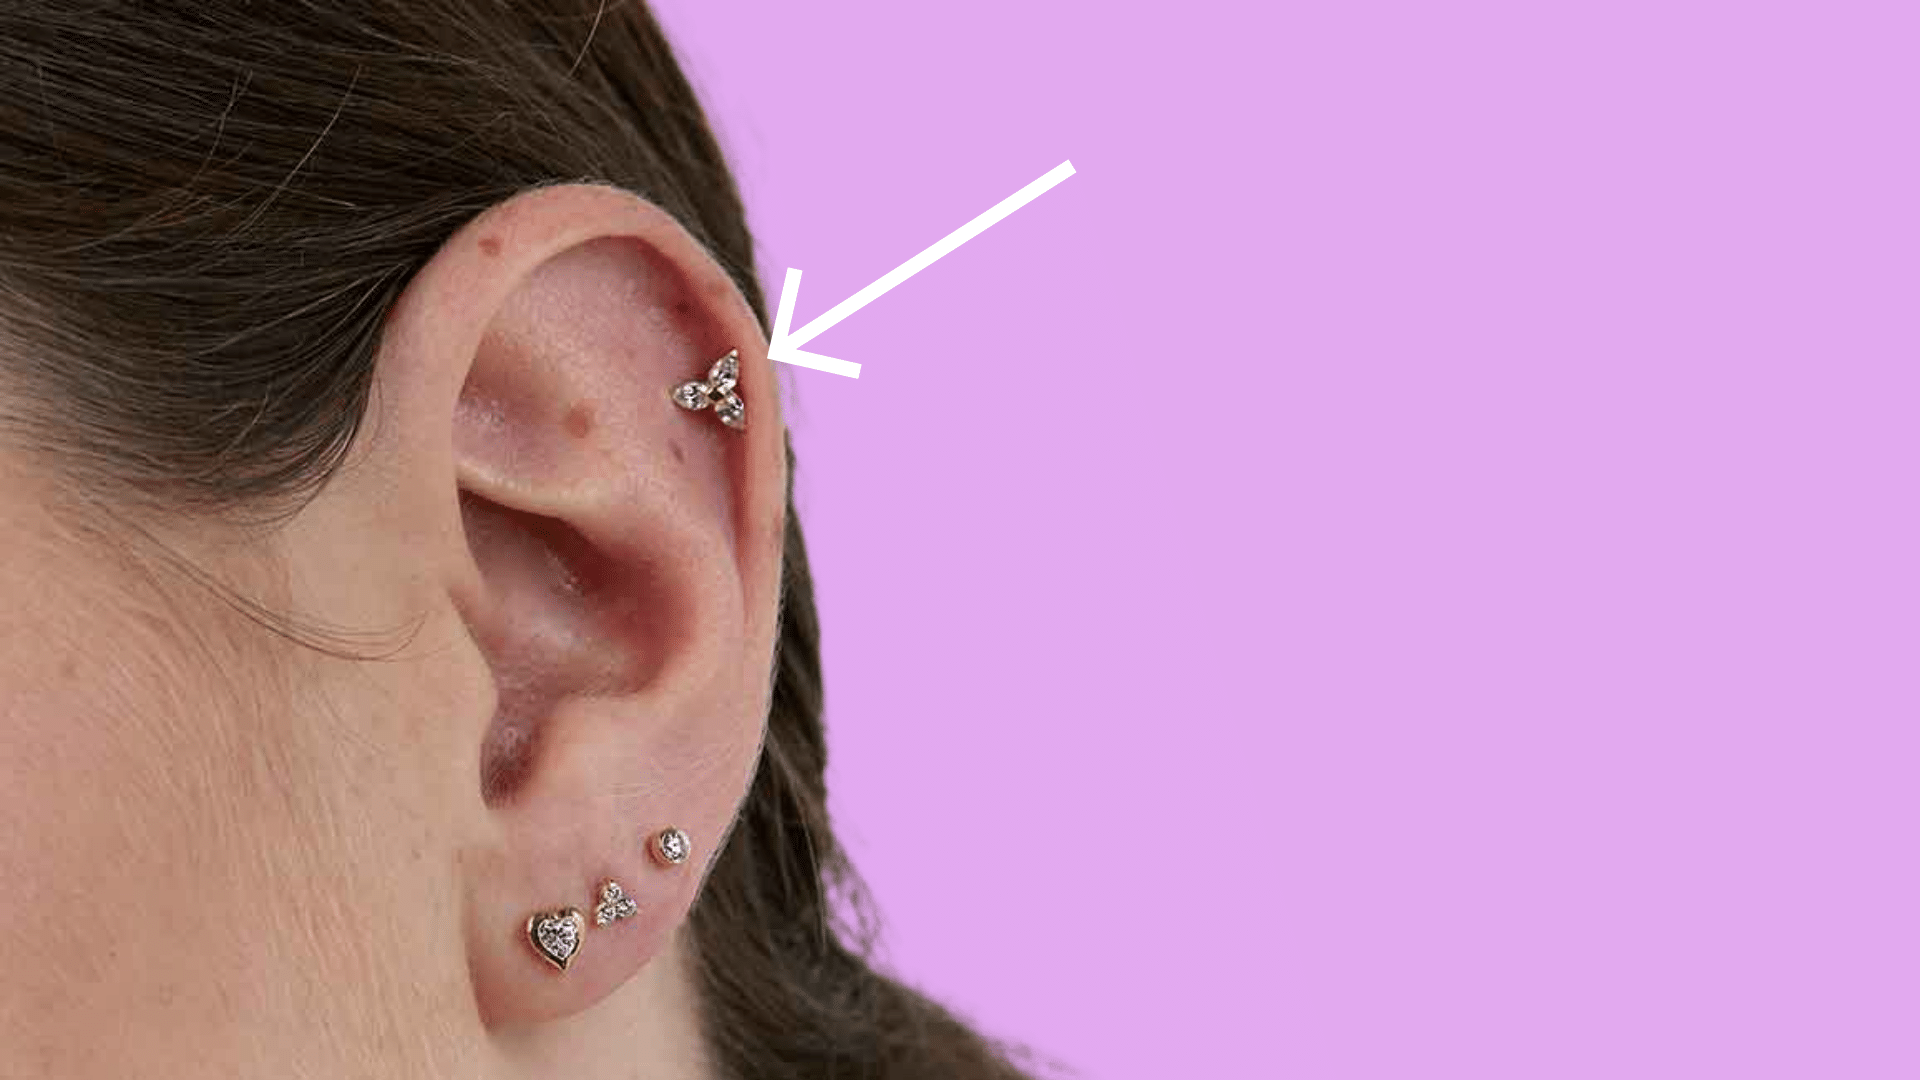
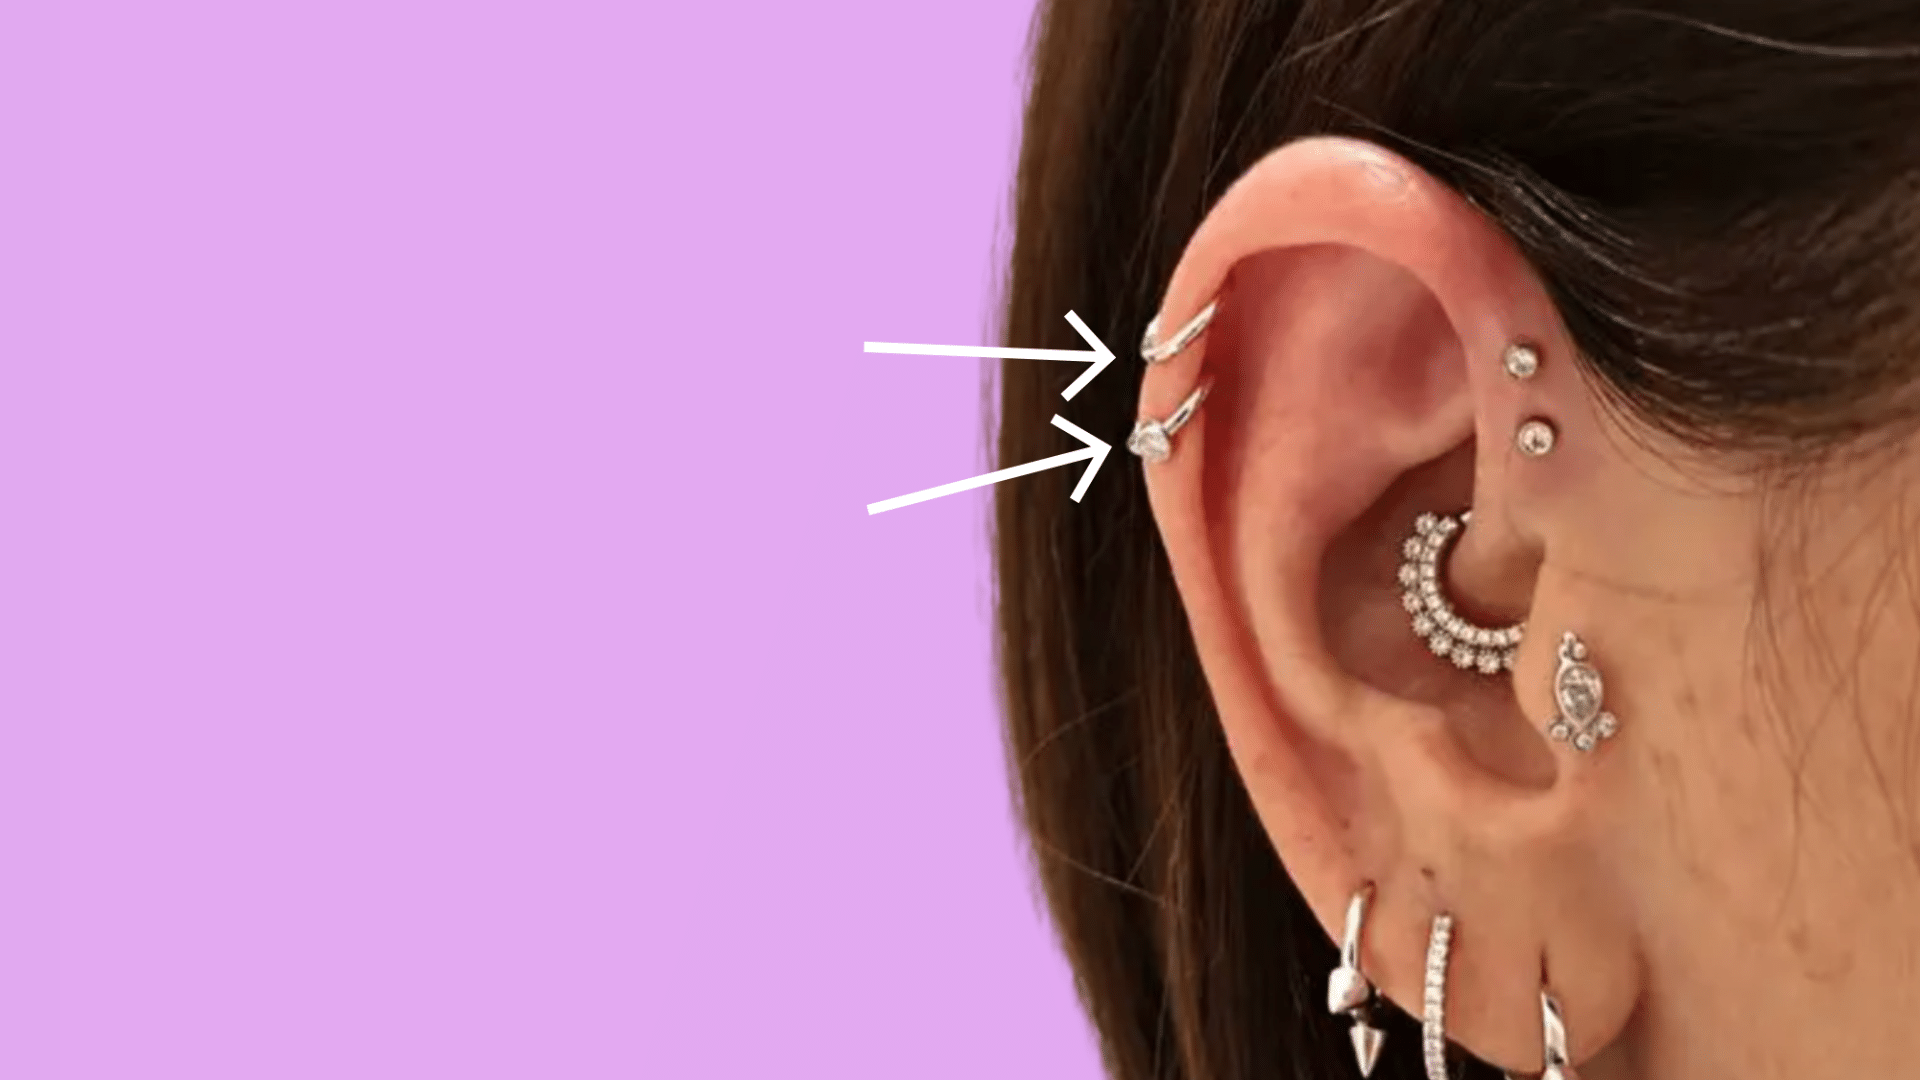
A mid-helix piercing sits halfway up your ear’s outer rim, right in the cartilage area between the upper helix and your earlobe. Some people also call this an auricle piercing.
Most people rate the pain around 3 to 5 out of 10. It’s more intense than an earlobe piercing but manageable. The healing process takes 6 to 9 months since cartilage gets less blood flow than soft tissue.
Professional piercers commonly use 16- or 18-gauge needles. For hoops, most people wear 6- 8 mm inner-diameter rings, though your piercer will measure your ear for the best fit.
In the US, expect to pay $30 to $75 for the piercing service, plus $20 to $100 for good starter jewelry. Prices vary by location and studio reputation.
Mid Helix vs. “Helix” vs. “Auricle”: What’s the Difference?
The piercing world loves to confuse people with different names for the same spot. Here’s a breakdown of these three terms that often get mixed up.
| TERM | LOCATION | WHAT IT MEANS | NOTES |
|---|---|---|---|
| Mid-Helix | The middle of the ear’s outer rim | The cartilage area is halfway between your upper ear and earlobe | The most common term used today |
| Auricle | Same as mid-helix | The exact same spot as mid-helix | Medical/technical term for the same piercing |
| Helix | Upper cartilage rim | Usually refers to the upper part of the outer edge of your ear | It can be confusing since it’s sometimes used broadly |
Don’t worry if your piercer uses different terms – mid-helix and auricle mean the exact same thing, just point to where you want it placed.
Types of Helix Piercings
The helix area of your ear offers multiple piercing spots, each with its own name and placement. Here’s a breakdown of the different helix piercing options available.
1. Upper Helix (Standard Helix)
The classic helix piercing sits at the top of your ear’s outer rim. This is what most people mean when they just say “helix piercing.”
It’s one of the most popular cartilage piercings and offers plenty of jewelry options. The placement makes it easy to show off hoops, studs, or decorative pieces.
Recommendations: 18G CZ Cartilage Barbell | Goddess Cartilage Hoop Titanium | Crystal Spiral Twist Helix Cartilage Hoop Ring
2. Mid-Helix
Positioned halfway down your ear’s outer edge, the mid-helix sits between the upper helix and your earlobe. This placement works well for people who want something different from the standard helix.
It’s not too high on the ear, but still gives you that cartilage-piercing look. The mid-helix pairs well with other ear piercings for a stacked look.
Recommendations: 14k Gold Diamond Mid Helix Piercing Stud | Dainty Double Chain Moss Agate Helix | Titanium Hidden Helix
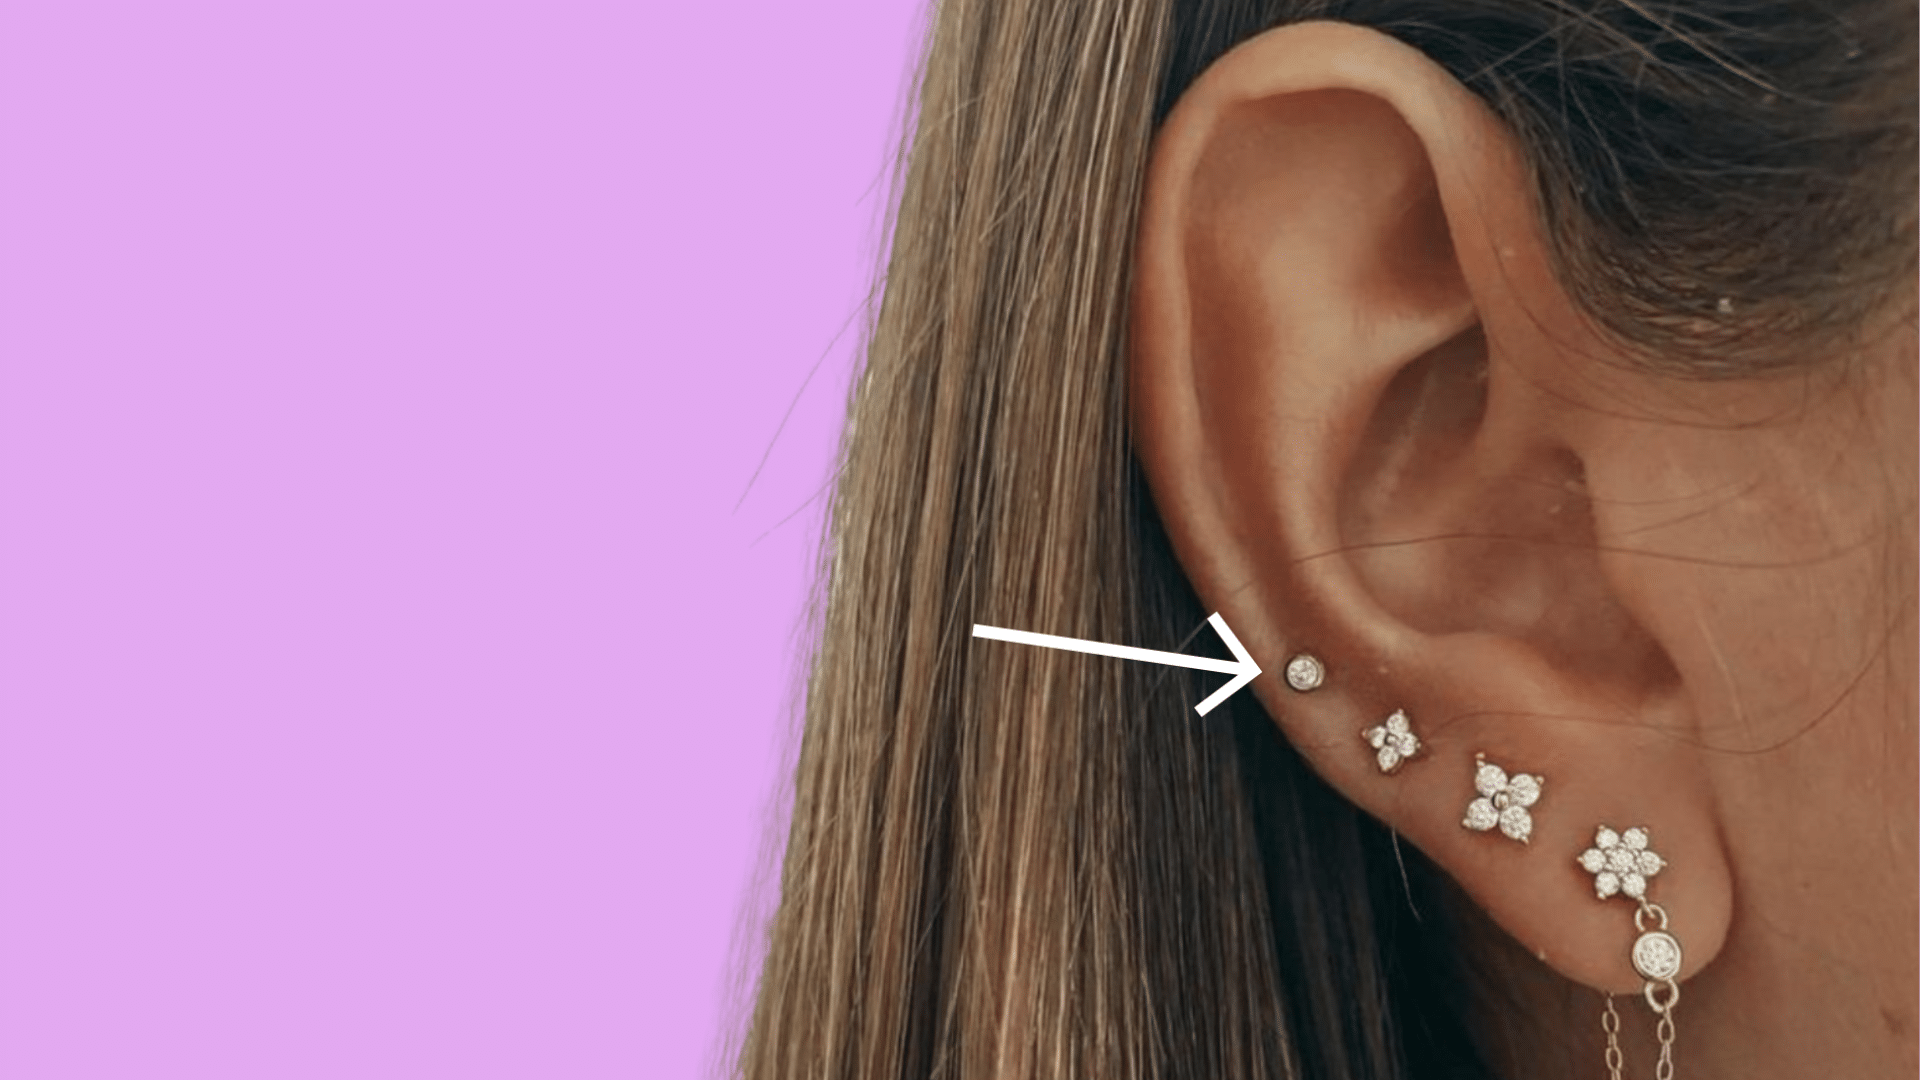
3. Low Helix
The low helix sits closer to your earlobe, in the lower portion of your ear’s cartilage rim. It’s a great option for people who want a cartilage piercing but prefer something closer to the familiar earlobe area.
This spot is often easier to sleep on than higher helix placements. The low helix works well for people who are nervous about their first cartilage piercing.
Recommendations: 14K Yellow Gold Zirconia Helix Stud | Twisted Spiral Rope Helix Cartilage Ring | Floating Silver Steel Helix Labret
4. Forward Helix
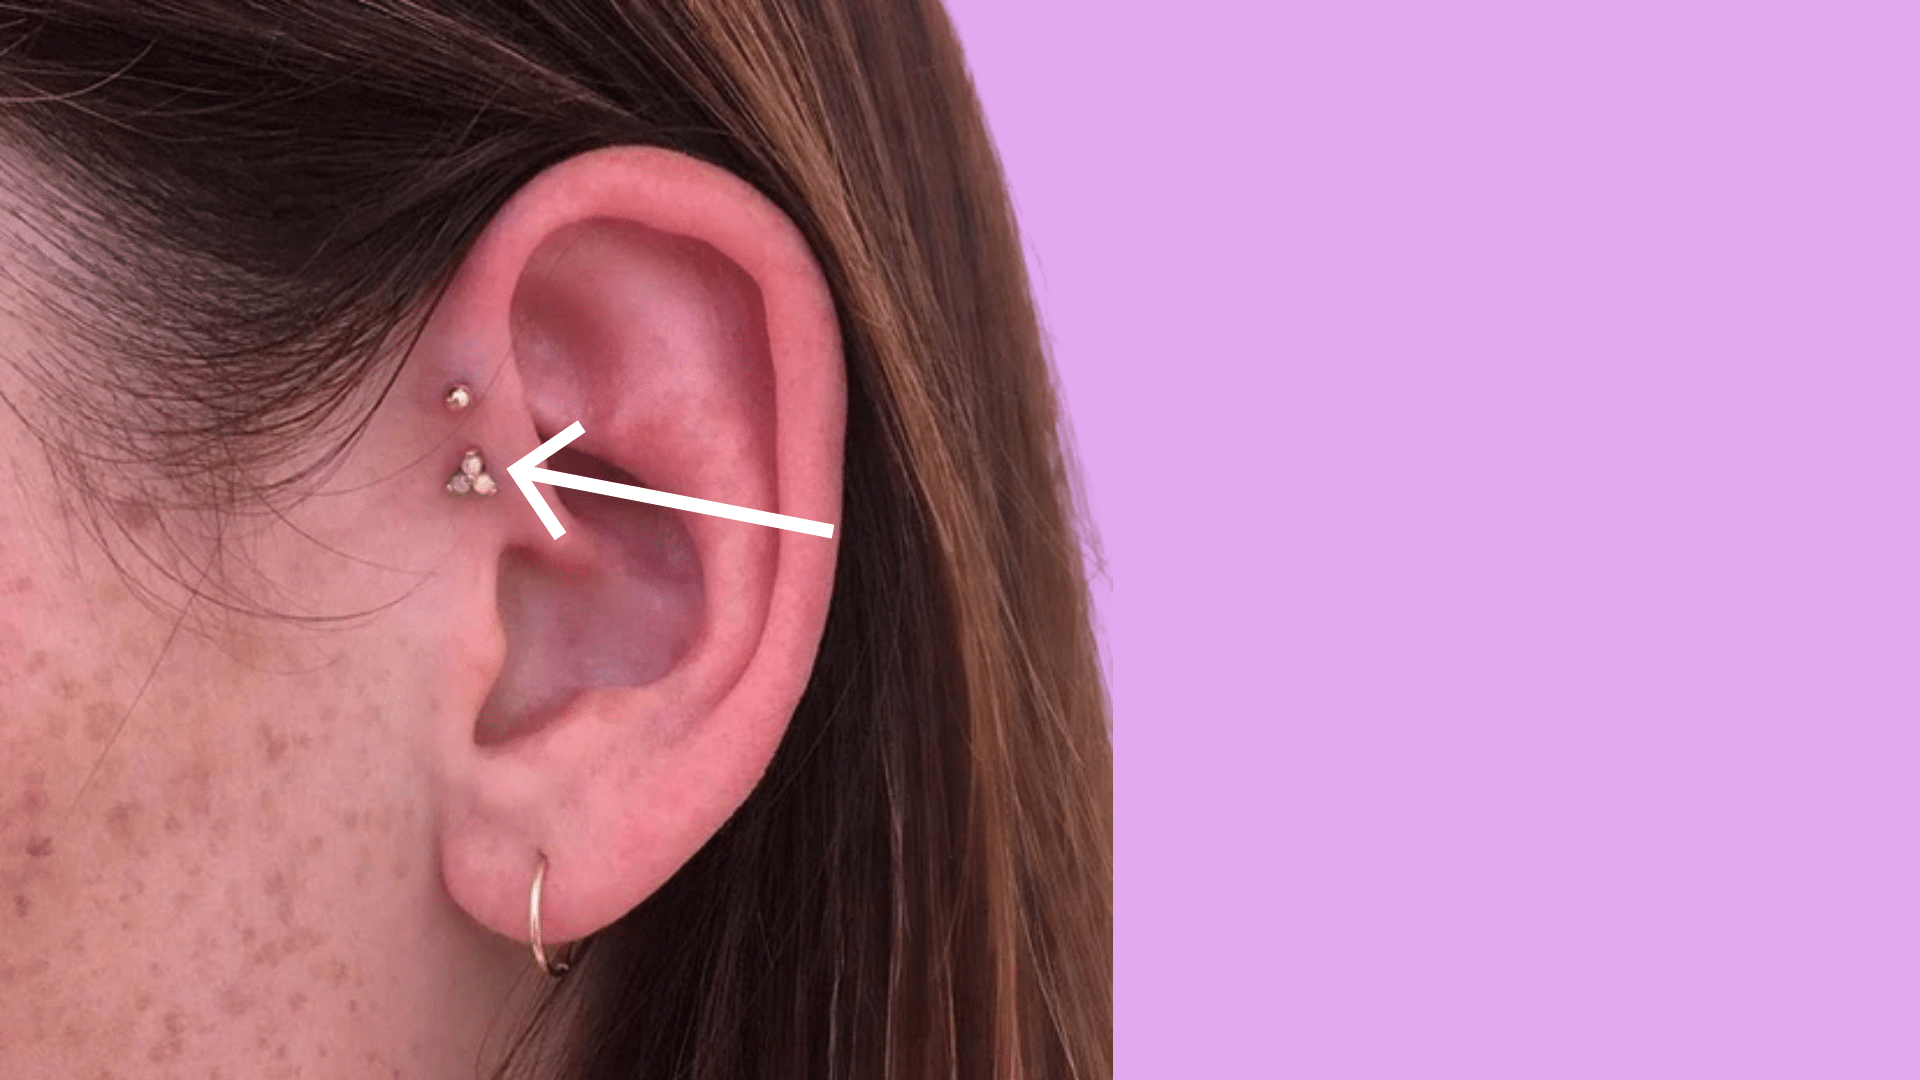
Located on the front edge of your ear’s cartilage, near your face. Forward helix piercings can be single or multiple (double or triple).
They’re trickier to heal due to their location, but they create a striking look. Forward helix piercings are more prone to snagging on hair and face masks.
Recommendations: Forward Helix Earring | 16G Titanium Leaf Helix Stud | 16g Line Forward Helix Earring
5. Double/Triple Helix
Multiple piercings in the same area of your helix, usually spaced 8-10 mm apart. You can get them done all at once or add them over time as each one heals.
Getting them all at once means a longer healing time and more careful aftercare. Adding them gradually lets you heal one fully before getting the next.
Recommendations: Triple Helix Conch Hoop | Titanium Triple Layer Helix Hoop Clicker Ring | 16G Triple Hoop Conch Piercing Hoop
Pain, Procedure & What to Expect on Piercing Day
Nervous about your piercing appointment? Knowing what happens step by step can help calm those pre-piercing jitters and set realistic expectations.
The Procedure Step-by-Step
Here’s exactly what happens from the moment you sit in the piercing chair to when you walk out with your new mid-helix piercing.
- Your piercer marks the exact spot on your ear with a surgical pen
- They clean and sterilize the area thoroughly
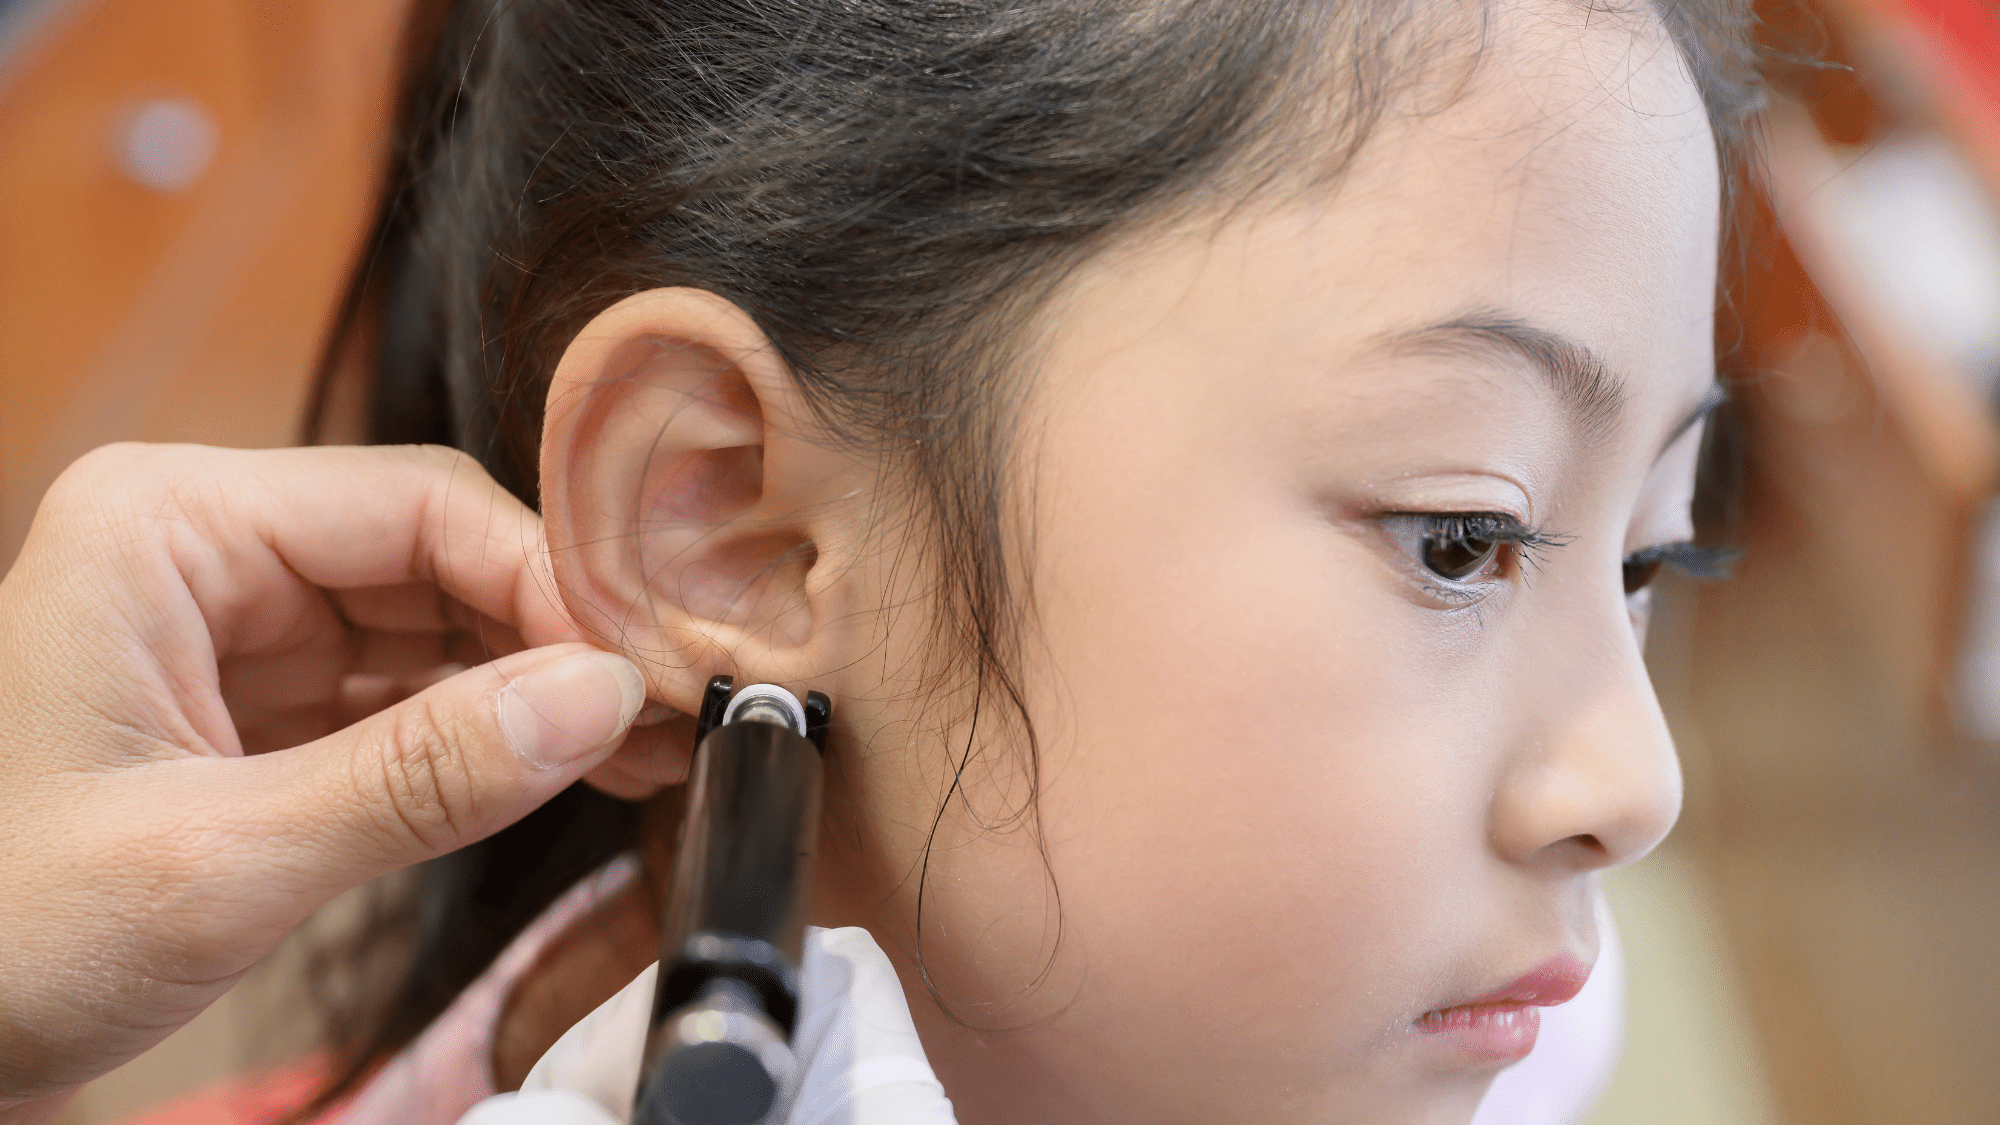
- A sterile, single-use needle pierces through the cartilage (never a piercing gun)
- Initial jewelry gets inserted immediately – usually a straight barbell or labret stud
- The area gets cleaned one final time • You receive detailed aftercare instructions before leaving
Professional piercers follow the Association of Professional Piercers (APP) standards to keep you safe throughout the entire process.
Pain Level Reality Check
Cartilage piercings feel different from earlobe piercings. You’ll experience pressure followed by a sharp pinch that lasts just seconds.
The good news? Mid-helix piercings are often on the milder end of cartilage pain compared to more complex piercings like snug or rook piercings. Most people describe it as a 3-5 out of 10 on the pain scale.
Appointment Timeline and First Steps
Want to know how long you’ll be there and what happens right after? This timeline breaks down your entire piercing appointment.
| PHASE | TIME | WHAT HAPPENS |
|---|---|---|
| Consultation | 5-10 minutes | Discuss placement, jewelry options, and aftercare |
| Preparation | 5-10 minutes | Marking, cleaning, and setting up sterile equipment |
| Actual Piercing | 10-30 seconds | The quick needle insertion and jewelry placement |
| Aftercare Review | 5-10 minutes | Instructions, cleaning demonstration, questions |
| Total Time | 20-30 minutes | Complete appointment from start to finish |
Right after the piercing, your ear might feel warm and slightly throbbing for the first few hours – this is completely normal.
Helix Piercing Healing Time (Mid-Helix)
Cartilage piercings heal differently from soft tissue piercings, moving through distinct phases over several months. During the first two weeks, expect swelling, warmth, and tenderness around the area.
Use saline soaks or sprays and never twist your jewelry. Between weeks three and twelve, the swelling calms down and redness fades.
Avoid sleeping on that side and skip headphones or helmets that press against your ear. From months three to nine onward, your piercing enters the maturation phase, building strength from the inside out.
Wait six to nine months, sometimes up to twelve, before changing jewelry. Watch for bumps, thick discharge, or persistent heat that does not improve.
Proven Aftercare Methods
Good aftercare can make or break your healing process. Stick to what piercing professionals recommend.
- Clean twice daily – Use sterile 0.9% saline solution only. Spray directly on the piercing or use soaked paper towels for 5-10 minute soaks. Avoid creams, oils, alcohol, or hydrogen peroxide.
- Hands off – Keep your hands away from your piercing except when cleaning. Let your body do the work.
- Protect while sleeping – Avoid sleeping on that side for at least 3 months using a travel pillow or donut pillow.
- Watch for snags – Skip gym headphones and helmets until fully healed. Be careful with hair ties and face masks that can catch on your jewelry.
Pro tip: Less is more. Over-cleaning can irritate your piercing just as much as under-cleaning. Stick to twice daily and resist doing more.
Jewelry Guide: Initial vs. Healed
Starting with the right jewelry is important for proper healing. Here’s what works best at each stage.
| STAGE | BEST JEWELRY TYPE | MATERIAL | SIZE/GAUGE | WHY THIS WORKS |
|---|---|---|---|---|
| Initial (0-6 months) | Flat-back labret stud | Implant-grade titanium or 14k+ gold | 16-18g with longer post | Studs stay stable, and longer posts accommodate swelling |
| Healed (6+ months) | Hoops, clickers, or studs | Same high-quality materials | 16-18g, 6-8mm inner diameter for hoops | Freedom to change styles based on your anatomy |
Fit Check: Your piercer should measure the distance from your piercing to the edge of your ear to find the right diameter that sits comfortably. Once it’s fully healed, swapping hoops for studs becomes about as easy as following seasonal nail trends.
Cost Breakdown & How to Choose a Piercer
Getting a quality piercing means investing in both safety and style.
What Goes Into Your Total Cost
Your mid-helix piercing bill breaks down into three main parts. The service fee ranges from $ 30 to $ 75, depending on your location – big cities like New York or LA charge more than smaller towns.
High-quality starter jewelry adds another $20-$100, with implant-grade titanium costing less than 14k+ gold. Most studios include basic aftercare supplies, but you might spend $10-$15 if you need to buy your own saline solution.
Regional pricing varies a lot. A mid-helix in rural areas might cost $50 total, while the same piercing in Manhattan could run $150+ with premium jewelry.
Your Studio Safety Checklist
Before you book that appointment, make sure your chosen studio meets these non-negotiable safety standards.
- APP membership – Association of Professional Piercers certification shows they follow industry standards
- Sterile technique – Watch for proper hand washing, glove changes, and surface cleaning
- Autoclave sterilization – They should sterilize all reusable equipment in an autoclave machine
- Needle method only – Never use guns for cartilage piercings, which can cause serious damage
- High-quality jewelry materials – Only implant-grade titanium, surgical steel, or 14k+ gold for initial piercings
Find an APP member near you using their official locator tool at safepiercing.org for the safest piercing experience.
Here’s a more concise version:
Risks, Bumps & Troubleshooting
Most piercing problems are fixable once you identify the cause.
| Problem | Signs | Causes | Fix |
|---|---|---|---|
| Irritation Bumps | Small red bumps | Sleeping on it, small jewelry, and over-cleaning | Stop sleeping on that side, check fit, clean twice daily |
| Snagging | Pain when catches | Clothing, hair, headphones | Secure hair, avoid tight headphones |
| Pressure Problems | Soreness, slow healing | Sleeping on a pier, helmets | Use a travel pillow, avoid pressure |
| Metal Allergies | Redness, swelling | Nickel in cheap jewelry | Switch to titanium or 14k+ gold |
If problems persist after a few weeks, visit an APP-certified piercer.
Mid Helix Styling Ideas (Stacks & Combos)
Your mid-helix works well with other piercings for a curated ear look.
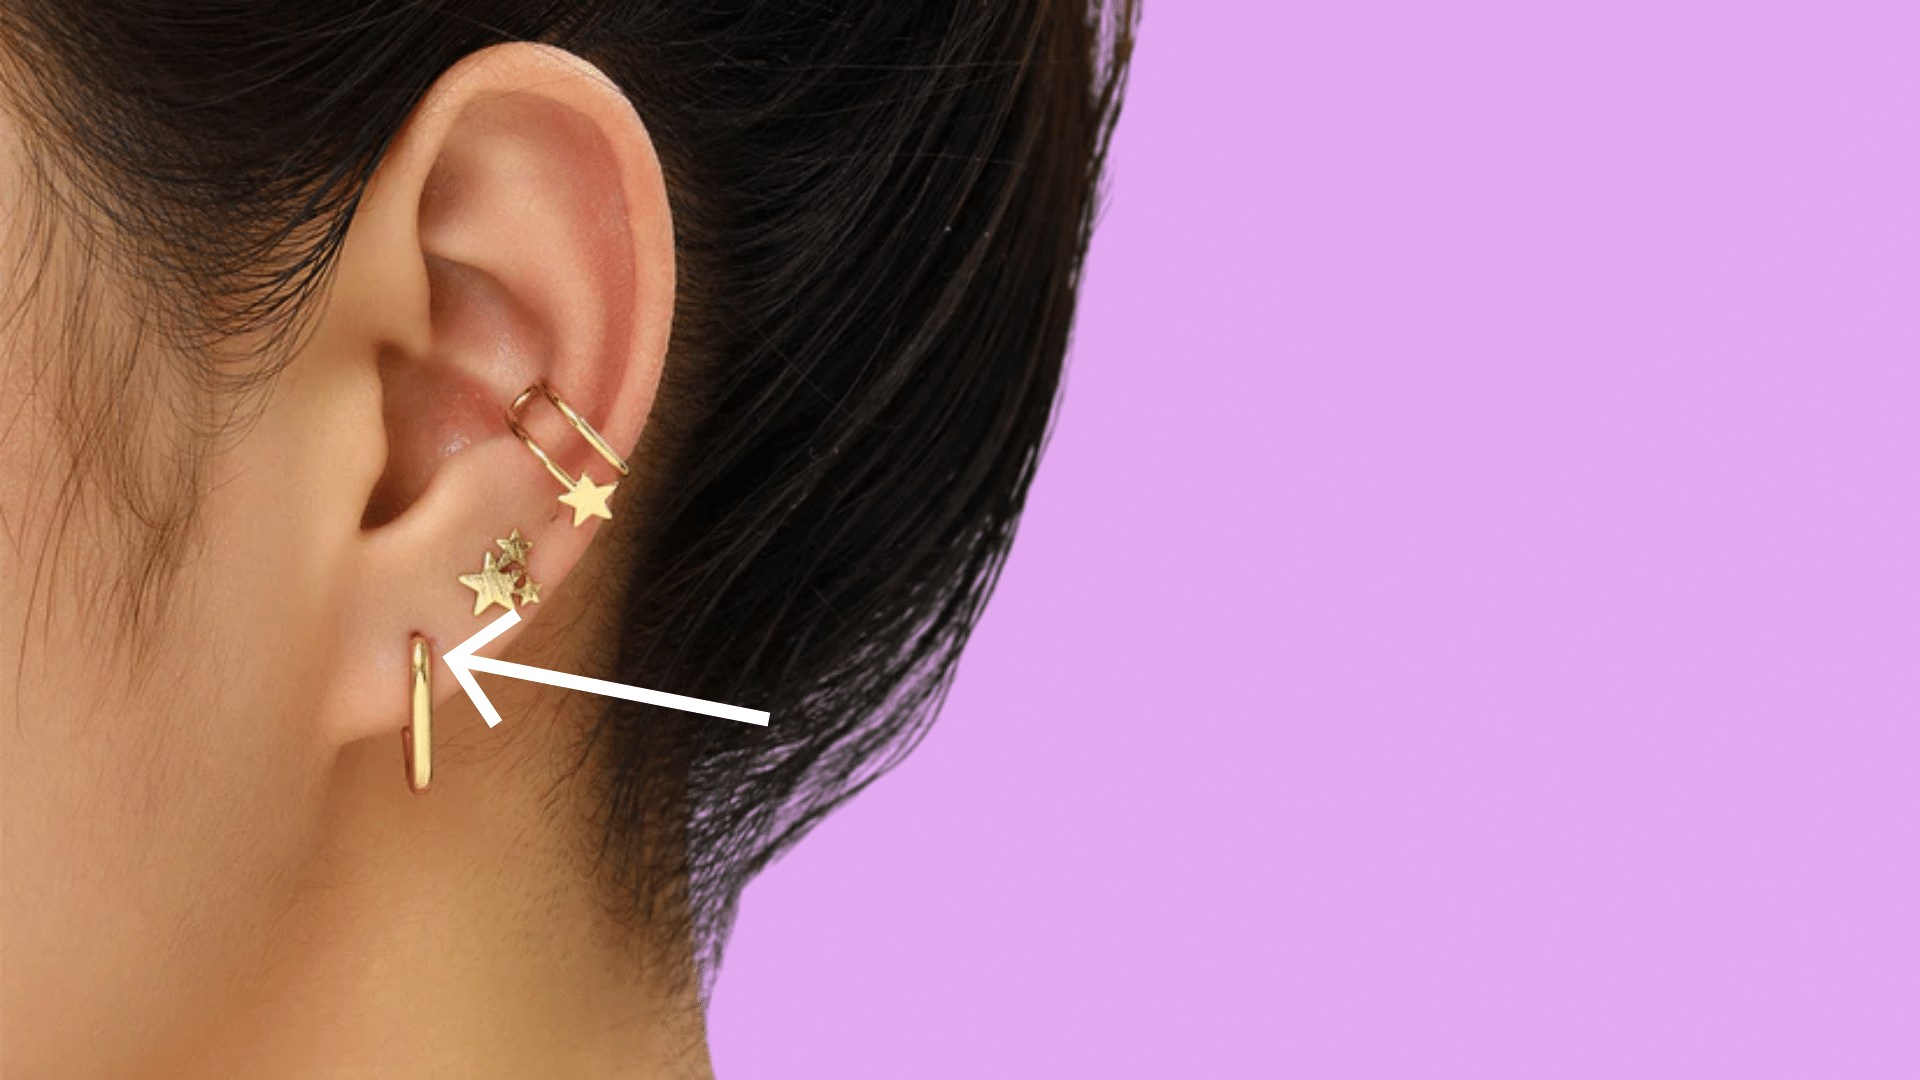
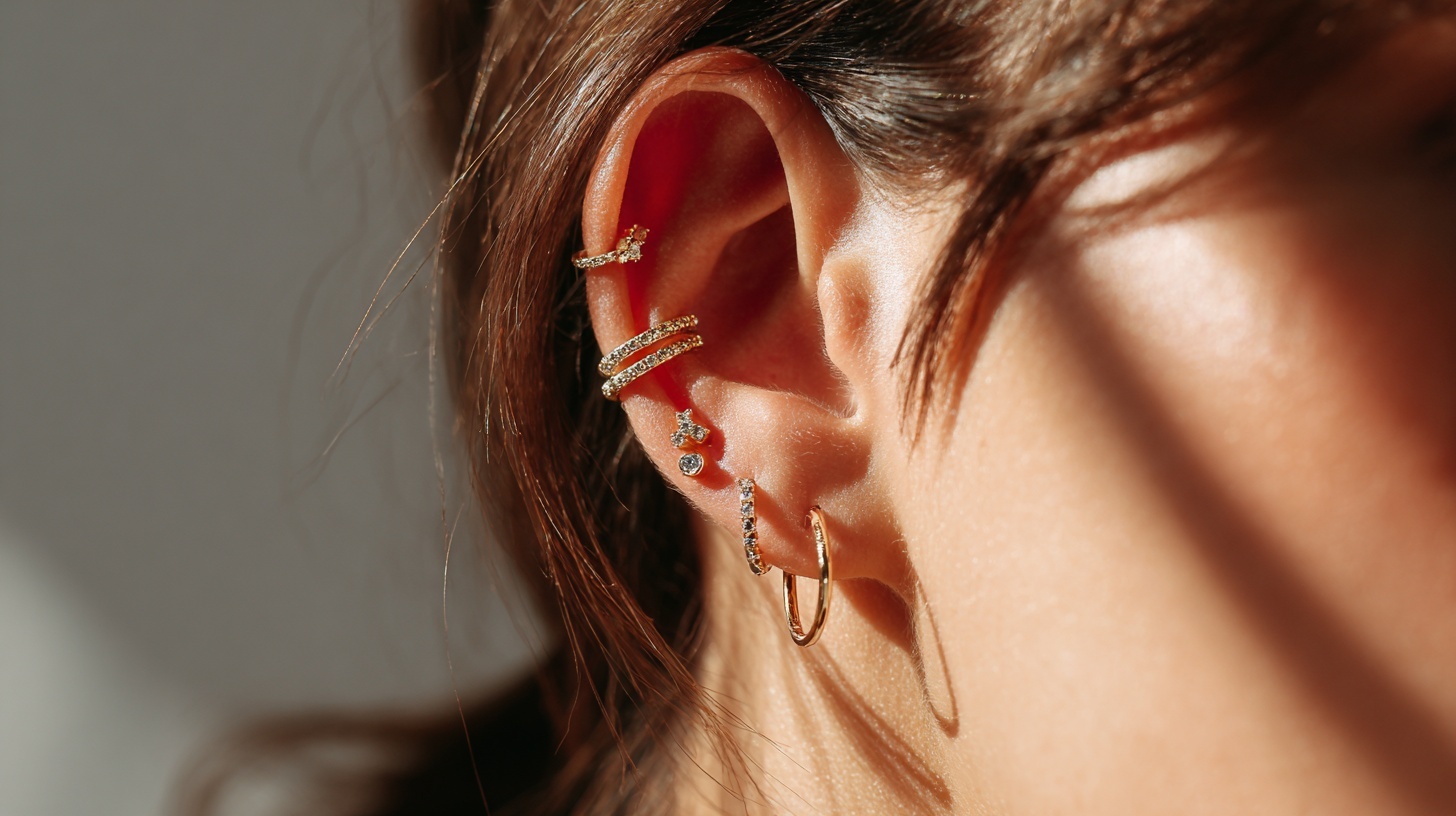
- Classic Mid-Helix + Lobe Stack – Pair with multiple lobe piercings. Try small hoops with matching studs or mix metals.
- Double Mid-Helix – Two mid-helix piercings spaced 8- 10 mm apart create symmetry. Match jewelry or alternate hoops and studs.
- Constellation Ear – Combine with upper helix, forward helix, and tragus piercings. Use small, delicate jewelry in the same metal family. A face-framing haircut helps keep every piercing in that constellation on display rather than hidden beneath strands.
- Mixed Metals – Mix gold and silver pieces. A gold mid-helix hoop pairs well with silver lobe studs.
Pro tip: Plan your ear stack on paper first, marking where each piercing will go to avoid overcrowding.
Conclusion
The mid-helix piercing offers the perfect balance between subtle and stylish, making it a great choice for both piercing newbies and seasoned collectors.
With proper aftercare, quality jewelry, and a reputable piercer, your healing should go smoothly, even if your personal timeline lands a little earlier or later than average.
Remember that everyone’s experience is different. What works for others might not work for you, and that’s normal.
Take your time choosing the right piercer, invest in quality jewelry, and be patient with the healing process. If you keep it simple or build an ear stack, your mid helix will be a stylish addition to your look.
Ready to take the plunge? Find an APP-certified piercer near you today.
Frequently Asked Questions
How Long Does a Mid Helix Piercing Take to Heal?
A mid helix piercing usually takes 6 to 9 months to fully heal because cartilage receives less blood flow.
Is a Mid Helix Piercing Painful?
Most people rate the pain from a mid-helix piercing around 3 to 5 out of 10, with a quick pinch during the procedure.
Can I Sleep on a Mid-Helix Piercing?
Avoid sleeping on your piercing side for at least three months to prevent pressure, irritation, swelling, and delayed healing.
What Jewelry Is Best for a New Mid-Helix Piercing?
Flat-back labret studs made from implant-grade titanium or quality gold are recommended because they support safer healing.
When Can I Change the Jewelry in My Mid-Helix Piercing?
Wait at least 6 to 9 months before changing jewelry, ensuring the piercing is fully healed and irritation-free.