Think of a bleach bath as the gentle cousin of traditional bleaching; it’s like giving your hair a spa day while achieving that lighter shade you’ve been craving.
This ingenious technique dilutes bleach powder with shampoo, creating a milder formula that lifts color without the harsh bite of full-strength bleach.
Unlike aggressive bleaching that can leave your hair feeling like straw, a bleach bath offers controlled lightening that’s perfect for at-home experimentation. It’s ideal for removing stubborn tones, lightening previously colored hair, or preparing strands for your next color adventure.
The shampoo acts as a buffer, making the process more forgiving while still delivering noticeable results. Ready to give your hair the gentle lift it deserves?
Understanding Bleach Baths: What You Need to Know
Before diving into this gentler lightning method, it’s important to understand exactly what you’re working with and when this technique shines brightest.
What is a Bleach Bath?
A bleach bath combines bleach powder, developer, and clarifying shampoo in equal parts to create a diluted lightening mixture.
Unlike traditional bleaching that uses only bleach and developer, the shampoo acts as a buffer, slowing the lightening process and making it less aggressive on your hair cuticles.
This creates a foam-like consistency that’s easier to apply and rinse out cleanly.
Why Use a Bleach Bath?
Bleach baths excel at removing stubborn semi-permanent colors, lifting brassiness from previous highlights, or gently lightening hair before applying new color.
They’re perfect for fixing patchy color jobs, removing unwanted tones without starting from scratch, or when you need subtle lightening rather than dramatic change.
What You’ll Need: Essential Products
Having the right products makes the difference between salon-quality results and a hair disaster.
1. Bleach Powder: Choose a high-quality bleach powder specifically designed for hair lightening. Avoid facial or body bleaching products, which contain different chemicals.
2. Developer: Select the developer strength based on your desired lift level. Never exceed 30-volume for bleach baths, as higher strengths can cause severe damage when combined with shampoo.
3. Shampoo: Use clarifying or anti-dandruff shampoo with strong cleansing properties. Sulfate-based formulas work best as they help the bleach penetrate effectively.
4. Tools & Accessories: Gather a plastic mixing bowl, wide-tooth comb, applicator brush, hair clips for sectioning, plastic gloves, and a timer. Have old towels ready and wear clothes you don’t mind staining.
5. Protective Products: Apply coconut oil or hair protectant to ends before starting. Keep deep conditioning treatments ready for post-process care.
Step-by-Step Guide: How to Perform a Bleach Bath at Home
Success depends on methodical preparation and careful execution. This process requires patience and attention to detail, but following these steps will help you achieve professional-looking results safely at home.
Step 1: Preparation
Test your hair’s condition by stretching a wet strand; healthy hair should bounce back without breaking. Set up your workspace with plastic sheeting, gather all supplies within arm’s reach, and ensure good ventilation.
Wear old clothes and apply petroleum jelly around your hairline to prevent skin irritation. Change into a button-up shirt to avoid pulling anything over your freshly treated hair.
Tip: Do a strand test 48 hours before the full application to check for allergic reactions and timing.
Step 2: Mix the Bleach Bath Solution
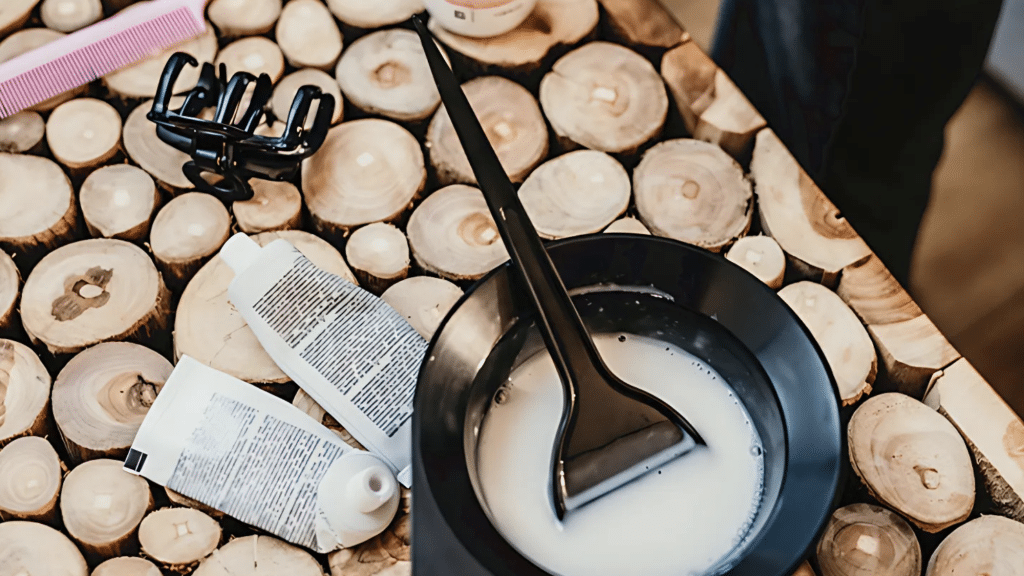
Combine equal parts bleach powder, developer, and clarifying shampoo in a non-metal bowl – typically 2 tablespoons of each for shoulder-length hair.
The shampoo dilutes the bleach strength while creating a creamy consistency that’s easier to apply and distribute evenly. Mix thoroughly until you achieve a smooth, foam-like texture without lumps.
Tip: Add shampoo gradually to control consistency – too much makes the mixture less effective.
Step 3: Section Your Hair
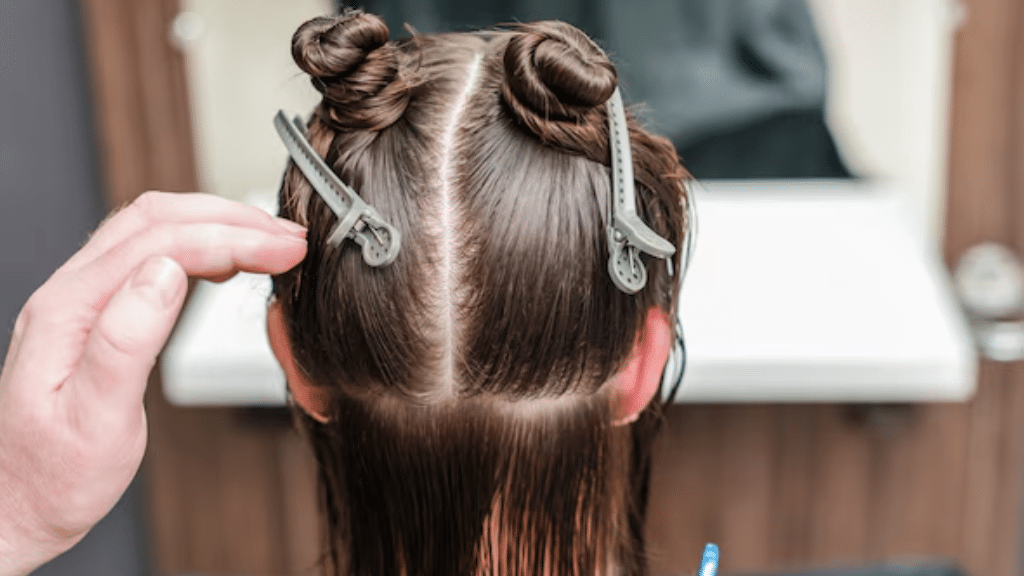
Divide damp (not soaking) hair into four quadrants using clips, then create horizontal subsections about one inch thick. Start from the back and work forward, as this area typically takes the longest to process.
Keep unused sections clipped away to prevent accidental application. Ensure each section is small enough to saturate thoroughly with the mixture.
Tip: Use a rat-tail comb to create clean, straight parts for more even color distribution.
Step 4: Apply the Bleach Bath Mixture
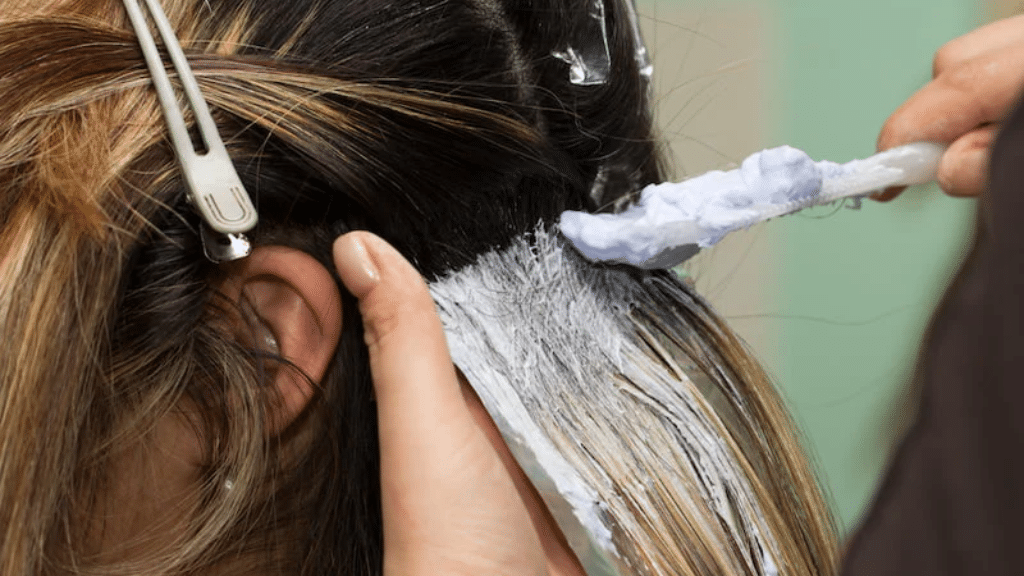
Begin the application at mid-lengths and work toward the ends, avoiding the roots initially, as they process faster due to body heat.
Use your hands or a wide-tooth comb to distribute the mixture evenly through each section, ensuring complete saturation. Apply to roots last, spending no more than 15-20 minutes on total application.
Tip: Wear gloves and work in thin layers – thick application doesn’t lighten faster but wastes product.
Step 5: Wait and Monitor the Process
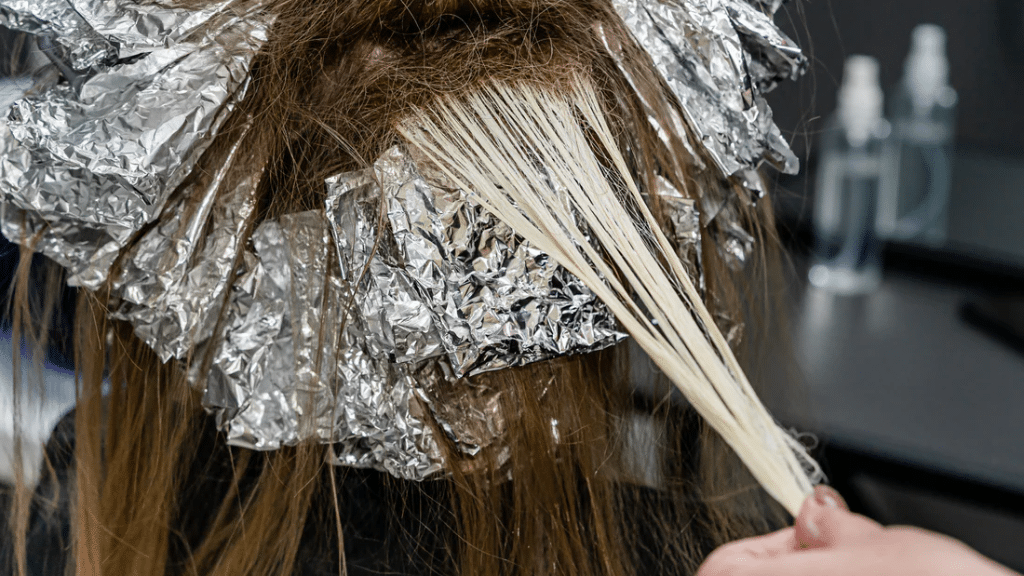
Check progress every 5-10 minutes by gently wiping a small section with a damp cloth to see the lightning level. Most bleach baths process within 15-45 minutes, depending on your hair’s starting color and condition.
Stop immediately if hair feels gummy or stretches excessively when wet. The mixture will foam and bubble – this is normal and indicates the product is working.
Tip: Set multiple timers and never leave bleach on longer than 45 minutes, regardless of results.
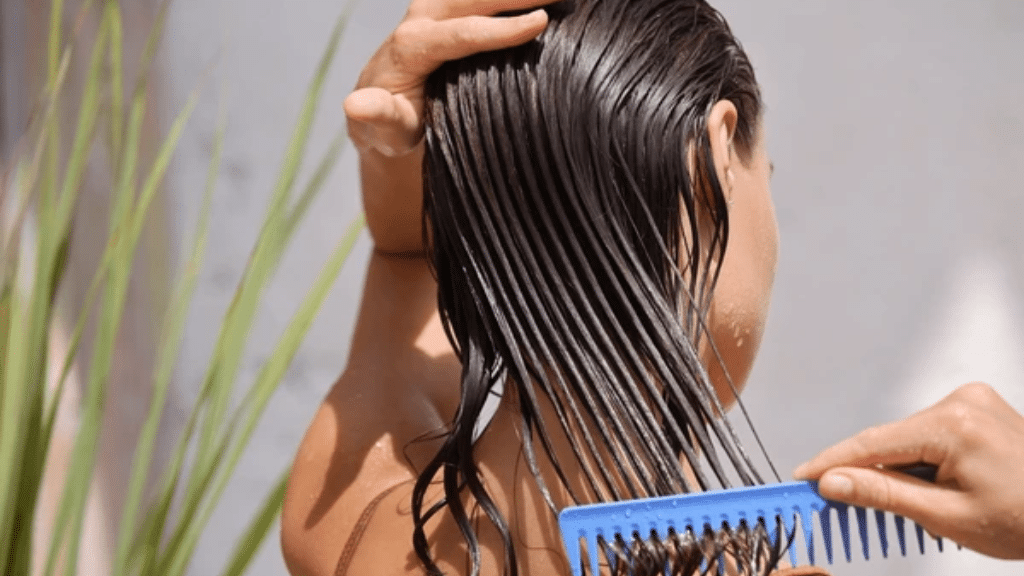
Step 6: Rinse and Condition
Rinse thoroughly with cool water until the water runs clear, using gentle pressure to avoid tangling fragile hair.
Shampoo once with a gentle formula to remove all residue, then apply a deep conditioning treatment for 10-15 minutes. Use a wide-tooth comb to detangle while the conditioner is in your hair.
Tip: Rinse from roots to ends to prevent dragging lightener through already-processed hair.
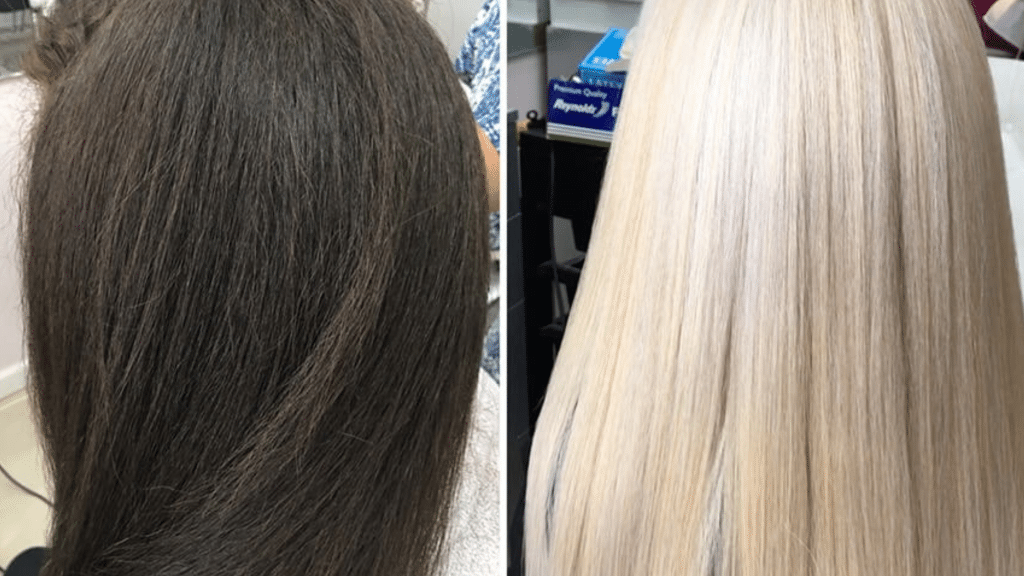
Step 7: Before and After Bleach Bath Hair
Before: Hair is typically darker, with visible color buildup, brassiness, or uneven tones. The natural hair color may appear dull or lack vibrancy, exhibiting noticeable contrast between the roots and the ends.
After: The bleach bath lightens hair, removing excess color buildup and revealing a more even, brighter tone. Brassiness is reduced, and the overall appearance is smoother, resulting in a more balanced and refreshed look.
Conclusion
You’ve mastered the art of the bleach bath, from proper preparation and mixing ratios to careful application and conditioning care.
This gentler lightning method offers the perfect balance between effective results and hair health when done correctly. Remember that patience and preparation are your best tools for success, and never rush the process or skip safety steps.
If you’re removing unwanted tones, preparing for a bold new shade, or simply wanting lighter locks, you’ve taken control of your hair change safely at home.
Ready to show off your results? Share your bleach bath upgrade photos and tips in the comments below.