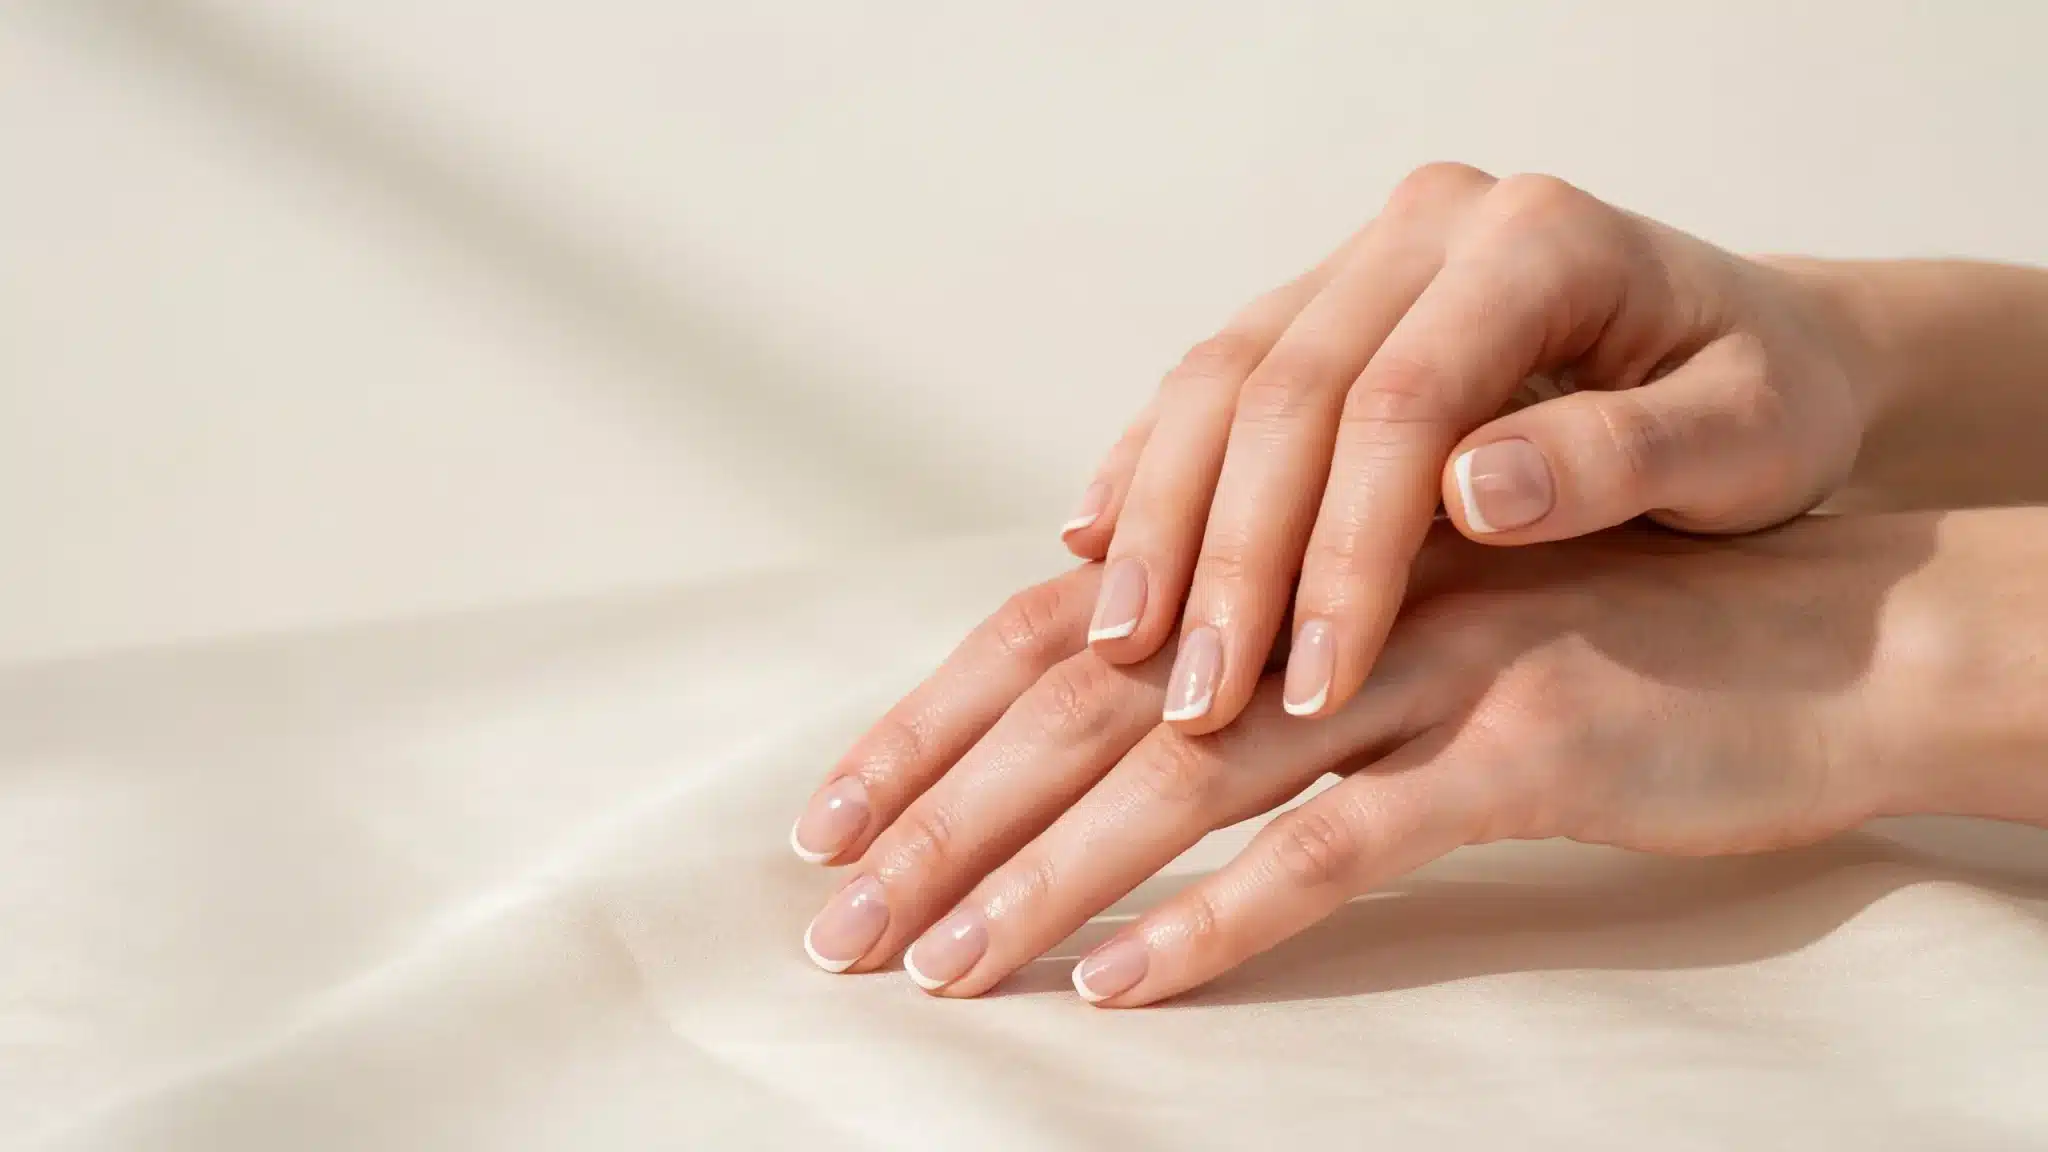
Every time I shape my nails, I remind myself of one thing: you can always file a little more, but you can’t put the nail back.
That’s especially true with round nails, where just a few extra strokes can leave one side uneven.
Learning how to shape round nails isn’t complicated, but the right technique matters.
Starting with the proper tools, filing in the right direction, and following the natural curve of your nail will give you a smooth, balanced shape that’s easy to maintain and less likely to snag.
How to Prepare Your Nails Before Filing
A few minutes of prep before you pick up a file changes how clean the final shape looks. I never skip these steps, even on a rushed morning.
- Wash your hands first: Filing over lotion or leftover polish residue makes the file slip and drag instead of shaping cleanly.
- Wait at least 10 to 15 minutes after a shower: Nails absorb water and soften temporarily, so filing too soon raises the risk of peeling or splitting under pressure.
- Push back cuticles gently: This gives you a clear view of your natural nail bed shape, which is what you are filing toward. The American Academy of Dermatology advises against forcing or cutting the cuticle, since it can lead to infection if pushed back too aggressively.
- Trim any length you do not want first: Clippers should do the heavy cutting so your file is only there to refine the shape.
- Check for any weak spots or cracks: Filing over a crack can extend it, so note trouble spots before you start shaping.
Once your nails are clean, dry, and free of surprises, you are ready to gather the right tools for shaping.
Tools You Need to Shape Round Nails
|
How to Shape Round Nails Step by Step
Filing round nails comes down to controlling both length and angle at the same time, which is easier once you break it into stages.
If you are working with very short nails or growing out a nail-biting habit, this shape is the easiest one to keep neat. There is barely any free edge to work with, so you are mostly softening the corners of the nail bed itself rather than shaping a long curve. Go slower than you think you need to here, since there is very little room to correct an uneven pass.
Step 1: Clip and File Straight Across First
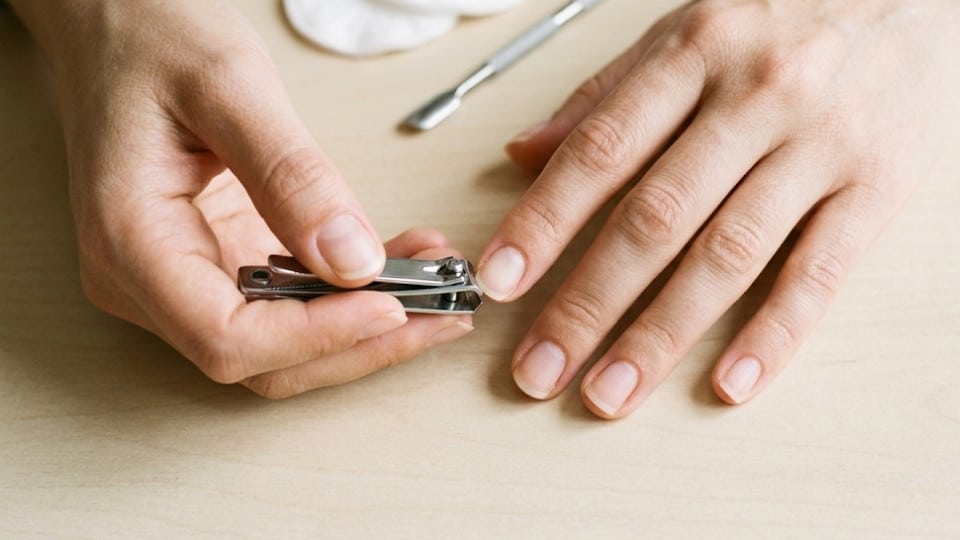
Start by clipping your nails to your desired length, then file the free edge straight across in one clean pass.
This gives you a flat baseline to work from, which matters more than people expect. Trying to round from an uneven edge just carries that unevenness into the final shape.
Step 2: Angle the File at the Corners
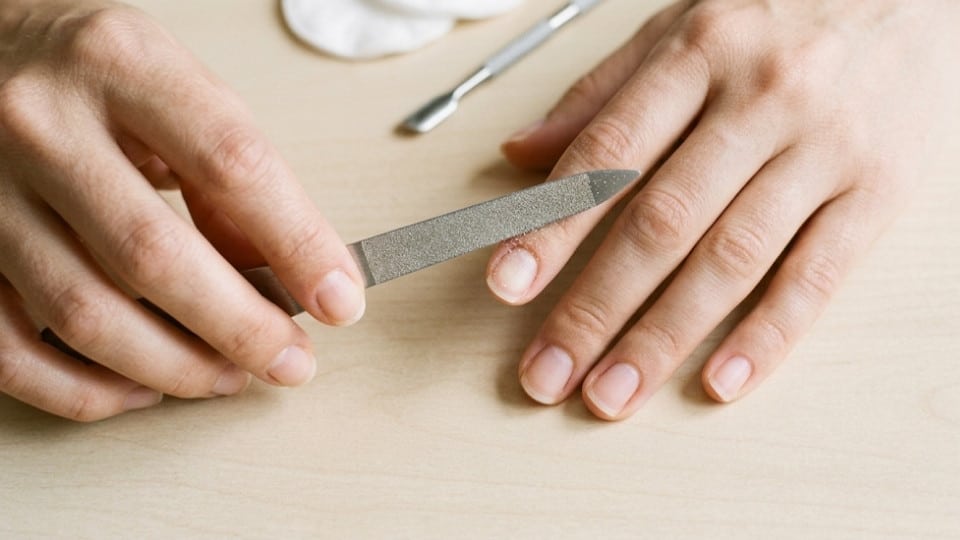
Turn your file at a slight angle where the straight edge meets the side of the nail. How sharp that angle is depends on how rounded you eventually want the tip.
I usually start shallow and adjust from there, since it is much easier to round off more than it is to add nail back.
Step 3: Curve Each Side Toward the Center
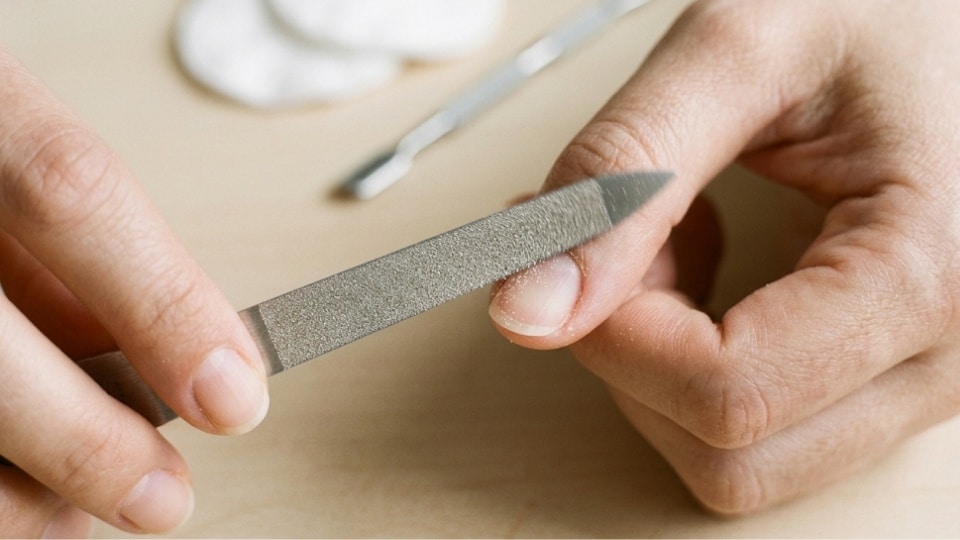
File from the outer corner inward, following the natural curve of your fingertip rather than your cuticle line. Work one side, then match it on the other.
Keep the file moving in one direction only. Going back and forth roughens the edge and can weaken the nail over time.
Step 4: Check Symmetry and Smooth the Edge
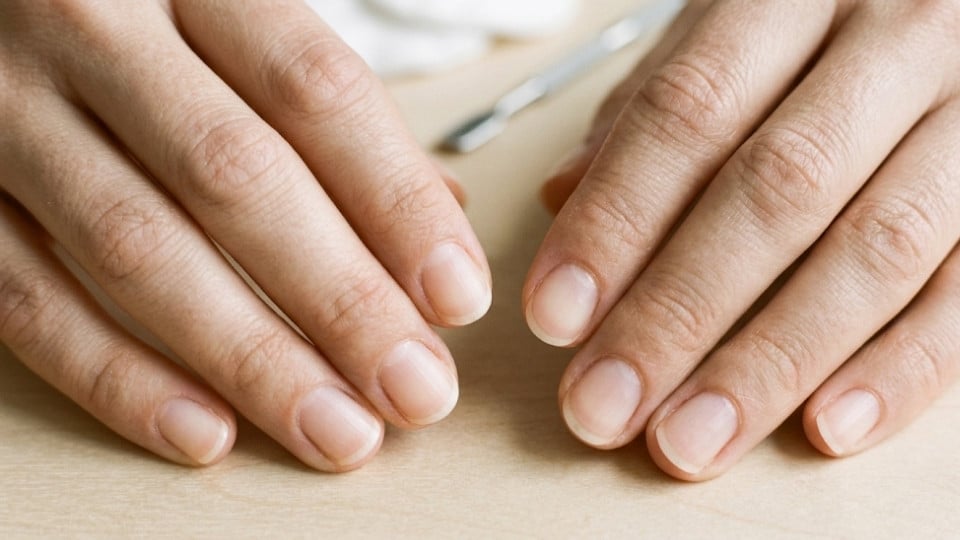
Hold your hand up and compare both sides of the nail from a few angles before calling it finished.
Once you are happy with the shape, run a buffer block lightly over the free edge to remove any roughness left by the file.
How to Shape Round Nails on Acrylic or Gel
The same rounding technique works on acrylics, gel overlays, and extensions, but the file itself needs to change.
Natural nails call for a gentler 180 to 240 grit, while enhancements can handle a sturdier 180 grit board file without the same risk of damage.
I go in with a bit more pressure on enhancements since the product is more forgiving than a natural nail plate, but I still file in one direction and check symmetry the same way.
The angle-and-curve steps stay identical; only the tool and pressure change.
Common Mistakes When Shaping Round Nails
Even with the right tools, a few habits can throw off an otherwise good shaping session. I still catch myself slipping into some of these if I am not paying attention.
- Filing in a back-and-forth motion: This creates heat and friction that weakens the nail and leads to peeling layers over time.
- Rounding too aggressively on the first pass: Removing too much nail at once often means starting the whole shape over.
- Ignoring one side while focusing on the other: This is the most common reason round nails end up asymmetrical.
- Using a metal file on natural nails: Metal files are harsher than glass or emery options and can cause more splitting.
- Skipping cuticle oil after filing: Filing dust and friction dry out the surrounding skin more than people realize.
- Rushing your non-dominant hand: Filing feels less controlled on the hand you don’t write with, so that side is where most asymmetry actually starts. Slow down there instead of speeding up to match the hand you’re more comfortable with.
Avoiding these missteps makes the shaping process faster and keeps the nail healthier while you work.
How to Turn Any Nail Shape Into Round
Most nail shapes are closer to round than they look, and the adjustment is usually smaller than starting from scratch.
| Starting Shape | How to Convert to Round |
|---|---|
| Square | File the two straight corners into a soft curve while keeping the center edge intact |
| Squoval | Continue rounding the slightly softened corners until the entire tip follows one curve |
| Oval | Shorten the tip slightly and widen the curve so it sits closer to the fingertip line |
| Almond | File down the tapered point and rebuild a rounder, wider curve at the tip |
| Stiletto | Clip the sharp point first, then file the remaining length into a gradual round curve |
Squoval is the shortest jump to round, since the corners are already partly softened and you’re mostly just continuing a curve that’s already started.
Whatever shape you are starting from, go slowly and check your progress every few passes instead of filing continuously toward the goal.
If you’re still deciding on a shape rather than converting one, it helps to first weigh tapered tips against rounder curves before picking up a file at all.
When You Should Avoid Filing a Nail
There are moments when filing does more harm than good, even if the shape is not quite where you want it yet.
If a nail is cracked, split, or lifting from the nail bed, filing can pull that damage further instead of smoothing it out.
Freshly soaked nails from a bath or shower are softer and bend more easily under a file, which raises the risk of tearing the layers.
I also avoid filing right before doing detailed brush work, since dust and oil residue on my fingertips affect grip and precision.
In any of these cases, it is worth waiting a day or letting the nail strengthen before picking the file back up.
How to Maintain the Round Nail Shape
Getting the shape right is only half the job, since round nails need a little upkeep to stay looking sharp.
These are the habits that keep mine consistent between filing sessions, and a clean, even shape like this is also the easiest base if you want to try nail art down the line.
- Refile lightly every few days: Nails grow unevenly, so small touch-ups keep the round edge consistent between full filing sessions.
- Apply cuticle oil daily: Hydrated skin around the nail supports a cleaner edge and reduces peeling at the corners.
- File in one direction only: This single habit does more for shape retention than any product on your shelf.
- Keep a file in your bag: Catching a snag early prevents a small rough spot from turning into a break.
- Moisturize your hands regularly: Dry skin around the nail bed makes the surrounding area more prone to hangnails that pull at the shape.
Stick with these habits and the round shape stays clean and even long after the first filing session.
Final Thoughts
Shaping round nails really comes down to patience with the angle and staying consistent with your filing direction.
Once you understand how to file round nails without overworking one side, the shape becomes something you can maintain on your own between manicures.
Start slow, check your progress often, and let the natural curve of your fingertip guide the file rather than forcing a shape onto it.
If this helped, I would love to hear how your round nails turned out. Drop a comment or share this with someone who needs it.
Frequently Asked Questions
Does Nail Shape Affect How Fast My Nails Grow?
No, your nail shape doesn’t affect how quickly your nails grow. However, round nails are less likely to snag or break, so it’s easier to keep the length you grow.
Can I Shape Round Nails With Acrylic or Gel on Top?
Yes. Round nails can be shaped on acrylics, gel overlays, and extensions. A coarser file is typically used on enhancements than on natural nails.
Is Round a Good Shape for Nail Biters Transitioning to Longer Nails?
Yes, round nails are one of the best shapes for nail biters because they look neat with minimal length and are less likely to catch or chip as the nails grow.
How Often Should Professional Manicures Reshape Round Nails?
Most people benefit from a professional reshape every 2 to 3 weeks. Light filing between appointments helps maintain the curve and keeps the shape looking even.