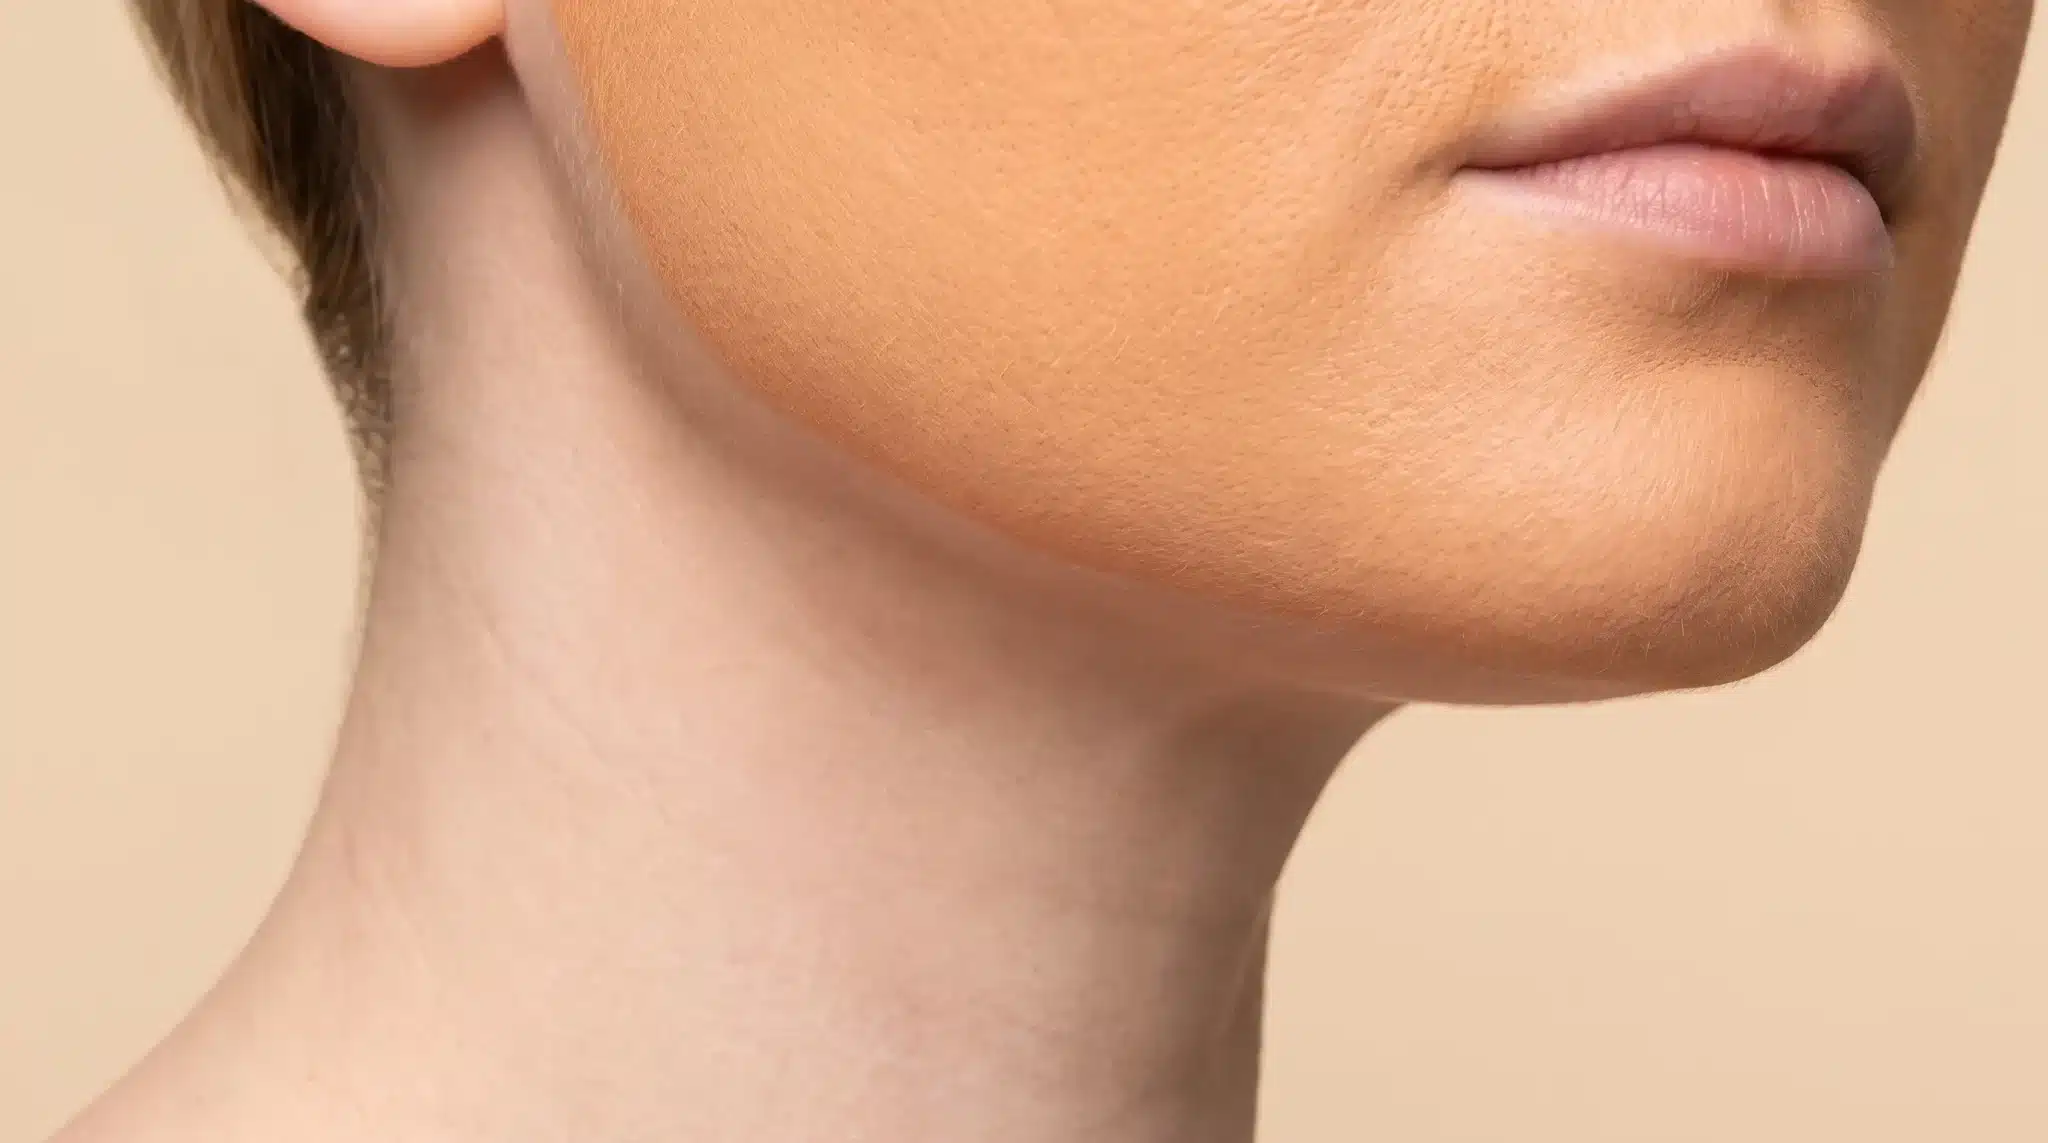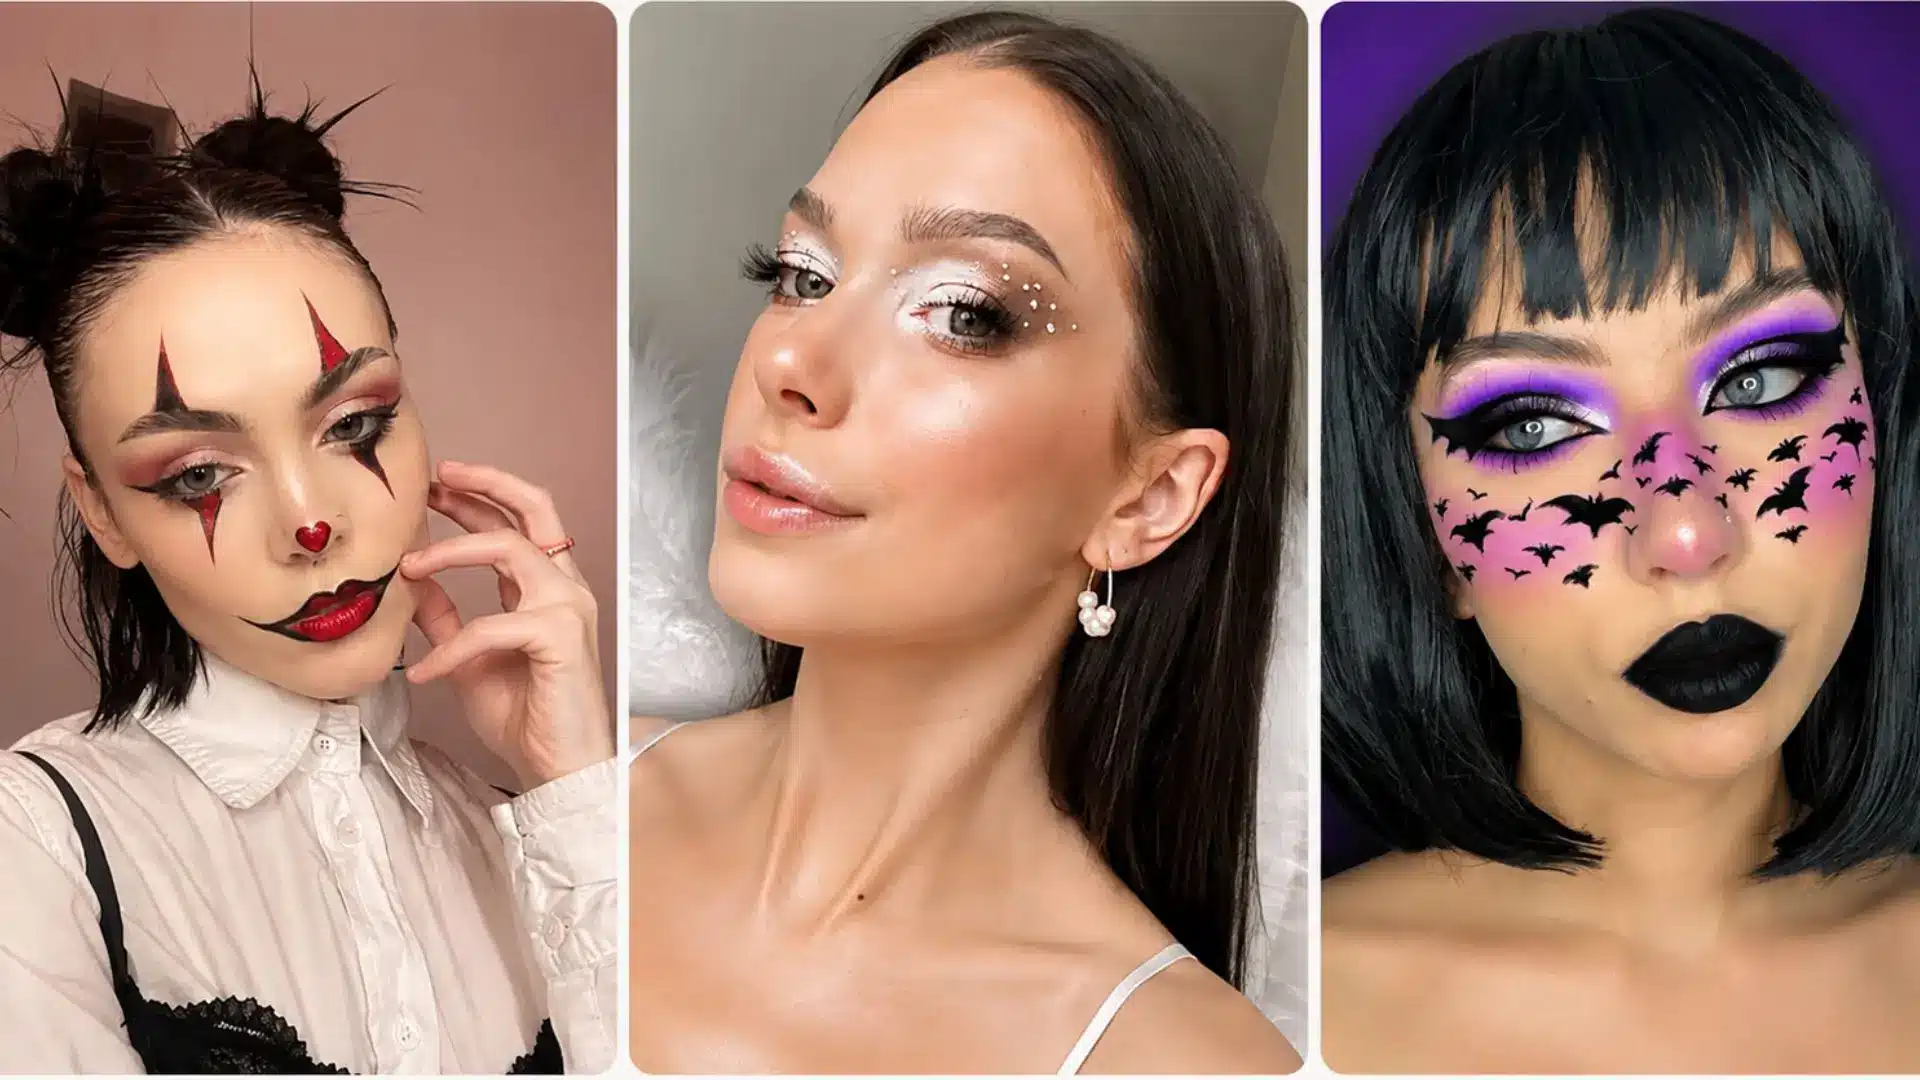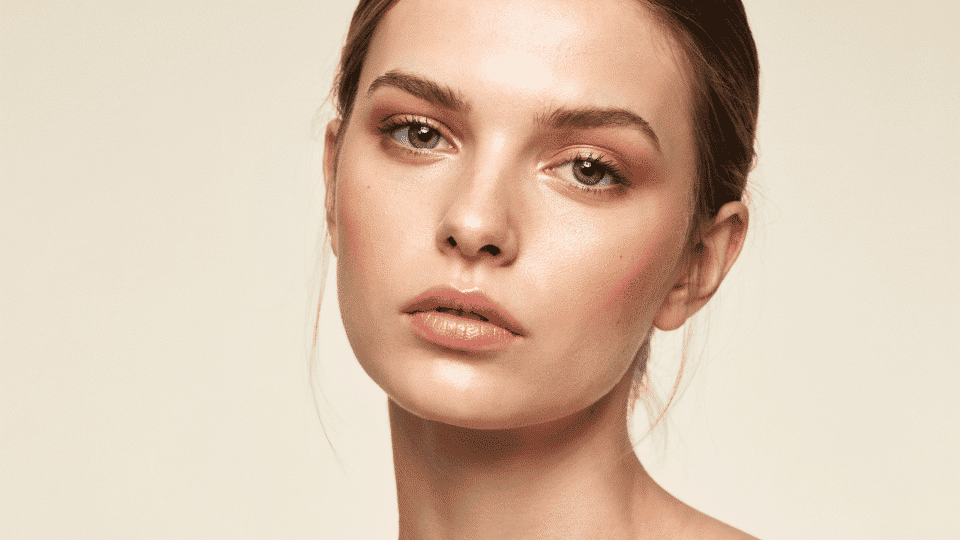
That soft, healthy glow you see on your favorite influencers isn’t luck. It’s strobing.
As a makeup artist, this is one of my favorite tricks.
Strobing puts light-reflecting product on your high points, cheekbones, nose bridge, and brow bone, so light lands exactly where your skin would naturally glow.
The payoff is a soft, bright look that feels like it’s just you. Unlike contouring, there’s no shading involved here; it’s all about light.
So are you ready to get that glow for yourself? If so, how? Well, that’s exactly what I am about to tell you.
What Does Strobing Mean in Makeup?
Strobing is a makeup technique that uses light-reflecting products, like liquid or cream highlighters, to bring out your face’s natural high points, such as your brow bones, cheekbones, and nose bridge.
Unlike standard highlighting, which pairs with contouring, strobing skips the shading and stands on its own for a soft, dewy finish.
Just be careful with product choice, as too much shimmer can tip into glitter territory instead of that fresh, glowy look.
When done right, strobing gives skin a youthful, healthy radiance that feels effortless rather than overdone.
Strobing vs Highlighting: What’s The Difference?
Strobing and highlighting often get lumped together, but they’re not the same technique. These are some of the key differences to help you pick the right one for your next look.
| Aspect | Strobing | General Highlighting |
|---|---|---|
| Main purpose | Creates an overall luminous, light-focused look | Adds brightness or dimension to selected areas |
| Contour required | No | No, but it may be paired with contour |
| Product placement | Multiple high points of the face | One or several chosen areas |
| Finish | Usually dewy or noticeably radiant | Can be subtle, satin, dewy, or metallic |
| Product types | Cream, liquid, balm, or fine powder | Cream, liquid, balm, stick, or powder |
| Overall effect | Glow becomes the main feature of the makeup | Highlight may be one part of a larger look |
Whichever technique you choose, the ultimate goal is to achieve a healthy, glowing skin that feels like you.
Try both and see which one fits your style best. In practice, many makeup artists use strobing and highlighting interchangeably; the distinction above is more about intensity and placement than a hard rule.
Benefits of Using the Strobing Makeup Technique
Strobing takes the idea of highlighting and turns up the volume. The result feels less “done” and more like your skin on a good day as it:
- Creates a Natural-Looking Glow: Skips the heavy layers and uses less product, placed in the right spots, so it looks healthier and more radiant.
- Makes Facial Features Stand Out: A touch of light on the cheekbones, eyes, and lips draws the eye there without shading anything else down.
- Works Well for Minimal Makeup Looks: This technique fits right into a no-makeup-makeup day or a soft glam moment, since it never feels heavy.
- Avoids Heavy Contouring: No bronzer, no shadow. Just brightness does the work of definition, keeping the whole look soft and easy.
Instead of adding shadow and light like contouring, this technique focuses purely on brightness, placed exactly where light naturally lands on your face.
How to Apply Strobing Makeup
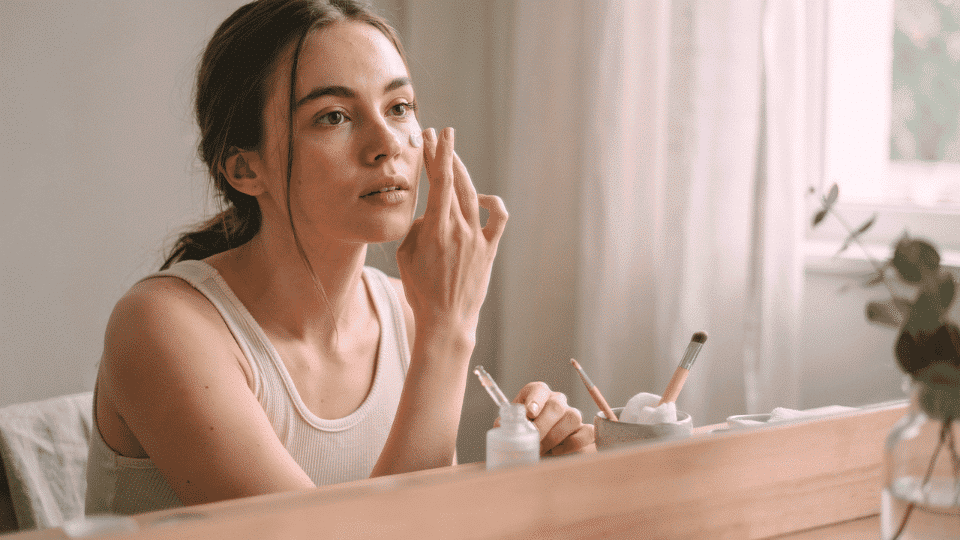
Getting that natural glow comes down to four simple steps, from prepping your skin to blending like a pro. Here’s exactly how to layer strobing into your routine for a soft, natural finish.
Step 1: Prep Your Skin for a Glowing Base
Start with a clean, moisturized face and a hydrating primer. A good glowy skin makeup routine calls for a radiant or natural finish foundation, never a flat matte one.
Step 2: Apply Foundation and Concealer Lightly
Keep foundation thin, blending outward from the center of your face with a damp sponge. Spot-conceal only where needed with a light patting motion. Set with powder just on the concealed areas.
Step 3: Apply Product to High Points of the Face
Add a little to the cheekbones, the nose bridge, the brow bone, the cupid’s bow, and the inner corners of the eyes. Build slowly and blend the edges.
Step 4: Blend for a Skin-Like Finish
Blend with your fingers for a cream or liquid finish, since body heat melts the product into the skin for a soft, natural sheen. Use a damp sponge to soften edges, or a small powder brush, building slowly in light layers.
How to Choose the Best Strobing Cream or Highlighter
Picking the right product makes all the difference between a soft glow and a greasy mess. Match your pick to your skin type, tone, and the finish you want.
Choose Based on Your Skin Type
- Oily skin: Powder highlighter works best for oily skin because it controls shine while still catching light, so your glow does not turn into grease by midday.
- Dry skin: Cream or liquid highlighter melts into the skin easily, adding moisture and shine so it never sits on top and looks flaky.
- Combination skin: Cream on dry areas keeps those zones hydrated and glowing, while powder on oily zones keeps shine in check where you need it most.
- Mature skin: Liquid or cream highlighter gives a soft, dewy finish that sits smoothly over skin texture, which can settle into fine lines.
Choose the Right Highlighter Shade
The right highlighter shade helps strobing makeup create a soft, luminous finish that suits your complexion. Match the shade to your skin tone and undertone so it blends naturally without looking pale or harsh.
| Skin Tone or Undertone | Highlighter Shades to Try |
|---|---|
| Fair with cool undertones | Pearl, soft pink, icy champagne |
| Fair to light with warm undertones | Champagne, pale gold |
| Medium or olive | Peach, warm champagne, golden beige |
| Tan to deep with warm undertones | Gold, bronze, copper |
| Deep with cool or neutral undertones | Rose bronze, deep champagne, neutral gold |
A suitable highlighter should brighten your features while complementing your natural skin tone. Apply a small amount, blend it carefully, and add more only where you want extra glow.
Choose the Finish You Want
- Need a soft, natural sheen? → Fine pearl finish.
- Chasing that glass skin look? → Liquid illuminators are your best friend.
- Getting ready for a night out? → Go with a stronger, more reflective formula that photographs well under bright lights.
As someone who has tested nearly every formula on the market, my advice first is to know your skin, then let the product work with it.
Choosing the Right Strobing Product
Strobing relies on using light to sculpt and bring forward the high points of your face (like the cheekbones, brow bones, and the bridge of the nose) without using dark contour shades.
To execute this technique flawlessly, choosing a formulation that treats your skin type right is half the battle.
Some of my recommendations that you can start with are:
1. Cream & Balm (Best for Dry Skin & Everyday Radiance)
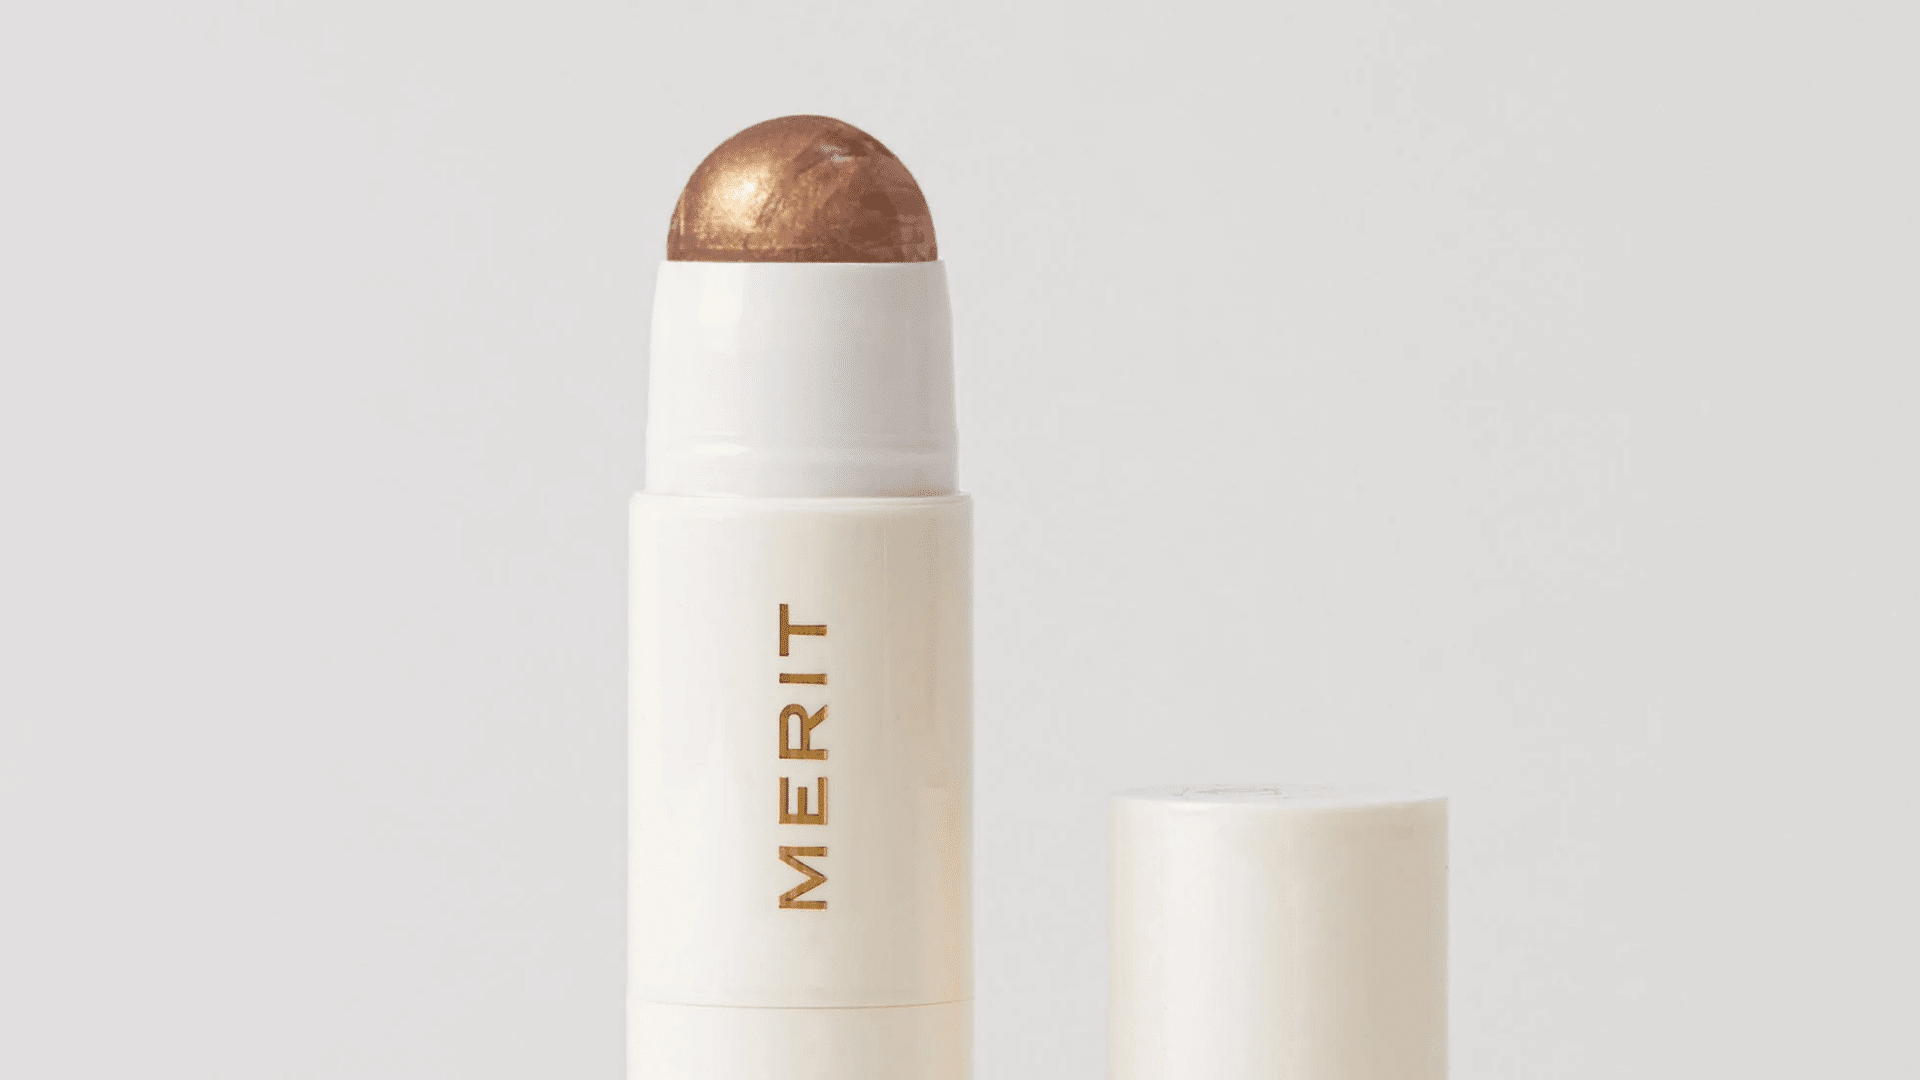
Cream and balm highlighters are ideal for people with dry, dull skin that needs a little extra care. It hydrates the skin and gives a dewy, glowing look. It locks in moisture and brings back that soft glow.
Merit Day Glow Highlighting Balm
- Texture: Transparent, solid cream-balm.
- Why it works for strobing: It provides a dewy look and is infused with squalane; it melts effortlessly into dry skin and imparts a glassy finish that reflects light naturally.
Availability: Merit Beauty
Hybrid & Liquid Highlighters (Best for All-Over Glow & Versatility)
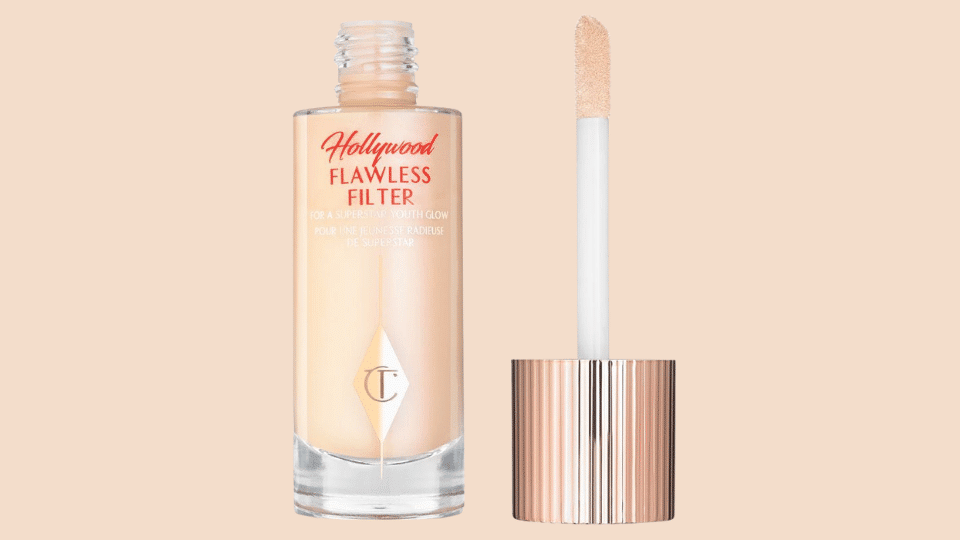
These hybrid and liquid highlighters create a natural, skin-like glow while offering flexible ways to customize your strobing look. From subtle radiance to a high-impact finish, these formulas blend easily into any makeup routine.
1. Charlotte Tilbury Hollywood Flawless Filter
- Texture: Liquid-cream hybrid formula.
- Why it works: It can be used as a targeted strobing agent on the cheekbones, worn under foundation for a lit-from-within look, or mixed directly into your base product to bump up the overall luminosity.
Availability: Charlotte Tilbury US
2. Rare Beauty Positive Light Liquid Luminizer
- Texture: Weightless liquid.
- Why it works: It lets you build the glow from a soft, natural shine to a more intense highlight without making the makeup look heavy or cakey.
Availability: Rare Beauty
Powder (Best for Oily Skin & Maximum Longevity)
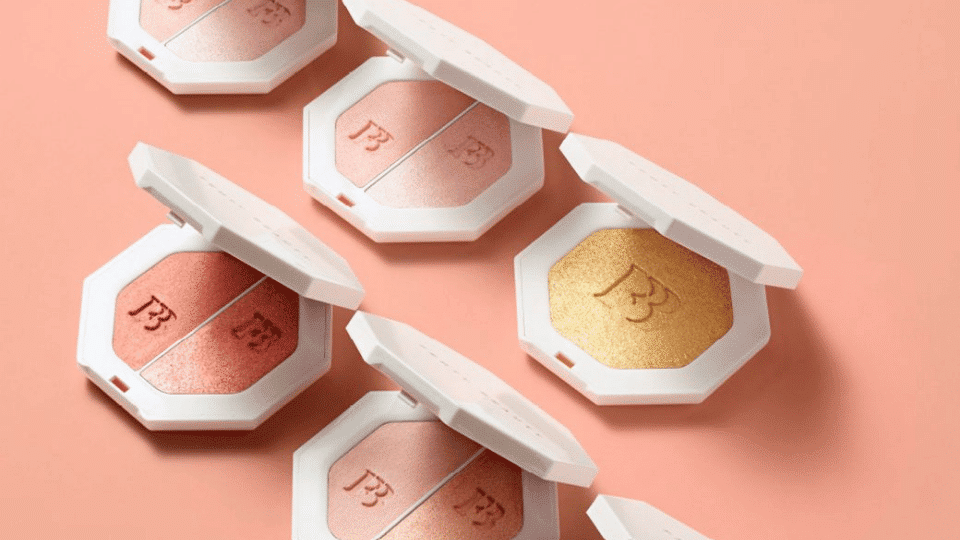
Powder highlighters are ideal for creating a long-lasting strobe effect, especially on normal to oily skin types. These finely milled formulas add intense luminosity while helping maintain a smooth, polished finish throughout the day.
1. Fenty Beauty Killawatt Freestyle Highlighter
- Texture: Cream-to-powder hybrid compact.
- Why it works for strobing: For those with normal-to-oily skin types who need their strobe to last all day, this is a product that you can consider. It applies with the melt-into-the-skin ease of a cream but sets like a weightless powder, keeping oils at bay while reflecting intense, high-impact light.
Availability: Fenty Beauty
2. MAC Mineralize Skinfinish (Shade: Soft & Gentle)
-
Texture: Slow-baked and domed powder.
-
Why it works for strobing: It is a baked mineral powder that deposits a highly refined, multidimensional metallic veil, making it incredibly easy to dust over the high points of the face for a polished finish.
Availability: MAC Cosmetics US
Keep this in mind while buying any of these products: Every product is different, and results may vary depending on your skin type and other factors.
Where Should You Strobe and Why
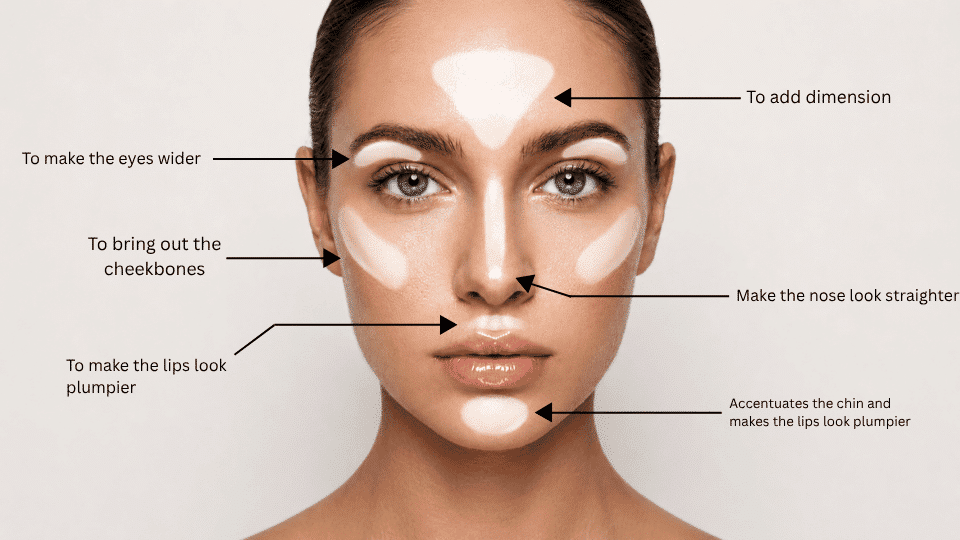
Ever notice how some faces seem to catch the light in all the right places? That’s not genetics; it’s strobing, and I’ll tell you exactly where to place it.
Forehead/center brow area: This adds dimension to the upper face, tricking the eye into perceiving more shape and contour where the forehead would otherwise appear flat.
Inner corners of the eyes: This is what makes the eyes look wider and more open, since the light there creates a subtle brightening effect that visually pulls the eyes apart.
Cheekbones: This is the classic strobing zone: it brings out the cheekbones by catching light exactly where the bone naturally sits highest, giving that lifted, sculpted look without any dark contour underneath.
Bridge and tip of the nose: This makes the nose look straighter and slimmer, since a clean line of light down the center draws the eye in a straight path rather than letting shadow widen the nose visually.
Cupid’s bow: This makes the lips look plumper by adding a touch of brightness right where light would naturally catch on fuller lips.
Chin: This accentuates the chin and, paired with the cupid’s bow highlight, reinforces the plumper-lip effect by framing the mouth with light from both above and below.
Common Strobing Makeup Mistakes to Avoid
Even a great technique can go wrong with a few small slip-ups. These are a few things that you should be careful about:
- Applying too much product can turn your glow into a greasy shine. A little goes a long way.
- Using glitter instead of glow products makes it look chunky and uneven. Fine shimmer blends more smoothly and looks more natural.
- Skipping skin prep lets dry patches show through highlighter. Always moisturize first for a smooth base.
- Highlighting every area of your face flattens your features. Stick to the high points for real dimension.
- Choosing the wrong formula for your skin type backfires fast. Oily skin needs powder; dry skin needs cream or liquid.
Build slowly and blend often. It’s the simplest way to keep strobing looking soft, natural, and effortless while avoiding mistakes.
A Glowy Skin Makeup Routine to Start Strobing
The difference between strobing vs highlighting comes down to one thing: highlighting pairs with contour, while strobing stands alone for a dewy finish.
Once you’ve prepped, applied foundation, and placed your highlighter using the steps above, two additions turn strobing into a full glowy-skin look: sweep a cream or liquid blush onto the apples of your cheeks before highlighting, and finish with a swipe of lip gloss for extra shine.
That’s the whole routine, the same four high points, just framed with a touch of color.TRIMMED
Strobing Tips for Different Skin Types
Glowing skin never goes out of style, and strobing is one of the easiest ways to get there. This simple technique uses highlighter alone to catch the light and bring out your best features, no contour required. Take a look at how to make it work for your skin type.
| Dry Skin | Oily Skin | Mature Skin | A Mix of All Types |
|---|---|---|---|
| Use cream highlighters as they blend smoothly | Choose lightweight, liquid illuminators | Stick to liquid formulas for a natural glow | Cream on dry zones, powder on oily areas |
| Hydrate skin well before applying makeup | Keep shining light around the T-zone | Skip chunky shimmer; it can catch on texture | Blend the illuminator lightly to balance both zones |
| Avoid heavy powders; they can look flaky | Set with a touch of powder if needed | Apply with fingers for a soft finish | Focus the product on the cheekbones and brow bone |
Strobing is proof that a little glow goes a long way. Pick the formula that suits your skin, apply with a light hand, and let your natural radiance shine through.
Conclusion
So, what is strobing in makeup? It’s one of the simplest ways to bring life back into your skin without heavy layers or complicated steps.
All it takes is a good highlighter or strobing cream, a light hand, and a bit of patience while you find the right spots for your face.
From prepping your skin to choosing the right shade and finish, every step here is meant to help you achieve that soft glow that looks like you on a good day.
As a makeup artist, I can tell you this technique never fails once you get the placement right. So grab your favorite highlighter, try it out this week, and let me know in the comments which product gave you the best glow.
Frequently Asked Questions
What is the Difference Between Strobing and Baking Makeup?
Baking sets a heavy layer of powder under the eyes and T-zone, then buffs it away after a few minutes for a smooth, brightened finish. Strobing uses no powder or setting time at all. It relies purely on cream or liquid highlighter to add shine.
Can Strobing Work on Dark or Deep Skin Tones?
Yes. Gold, bronze, and copper tones complement deeper complexions, while pale or icy shades can look ashy. Apply lightly and blend so the highlight reads as skin, not shine sitting on top of it.
What Brushes or Tools Work Best for Strobing?
Fingers work best for cream and liquid highlighters, since body heat helps them melt into skin. For powder, use a small fan brush or a pointed highlighter brush for precise placement. A damp sponge softens any harsh edges.
Can You Strobe without Makeup, Using Skincare Products?
Yes. A facial oil, glossy balm, or highlighting serum applied to your high points creates the same glow without any makeup. It’s a common choice for no-makeup days.
How Long Does a Strobing Look Last During the Day?
Cream or liquid highlighter alone holds for a few hours. Setting it with a powder highlighter on top extends wear, especially on oily skin.
Is Strobing Still a Relevant Makeup Technique Today?
Yes. The technique is essentially modern highlighting, and it fits current glass-skin and no-makeup-makeup trends.