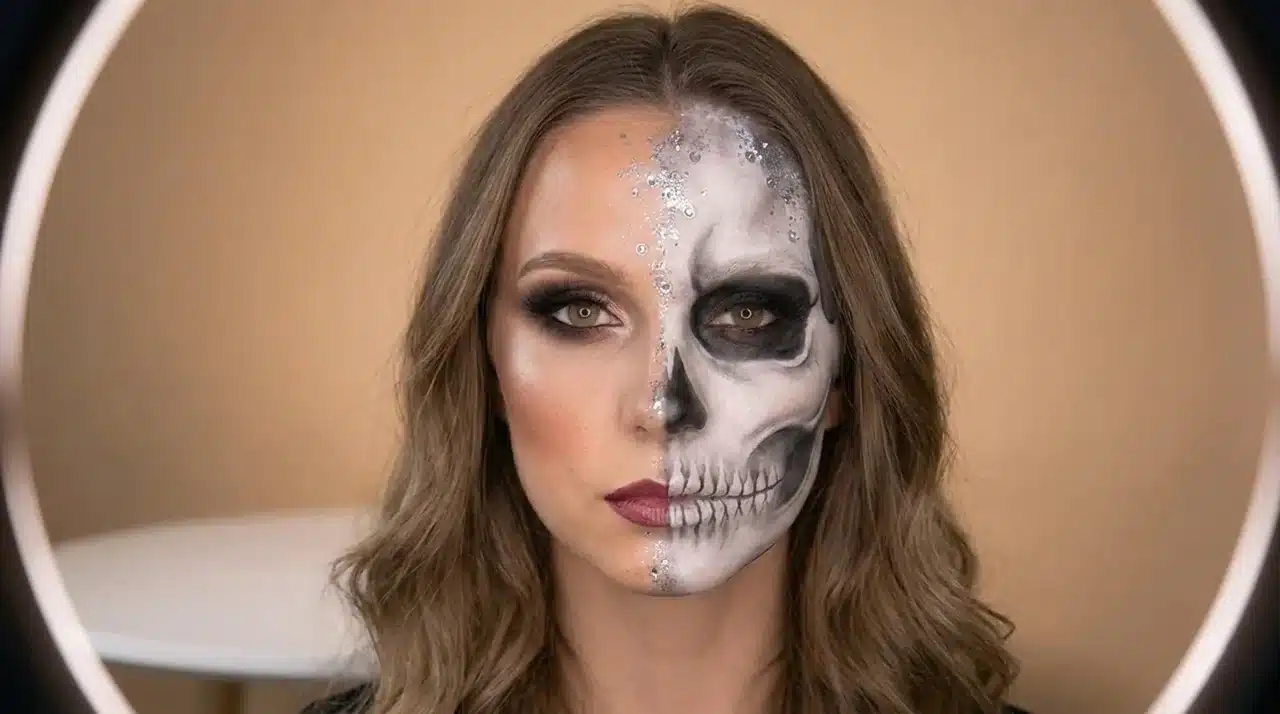
Half your face says soft glam. The other half says walking nightmare. That’s the whole appeal, and it’s why pretty half skull makeup keeps popping up as one of the most searched Halloween looks this year.
I’ve painted this look more than once, and the biggest lesson I picked up early was patience with thin layers. Rushing the white paint is what turns a crisp skull into a smudgy mess.
Keep your everyday beauty routine on one side: blush, glossy lips, fluttery lashes. Let the other side turn to bone, shadow, and hollow eyes.
It looks complicated, but a few affordable products and a little patience are really all it takes. Even if you’ve never touched face paint before, you can pull this off at home.
No airbrush kit, no professional training, just decent blending and a steady hand.
What is Pretty Half Skull Makeup?
Pretty half skull makeup splits your face into two completely different looks. One side stays soft and glamorous with your regular makeup routine, while the other becomes a detailed skull design with bone shading and hollow eye details.
Traditional skull makeup usually covers the whole face, but a glam half-skull look keeps one side pretty and wearable while adding a bold skeletal effect to the other. That split is really what sets it apart.
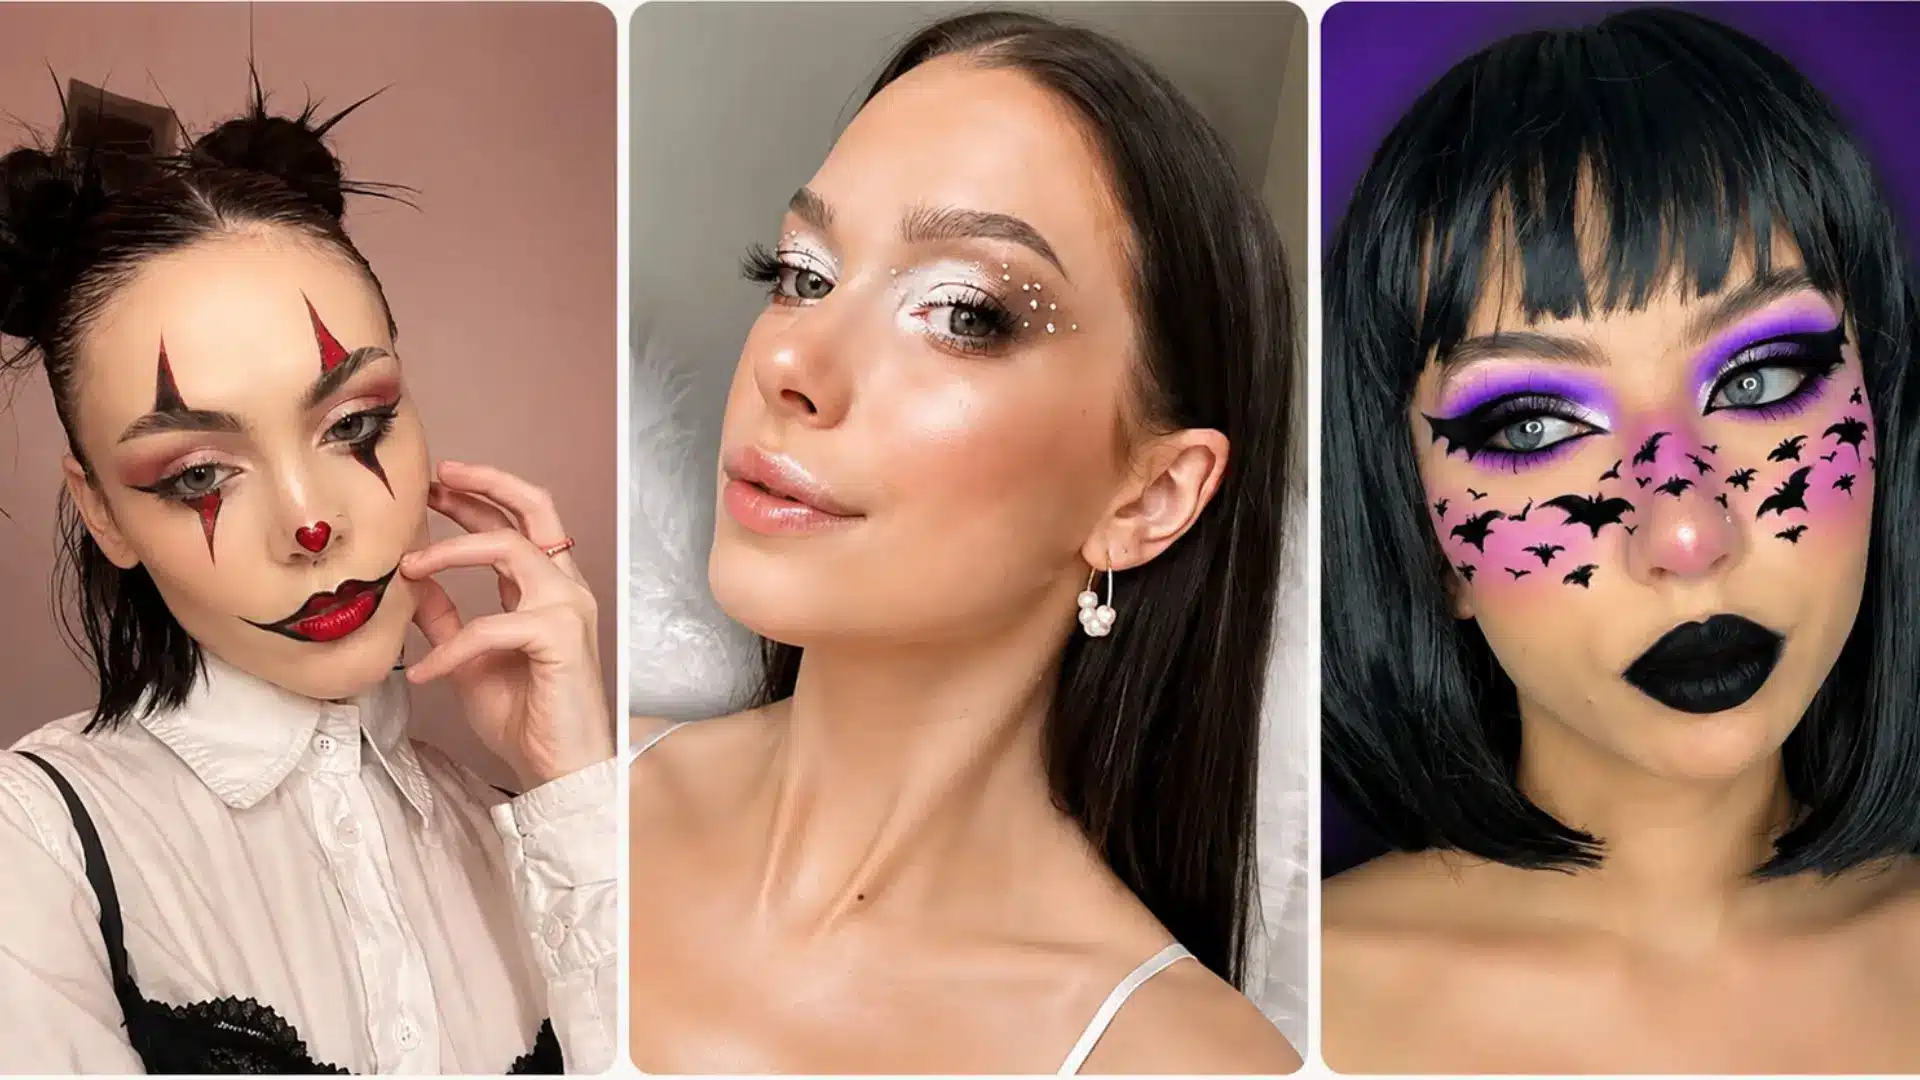
People love this style because it lets you mix beauty and creativity in one shot: lashes, lipstick, and a full glam side sitting right next to dramatic skull contours. The result is a look that photographs well and stands out from the usual Halloween makeup.
|
Beauty side: Clean, polished, and glowing. This half sticks to your natural features, with blush, lashes, and a nice lip color doing the work. Skull side: Bold, sharp, and dramatic. White and black paint build the shadows, define the cheekbones, and create that hollow eye socket effect. The contrast: A soft, glowing highlight sitting right next to a hollow black eye socket makes the whole thing feel deliberate, not like two random halves stuck together. |
Basic Makeup Products You Need for a Pretty Half Skull Look
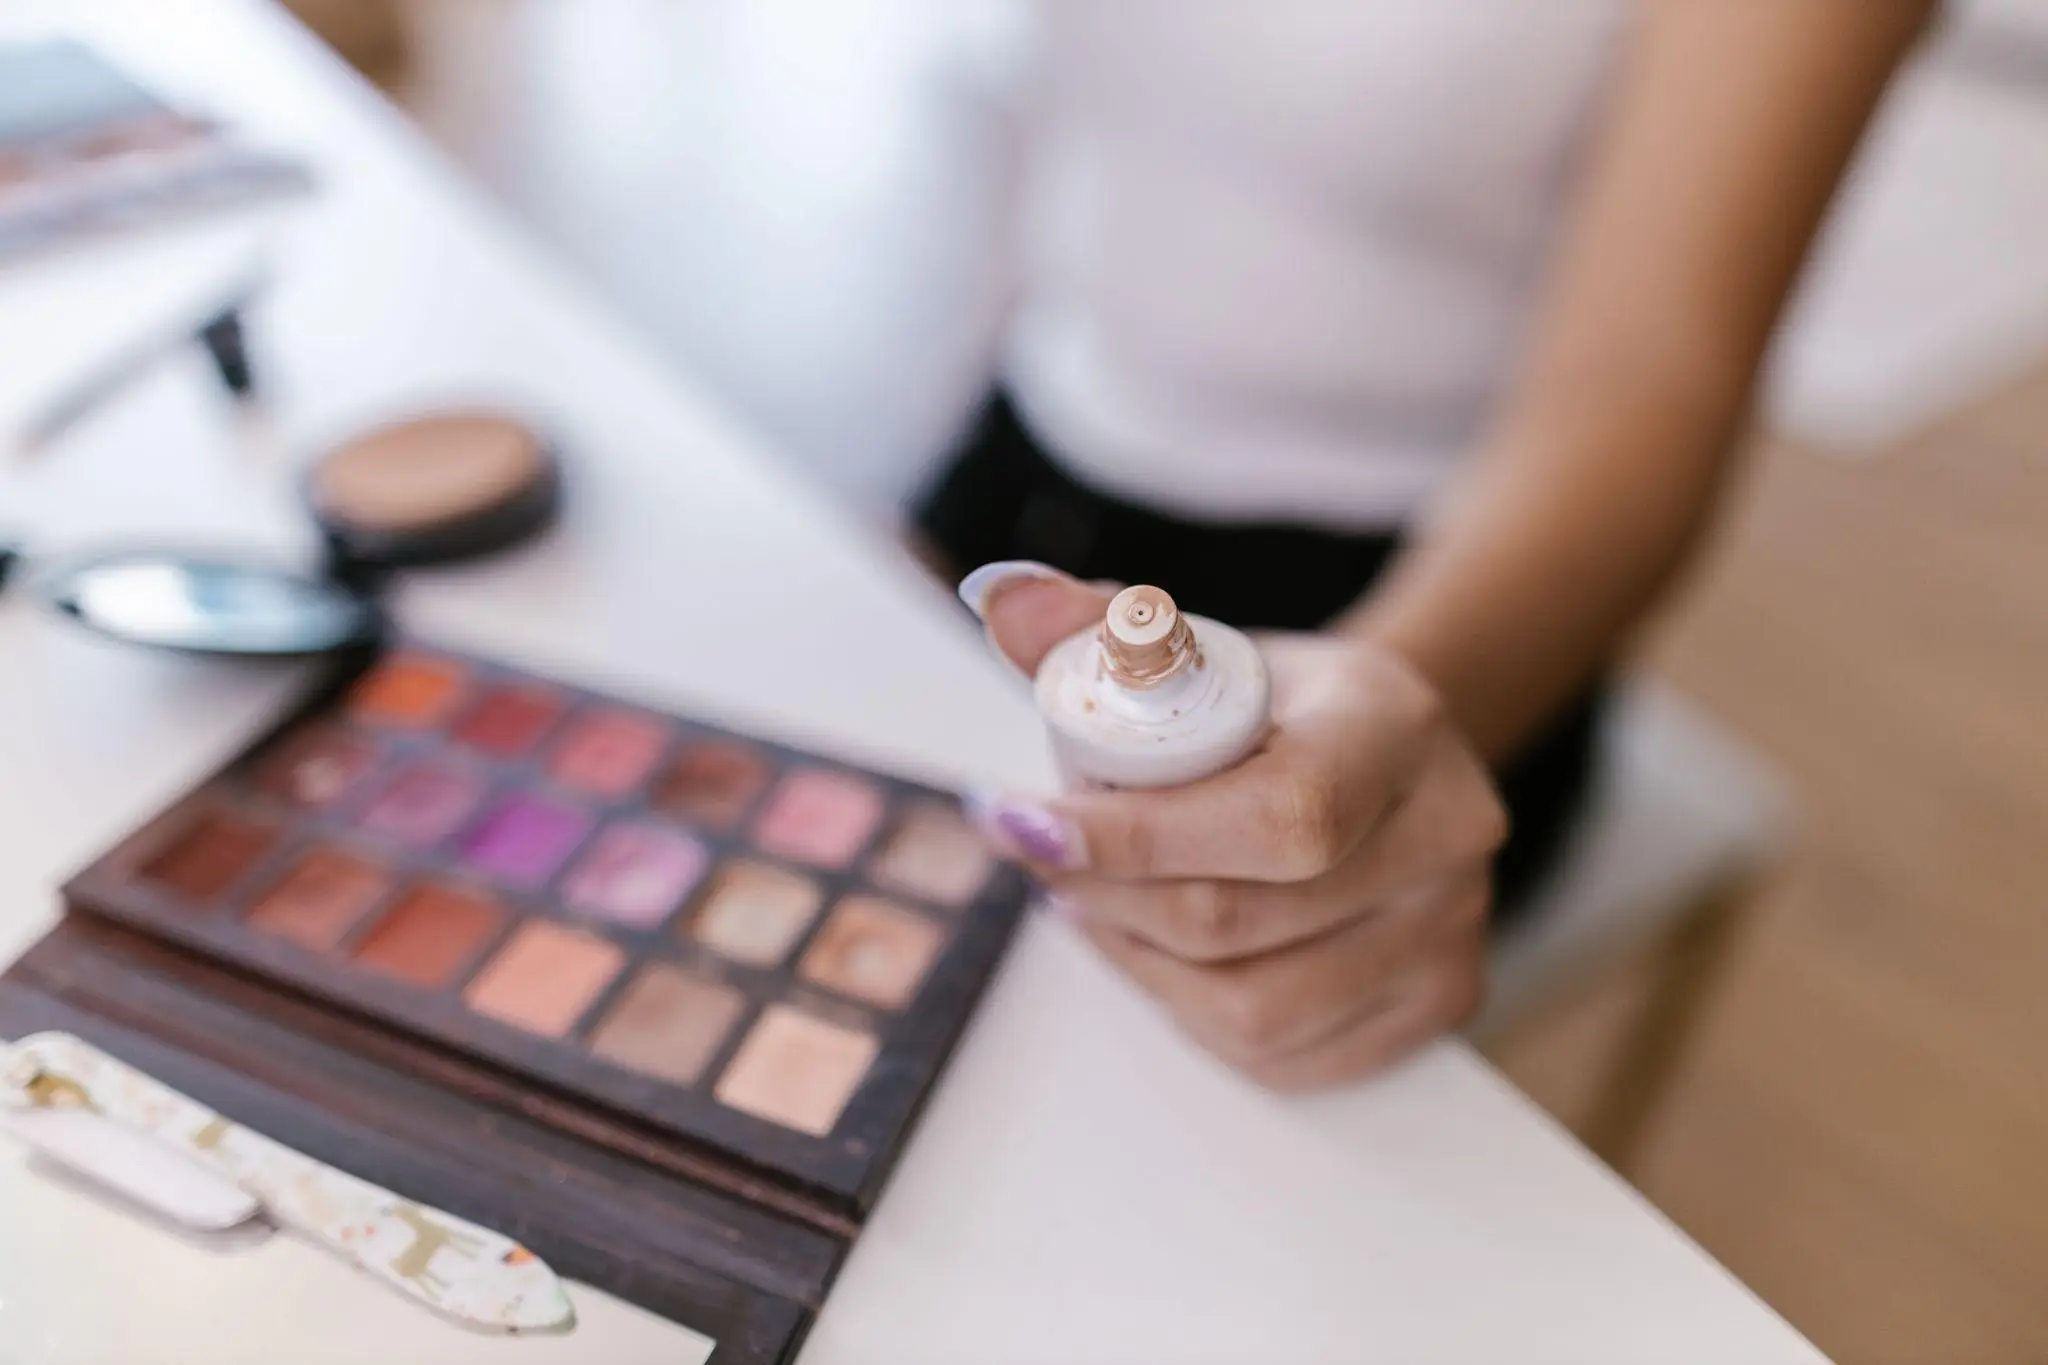
Before starting your Halloween makeup, lay out everything you need so you are not searching for products mid-application. Here is a simple checklist broken down by category.
Base Makeup Products
- Primer
- Foundation or skin tint
- Concealer
- Setting powder
- Makeup sponge
Skull Design Products
- White face paint or cream makeup, ideally a water-activated formula
- Black face paint
- Black eyeliner pencil
- Liquid eyeliner
- Fine detail brush
- Blending brush
Glam Side Products
- Eyeshadow palette
- Mascara
- False lashes
- Highlighter
- Lip color
Beginner Tip: Face paints made specifically for makeup blend more smoothly and wash off far easier than craft paints, which are meant for surfaces like wood or canvas, not skin.
Craft and acrylic paint can also contain pigments that were never tested for prolonged skin contact, so it’s worth spending a little more on cosmetic-grade, skin-safe paint. Sticking with makeup-grade paint saves time during application and cleanup.
Having the right products on hand makes the whole process easier, from blending to touch-ups.
Do a small patch test on your arm the day before if you have sensitive skin, especially if you’re trying a new paint brand for the first time. Stick with skin-safe face paints for a smoother finish and much easier removal than craft paints.
What to Know Before You Start
A clean, detailed half skull look like this usually takes a beginner 60 to 120 minutes, depending on how much shading and extra detail you add. Rushing the white paint is the most common reason it turns out patchy, so build in more time than you think you’ll need the first time around.
You don’t need an airbrush kit or professional training. A few cream or water-activated paints, a couple of blending brushes, and a steady hand are enough to get a clean result at home.
How to Create Pretty Half Skull Makeup
Create a pretty half skull makeup look by blending glam beauty details with bold, skull-inspired designs in a few simple steps.
Step 1: Prep Your Skin
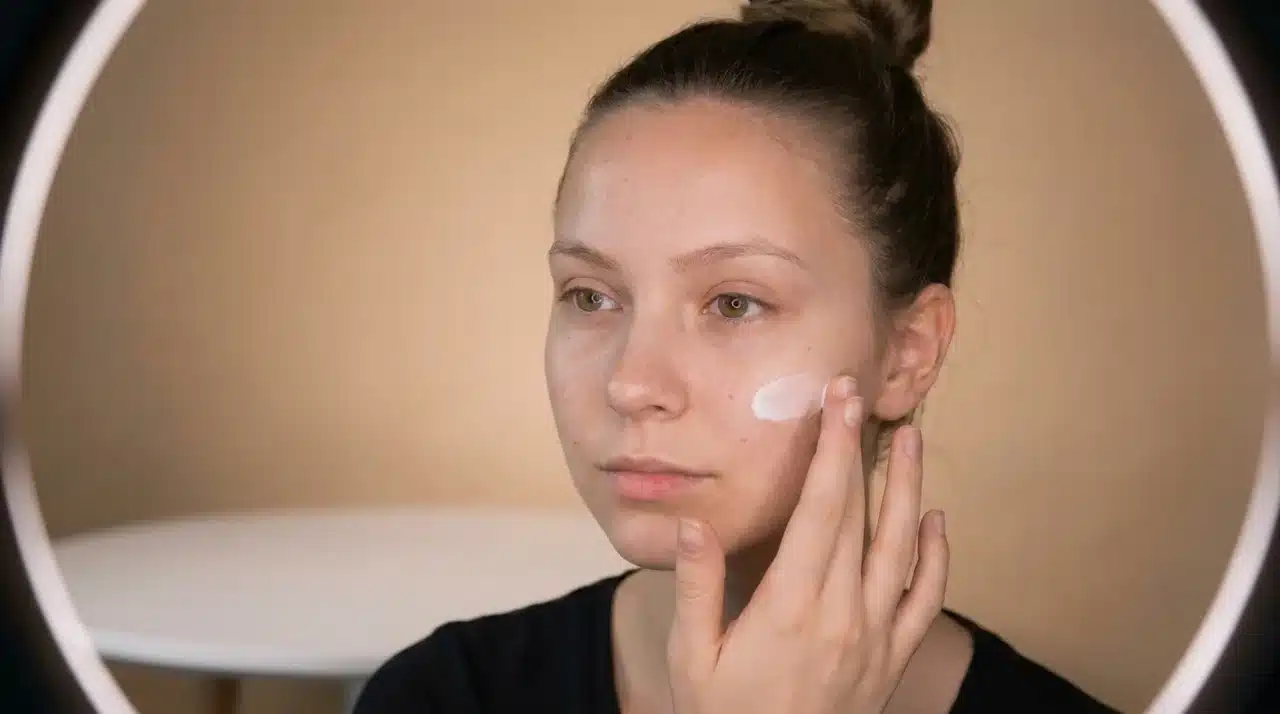
Start with a clean face. Remove any oil or dirt, then follow up with a lightweight moisturizer to keep your skin hydrated.
Next, add a primer to create a smooth base that helps foundation and face paint go on evenly and last longer.
If you have sensitive skin or haven’t used a particular paint before, patch test a small amount on your inner arm first and wait a few hours.
Step 2: Create the Glam Makeup Side
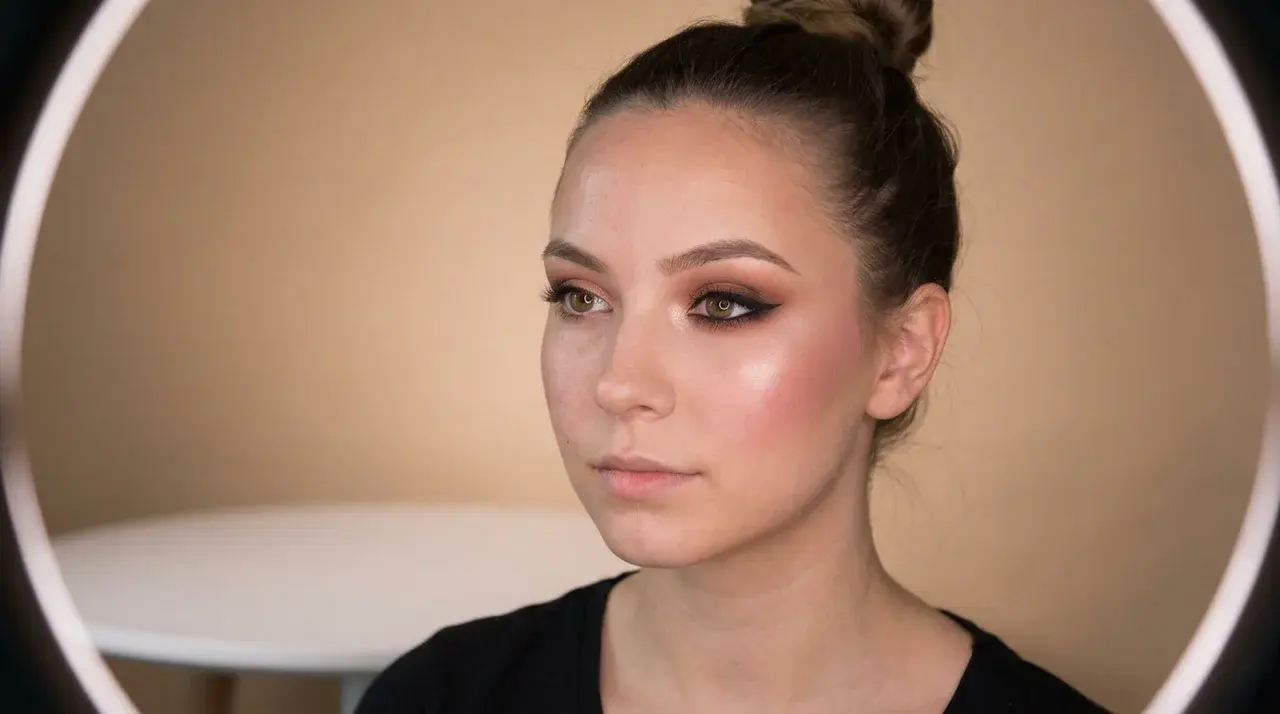
Apply foundation to one side of your face and blend it in well.
Add your favorite eye makeup, blush, and highlighter to build a polished glam look. Keep this side soft and complete, almost like your normal makeup routine.
A satin or dewy foundation finish tends to photograph better next to the stark white paint than a fully matte one, since it keeps the glam side looking soft rather than flat by comparison.
Blend right up to the center line of your face so there’s no obvious gap once the skull side goes on.
Step 3: Map Out the Skull Design
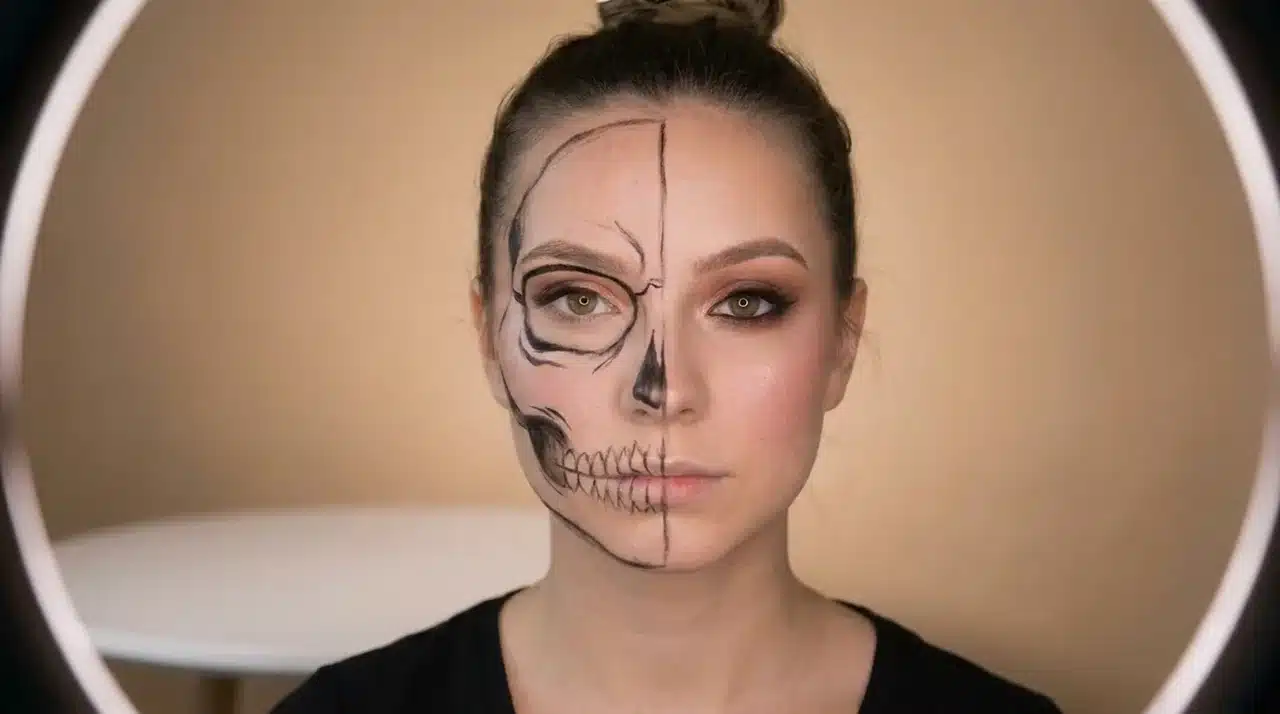
On the other half, use a light eyeliner pencil to outline the skull features first.
Mark the eye socket, nose cavity, cheekbone shadows, and teeth area before any paint goes on.
This keeps the design balanced and much easier to follow once you start filling it in.
Step 4: Apply the Skull Base
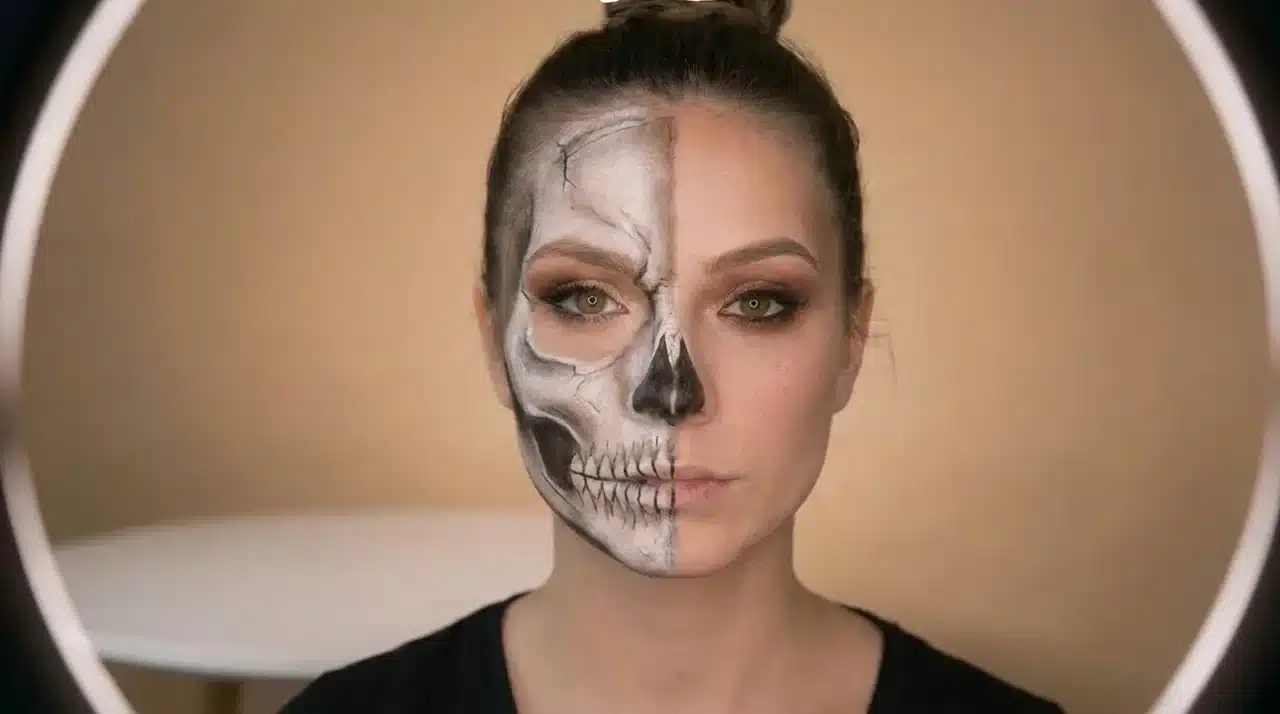
Fill the outlined area with white face paint or cream makeup, working in thin layers rather than one thick coat.
Thin layers dry faster and blend far more evenly than a single heavy coat, which is where most patchy results come from.
Blend the edges where the skull design meets your natural skin tone so the transition looks smooth, not patchy.
Step 5: Add Skull Details
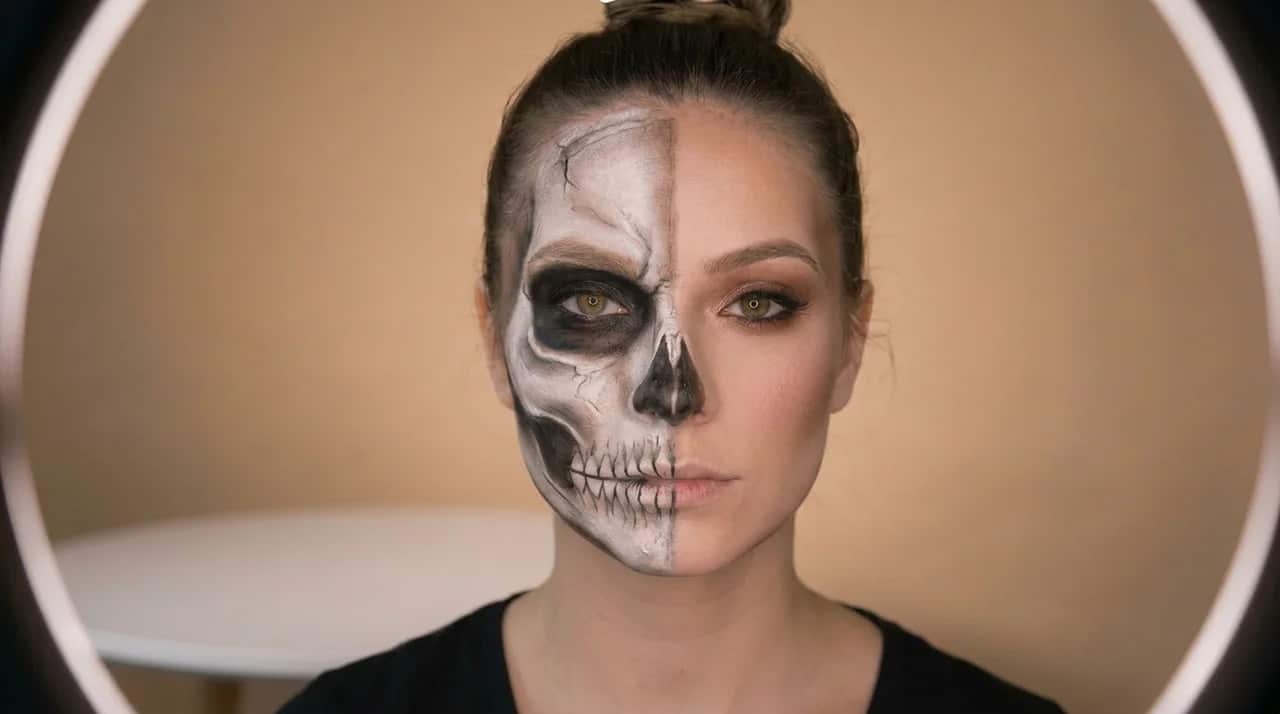
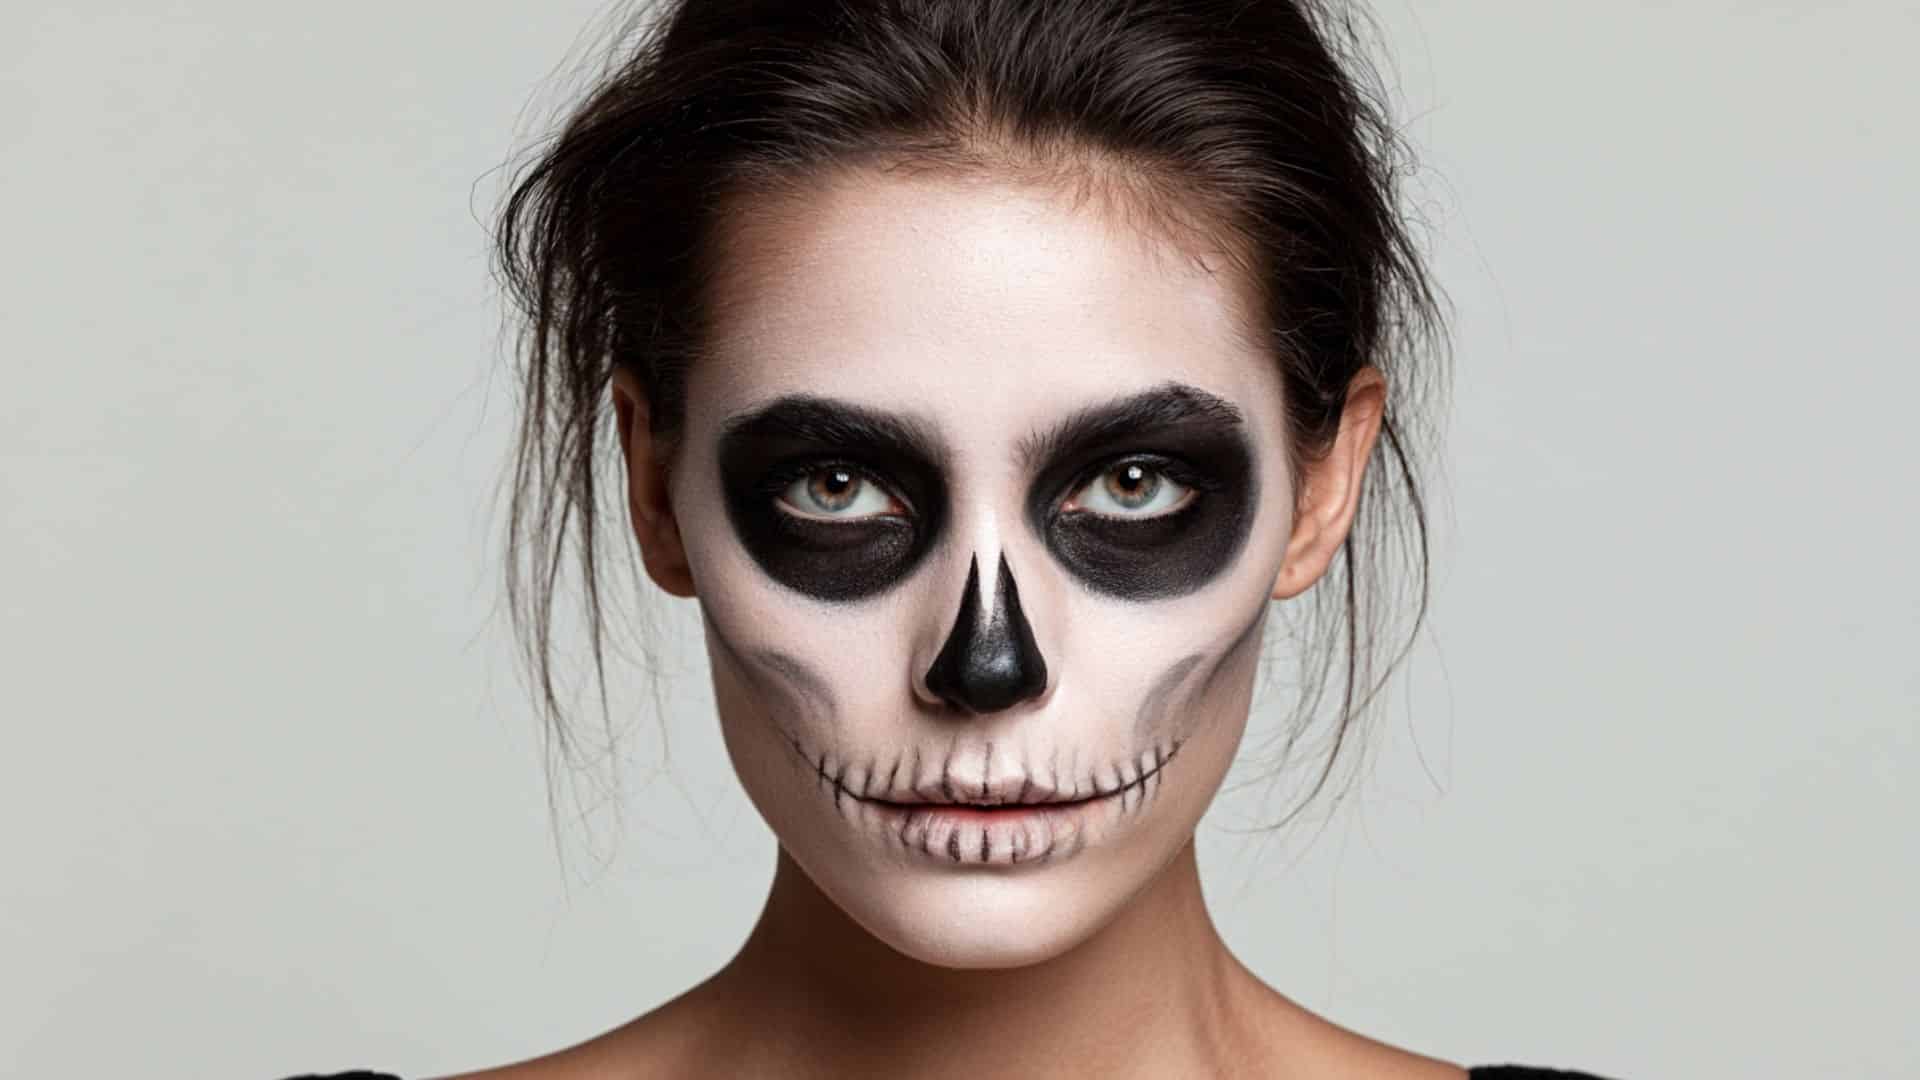
How to create the look: Add depth and dimension with black and grey shading:
1. Hollow eyes: Shade around the eye socket and blend outward for a sunken effect
2. Nose cavity: Create a small dark shape around the nose area and soften the edges
3. Cheekbone shadows: Add darker tones beneath the cheekbone to create a bone-like structure
4. Teeth lines: Draw thin vertical lines near the mouth or jaw for a realistic skull effect
Work black shading over the white base rather than the other way around. It’s much easier to darken an area that’s too light than to fix black paint that’s crept somewhere it shouldn’t be.
Step 6: Add Glam Details
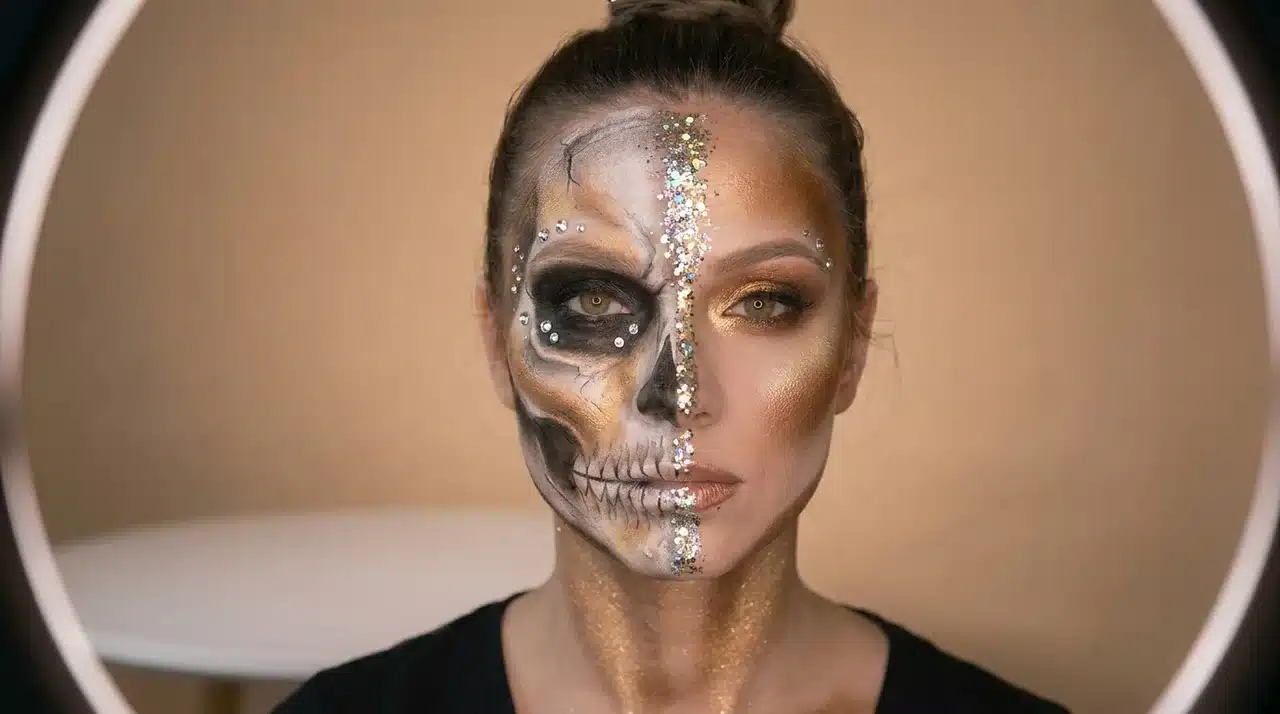
Bring both sides together with a few glam details: glitter along the center line, rhinestones near the skull features, or metallic eyeshadow.
These small touches tie the whole look together and give it a more polished, creative finish.
Add glitter and rhinestones last, once the paint underneath has fully set.
Pressing them into wet paint is the easiest way to smudge a clean skull design you’ve already spent time getting right, and a small dab of eyelash glue holds rhinestones in place better than pressing them into paint alone.
Step 7: Set Your Makeup
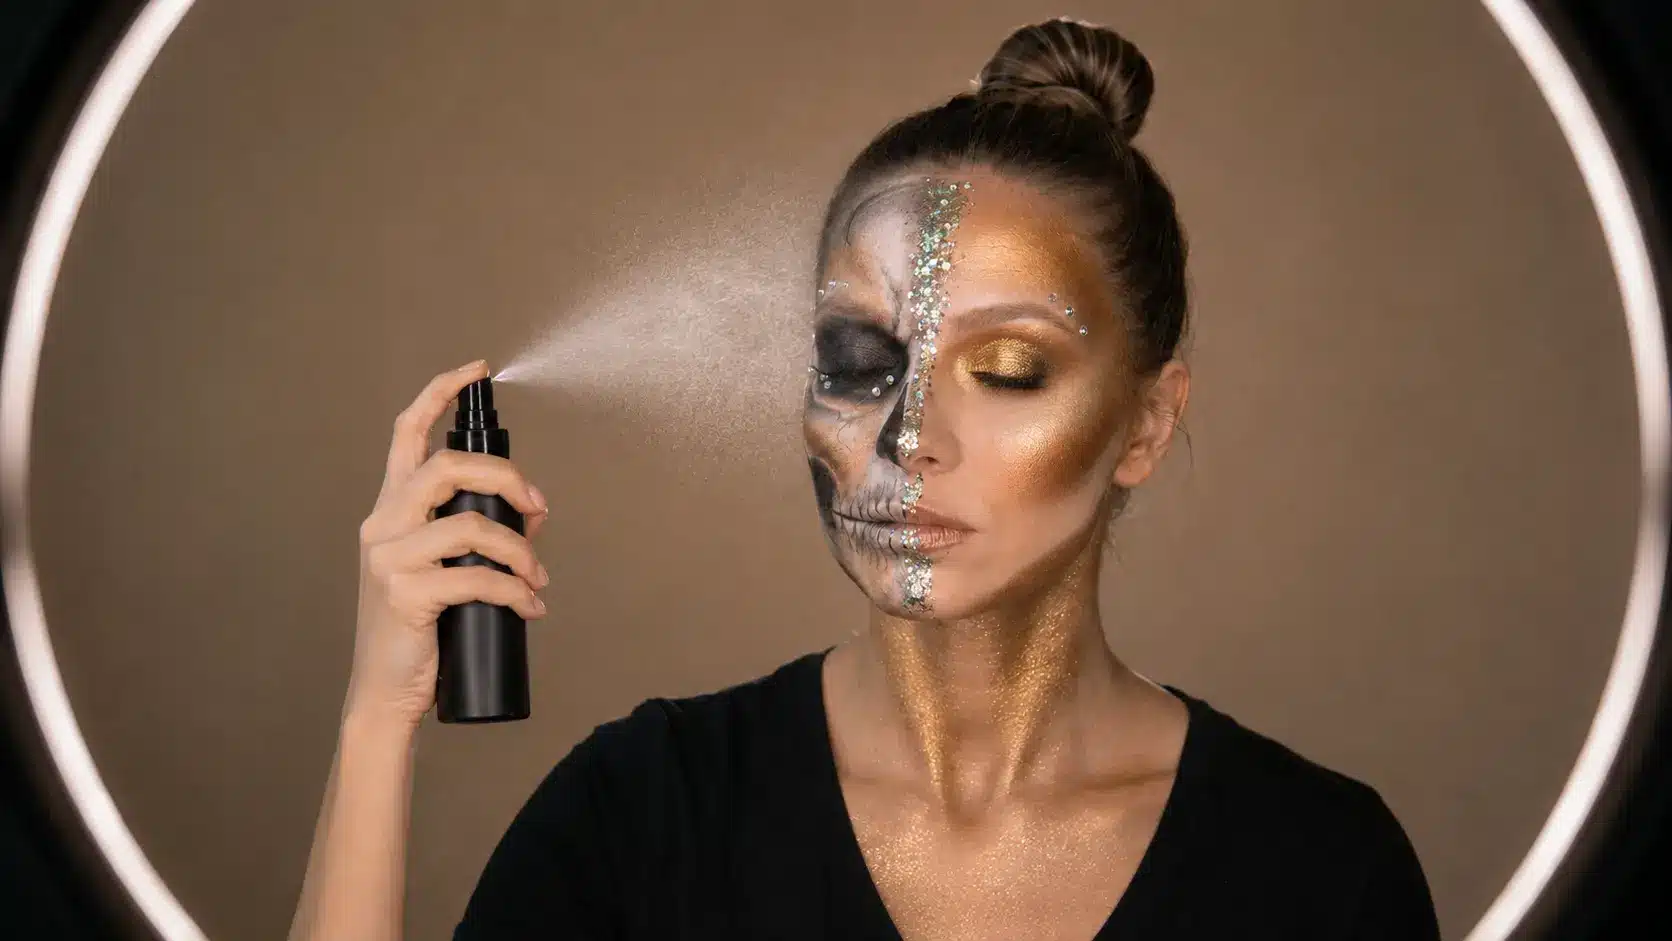
Finish with a setting spray to lock everything in place and reduce smudging.
If you’re heading out for a long event, pack touch-up essentials like eyeliner, cotton swabs, and setting powder so you can refresh the design as needed.
Finish your half skull makeup with creative details and personal touches for a balanced, spooky-yet-beautiful look.
Pretty Half Skull Makeup Video Tutorial
Follow this video tutorial to create a pretty half skull makeup design with a softer, more glamorous finish.
See how shading, dark details, and face contours help shape the skull side without making the look too heavy.
Add shimmer and clean makeup on the other half to create a striking contrast between both sides.
Take your time with the smaller details around the eyes, nose, and mouth for a cleaner result. Special thanks to STEPHANIE TOMS for the video tutorial.
Pretty Half Skull Makeup Ideas to Try
Try different half skull makeup styles by mixing classic skull details with glam colors, glitter, and creative designs.
If this is your first time trying the look, the Classic Black and White version in this table is the easiest starting point since it skips extra products like rhinestones or colored paint.
| Style | Description | Best For |
|---|---|---|
| Classic Black and White | Crisp white paint with deep black shading and sharp contrast lines for a timeless skull effect. | A bold, no-frills skull design |
| Glitter Glam | Fine glitter on the cheekbone and eye socket, paired with dramatic lashes and shimmery shadow. | Parties or nighttime events with extra shine |
| Pink Half Skull | Soft pink tones replace black and white, matched with pastel shadow and feminine blush. | A softer, playful spin on the spooky look |
| Gothic Half Skull | Deep black or burgundy lips with a heavy smoky eye for a darker, moodier finish. | A dramatic, gothic-inspired style |
| Sugar Skull Inspired | Floral patterns and colorful painted details around the eyes and cheekbones. | An artistic, colorful take on the design |
Final Thoughts
The more half skull looks I try, the more I notice it’s the shading, not the paint color, that makes the skull side actually read as bone instead of just a white smudge.
If you’re trying this for the first time, start with the Classic Black and White version from the table above and save the glitter and rhinestones for a second attempt once you’re comfortable with the shading.
It’s not complicated, but it does reward patience. Taking each step slowly and blending as you go makes a noticeable difference in how the final result turns out.
So grab your products, set aside some time to practice beforehand, and get ready for your next event.
Frequently Asked Questions
Can Beginners Do Half Skull Makeup?
Yes, beginners can create this look with a clear plan and thin, buildable layers of paint. Practicing the blending technique beforehand makes the process much easier.
How Long Does Half Skull Makeup Take?
Most beginners should set aside 60 to 120 minutes, depending on how much shading and extra detail you add. A simpler black-and-white version without rhinestones or glitter will land closer to the shorter end.
What Products Work Best for Skull Makeup?
Cream-based or makeup-grade white and black paints blend smoothly and last through the night. A fine detail brush and damp sponge help with sharp lines and soft edges.
Can I Create Half Skull Makeup Without Face Paint?
Yes, white eyeshadow, cream concealer, and black eyeshadow can recreate the effect without face paint. This method feels lighter, is gentler on sensitive skin, and may not last as long.
Is Half Skull Face Paint Safe for Sensitive Skin?
Cosmetic-grade, water-activated face paints are generally fine for sensitive skin, but craft or acrylic paint is not made for skin contact and should be avoided. Patch test any new paint on your arm a day ahead if your skin reacts easily.
How Do You Remove Half Skull Makeup?
Start with a gentle oil-based cleanser or micellar water to lift the paint off first, then follow with your regular face wash. Avoid scrubbing, since that can irritate skin that’s had paint sitting on it for hours. Holding a warm washcloth over stubborn spots for a few seconds makes the paint easier to wipe away.