The first time I tried easy skeleton makeup, I did it at my kitchen counter with a compact mirror and half a bottle of white cream paint I found in a drawer from three Halloweens ago.
It still turned out decent, which is honestly the whole appeal of this look.
You do not need an airbrush kit, contact lenses, or years of face paint experience to get a skull that reads well across a room.
What you need is white, black, a little patience, and a rough idea of where your own bone structure sits under your skin.
I have redone this look enough times now to know which steps actually matter and which ones people skip without losing anything.
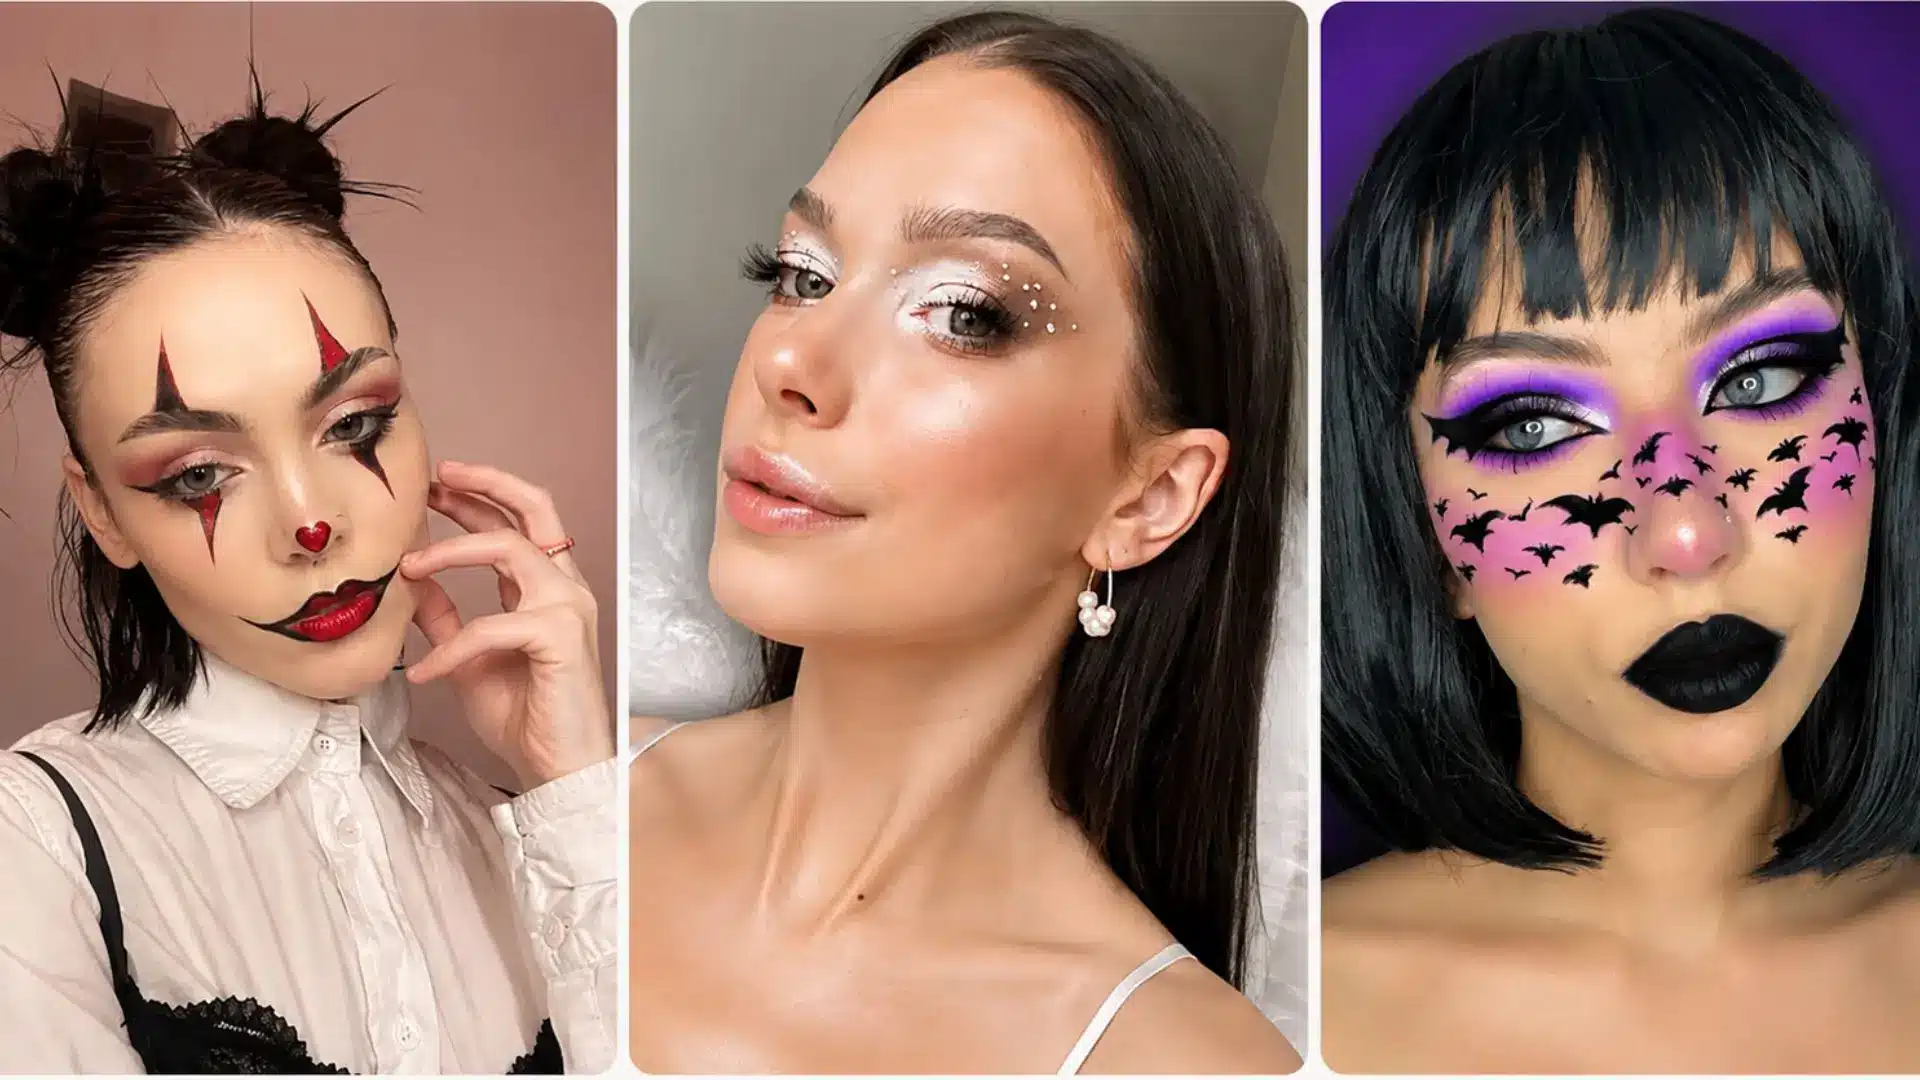
Here you will find step-by-step instructions, along with a few Halloween makeup ideas if the classic version is not quite what you are picturing.
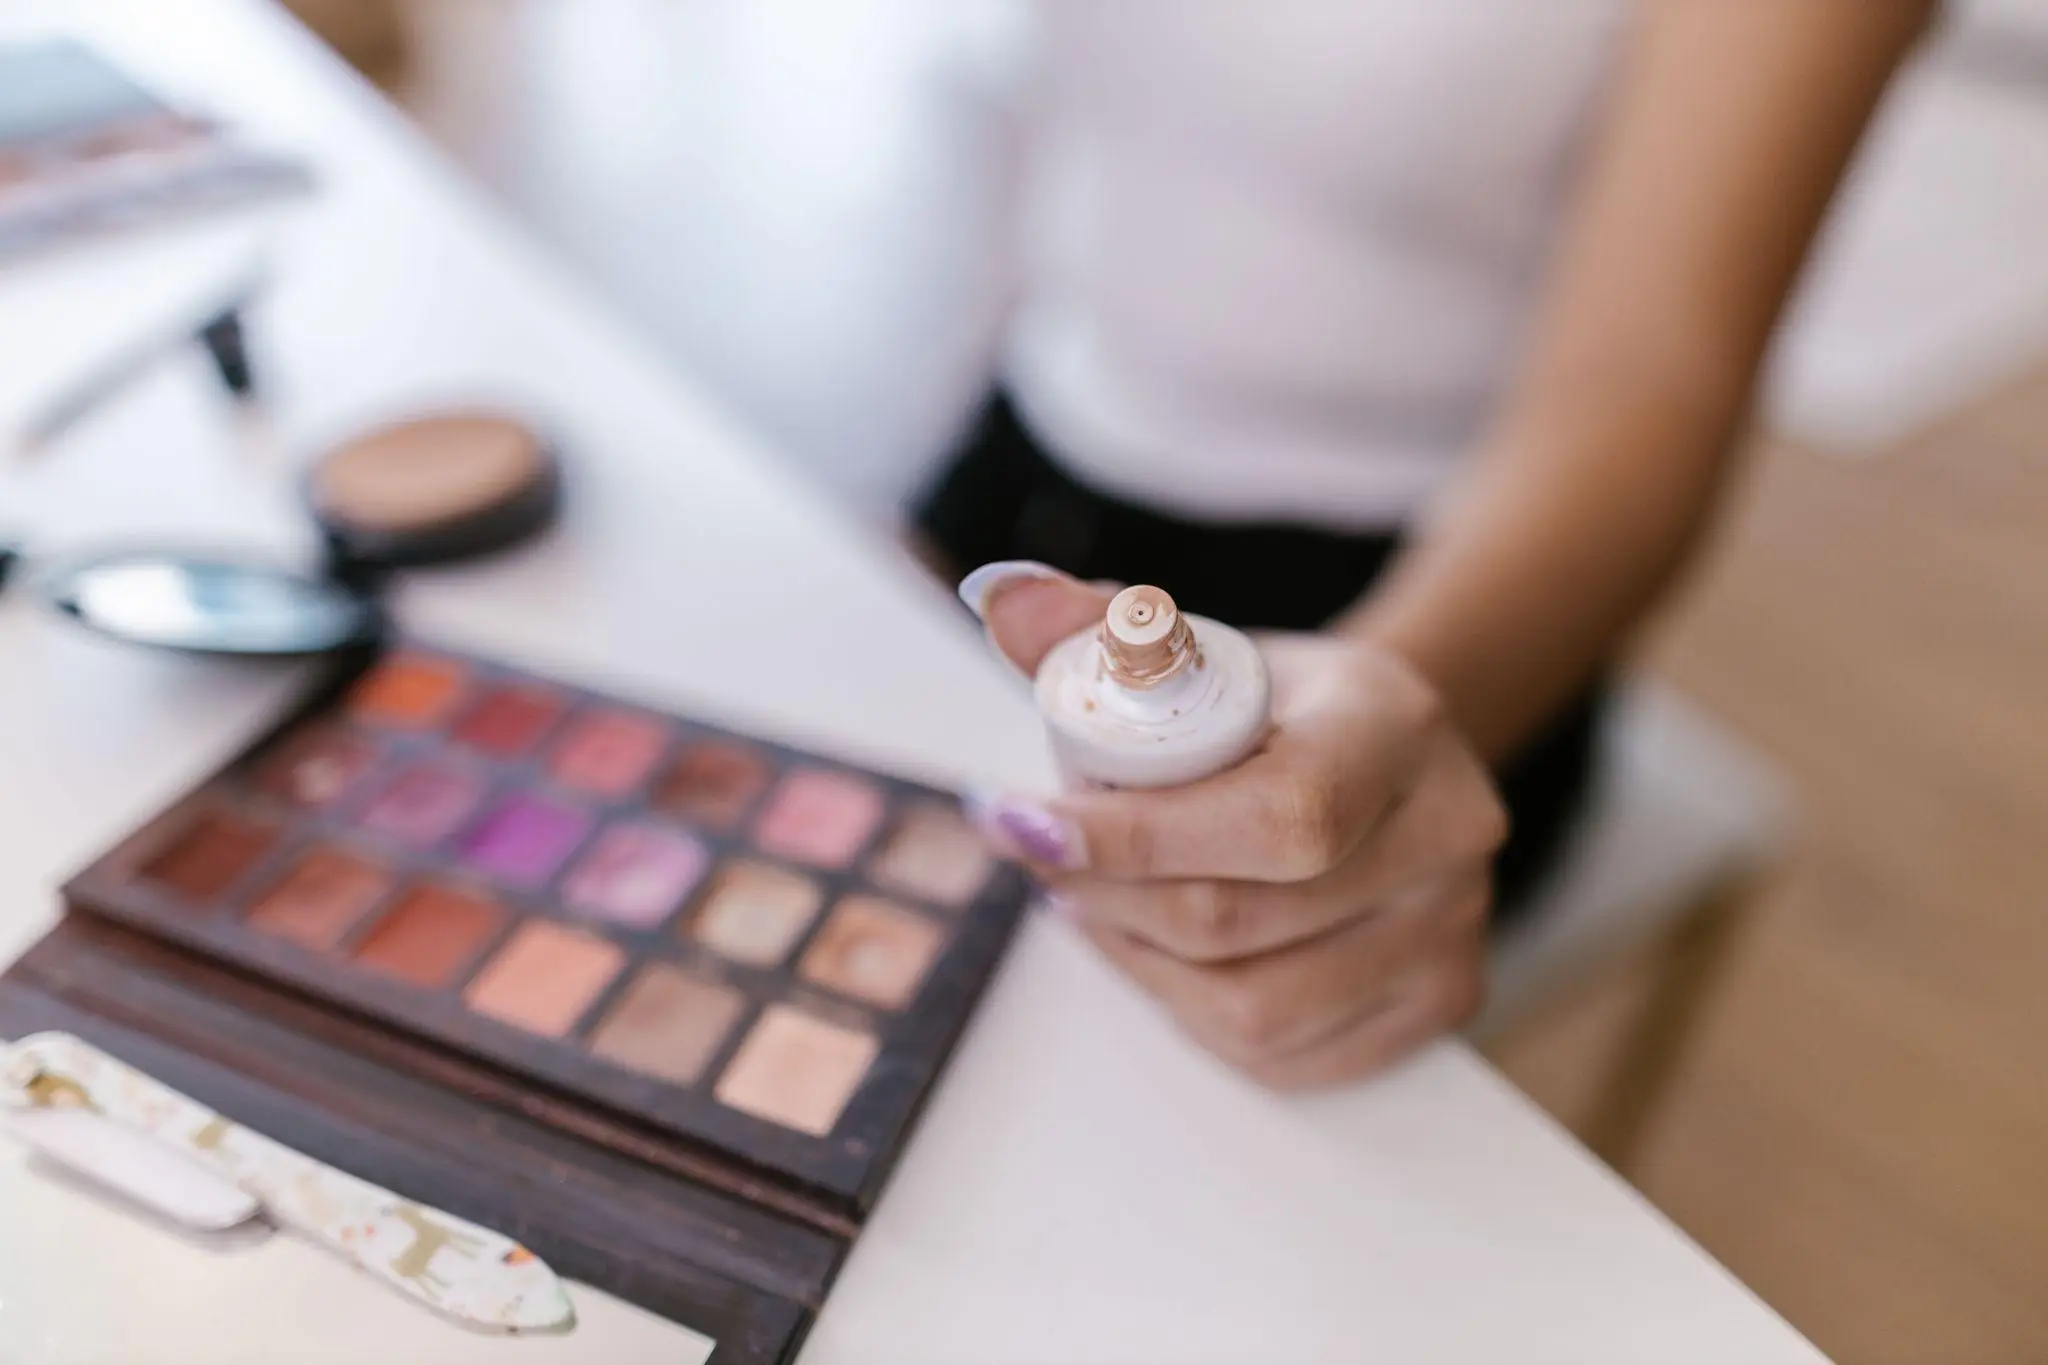
What You’ll NeedFor the base
For details
For shading
To set the look
|
How to Do Easy Skeleton Makeup
These nine simple steps take you from prepping your skin to adding the final details, helping you build a clean and convincing skeleton makeup look from start to finish for your next Halloween makeup look.
1. Start With Clean, Moisturized Skin
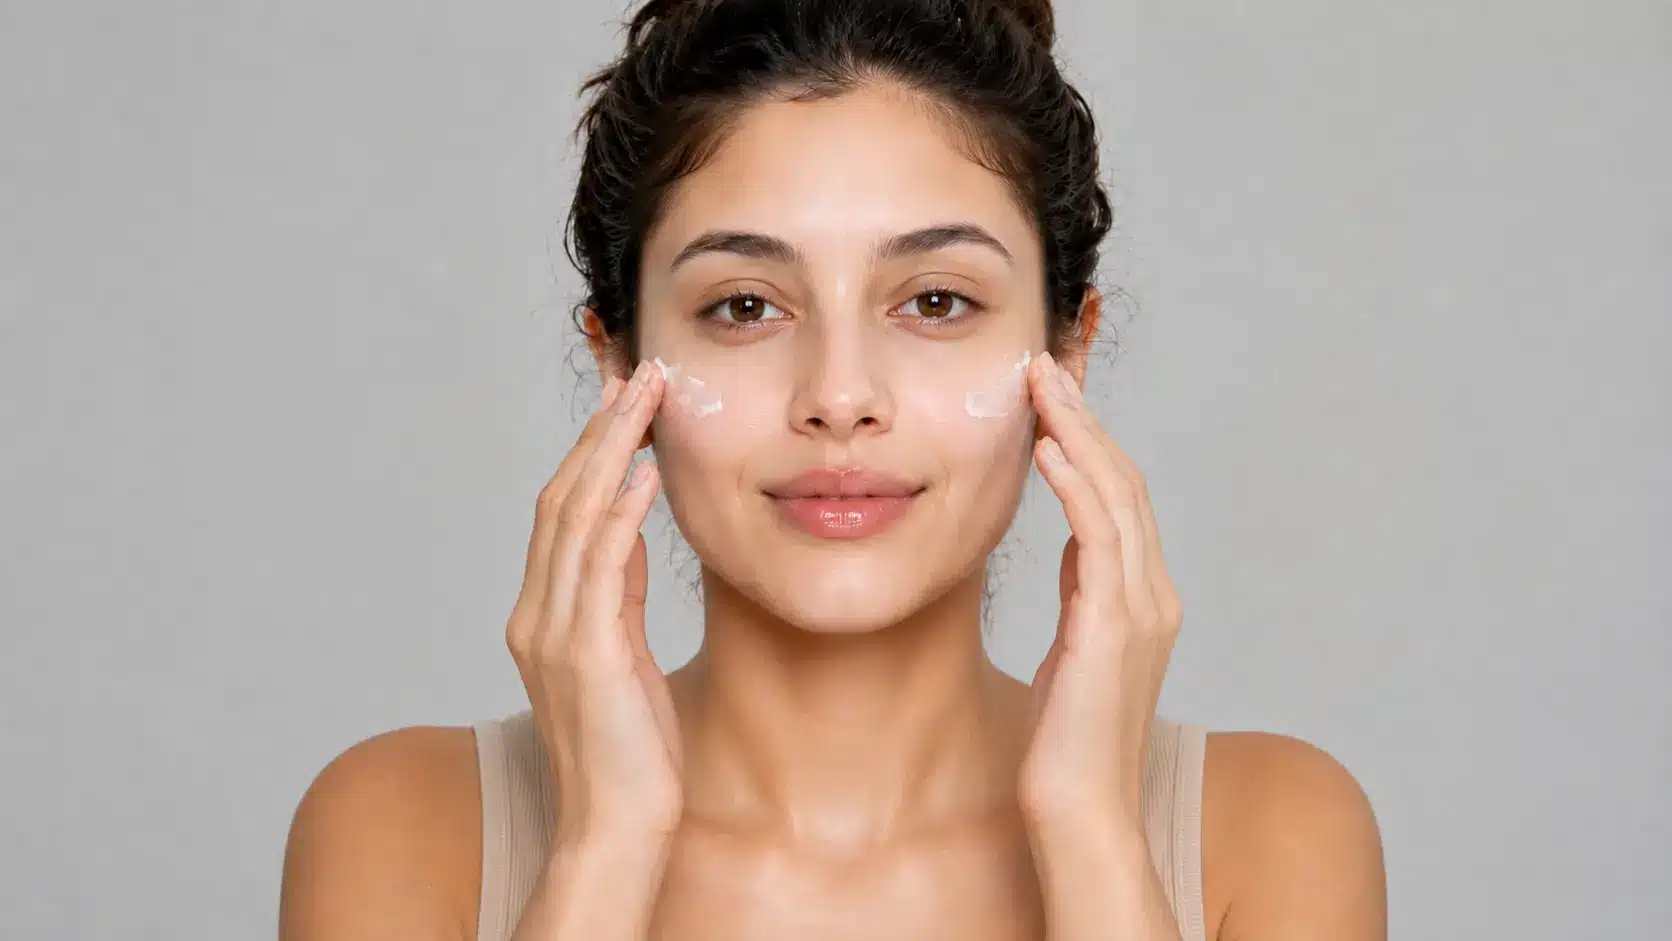
I always start with a clean, moisturized face before any paint goes on; no shortcuts here.
If your skin is dry, the white base grabs onto flaky patches and looks patchy instead of smooth, no matter how carefully you blend it.
A light primer helps too, since it gives the paint something even to grip onto instead of sinking into pores or fine lines.
2. Map Out the Skeleton Design
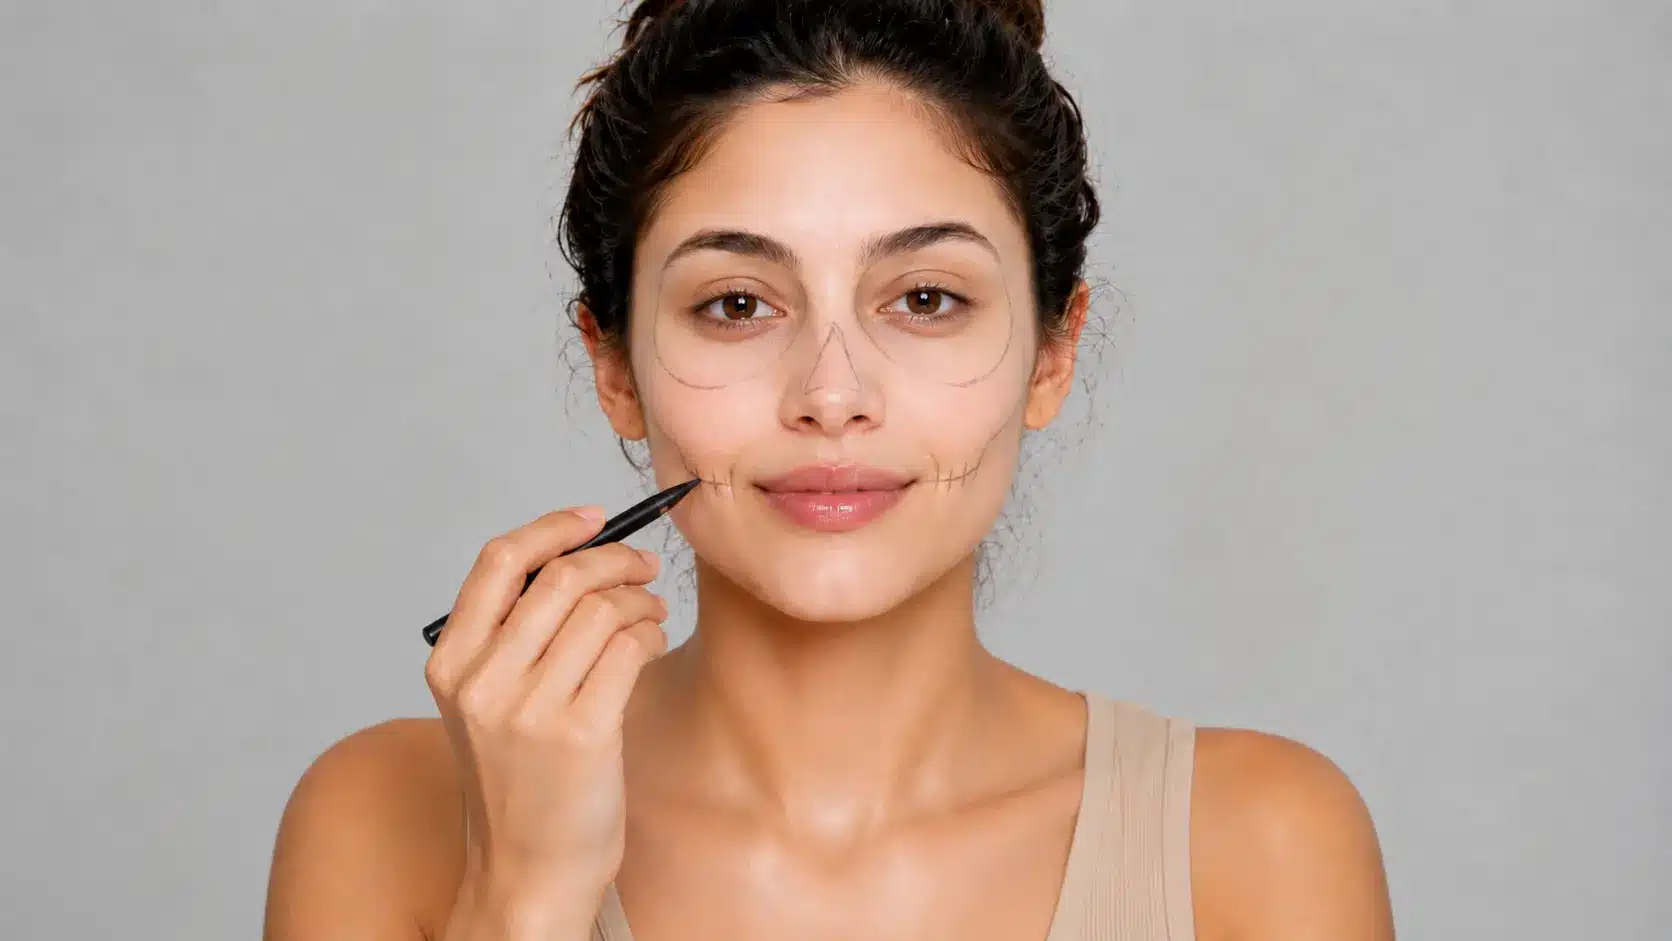
Before I touch any paint, I lightly trace where the eye sockets, nose, cheekbones, and mouth will go.
I use my own bone structure as the guide here instead of trying to copy a reference perfectly, since every face is shaped a little differently and forcing someone else’s proportions onto yours rarely looks right.
Keeping these first shapes simple makes the whole thing far less intimidating, especially the first time you try easy skeleton makeup.
3. Apply the White Base
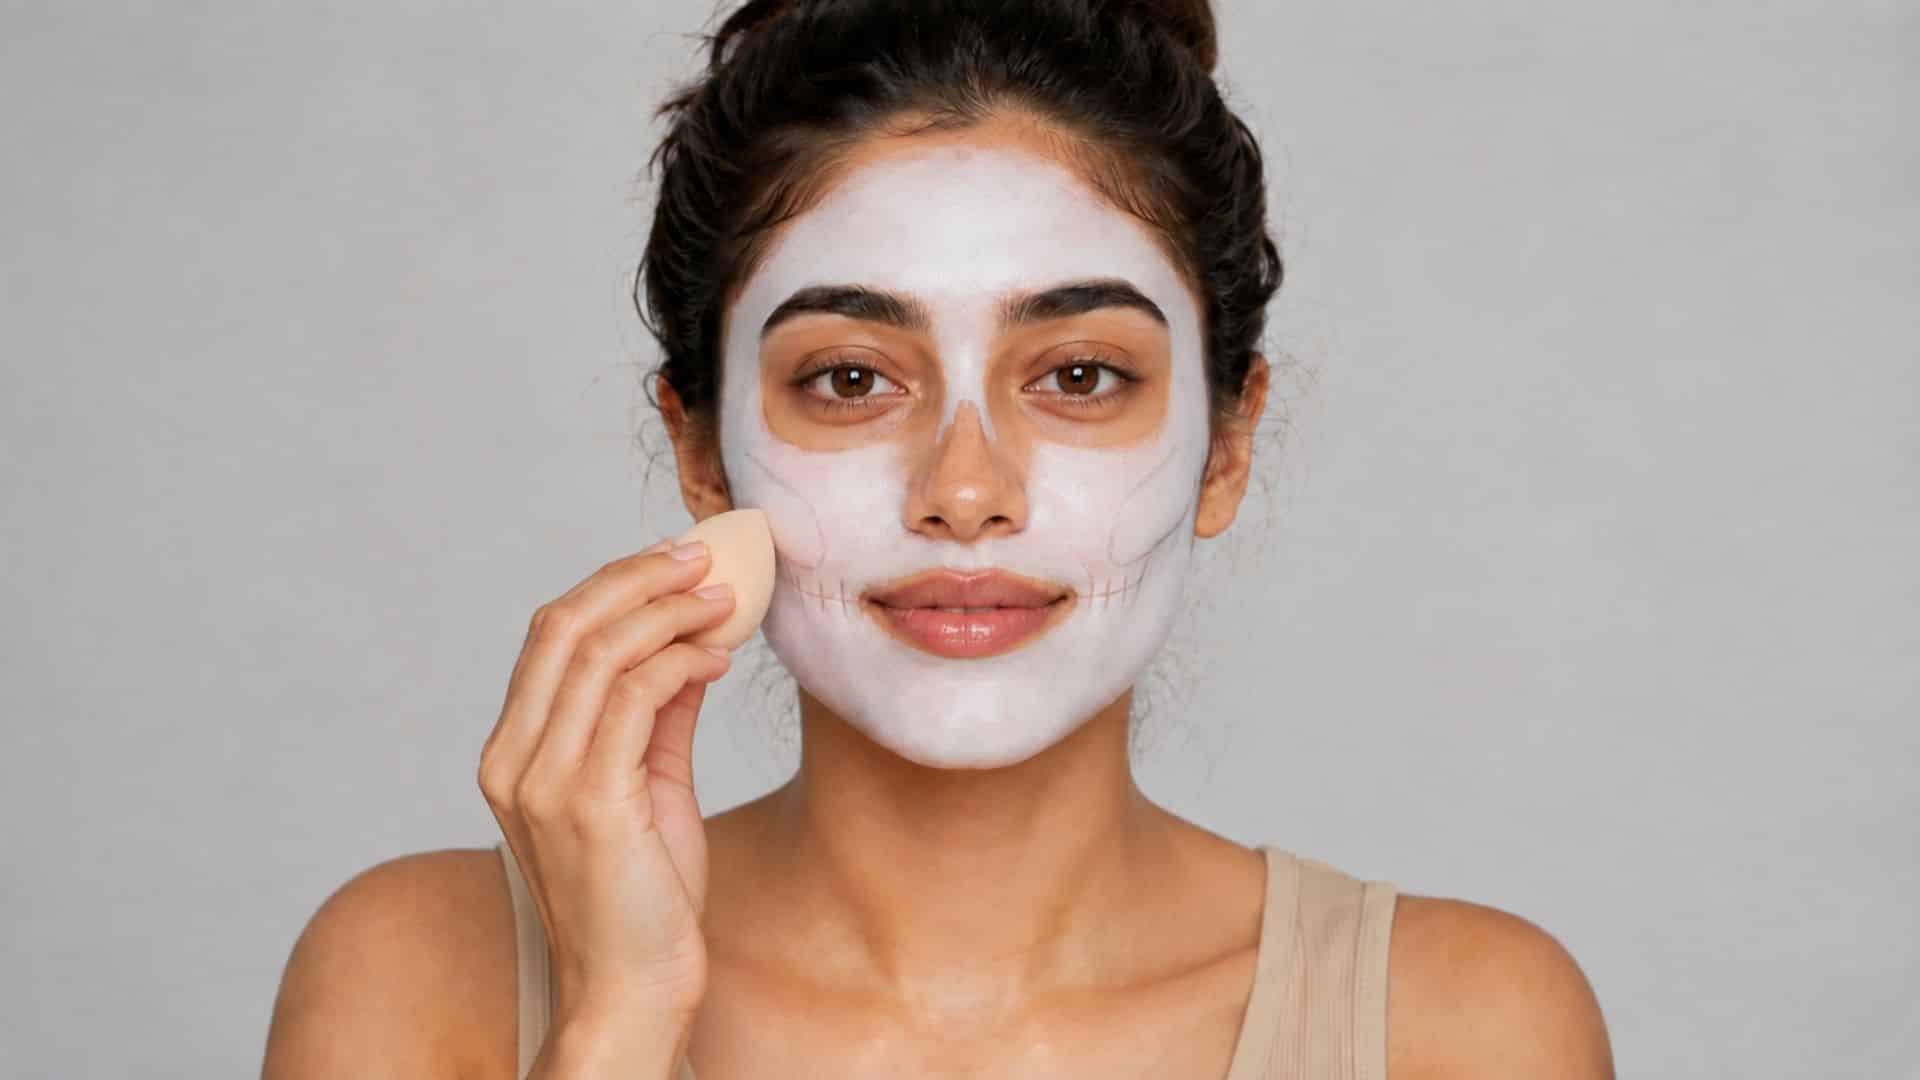
Once I have my rough map, I apply white makeup to every area meant to look like bone.
A makeup sponge blends this out evenly, which matters more than people expect, since harsh uneven patches read as sloppy the second a camera flash hits them.
I leave the spots that will eventually be black completely bare at this stage. Layering white under black leads to smudging later, and you end up redoing work you already finished.
4. Create the Eye Sockets
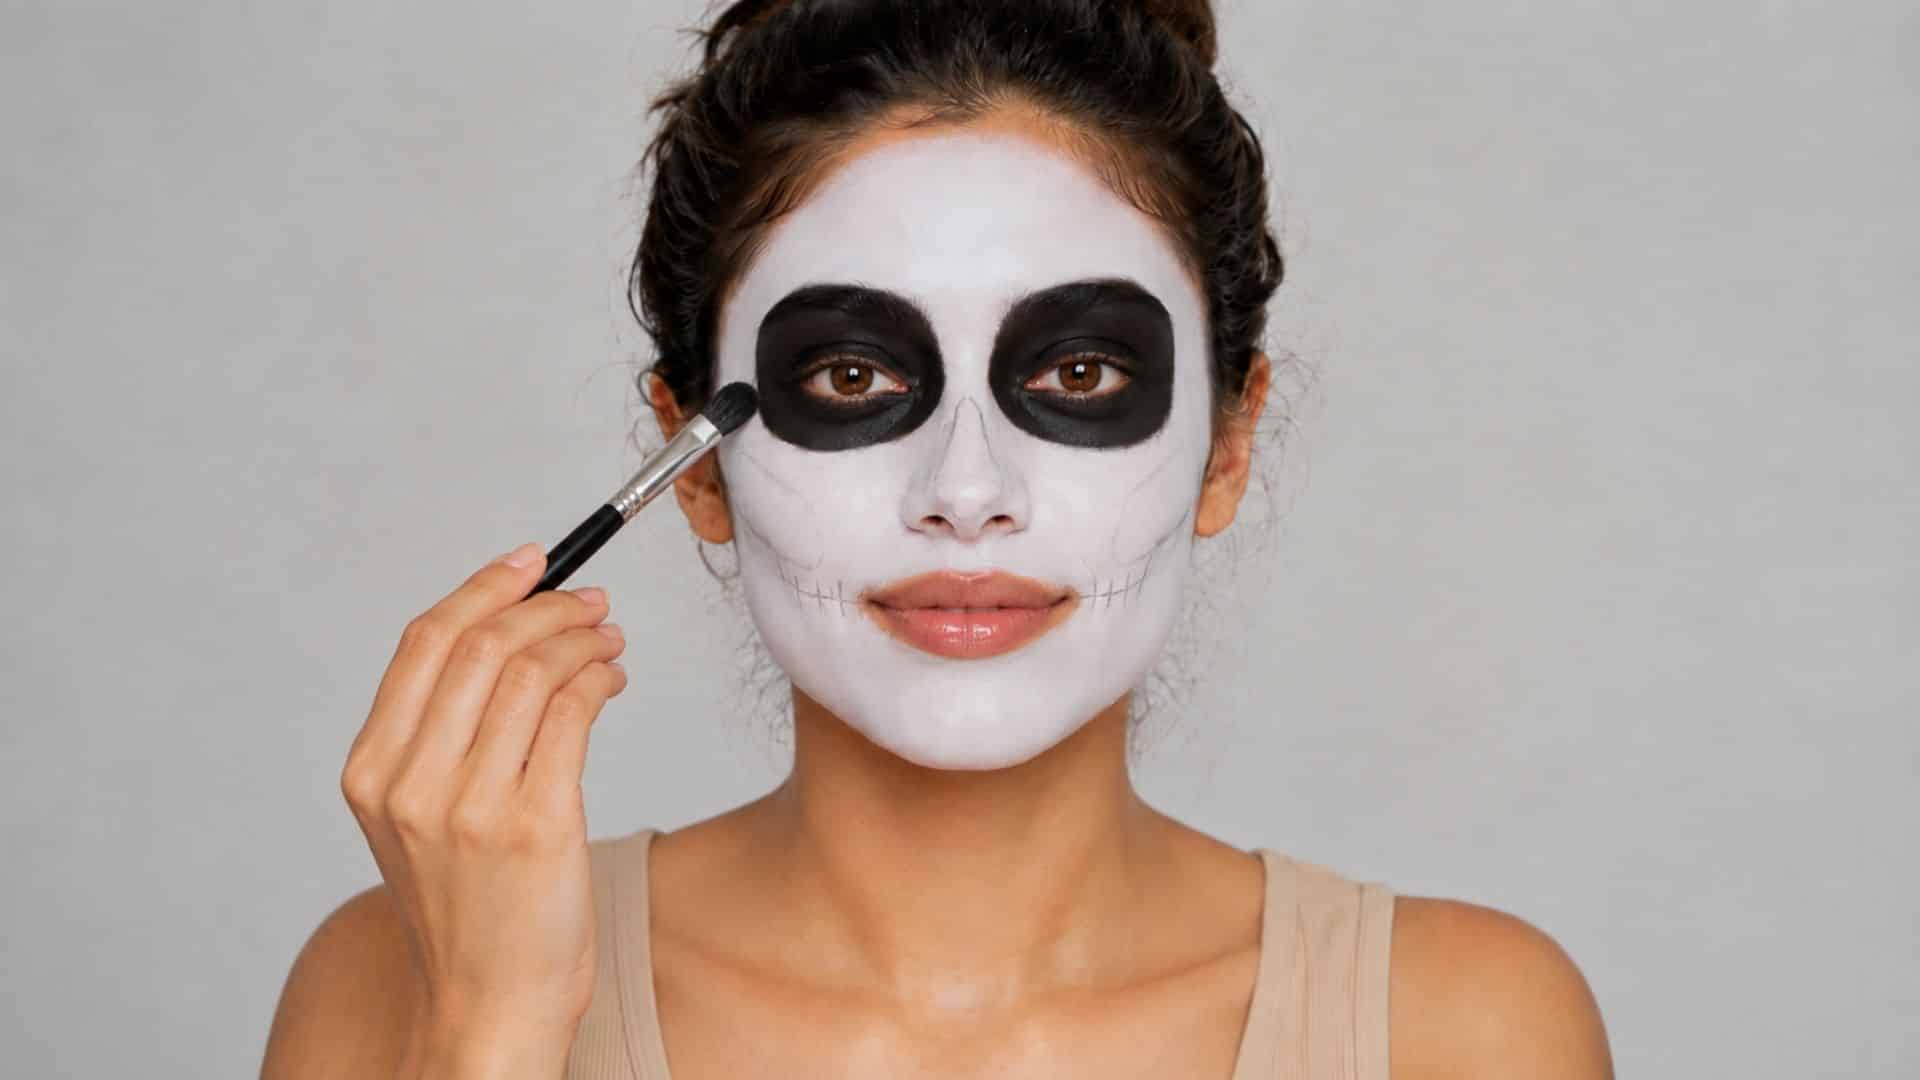
This is the step where the whole look clicks into place.
I fill in the area around each eye with black makeup, following the natural curve of my eye socket rather than drawing a stiff shape on top of it, since your own socket already knows where it wants to go.
Blending the edges slightly with a brush adds depth. The socket ends up looking sunken instead of like a flat black circle painted on.
5. Add the Nose Detail
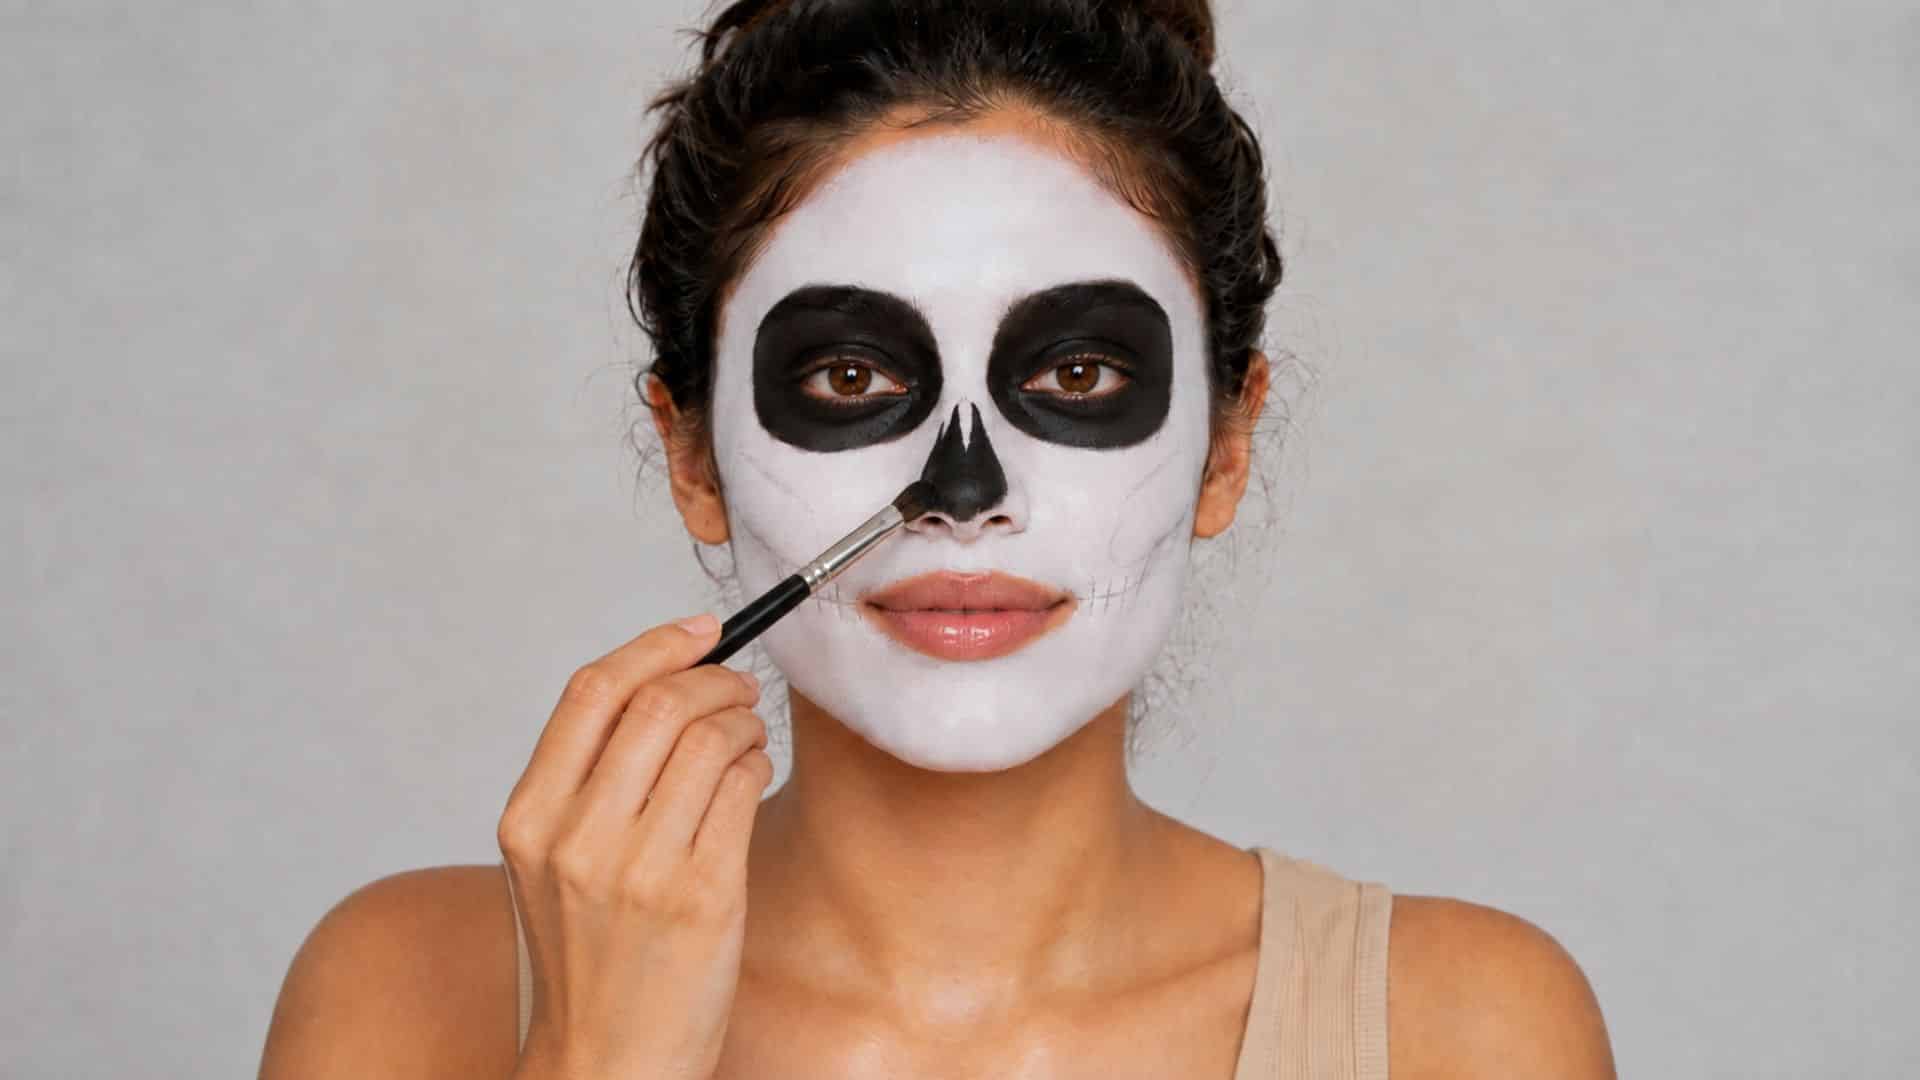
For the nose, I keep things simple rather than trying to sculpt out some complicated cavity.
A black triangle shape roughly where your nostrils are is genuinely enough to read as a skeletal nose from a normal viewing distance.
Overcomplicating this step is one of the easiest ways to make the whole face look messy instead of intentional, and I have made that mistake more than once.
6. Draw the Skeleton Teeth
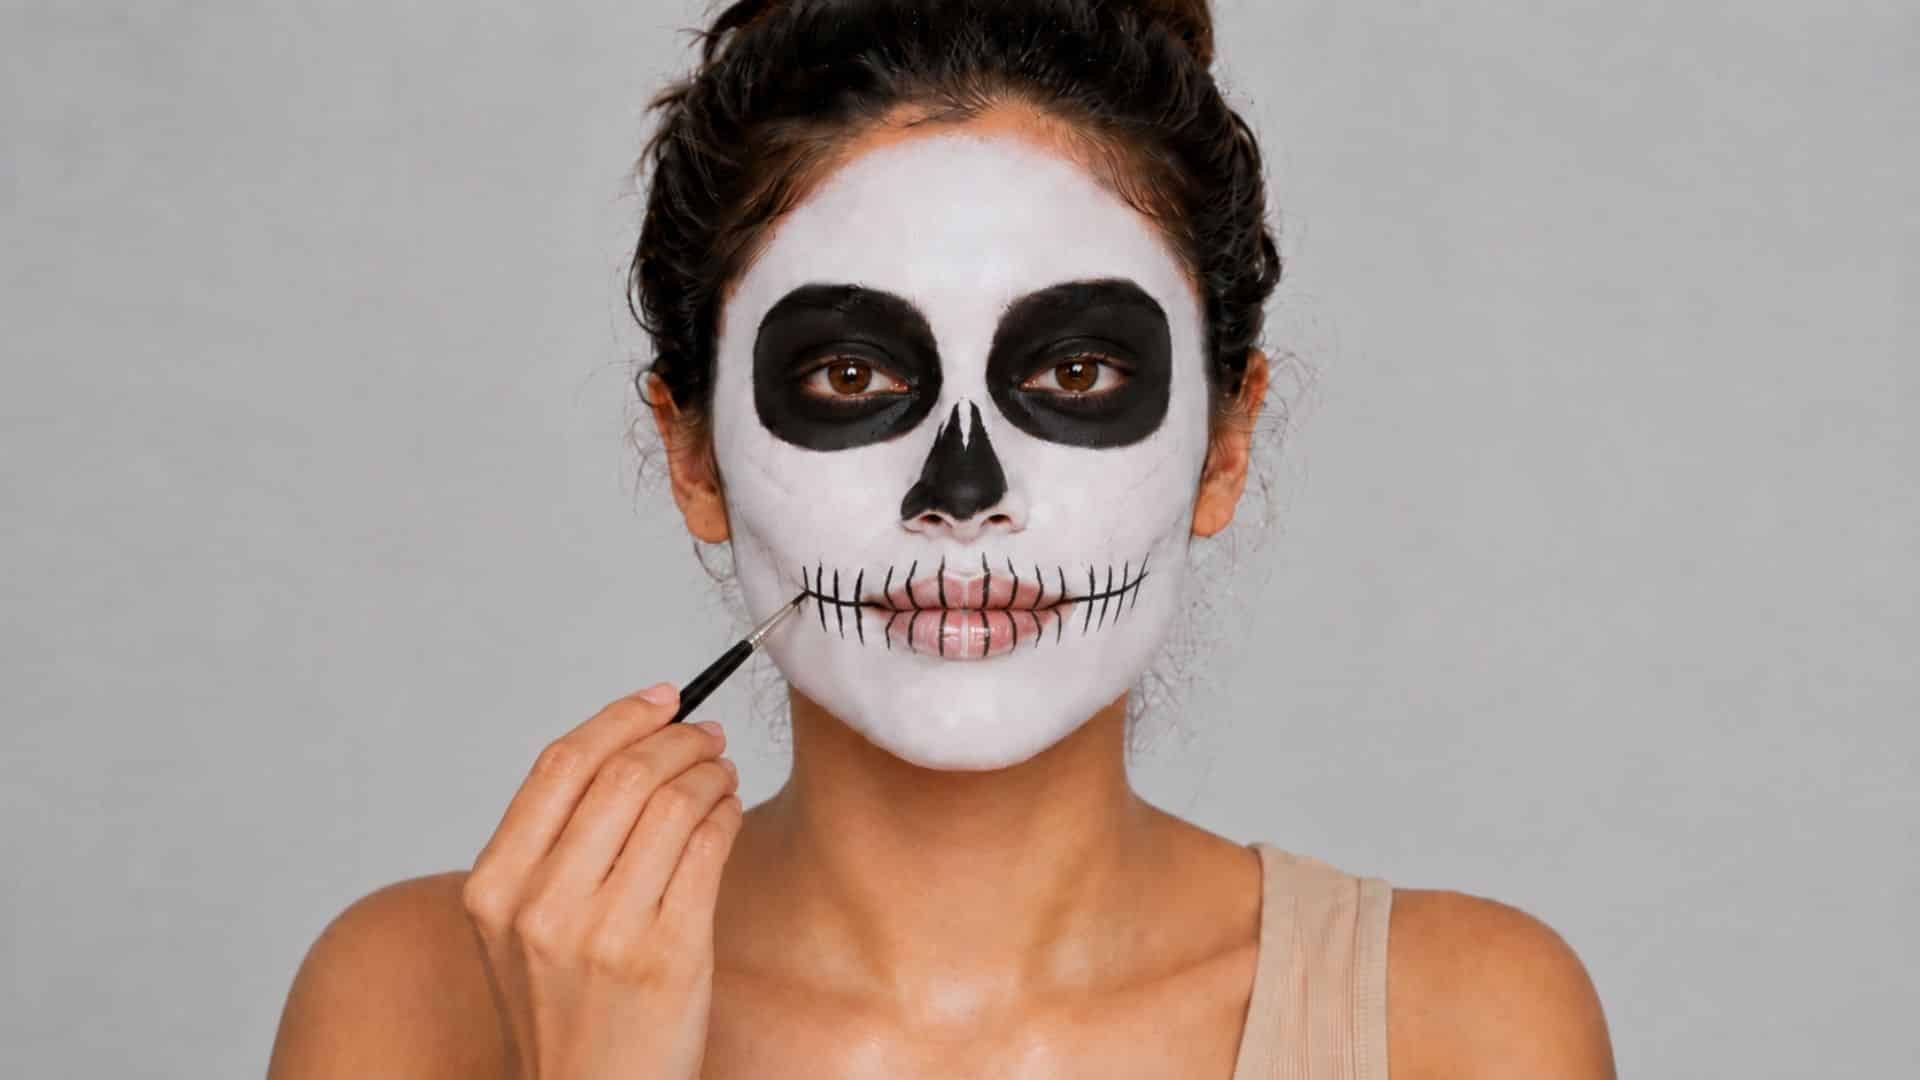
This part always gets the most comments when I post the finished look.
I draw one horizontal black line across my closed mouth, then add short vertical lines on top to create the look of individual teeth.
Extending a couple of these lines slightly toward the cheeks makes the mouth look wider and more skeletal, rather than like a plain grid someone drew with a ruler.
7. Define the Cheekbones
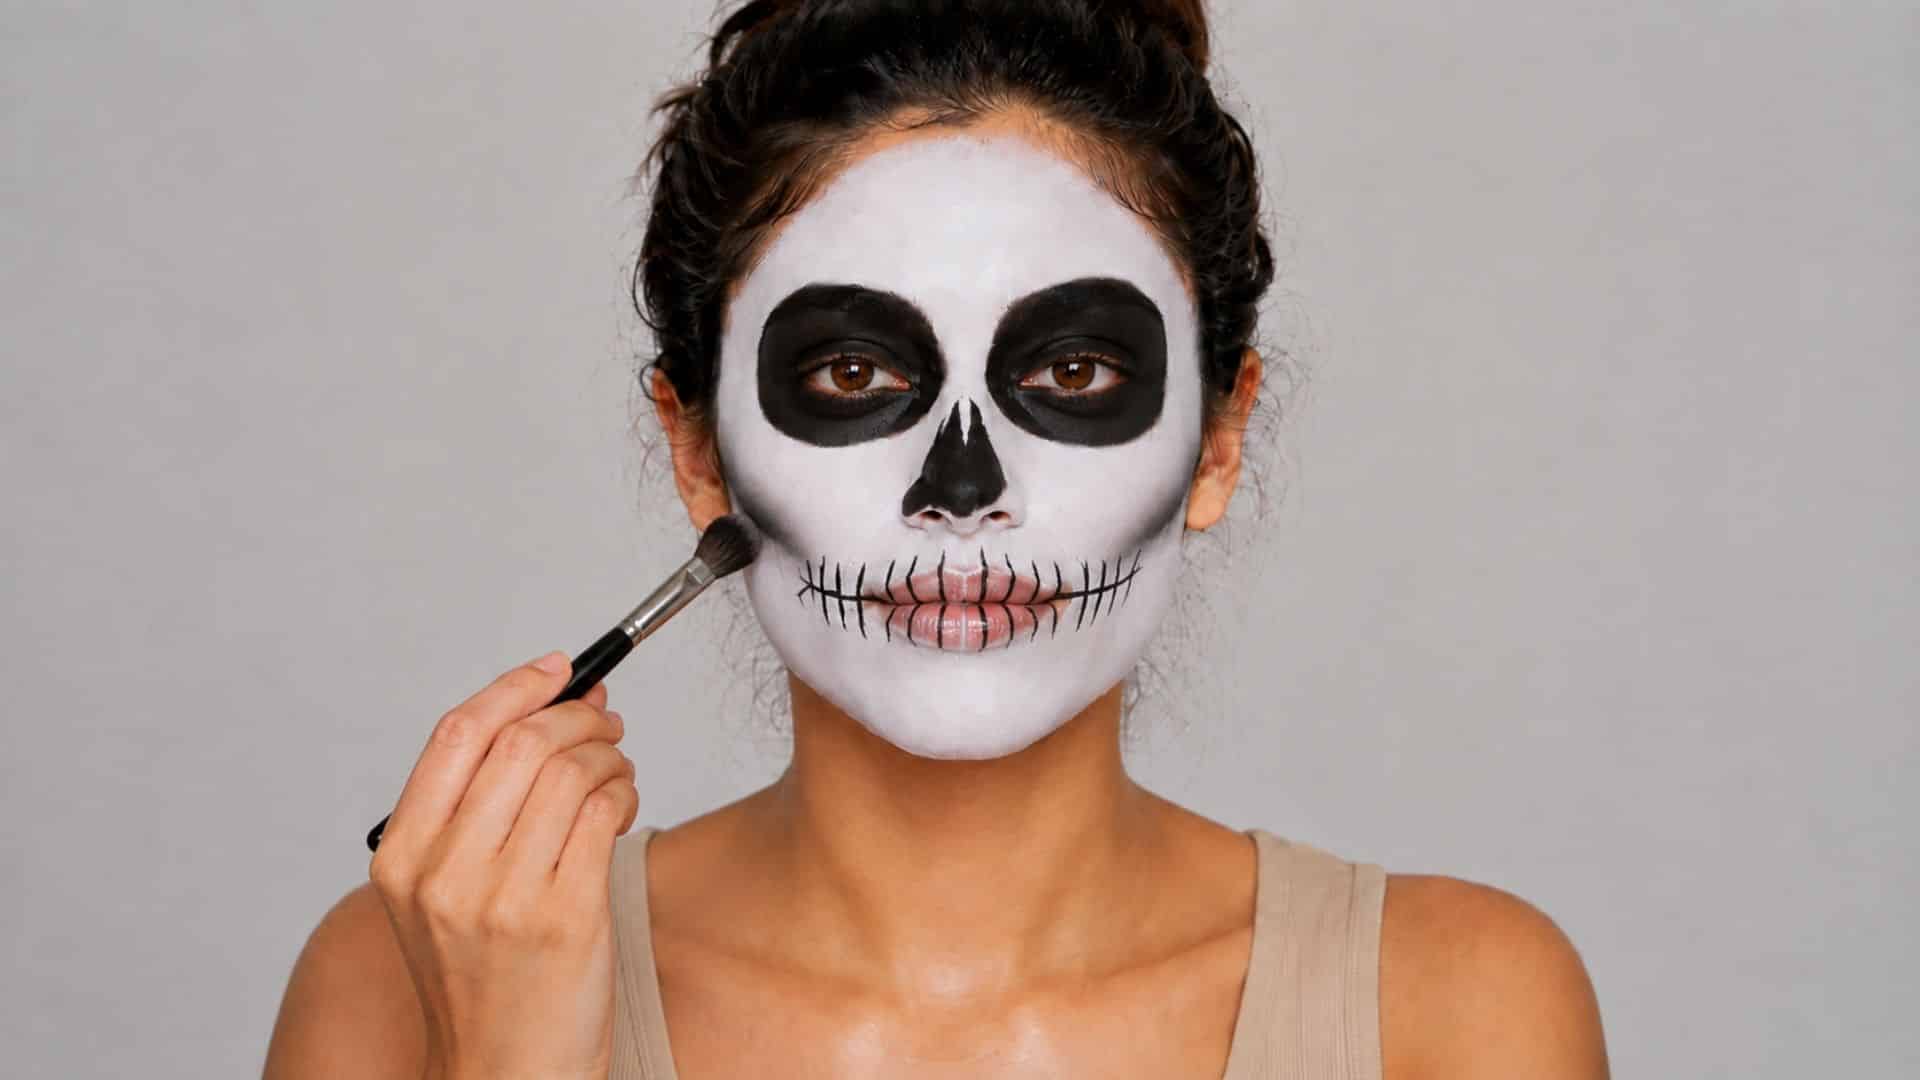
Next, I add black underneath the hollows of my cheekbones, right where a real skull would dip inward.
Blending gray or black eyeshadow into this area softens the transition and adds real dimension, since a flat stripe of color on its own looks like a stripe.
Following your natural contours here matters more than forcing a shape that doesn’t match your face.
8. Add Bone Details and Shading
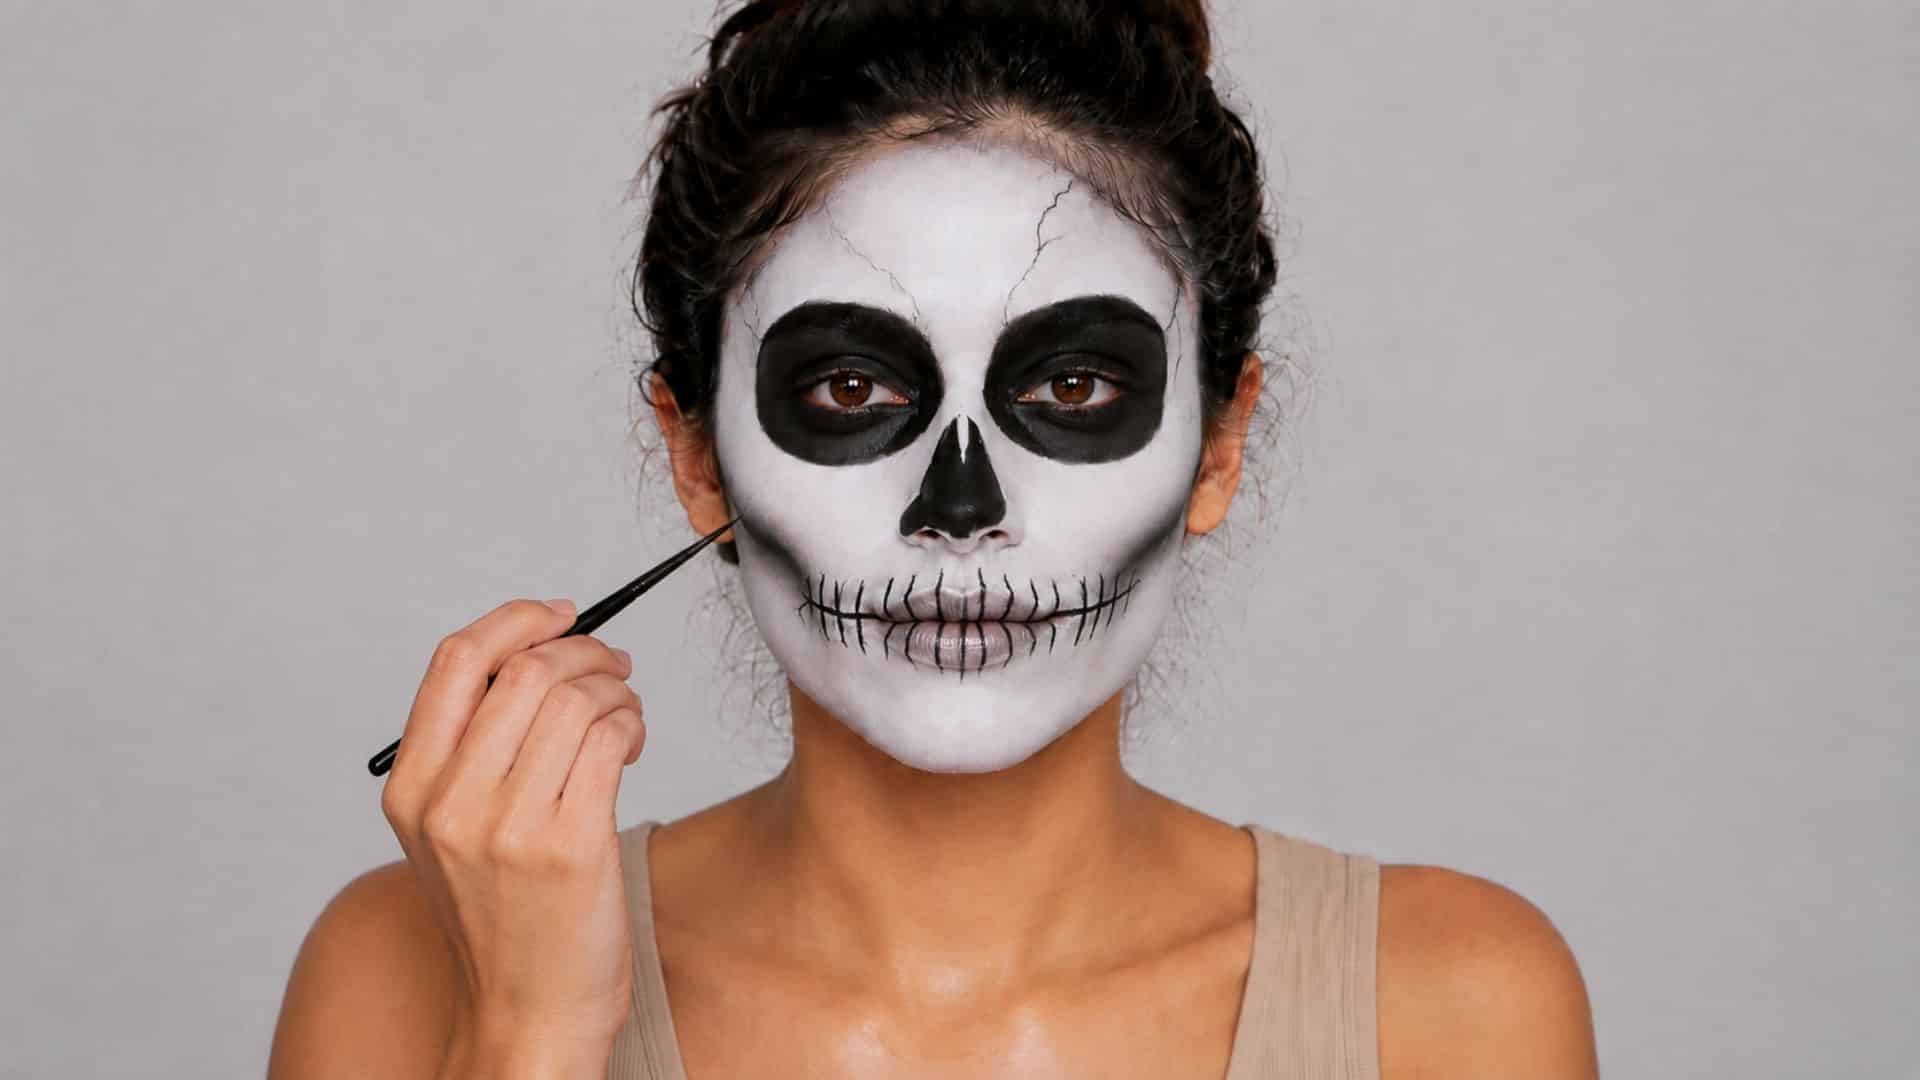
Once the major shapes are in place, I go back in with subtle shading around my forehead, temples, jaw, and cheekbones.
A thin brush works well for small cracks or extra bone lines, and this is honestly where the whole face gains its texture.
Blending gray into the black in a few spots keeps the look from feeling flat. Real bone is never one solid shade, so neither should this be.
9. Set the Makeup
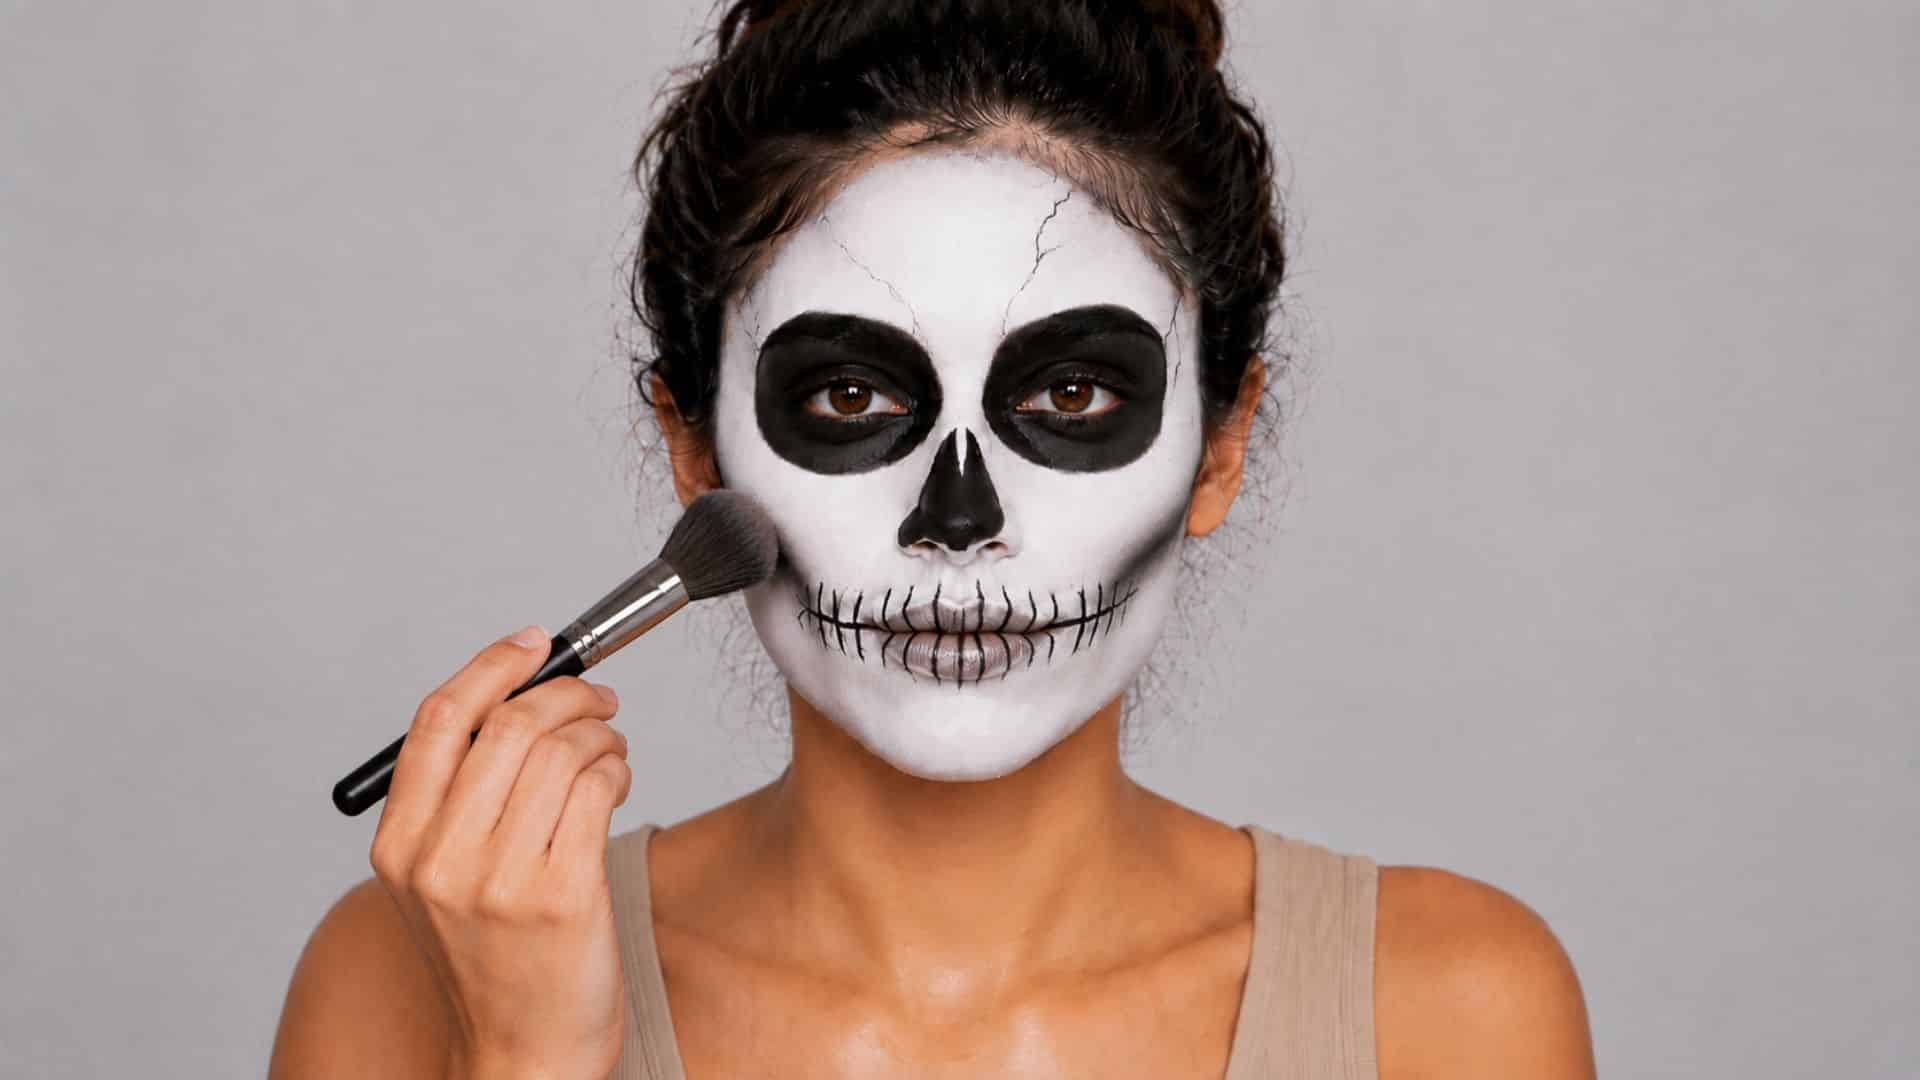
Before anything, I let the face paint dry completely so nothing shifts the moment I touch it.
A dusting of setting powder or a light mist of setting spray locks the whole look in place for the night. Once it is set, I try not to touch my face much.
Rubbing is the fastest way to smear hours of work, and I say that from more than one ruined night because of what I thought was a harmless thing.
| Tips to Make Your Skeleton Makeup Look More Realistic
Want your skeleton makeup to look more like real bone? Use shading instead of flat black lines to create depth and dimension. Follow your natural facial structure rather than copying a reference exactly. Blend around the eyes and cheekbones for softer transitions, and use a fine brush for cracks and thin bone details. Do not worry about perfect symmetry. Slightly uneven lines and shadows can make your skeleton makeup look more realistic and natural. |
Easy Skeleton Makeup Variations to Try
If you don’t want to stick to the classic skull look, these skeleton makeup variations let you change the design based on how much time, detail, or drama you want.
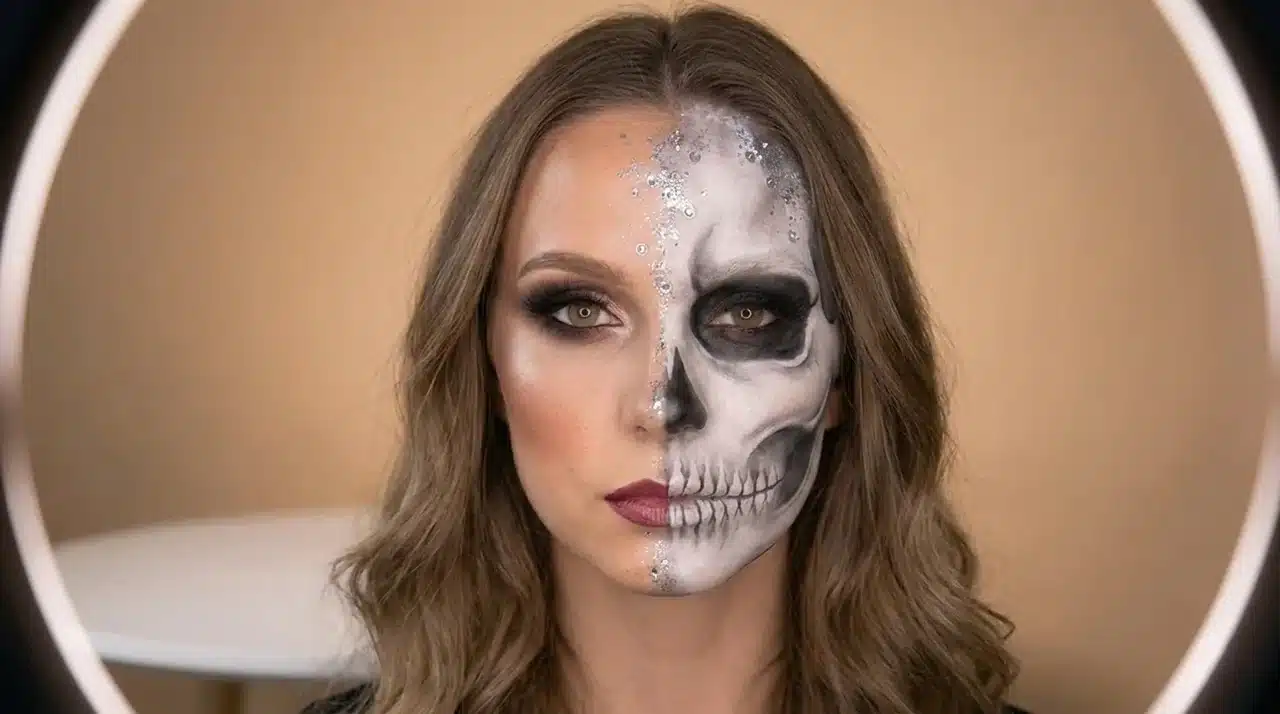
- Half face skeleton: To create a half-skeleton face, keep one side of your face completely natural while the other side gets the full skull treatment.
- Minimal skeleton: Focus only on the eyes, nose, cheekbones, and teeth, and skip the extra shading and cracks
- Glam skeleton: Add shimmer, gems, or false lashes on top of your base skull shape for a costume party statement look, and a pretty skeleton look rather than a scary one
- Full face skeleton: Extend the design past the jawline and down onto the neck so it carries all the way through
From a quick minimal look to a more dramatic full-face design, each variation gives you a simple way to put your own spin on skeleton makeup.
Easy Skeleton Makeup Video Tutorial
Watch this easy skeleton makeup video tutorial to see each step in action, from mapping the skull design to adding shadows, details, and finishing touches for a realistic Halloween look.
Special thanks to the Chrisspy YouTube channel for this video.
How to Make Skeleton Makeup Last Longer
Clean, moisturized skin holds paint better than dry skin does. That groundwork matters more than most people expect.
Stick to products actually made for face application, not craft paint you found in a drawer. Some of those aren’t built to sit on skin for hours, and you will feel the difference by midnight.
Let each layer dry before adding the next one. Rushing this part is the fastest way to end up with smudged lines an hour into the party, and I say that from experience.
Setting the finished look is not optional for me at this point- no exceptions, and I keep a tiny touch-up kit in my bag just in case something shifts anyway.
Past that, try not to touch your face more than you have to. Rubbing does more damage in five seconds than an entire night of dancing does.
How to Remove Skeleton Makeup
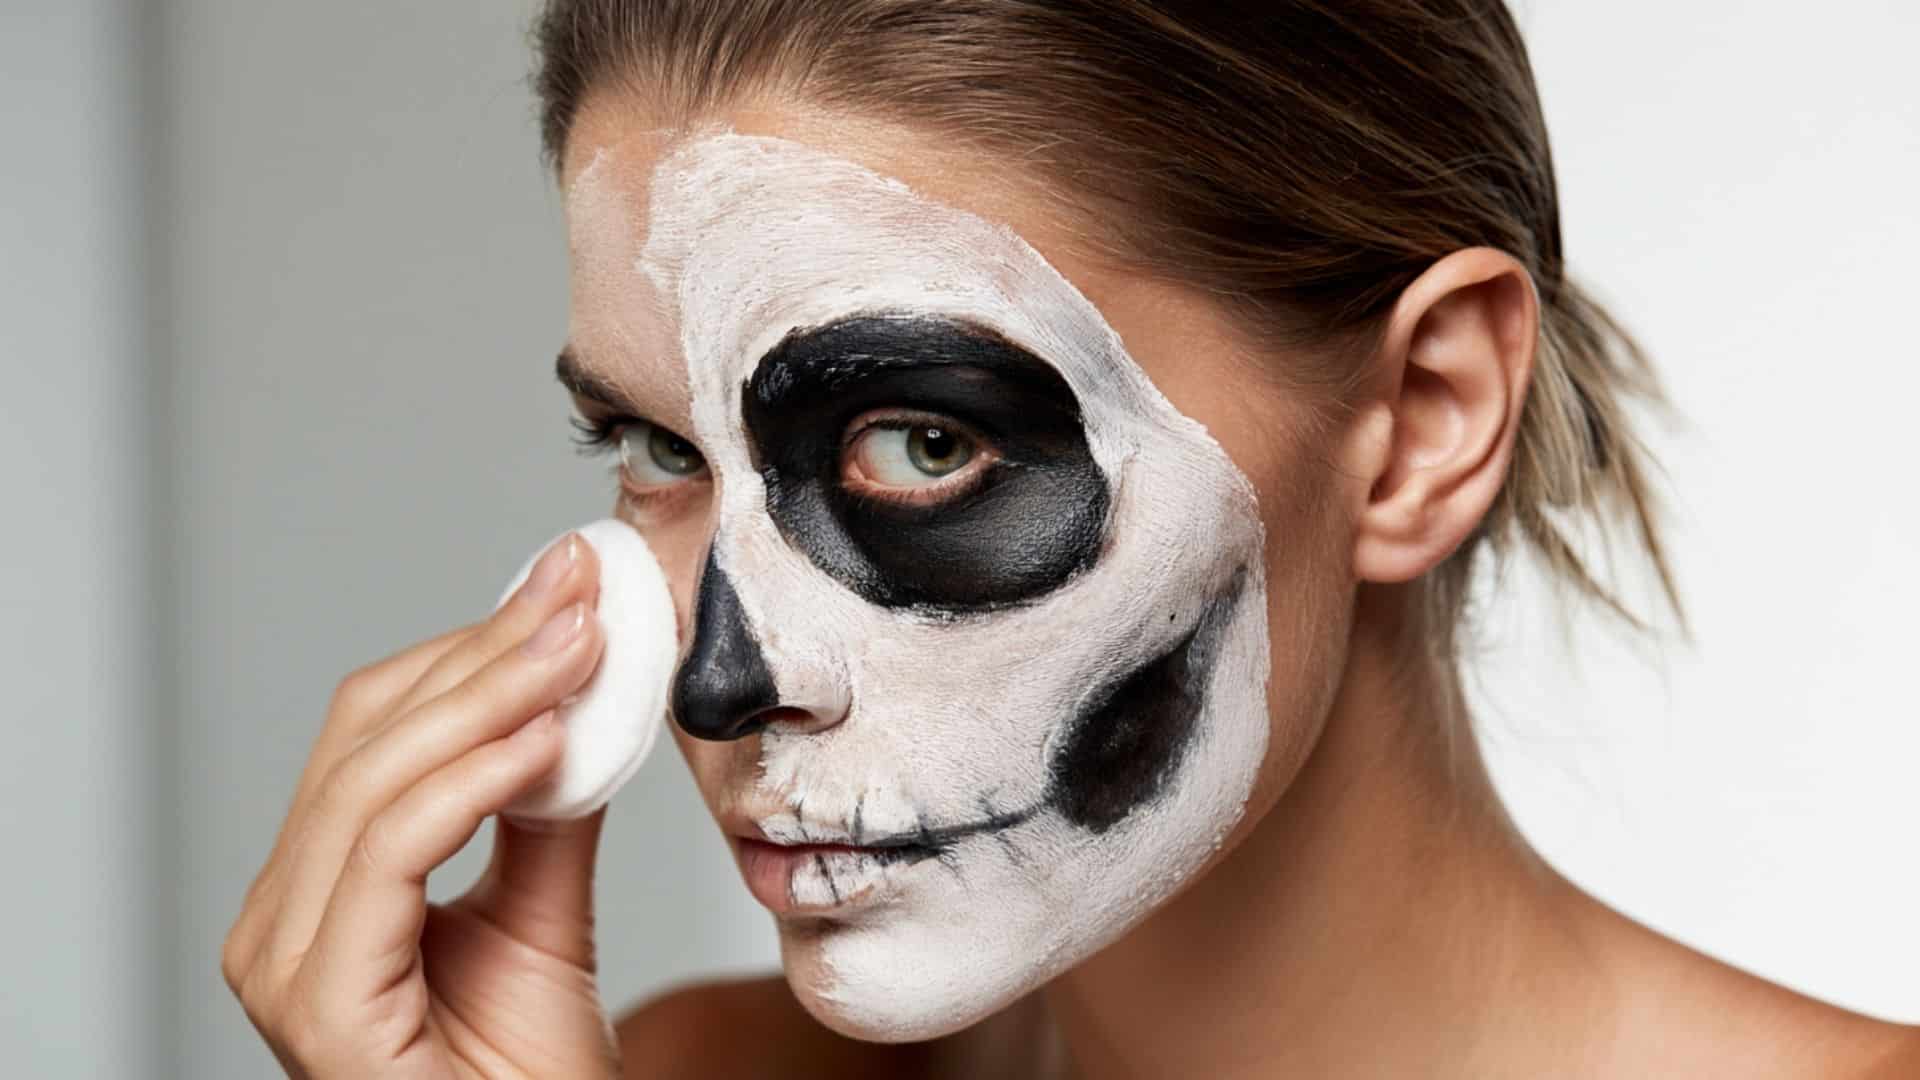
Taking off skeleton makeup properly is just as important as putting it on. A gentle removal routine helps remove the layers of paint without leaving your skin feeling irritated or dry.
- Break the paint down first: Makeup remover works far better than soap and water, which mostly smears everything around your face.
- Skip the scrubbing: Your skin has been under heavy makeup for hours by this point, and scrubbing at that stage tends to cause more irritation than the makeup itself did
- Cleanse once the paint is mostly gone: To get anything left behind in your pores.
- Moisturize afterward: Your skin earned it after a full night in face paint, and this step makes a noticeable difference the next morning
Once all the makeup is off, give your skin a little time to recover with a gentle cleanse and plenty of moisture. It only takes a few extra minutes, but your skin will thank you for it.
Final Thoughts
Easy skeleton makeup rewards patience more than skill, honestly.
The eye sockets and teeth are the two details that make or break the whole look, so if you only nail two things out of everything above, make it those.
Everything else, the shimmer, the extra cracks, the half-face version, is just you making it your own once you have the basics down.
Give yourself the first time through, even if it feels slow, since the second time around you will move through it in half the time.
Frequently Asked Questions
What Makeup Do You Need for Skeleton Makeup?
White face paint for the base, black face paint or pigmented black makeup for the shading, and black eyeliner for the teeth and finer lines. A sponge and a couple of brushes round out the basics.
Is Skeleton Makeup Easy for Beginners?
Yes, and it is a good first face paint look for that exact reason. The shapes around the eyes, nose, and mouth follow your own bone structure, so there is not much guesswork once you know where to look.
How Do You Make Skeleton Makeup Look Realistic?
Shading. That is really the whole answer. Flat black shapes read as costume paint, while blended edges and a few uneven cracks from a detail brush read as something closer to actual bone.
How Long Does Skeleton Makeup Last?
Generally, it lasts through a full night out, as long as you set it with powder or spray and don’t constantly touch your face. Skin that started clean and moisturized tends to hold up noticeably longer too.
How Do You Remove Skeleton Makeup?
Start with a real makeup remover rather than soap and water. Wipe instead of scrub, cleanse afterward, and finish with a moisturizer, since your skin will thank you for it in the morning.