
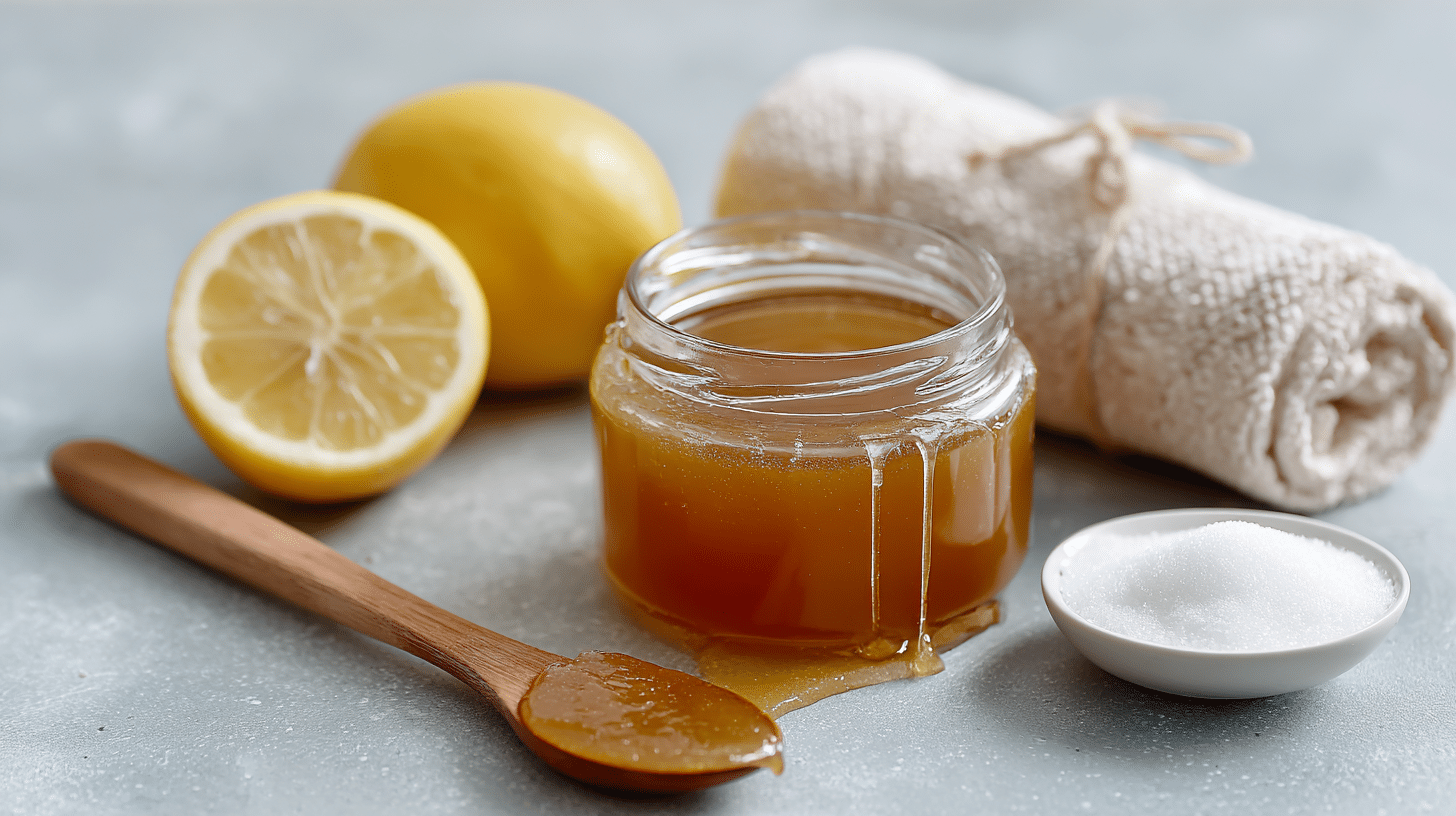
Smooth, hair-free skin does not need to come from a pricey salon chair. A simple sugar wax recipe brings that same silky result right into the kitchen.
Sugar, lemon juice, and water team up to create a warm, sticky paste that grips hair and lifts it from the root. No harsh chemicals. No stinging strips. Just natural ingredients that work gently on sensitive skin.
This method costs pennies compared to salon visits, yet delivers results that last for weeks. Anyone can learn the process with a few basic steps and a little patience.
The kitchen becomes the new beauty studio, and store-bought wax starts to feel like an unnecessary expense.
What is Sugar Wax?
Sugar wax is a sticky paste made from sugar, water, and lemon juice. When you heat these ingredients together, they create a golden syrup that hardens just enough to grab onto hair.
It’s like making candy, but for hair removal instead of eating.
The wax works by sticking to your hair and pulling it out from the root when you remove it. This means hair stays gone longer than shaving.
Plus, sugar wax sticks only to hair and dead skin, not to live skin as regular wax does.
Sugar wax beats other hair removal methods in several ways. It hurts less than regular wax because it doesn’t stick to your skin as much, which is especially welcome if you deal with redness-prone skin.
It’s also cheaper than salon visits and safer than chemical hair removal creams that can burn your skin.
Ingredients You’ll NeedFor the sugar wax:
For application:
Equipment needed:
|
Pro tip: Dark or heavy-bottom pots distribute heat evenly and prevent burning, which creates the perfect smooth texture for your sugar wax.
How to Make the Sugar Wax: Step-By-Step Instructions
This sugar wax recipe uses simple techniques that guarantee smooth, workable results every time. The key is to watch the temperature and stir constantly.
1. Prepare Your Workspace
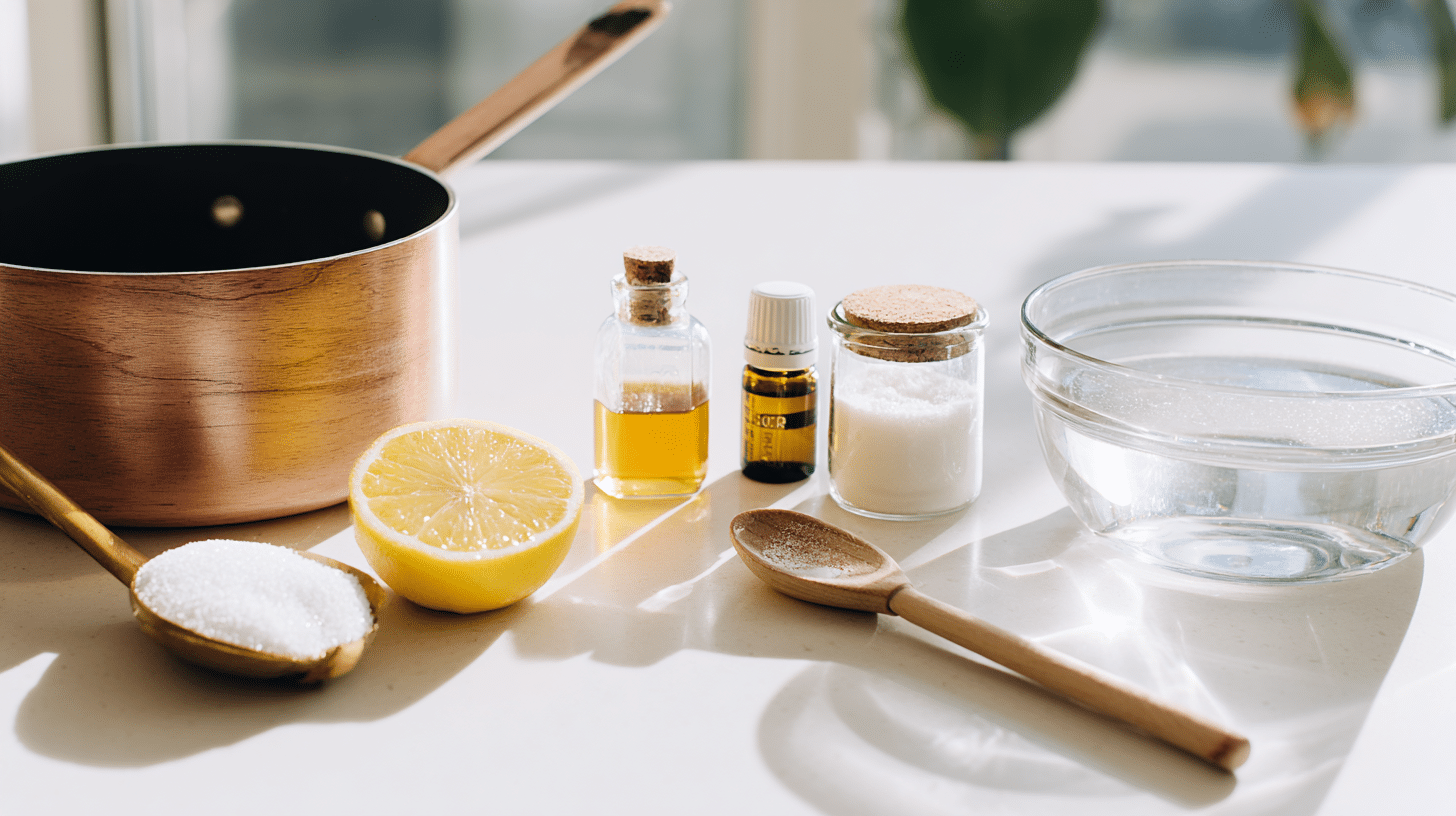
Set up all ingredients and tools before you start cooking. Have your storage container ready and measuring tools within reach.
Keep a bowl of cold water nearby for testing the wax consistency as it cooks.
Pro Tip: Having everything ready prevents rushing and reduces the chance of burning your wax mixture.
2. Mix the Base Ingredients
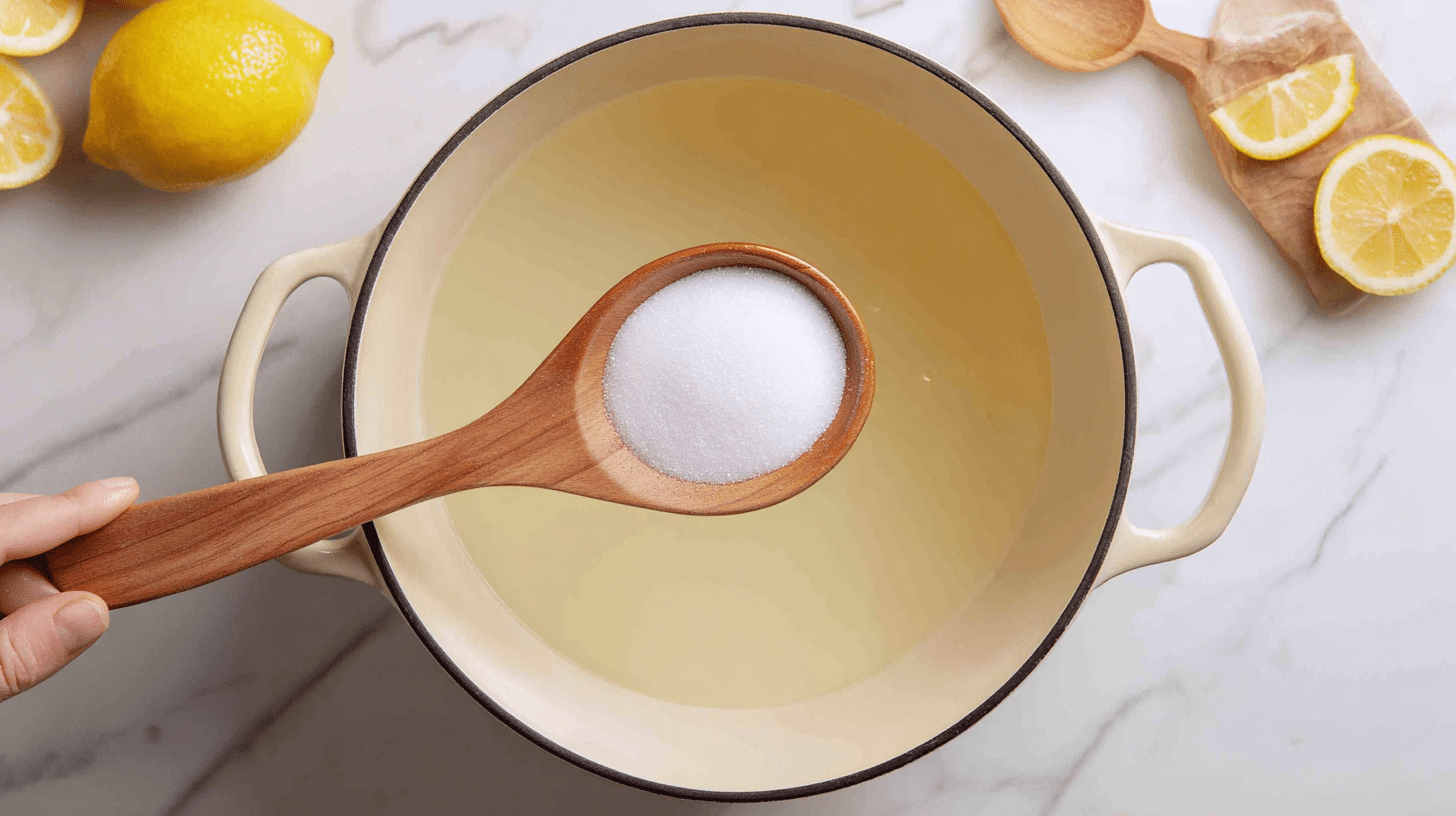
Combine sugar, lemon juice, and water in your heavy-bottom pot. Stir gently until the sugar starts to dissolve and the mixture looks like wet sand.
Add honey and essential oils, if using, for extra skin benefits and a pleasant scent.
Pro Tip: Mix ingredients thoroughly before heating to ensure even cooking and prevent crystallization.
3. Start the Cooking Process
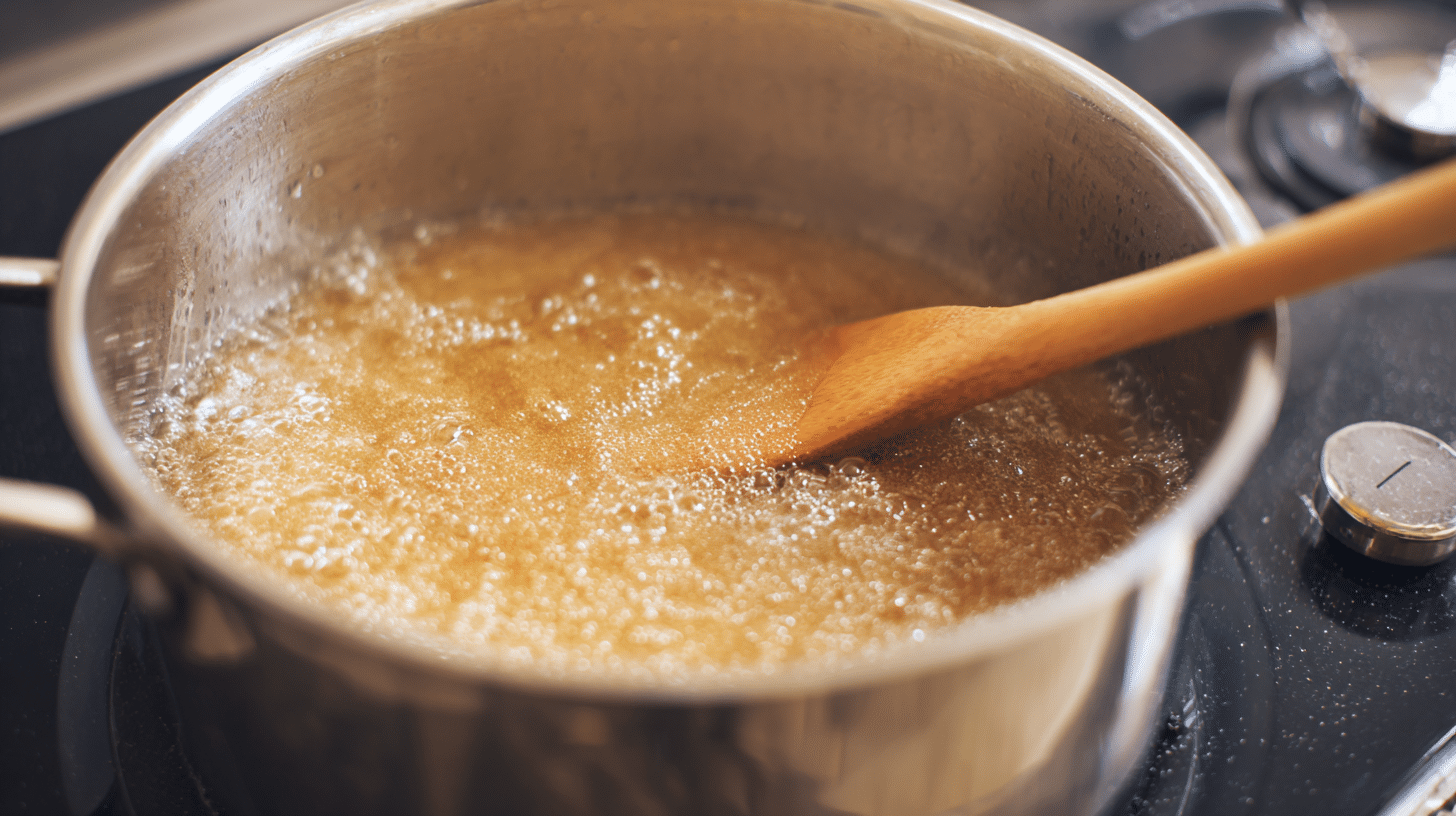
Place the pot over medium heat and begin stirring constantly with your wooden spoon. Never leave the mixture unattended during cooking.
Watch for the mixture to start bubbling and gradually change from clear to a light golden color.
Pro Tip: Constant stirring prevents hot spots and burning, which would ruin the wax texture.
4. Monitor Color and Consistency
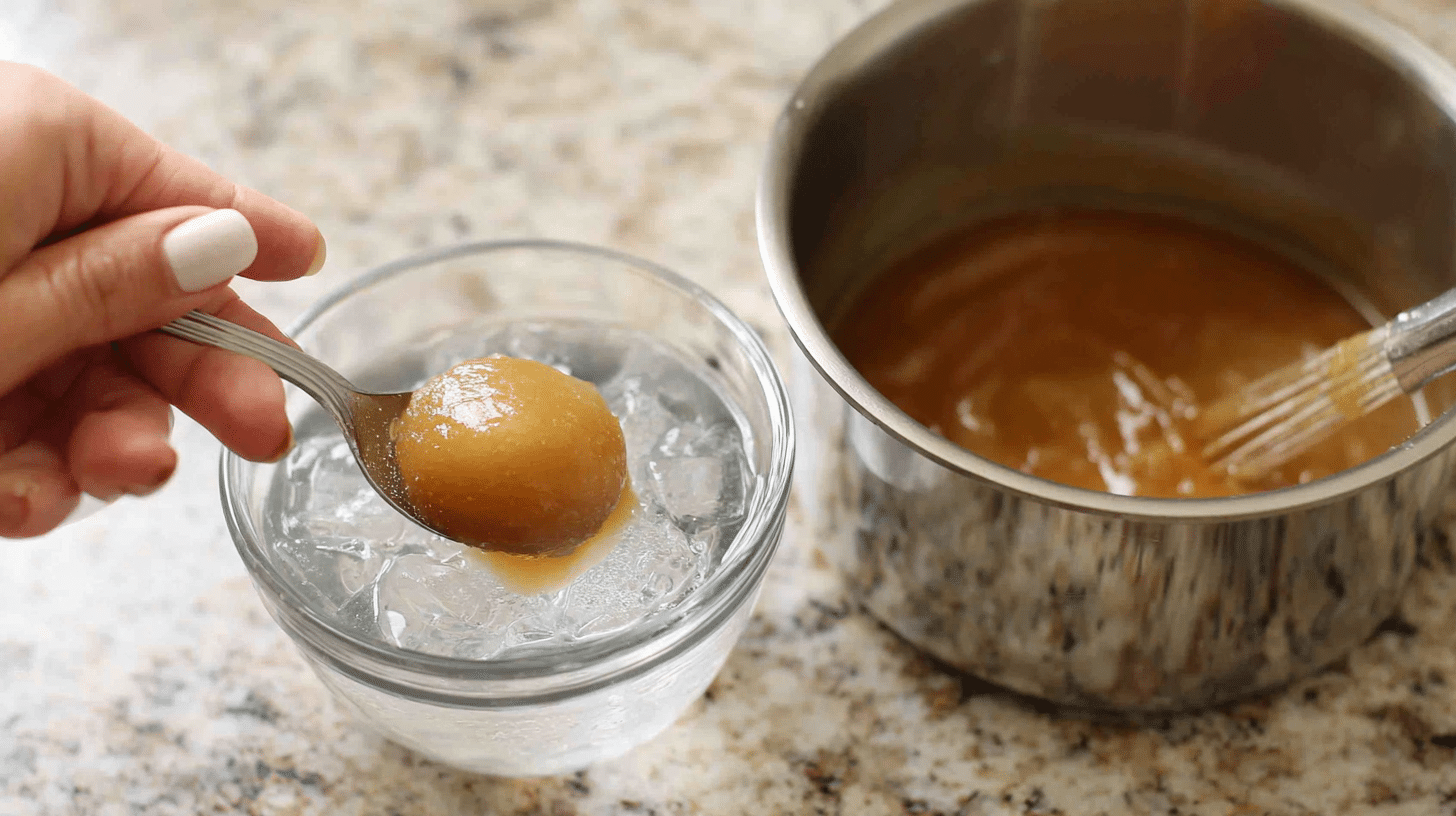
Continue cooking and stirring for 10-15 minutes until the mixture turns honey-colored. The bubbling will become more vigorous as water evaporates.
Test readiness by dropping a small amount into cold water – it should form a soft, pliable ball when rolled between your fingers.
Pro Tip: The wax is ready when it reaches 240°F on a candy thermometer, but the cold water test works just as well.
5. Cool to Perfect Temperature
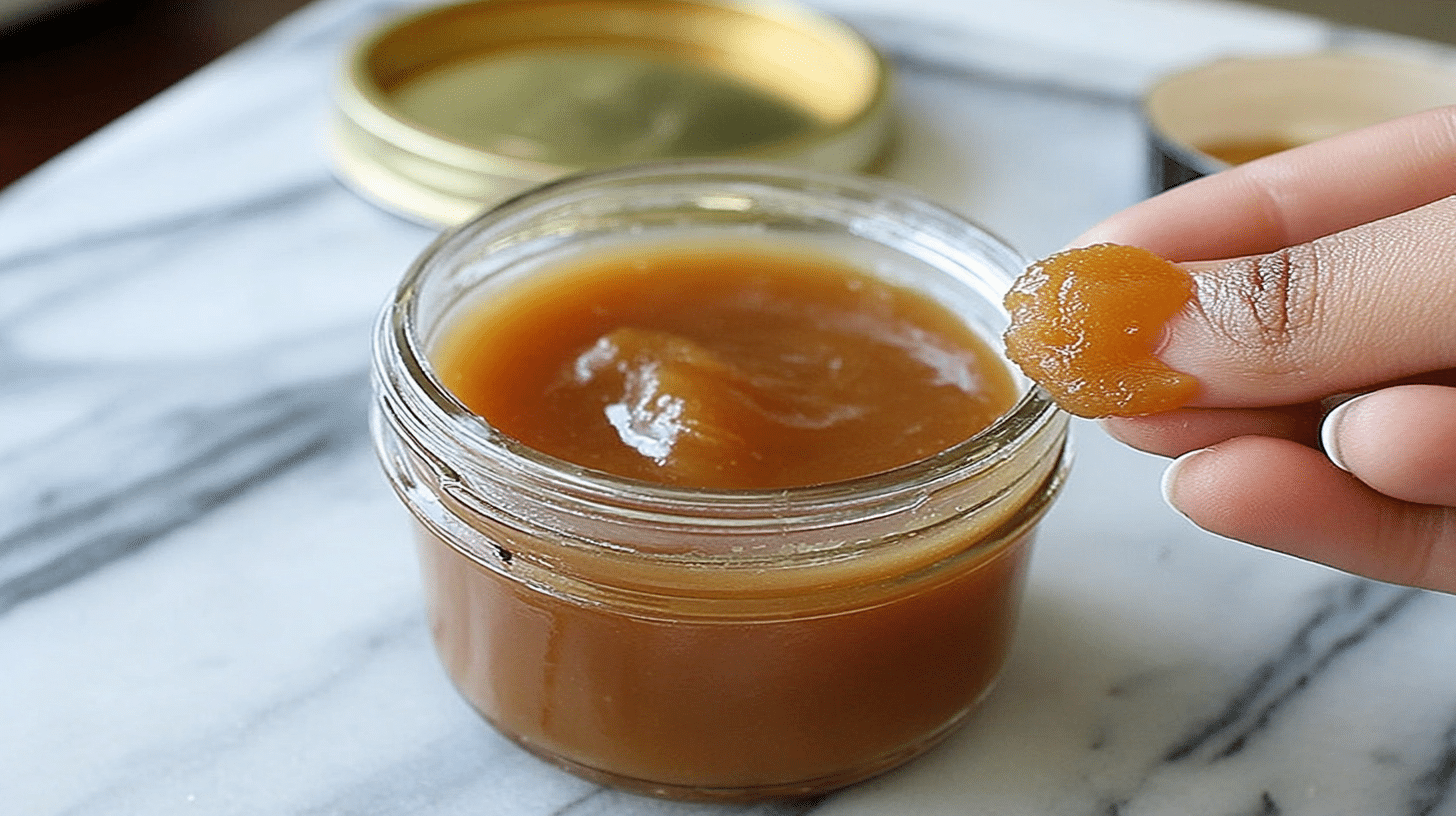
Remove from heat and let cool for 5-10 minutes until warm but not hot to the touch. The wax should be thick enough to spread but still movable.
Transfer to your storage container if you’re not using it right away, or let it cool slightly for immediate use.
Pro Tip: Test temperature on your wrist – it should feel comfortably warm, never hot enough to burn skin.
6. Prepare for Application
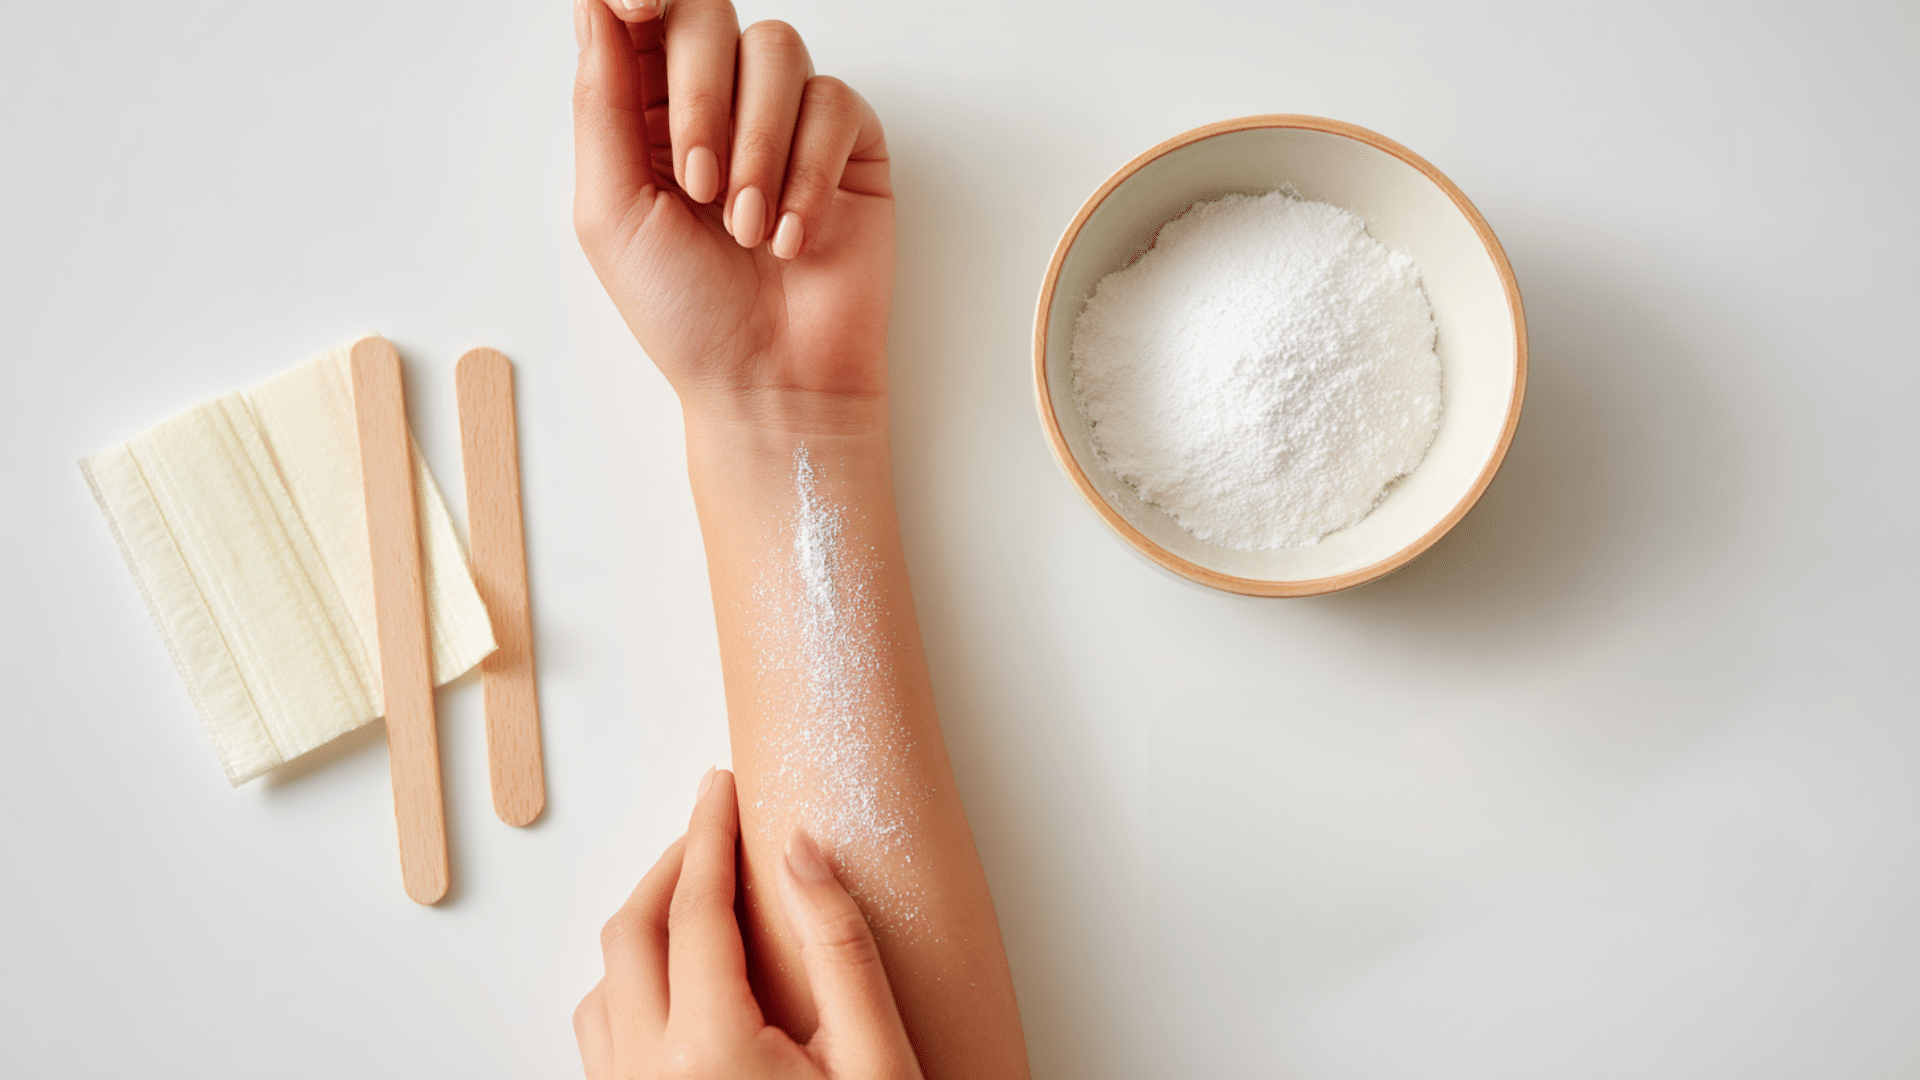
Dust your skin lightly with cornstarch to absorb moisture and help the wax adhere better to hair than to skin.
Have cloth strips ready if you’re a beginner, or prepare to use the flicking method with your hands if you’re experienced.
Pro Tip: Clean, dry skin gives the best results – avoid using lotions or oils before waxing.
How to Apply Sugar Wax Safely
Clean and dry your skin before applying wax. Make sure there’s no lotion, oil, or soap left behind. Dust a little bit of cornstarch on the area if your skin feels damp.
Spread the warm wax in the direction your hair grows. Use your fingers or a wooden stick to make a thin, even layer. Don’t make it too thick, or it won’t work well.
Wait a few seconds, then pull the wax off quickly in the opposite direction of hair growth. Keep your skin tight with your other hand. This helps reduce pain and gets better results.
Clean off any leftover wax with warm water. Sugar wax dissolves easily, unlike regular wax, which needs special removers. Follow up with a gentle moisturizer or nourishing natural oils to keep your skin happy.
Tips for Success and Troubleshooting
Even with a simple recipe, sugar wax can be tricky to perfect on your first try. These common issues and solutions will help you get professional results every time.
| Problem | Solution |
|---|---|
| Wax too runny/thin | Cook longer until it reaches the proper honey color and passes the cold water test. |
| Wax too hard/brittle | Add 1-2 teaspoons of water and reheat gently, stirring constantly |
| Wax crystallized/grainy | Start over – this happens from stirring too early or the temperature being too high. |
| Wax burns or smells bad | Remove from heat immediately, strain out burnt bits, or start a fresh batch. |
| Wax won’t stick to hair | Check the temperature; it should be warm, not hot or cold |
| Skin irritation occurs | Test on a small area first, add honey for gentleness, and ensure the temperature is proper. |
| Wax sticks to skin | Apply cornstarch before waxing, and pull skin taut when removing |
| Storage issues | Keep in a sealed container in the fridge up to 2 weeks, reheat gently before use |
Note: Always test wax temperature on your wrist before applying to ensure it’s comfortably warm, never hot enough to burn skin.
Beyond troubleshooting the wax itself, keeping your skin hydrated in the days before and after waxing helps everything glide on more smoothly and reduces the odds of irritation.
Cost Savings of Making Your Own Sugar Wax at Home
Making sugar wax at home is significantly more cost-effective compared to purchasing salon waxing services or pre-made waxing kits.
Professional sugar waxing sessions can range from $20 to $125, depending on the body area, while traditional salon waxing typically costs between $10 and $80 or more per session.
By preparing your own sugar wax with simple, natural ingredients like sugar, lemon juice, and water, you can avoid these recurring expenses.
The basic homemade sugar wax recipe costs just a few dollars per batch and can be used multiple times.
Because sugar wax is water-soluble and reusable when stored properly, you get more applications per dollar spent than with single-use commercial wax strips or salon visits.
Besides saving money on salon fees, DIY sugaring also reduces travel time, tipping, and scheduling hassles. Plus, you have control over ingredient quality and can customize your wax for sensitive skin or personal preferences without the premium price tag.
Benefits of Sugar Waxing
Sugar wax beats store-bought products because you know exactly what’s in it. No weird chemicals or ingredients you can’t pronounce. Just simple, natural stuff that’s safe for your skin.
It hurts less than regular wax because it doesn’t stick to live skin cells. Many people find sugar waxing more comfortable, especially after the first few times. Your skin gets used to it and becomes less sensitive.
Sugar wax is also better for the environment. No plastic strips or containers to throw away. Everything dissolves in water and won’t harm the planet when you wash it down the drain.
Conclusion
Making sugar wax at home is easier than you might think. With just three simple ingredients and a little practice, you can save money and get great results.
It’s natural and gentle, and it works just as well as expensive salon treatments.
Give this DIY recipe a try and see how it works for you. Start with small areas until you get comfortable with the process. Remember, it gets easier each time you do it.
Have you tried making sugar wax before? Share your tips and experiences in the comments below. We’d love to hear how this recipe worked for you and any tricks you discovered along the way.
Frequently Asked Questions
How Long Does Homemade Sugar Wax Last?
Store it in the fridge for up to two weeks in a sealed container.
Can I Use Brown Sugar Instead Of White Sugar?
Yes, brown sugar works, but it may slightly change the color and texture.
What Should I Do If The Wax Is Too Hot?
Let it cool down until it’s warm to the touch – never apply hot wax to skin.
Can Sugar Wax Remove Short Hair?
Yes, sugar wax can remove hair as short as about 1/8 inch when applied correctly and pulled quickly.
How Often Should You Sugar Wax?
Most people sugar wax every three to four weeks, depending on hair growth and personal preference.




One Response
thanks a lot of information greatfull