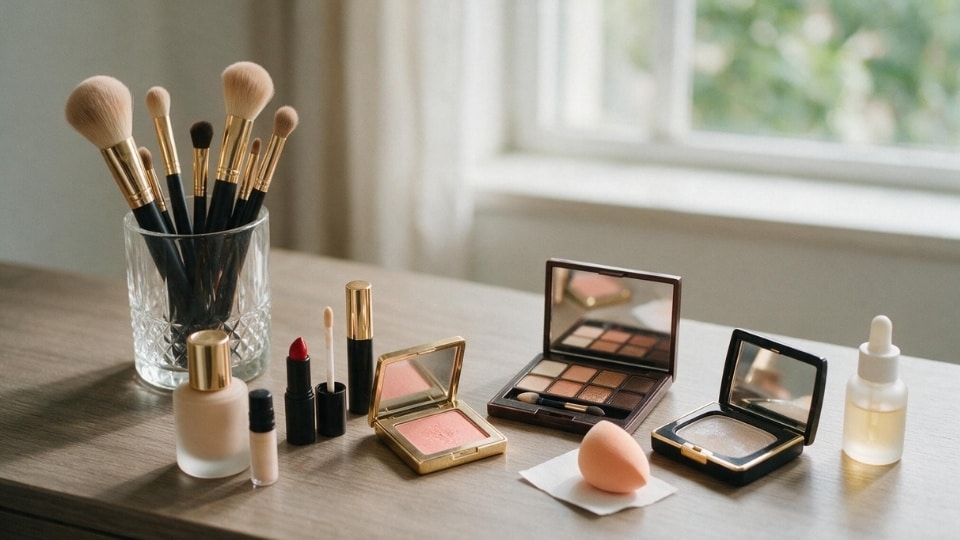
I love trying new makeup. It’s part of my job, so my collection is always changing.
But if you asked me to pack one makeup bag today, I’d reach for the same makeup essentials I always do.
To me, makeup essentials aren’t the products everyone is talking about.
They’re the ones I can rely on to create a polished look, whether I have five minutes to get ready or an hour to play with makeup.
They’ve survived trend cycles, decluttering sessions, and countless makeup looks because they consistently deliver.
Every product on this list has earned its place in my kit, and if I were helping someone build a makeup bag from scratch, these are the essentials I’d recommend first.
Why You Need a Curated Makeup Essentials List
A curated list saves you money before it saves you time. Most of the products people own go unused because they were bought for a look they never wear.
Every time I clear out my own bag, half of it goes. What stays are the items that work on more than one occasion and play well together. A cream blush that suits a bare face on Sunday also works under powder on a workday.
The other reason to curate is shade and formula matching. Twelve random products rarely coordinate. Eight chosen products do, because you picked each one against your skin type, undertone, and routine.
Start small and add slowly. I still buy one new item at a time, use it for a month, then decide whether it earned space in the pouch.
Quick Makeup Essentials Checklist
Here is the short version of my kit, sorted by category. Screenshot it or take it shopping so you buy by purpose instead of by display.
| Category | Essential Products |
|---|---|
| Skin preparation | Moisturizer, sunscreen, primer |
| Base makeup | Skin tint or foundation, concealer, setting powder |
| Cheeks | Blush, optional bronzer |
| Eyes and brows | Brow product, mascara, neutral eyeshadow |
| Lips | Tinted balm, gloss, or lipstick |
| Tools | Makeup sponge, powder or blush brush |
| Finishing products | Setting spray |
You do not need the full list on day one. Begin with five to seven products, wear them for a few weeks, then add more as your routine settles.
Skin Prep Essentials (Before Makeup)
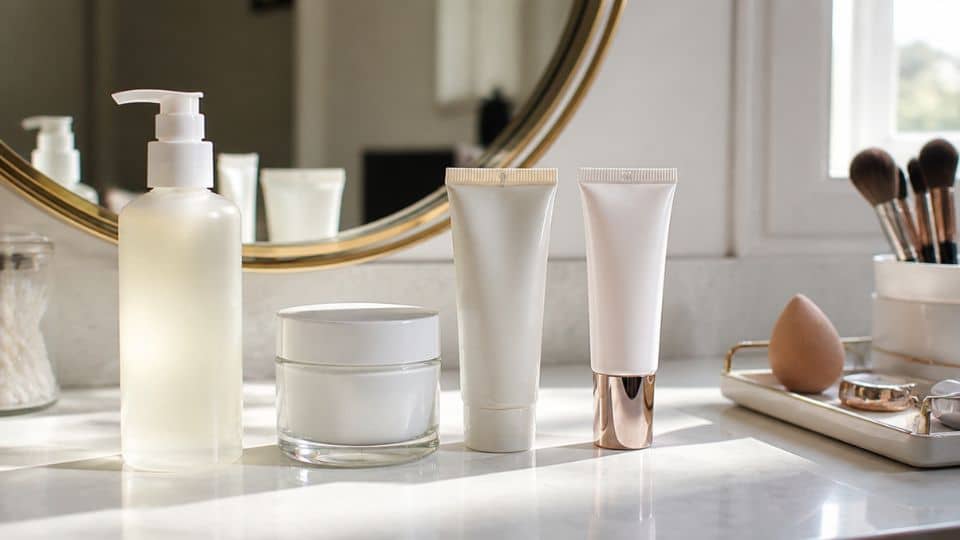
Makeup only looks as good as the skin under it. These three steps take ninety seconds and decide whether your base still looks fresh at 6 pm.
1. Gentle Cleanser
Clean skin gives every product after it something even to grip. Makeup applied over leftover oil or sunscreen from the night before tends to slide instead of set. This is the one step I never skip, since skipping it makes everything applied afterward work harder than it should.
- What to Look For: Sulfate-free, cream or gel formulas that clean without leaving skin tight and cool for most skin types.
- How to Apply: Massage in for thirty seconds, then rinse with lukewarm water.
- My Pick:CeraVe Hydrating Facial Cleanser or La Roche-Posay Toleriane Hydrating Gentle Cleanser
2. Lightweight Moisturizer
Moisturizer gives makeup a smooth surface to sit on. Without it, foundation grabs onto dry patches and looks flaky by lunch. This is the step I never skip, even on bare-face days.
- What to Look For: Glycerin or hyaluronic acid, gel for oily skin, cream for dry, light lotion for combination.
- How to Apply: A pea-sized amount, patted upward over face and neck.
- My Pick:CeraVe Daily Moisturizing Lotion or Neutrogena Hydro Boost Water Gel
3. Broad-Spectrum Sunscreen
Sunscreen protects skin from the UV exposure that causes pigmentation and lines. It is the one product I would keep if I had to give up all the rest. Non-negotiable, daily, indoors and in winter too.
- What to Look For: Broad-spectrum SPF 30 or higher, water-resistant, and a texture you’ll actually reapply.
- How to Apply: Two finger lengths over the face, plus ears and neck.
- My Pick:EltaMD UV Clear Broad-Spectrum SPF 46 or La Roche-Posay Anthelios Melt-in Milk SPF 60
4. Makeup Primer
Primer changes how your base behaves rather than how it looks. It either grips product in place or blurs texture before foundation goes on. I treat this one as optional, reaching for it mainly on humid days and long shoots.
- What to Look For: Mattifying for oily T-zones, hydrating or gripping for dry skin, silicone blurs pores, film formers hold through sweat.
- How to Apply: A thin layer only where you need it, not everywhere.
- My Pick:e.l.f. Poreless Putty Primer or Milk Makeup Hydro Grip Primer
Base Makeup Essentials for Face
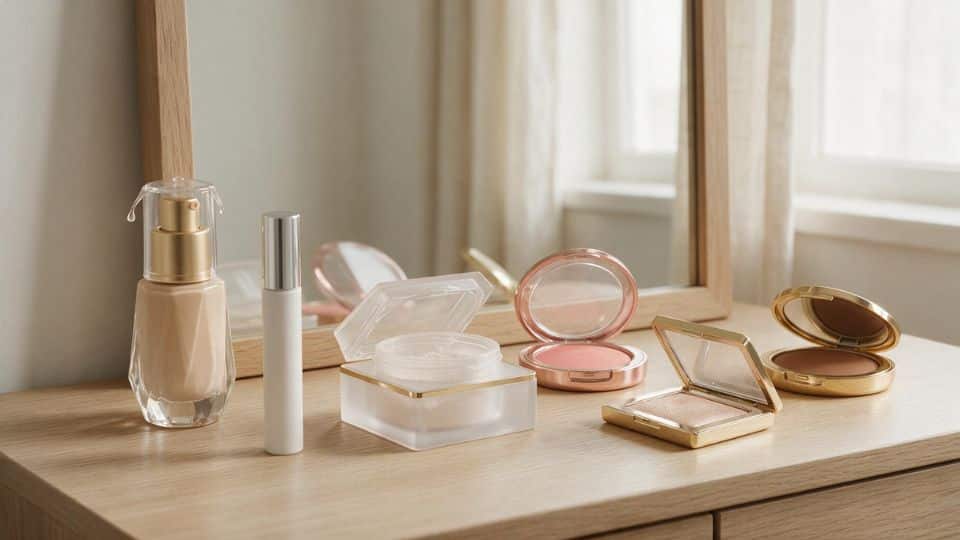
Your base is where most beginners overspend and over-apply. These six products cover skin, correct it, and put warmth and light back where makeup flattens it.
5. Foundation or BB/Tinted Moisturizer
Base products even out tone across the face. Tinted moisturizer keeps skin looking like skin, while foundation gives you more control over coverage. I consider this essential, though a tinted moisturizer counts if you prefer lighter coverage.
- What to Look For: Match along the jawline in daylight; satin finishes suit dry skin, oil-free formulas suit shine.
- How to Apply: Three small dots on cheeks and forehead, blended outward.
- My Pick:Maybelline Fit Me Matte + Poreless Foundation or L’Oréal True Match Super-Blendable Foundation
6. Concealer
Concealer handles the small areas foundation cannot fix. I use it under the eyes and on individual spots, nowhere else. It’s essential in my kit on rushed mornings; I wear only concealer and mascara.
- What to Look For: One shade lighter for under-eyes, exact match for blemishes; peachy tones cancel dark circles, green cuts redness.
- How to Apply: Three dots in a triangle under the eye, tapped in.
- My Pick:Maybelline Instant Age Rewind Concealer or NARS Radiant Creamy Concealer
7. Setting Powder
Powder stops cream products from moving. A light dusting is the difference between makeup that lasts four hours and makeup that lasts nine. I count this as essential, though dry skin only needs it in two small areas.
- What to Look For: Finely milled, translucent for most skin tones, tinted if you want extra coverage.
- How to Apply: Press into the T-zone and under-eyes with a fluffy brush.
- My Pick:Laura Mercier Translucent Loose Setting Powder or e.l.f. Halo Glow Setting Powder
8. Blush
Blush puts back the color that base makeup removes. It is the fastest way to look awake without adding more coverage. This is my desert island product, no question, and it’s essential in every kit.
- What to Look For: Cool pinks for fair skin, warm corals and berries for deeper tones, cream for dry skin, powder for oily skin.
- How to Apply: On the cheek apples, blended up toward the temples.
- My Pick:NARS Orgasm Blush or Milani Baked Blush in Luminoso
9. Bronzer/Contour
Bronzer adds warmth, while contour adds shadow. They do different jobs, and most people only need one. I treat this as optional; skip it entirely until your base feels comfortable.
- What to Look For: Warm and golden for bronzer, cool and grey-toned for contour; matte formulas blend more forgivingly than shimmer.
- How to Apply: Bronzer in a wide 3 shape, contour along the cheekbone hollow.
- My Pick:Physicians Formula Butter Bronzer or e.l.f. Bronzing Drops
10. Highlighter
Highlighter reflects light from the high points of the face. Used sparingly, it makes skin look healthy rather than glittery. I keep this optional, since a dab of balm on cheekbones does a similar job.
- What to Look For: Champagne for fair skin, gold and bronze for medium to deep; finely milled pearl, not chunky glitter.
- How to Apply: Cheekbone tops, brow bones, and a dot on the cupid’s bow.
- My Pick:e.l.f. Halo Glow Highlighter Wand or NARS Copacabana Highlighter
Eye and Brow Essentials for Definition
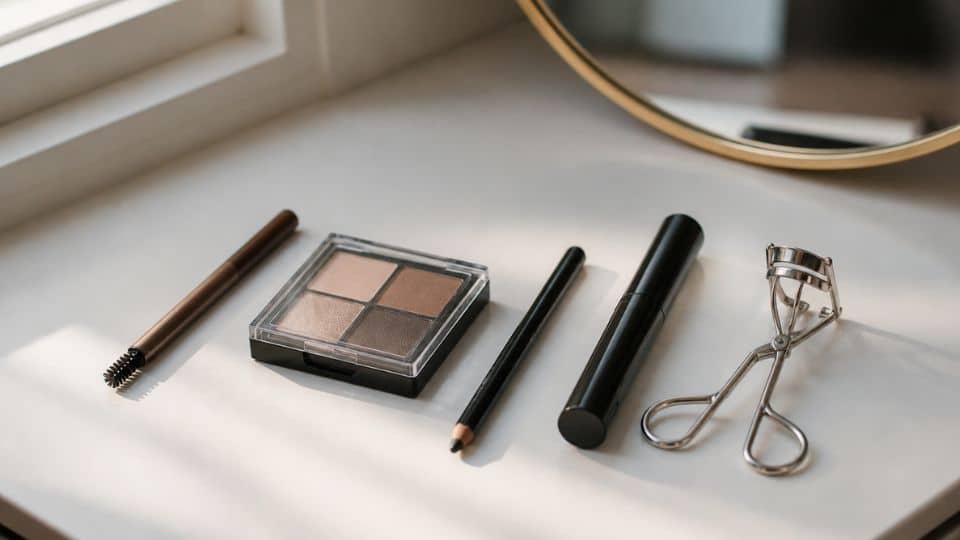
Brows frame the face and lashes open the eyes. These four items give you definition without asking you to master a cut crease first.
11. Brow Pencil or Tinted Brow Gel
Brow products fill sparse areas and hold hairs in place. Shaped brows do more for a face than any other five-minute change. This is essential in my kit, though gel alone works if your brows are already full.
- What to Look For: One shade lighter than your hair, fine-tipped pencil, flexible hold in gels.
- How to Apply: Short hair-like strokes through gaps, then brush through with a spoolie.
- My Pick:Anastasia Beverly Hills Brow Wiz or L’Oréal Brow Stylist Definer
12. Eyeshadow (Neutral Palette)
A neutral palette gives you depth on the lid for both day and evening. One good quad replaces six single shadows. I consider this essential, and a small palette is the better first purchase.
- What to Look For: A light base, a mid tone, a deeper brown, one shimmer, smooth mattes, since cheap mattes are hardest to blend.
- How to Apply: Mid tone through the crease, base on the lid, blend the edges.
- My Pick:Urban Decay Naked Reloaded Palette or Maybelline The Nudes Palette
13. Eyeliner
Eyeliner defines the lash line and makes lashes look denser. Pencil sits closest to the lashes, while liquid gives you sharper shapes. I keep this optional and leave it out of most daytime looks.
- What to Look For: Pencil for smudged softness, felt-tip liquid for clean lines, waterproof for the waterline.
- How to Apply: Small dashes between the lashes, then join them into a line.
- My Pick:Kat Von D Tattoo Liner or L’Oréal Infallible Pro-Last Waterproof Eyeliner
14. Mascara (+ Eyelash Curler)
Mascara darkens and separates the lashes. Curl first, and even one coat opens the eye more than three coats on straight lashes. This is essential mascara; it is my two-minute fix on no-makeup days.
- What to Look For: Lengthening for sparse lashes, volumizing for short and straight ones, tapered brushes for corner lashes.
- How to Apply: Wiggle at the roots, then sweep up through the tips.
- My Pick:Maybelline Lash Sensational Mascara or L’Oréal Voluminous Original Mascara
Lip Essentials for Everyday Wear
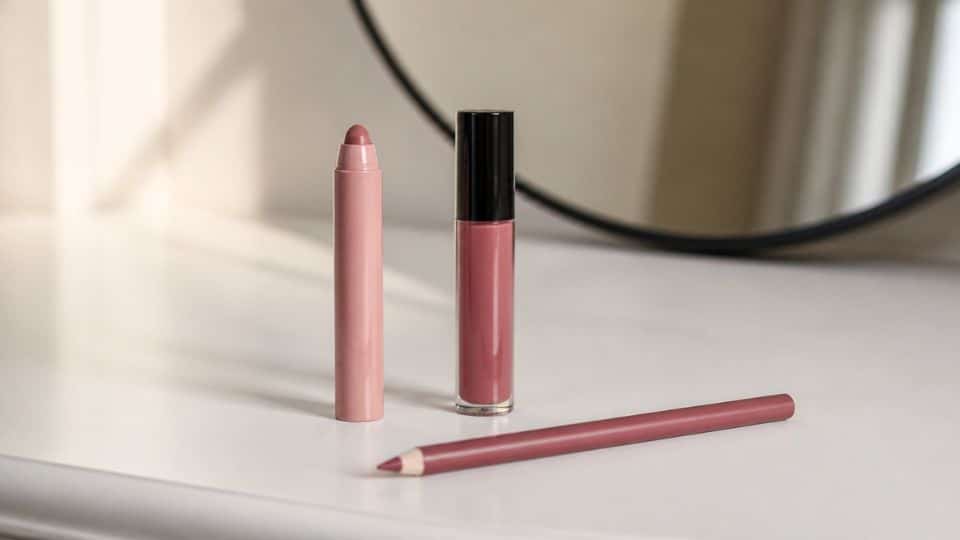
Lips need care before color. These three products cover dry days, full color days, and the ones where lipstick has to last through dinner.
15. Lip Balm or Tinted Lip Balm
Balm keeps lips smooth so color applies evenly. A tinted version gives you a finished look with one product. I keep one in every bag I own, essential, full stop.
- What to Look For: Lanolin, shea butter, or ceramides a thick occlusive balm for cracked lips, or a sheer tint for everyday wear.
- How to Apply: A thin swipe, blotted with a tissue before lipstick goes on.
- My Pick:Laneige Lip Sleeping Mask or Burt’s Bees Tinted Lip Balm
16. Lip Gloss or Lipstick
These deliver your actual color payoff. Gloss gives shine and softness, and lipstick gives pigment that holds its shape. I consider this essential, and two shades are plenty to start with.
- What to Look For: One nude close to your natural lip, one bold shade you love. Satin finishes flatter most lips over full mattes.
- How to Apply: From the center outward, then press lips together once.
- My Pick:Fenty Beauty Gloss Bomb or NYX Lip Lingerie Lipstick
17. Lip Liner
Liner defines the lip edge and stops color from bleeding. It also stretches a lipstick’s wear time by hours. I treat this as optional, but worth owning for bold or long-wear color.
- What to Look For: A neutral shade close to your lip tone, creamy but firm, since hard pencils drag on dry lips.
- How to Apply: Trace your natural line, then fill the whole lip in.
- My Pick:Charlotte Tilbury Pillow Talk Lip Liner or NYX Line Loud Lip Liner
Makeup Tools and Brushes Worth Owning
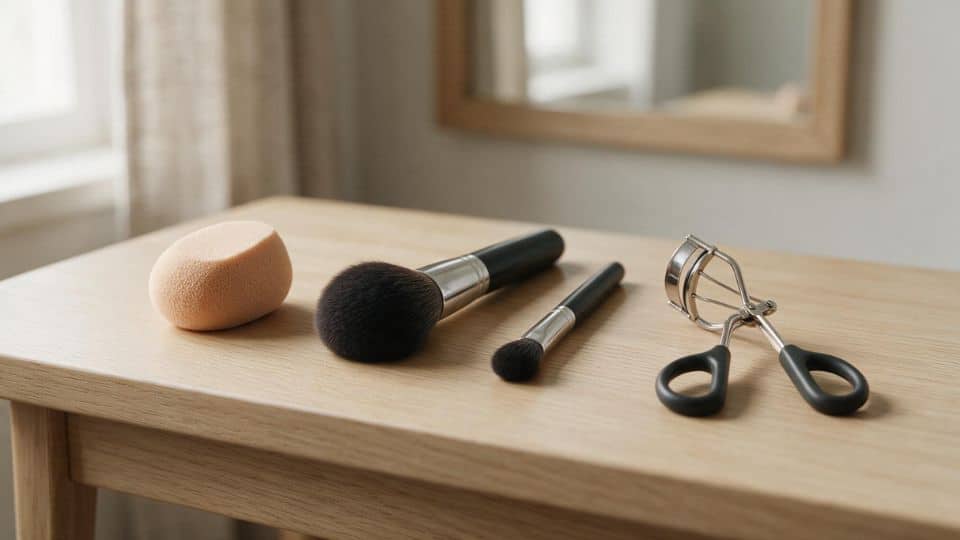
Good tools make cheap makeup look expensive. Four items handle everything in my kit, and I have used the same four for years.
18. Makeup Sponge
A damp sponge presses liquid products into the skin rather than sitting them on top. It gives the most natural base finish. Essential, and the cheapest tool that makes a visible difference.
- What to Look For: Teardrop shape, fine-pored latex-free foam.
- How to Apply: Dampen, squeeze out water, then bounce over the face.
- My Pick:Real Techniques Miracle Complexion Sponge or Beautyblender Original
19. Fluffy Powder or Blush Brush
One medium fluffy brush applies powder, blush, and bronzer. Dense brushes place color, while fluffy brushes diffuse it. This is essential; my most-used brush by a wide margin.
- What to Look For: Medium size, soft synthetic bristles, slightly domed, easier to wash, and handles creams well.
- How to Apply: Load lightly, tap off, then sweep in small circles.
- My Pick:Real Techniques Powder Brush or EcoTools Blush Brush
20. Eyeshadow Blending Brush
A blending brush softens shadow edges so nothing looks like a hard stripe. It is the tool that makes eye makeup look finished. Essential as soon as you own any eyeshadow at all.
- What to Look For: Small tapered dome, bristles that spring back rather than smear.
- How to Apply: Windshield wiper motions along the crease with no product added.
- My Pick:Morphe M433 Blending Brush or Sigma E40 Tapered Blending Brush
21. Eyelash Curler and Spoolie
A curler lifts the lash line before mascara, and a spoolie combs brows and separates lashes afterward. I keep this optional, but it’s worth it if your lashes point straight down.
- What to Look For: A curler that matches your eye curve, replaceable silicone pads, plus any clean disposable spoolie.
- How to Apply: Three gentle squeezes from root to tip, then mascara.
- My Pick:Shu Uemura Eyelash Curler or Tweezerman Eyelash Curler
|
The Correct Order to Apply Makeup Order matters more than product quality. Powder over cream sets it, but cream over powder lifts and patches, which is where most streaking starts. Order to follow: Moisturizer → Sunscreen → Primer → Eyeshadow, liner, mascara (dark shades only) → Foundation → Concealer → Cream blush/bronzer → Setting powder → Powder bronzer/contour → Powder blush → Highlighter → Brows, lashes, lips (balm, liner, color) I follow this order on every face I do. Once it becomes muscle memory, a full base takes about eight minutes with no touch-ups needed. |
How to Choose Makeup Essentials for Your Skin Type
Skin type decides formula more than shade does. The same blush in cream and powder behaves like two different products on oily versus dry skin.
| Skin Type | Base Formula | Powder Use | Blush and Finish | What to Skip |
|---|---|---|---|---|
| Oily | Oil-free liquid, matte or natural finish | All over, and again at midday | Powder blush, matte bronzer | Heavy dewy primers and thick balms |
| Dry | Hydrating liquid or tinted moisturizer | Only under eyes and nose | Cream blush, subtle highlighter | Full matte foundations and loose powder layers |
| Combination | Natural finish liquid | T-zone only | Cream on cheeks, powder to set | One formula treated as correct for the whole face |
| Sensitive | Mineral or fragrance-free base | Light, finely milled | Cream blush with short ingredient lists | Fragrance, essential oils, strong exfoliating primers |
| Mature | Sheer to medium hydrating liquid | Pressed powder, thin layer | Cream blush, satin finishes | Shimmer on textured areas and heavy layering |
|
Humidity and dry heat change how the same products behave more than most people expect. In humid weather, oil-free and long-wear formulas hold up better, and setting spray earns its place instead of staying optional. In dry or cold climates, hydrating primers and cream products perform better than powder-heavy routines, since powder tends to sit on top of dry patches instead of blending in. If you travel between climates often, it’s worth keeping one humid-weather base and one dry-weather base rather than forcing one formula to do both jobs. |
Buy formula first and shade second. A perfectly matched shade in the wrong formula still slides off or clings to dry patches by afternoon.
How to Build a Makeup Kit on a Budget
You can build a full kit for the price of one luxury foundation. Here is where I spend and where I refuse to.
As a rough split, plan on $25 to $40 for base products, $10 to $15 for powder, $15 to $20 for eyes and brows, and $10 to $15 for lips.
Brushes are the one place worth spending a bit more, since $20 to $30 on the basics will last you for years instead of months.
- Spend on Base: Foundation and concealer sit on skin all day, so shade range and formula matter most here.
- Save on Powder: Drugstore translucent powders perform close to designer ones, and you will use them for years.
- Buy Multi-Use Products: One cream stick for lips and cheeks replaces two products and one shopping trip.
- Buy Single Shadows First: Two shadows you wear beat a fifteen-pan palette where you touch four shades.
- Use Testers Properly: Swatch on your jaw, step into daylight, and wear it an hour before buying.
- Check Sample Sizes: Travel sizes let you test a formula for under ten dollars before committing.
- Replace on a Schedule: Buying only what has expired stops the drawer from filling with duplicates.
My working kit sits under a hundred dollars in total, minus the brushes. Those cost more upfront and have lasted me six years.
Common Mistakes When Building a Makeup Bag
These are the errors I see in almost every bag I go through, including my own from a decade ago.
- Buying Viral Products First: A trending formula suits one skin type, and it is rarely the one you have.
- Shade Matching Indoors: Store lighting is yellow, so bases look one to two shades off in daylight.
- Owning Three of the Same Thing: Two nudes and a taupe lipstick do the same job on your face.
- Skipping Tools: People spend eighty dollars on foundation and blend it with their fingers.
- Keeping Expired Makeup: Old mascara and cream products carry bacteria straight to your eyes and skin. The FDA warns that old mascara and cream products carry bacteria straight to your eyes and skin, which is why wet formulas need replacing sooner than powders.
- Buying for an Imaginary Life: Glitter shadow is fun, but a work-friendly brown gets used weekly.
Clear out your bag once a season. I do it in March and September, and I always find two products I forgot I owned.
Final Thoughts on Building Your Makeup Kit
The best makeup essentials aren’t always the newest or the most expensive products on the shelf.
They’re the ones you reach for without thinking because they suit your skin, fit your routine, and make you feel confident every time you use them.
Start with a few reliable staples, learn what works for you, and build your collection slowly.
A thoughtfully chosen makeup bag will always be more useful than one filled with products that never leave the drawer.
Frequently Asked Questions
How Often Should I Replace My Makeup?
Replace mascara and liquid eyeliner every 3 months; liquid products like foundation after about 1 year; lipsticks within 2 years; and most powders every 2 to 3 years.
How Do I Clean My Makeup Brushes and Sponges?
Wash makeup sponges every 2 to 3 uses and clean foundation brushes weekly. Eye brushes can be washed every 2 weeks and should always be air-dried flat.
Do I Need a Setting Spray?
No, setting spray is optional. It helps makeup last longer and reduces a powdery finish, especially in hot or humid weather.
Can One Product Work on Eyes, Cheeks, and Lips?
Yes, many cream or balm products are made for multi-use. Just make sure the formula is safe for use around the eyes.
How Should I Store My Makeup So It Lasts?
Store makeup in a cool, dry place away from heat and humidity. Keep lids tightly closed and avoid storing products in the bathroom.